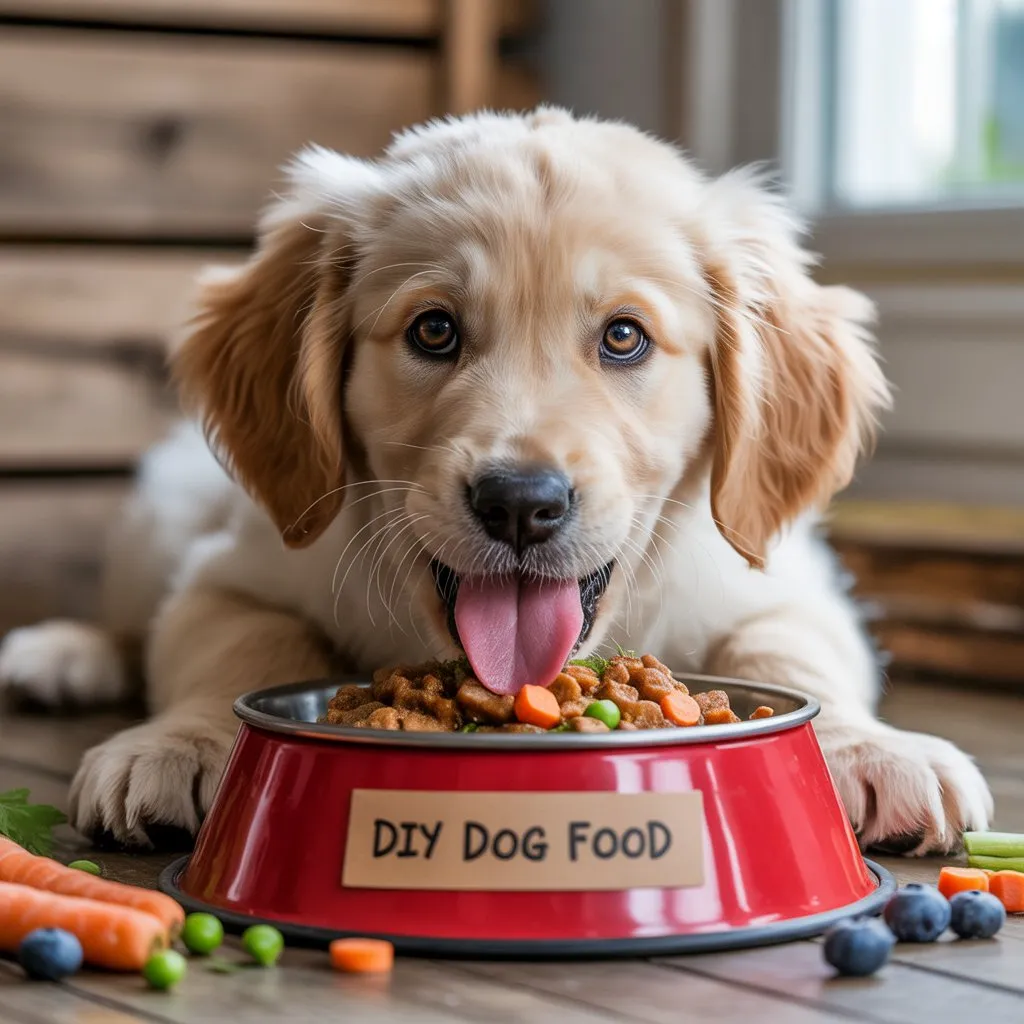
DIY Dog Food: Healthy, Affordable, and Made with Love
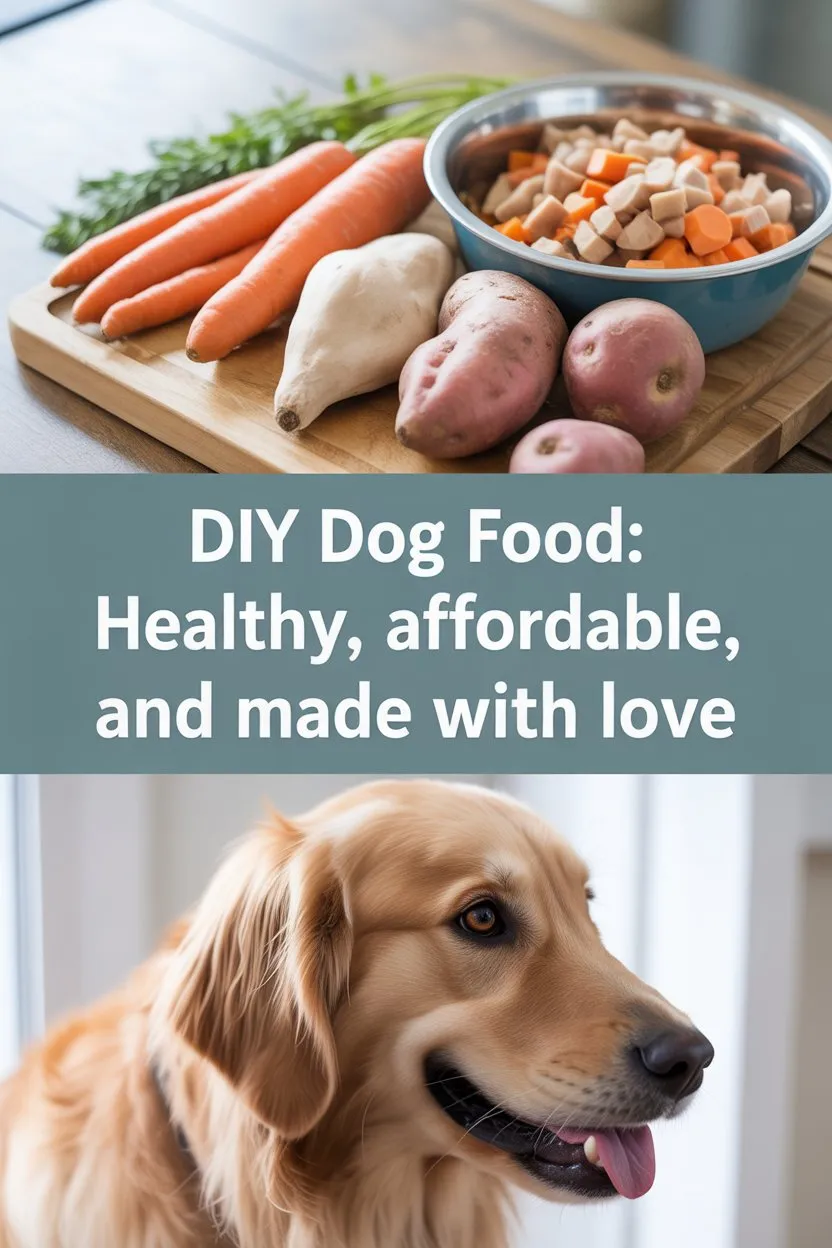
There’s something special about cooking for your dog. Just like family, they deserve meals made with care. With DIY dog food, you control the ingredients, avoid unnecessary additives, and tailor meals to your pup’s needs — all while saving money compared to premium store-bought brands.
When I first tried making homemade meals for my dog, I was nervous about getting it right. But once I saw his excitement at mealtime — tail wagging, eyes sparkling — I knew it was worth it. Here’s how you can start making DIY dog food that’s healthy, affordable, and made with love.
1. Why Choose DIY Dog Food?
Making your own dog food has plenty of benefits:
- Quality Control: You know exactly what goes into your dog’s bowl.
- Customization: Adjust recipes for allergies, age, or dietary needs.
- Freshness: Meals are free of preservatives and fillers.
- Affordability: Save money compared to subscription or specialty diets.
The beauty of DIY dog food is that it’s simple, wholesome, and rewarding.
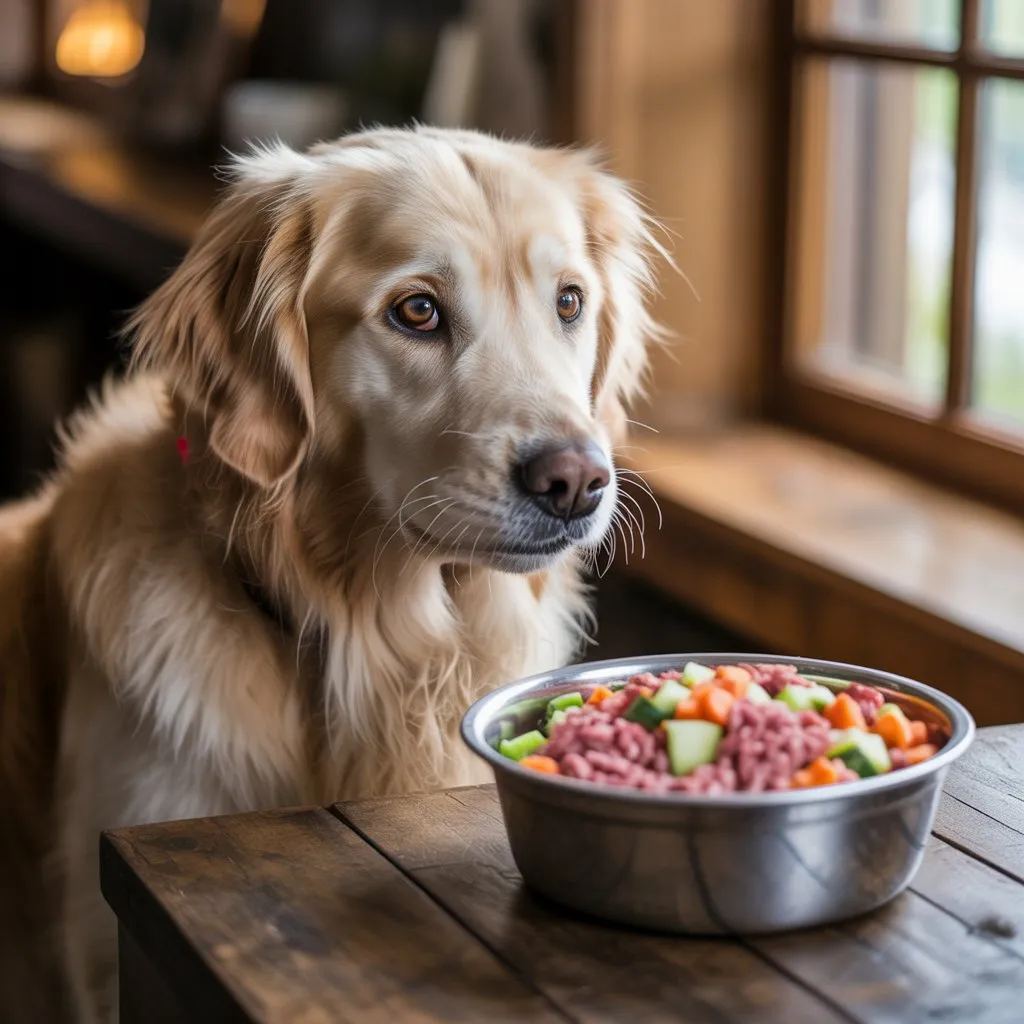
2. What to Include in DIY Dog Food
For balanced nutrition, your meals should include:
- Protein: Chicken, beef, turkey, fish, or eggs.
- Carbohydrates: Brown rice, quinoa, oats, or sweet potatoes.
- Vegetables: Carrots, peas, spinach, broccoli, or green beans.
- Healthy Fats: Olive oil, coconut oil, or fish oil.
- Extras: Pumpkin puree or blueberries for fiber and antioxidants.
⚠️ Avoid dangerous foods like onions, garlic, grapes, raisins, and chocolate.
3. Simple DIY Dog Food Recipe
Here’s an easy recipe to get you started:
Ingredients:
- 1 lb ground chicken or turkey
- 1 ½ cups brown rice (cooked)
- 1 cup chopped carrots
- 1 cup peas (fresh or frozen)
- 1 tablespoon olive oil
Instructions:
- Cook the ground chicken in a large pot until fully browned. Drain excess fat.
- Add cooked rice, carrots, and peas. Stir well.
- Mix in olive oil for added healthy fats.
- Let the meal cool completely before serving.
This DIY dog food recipe makes 6–8 servings, depending on your pup’s size.
4. Storage and Safety Tips
- Store leftovers in airtight containers in the fridge (up to 4 days).
- Freeze portions for up to 2 months.
- Always thaw in the refrigerator, never at room temperature.
- Wash bowls thoroughly after each meal.
Proper storage ensures your DIY dog food stays fresh and safe.
5. Benefits You’ll Notice
After switching to homemade meals, many pet parents report:
- Shinier coats and healthier skin
- Increased energy and enthusiasm
- Better digestion and smaller stools
- Excitement at mealtime
Your pup will feel the difference with every bowl of DIY dog food.
6. Adjust Recipes for Your Dog’s Needs
Every dog is unique. That’s the beauty of DIY dog food — you can adjust meals to fit your pup:
- For Puppies: Add extra protein and calcium.
- For Seniors: Use softer, easily digestible ingredients.
- For Allergies: Swap proteins and grains for sensitive-friendly options.
Always check with your vet to ensure meals meet your dog’s nutritional needs.

Final Thoughts
Making DIY dog food isn’t just about cooking — it’s about showing love in the purest way. Each meal is more than nutrition; it’s care, comfort, and connection.
When your pup licks the bowl clean and looks at you with gratitude in their eyes, you’ll know you’ve done something truly special. 🐶❤️