10 Felt Dog Ornament Designs to Make: Adorable DIY Christmas Ornaments for Dog Lovers
I love making felt dog ornaments because they’re small, sweet, and surprisingly beginner-friendly. You don’t need a sewing machine or fancy supplies to create a handmade ornament that looks like your favorite pup. A few felt scraps, embroidery floss, and a little stuffing can turn into something really special.
These felt dog ornament designs work for Christmas trees, gift toppers, pet memorial keepsakes, and even everyday dog lover decor. I’ve kept each idea simple so you can trace, cut, stitch, and finish an ornament in an afternoon. Many of them only need two colors of felt and a basic blanket stitch.
Below are 10 felt dog ornament designs to make, from classic breeds to customizable mixed-breed cuties. Pick your favorite, or make a whole set for gifts. I’ll also share my best tips for hanging loops, stuffing, and personalizing each one.
1. Classic Golden Retriever Felt Ornament
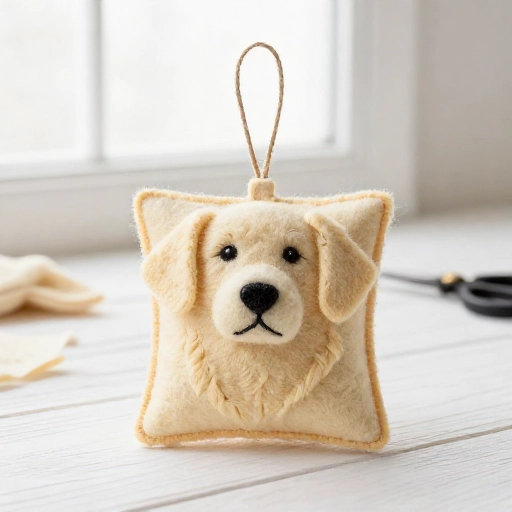
A golden retriever ornament is a must for dog lovers who adore that happy, floppy-eared look. I start with a simple side-profile template, then cut two layers of golden felt. The shape is rounded and friendly, so it reads instantly as a retriever even without tiny details.
For the ears, I use a slightly darker gold felt and stitch them only along the top edge. That keeps them loose and floppy, just like a real golden. A small black nose and two French knot eyes finish the face without making it look fussy.
I like to add a tiny red collar and a brass-colored bead as a tag. If you’re making this as a gift, embroider the dog’s name on the back in simple backstitch. It turns a cute ornament into a keepsake.
2. Tiny Chihuahua Felt Ornament
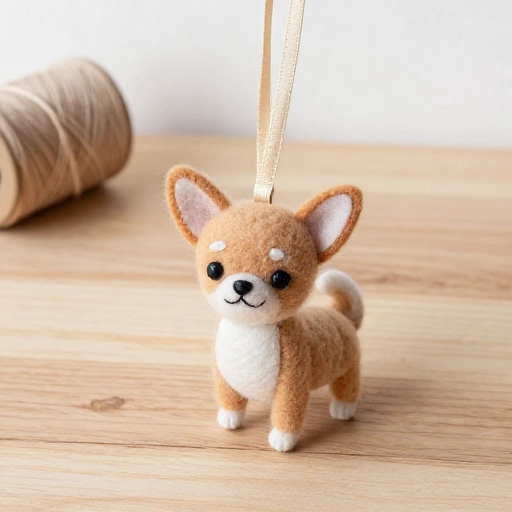
Chihuahuas have big personalities and even bigger ears, which makes them perfect for a tiny felt ornament. I cut the body small and the ears oversized. That contrast is what makes this design so recognizable and fun.
Use one color for the body and a lighter or darker shade for the inner ears. I stitch the ears flat against the head, then add a tiny pink tongue with a single stitch. It’s a small detail that makes me smile every time.
Because chihuahuas are so small, this ornament is great for using up leftover felt scraps. I keep the stuffing minimal so it stays light on the tree. A thin satin ribbon loop works better than a thick one here.
3. Dachshund with a Holiday Scarf
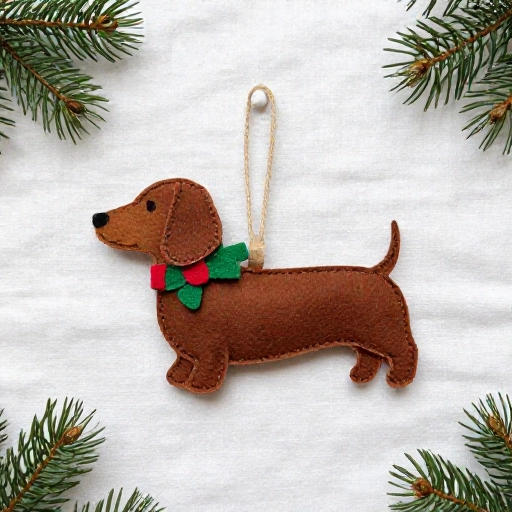
The long, low dachshund shape is naturally charming as a felt ornament. I draw a stretched oval for the body and add short little legs. It looks like a wiener dog without needing a complicated pattern.
The holiday scarf is my favorite part. I cut a narrow strip of red felt, wrap it around the neck, and stitch a tiny green stripe or dot pattern. You can also use plaid fabric glued to felt if you want a cozier look.
I stuff the body just enough to give it shape, then use a whip stitch to close the opening. A small loop at the top of the head keeps the ornament balanced. If you have a dachshund, this one feels extra personal.
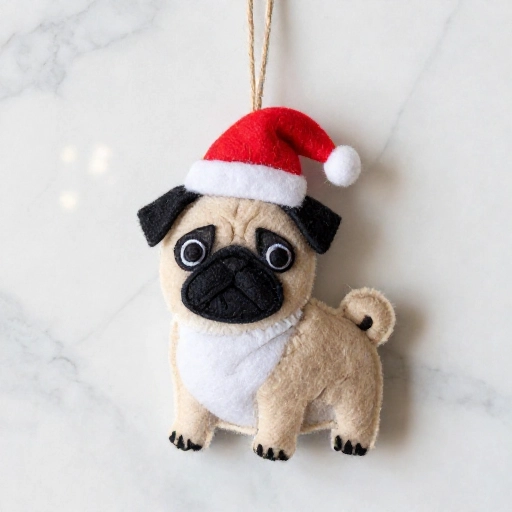
4. Pug with a Santa Hat
Pugs are all about the face: round head, wrinkled brow, and a squished little nose. For a felt pug ornament, I keep the body simple and spend extra time on the face. A few curved stitches can suggest wrinkles without making it messy.
The Santa hat is a quick add-on. I cut a red triangle, fold the tip slightly, and stitch a white felt pom-pom at the end. A white trim strip across the bottom makes it look instantly festive.
I use black beads or French knots for the eyes, then add a tiny pink tongue. Pugs often have that tongue-out look, and it makes the ornament feel playful. This design is a hit with pug lovers and kids.
5. Corgi with a Candy Cane
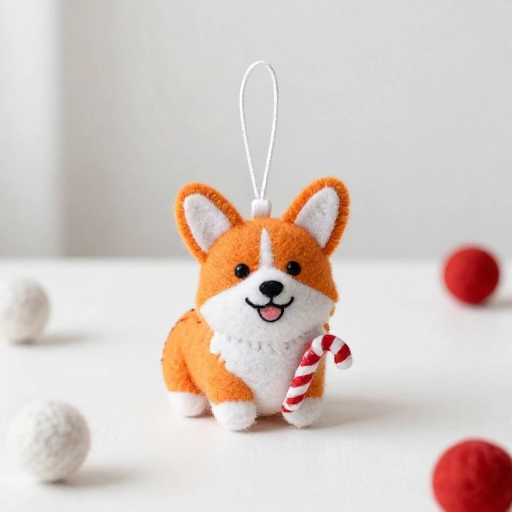
Corgis have those adorable big ears and short legs, so I exaggerate both in felt. The body is a rounded rectangle, and the ears are two tall triangles. That simple silhouette says “corgi” right away.
I give this ornament a small felt candy cane to hold. I cut a white candy cane shape, then stitch red diagonal stripes across it. You can also glue a tiny real candy cane, but felt keeps it lightweight and safe for pets.
Use a blanket stitch around the body for a handmade look. I like white and orange felt for a classic corgi, but black and tan works beautifully too. Add a little smile with one curved stitch.
6. French Bulldog in a Cozy Sweater
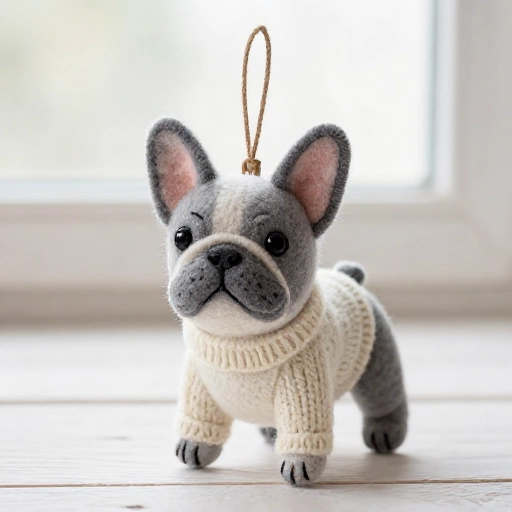
French bulldogs look so cute in sweaters, and that translates perfectly to felt. I start with a chunky body shape and big bat-like ears. The sweater becomes the main color block, so you can go wild with stripes or dots.
I cut the sweater as a separate piece and stitch it over the body. That gives the ornament a little dimension without extra stuffing. A tiny turtleneck collar makes it look extra cozy.
For the face, I add a dark nose and two small eyes. Frenchies have a short snout, so I keep the muzzle area minimal. This is a great design for using up bright felt scraps.
7. Husky with a Tiny Snowflake
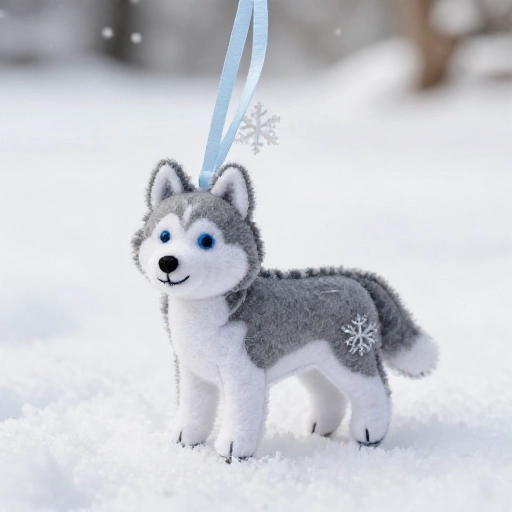
Huskies have striking markings, and felt makes it easy to recreate them. I use light gray for the body, white for the chest and face mask, and dark gray for the ears and back. The contrast is what makes this ornament stand out.
I stitch a tiny white snowflake near the husky’s chest or above its head. You can cut a simple six-point snowflake from felt, or embroider one with straight stitches. Either way, it adds a wintery touch.
Blue or silver embroidery floss for the eyes gives a cool, icy look. I stuff this one a little more firmly so the husky shape stays crisp. A silver ribbon loop ties the whole design together.
8. Poodle with a Pretty Bow
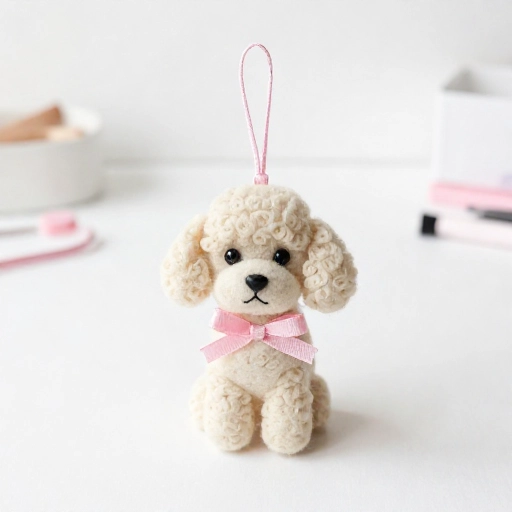
Poodles are elegant and fluffy, so I lean into that with scalloped felt pieces. I cut the body in a teardrop shape, then add small circular felt “puffs” for the topknot, ears, and tail. It looks fancy without being difficult.
A pretty bow at the neck is the finishing touch. I use pink, red, or gold felt and stitch a tiny center knot. If you want a more realistic poodle, use cream or white felt with light gray shadows.
I like to add a tiny pearl bead or a French knot for the eye. Keep the stitches small and neat so the poodle looks delicate. This ornament is perfect for a tree with pastel or vintage decorations.
9. Beagle with a Jingle Bell Collar
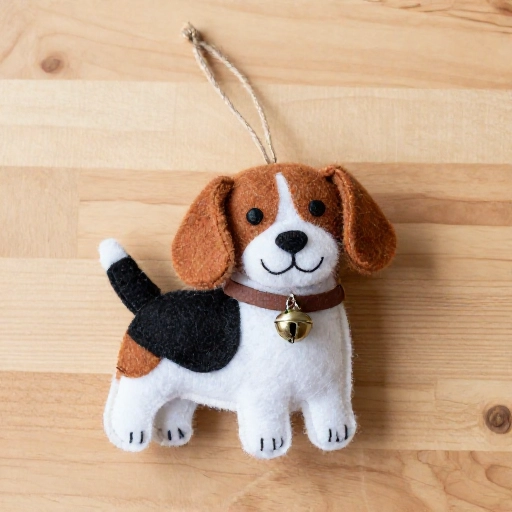
Beagles have those wonderful floppy ears and a friendly, curious expression. I cut the ears long and rounded, then stitch them slightly away from the head so they dangle. That little bit of movement makes the ornament feel alive.
For the collar, I use a narrow strip of red or green felt. Then I sew a tiny jingle bell right at the front. It adds a soft sound when the tree moves, which is magical but not annoying.
I use brown, white, and black felt for classic beagle markings. A small white tip on the tail is a nice detail. If you’re making this for a beagle owner, add the dog’s name on the back with embroidery floss.
10. Mixed-Breed Mutt with a Heart Tag
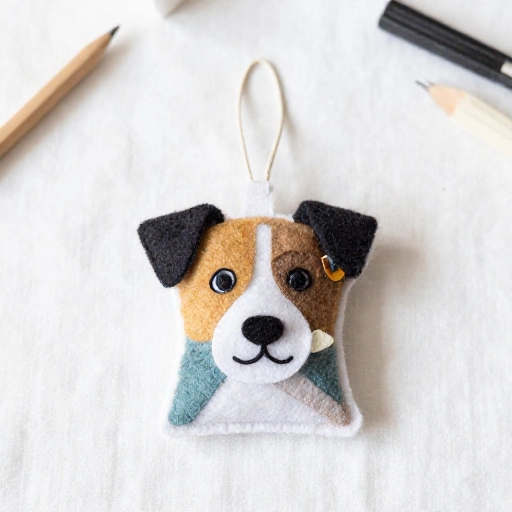
Mixed-breed dogs deserve ornaments too, and this design is fully customizable. I start with a simple dog silhouette, then change the ear shape, tail, and colors to match your pup. You can make it look like any beloved mutt.
I add a small heart-shaped tag instead of a traditional circle tag. Cut it from red or pink felt, then stitch it near the collar. A tiny gold bead or a French knot in the center makes it look like an engraved tag.
This is my favorite design for personalizing. Add spots, patches, or a white chest if your dog has them. You can also embroider the adoption date on the back. It’s a sweet way to honor a rescue dog.
Final Thoughts on Making Felt Dog Ornaments
Felt dog ornaments are one of those DIY projects that feel cozy from start to finish. You can make them as simple or detailed as you like, and they’re very forgiving if your stitches aren’t perfect. I think that handmade look is exactly what makes them charming.
My best advice is to start with one breed you love, make a template, and then experiment with colors and small details. Once you have the basic shape, you can turn it into a whole collection. These also make wonderful gifts for dog walkers, vet techs, and pet sitters.
If you’re making a set, cut all your felt pieces first, then stitch assembly-line style. It saves time and keeps your ornaments consistent. Most of all, have fun with it. A handmade felt dog ornament always carries a little extra love.
Frequently Asked Questions
Q: What kind of felt should I use for dog ornaments?
A: Wool felt or wool-blend felt gives the best results because it’s soft, sturdy, and doesn’t pill easily. Acrylic felt is cheaper and comes in more colors, but it can look a little shiny. For heirloom ornaments, I recommend wool-blend felt.
Q: How do I make the ornaments stiff enough to hang?
A: Stuff them lightly with polyester fiberfill, or use two layers of felt with fusible interfacing in between. If you want a flat ornament, skip the stuffing and glue a piece of cardboard inside before stitching closed.
Q: Can I sew these felt dog ornaments by hand?
A: Absolutely. I sew all of mine by hand using a blanket stitch, whip stitch, or running stitch. Embroidery floss is stronger than regular thread and gives a nice handmade finish. A small embroidery needle works best.
Q: How do I attach a hanging loop to a felt ornament?
A: Cut a 4-inch piece of ribbon or embroidery floss, fold it into a loop, and tuck the ends between the two felt layers at the top of the head. Stitch through all layers a few times to secure it. Then finish sewing the ornament closed.
Q: How can I personalize a felt dog ornament?
A: Add the dog’s name, adoption date, or a tiny heart tag. You can also match the collar color, ear shape, and markings to your pet. For a memorial ornament, use a favorite color and add a small angel wing or halo.