10 Rustic Pet Wall Decor Projects That Will Transform Any Room
I have a confession: my house used to look like a pet supply store exploded in the living room. Plastic bowls, neon toys, and that sad, sagging bed by the door. It worked for my dog, but my walls were empty, and the whole space felt chaotic. I craved that warm, cozy cabin feel, but I also wanted my furry best friend to be part of the decor.
That is when I started mixing rustic charm with pet love. The good news? You do not need to be a master carpenter or spend a ton of money. Over the last few months, I tried different projects that turned my blank walls into a beautiful, pet-friendly gallery. Each one is simple, budget-friendly, and adds that cozy farmhouse vibe we all love scrolling through on Pinterest. Ready to give your space a makeover? Let me show you my ten favorite projects.
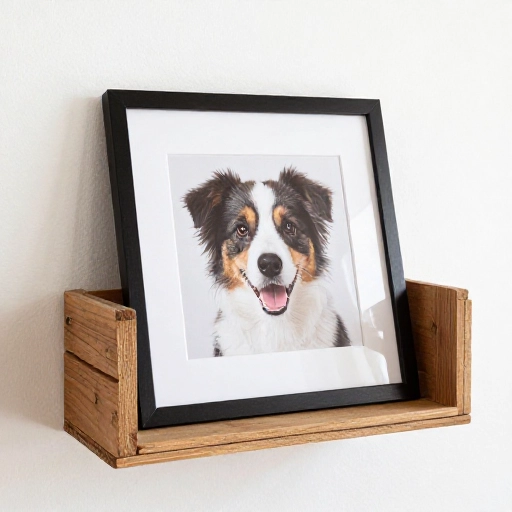
1. Repurposed Wooden Crate Pet Portrait Frame
I found an old wooden wine crate at a thrift store for two dollars. The weathered wood was perfect. I removed one side of the crate, sanded the edges a little, and painted a simple white frame inside the opening. Then, I took a favorite photo of my golden retriever, printed it on matte paper, and attached it to the back of the crate. The depth of the crate gives the photo a beautiful shadow box effect. It looks like a piece of art you would buy from a rustic home store. Hang it near the entryway, and it becomes an instant conversation starter.
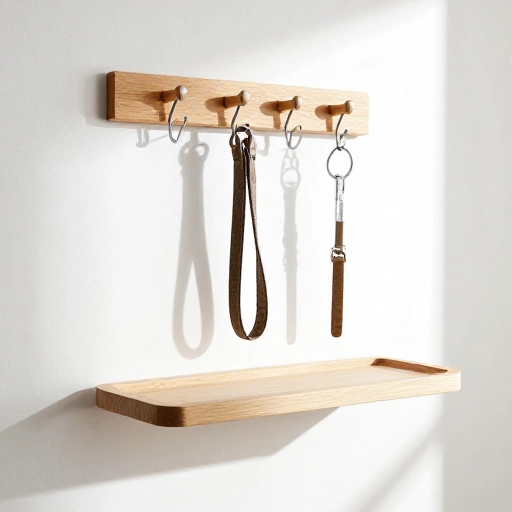
2. Floating Shelf Leash and Collar Station
I used a reclaimed barn wood shelf I picked up from a local market. It was already distressed, with nail holes and a gray wash finish. I mounted it low on the wall near the back door. Then, I added three simple iron hooks underneath. Now, instead of digging through a drawer every morning, I hang my dog’s leash, collar, and a spare poop bag dispenser right there. I styled the top of the shelf with a small mason jar filled with treats and a little wooden sign that says “Wag.” It keeps the clutter off the floor and looks intentionally rustic.
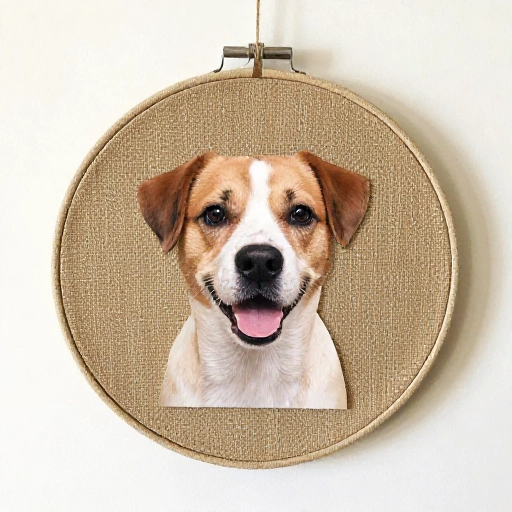
3. Burlap and Twine Pet Memory Hoop
This is probably the easiest project on the list. I took a plain wooden embroidery hoop from a craft store. I stretched a piece of natural burlap fabric inside the hoop and tightened the screw. Then, I clipped a few photos of my cat using tiny wooden clothespins. I also wove a thick piece of jute twine around the top and tied a small bell to the bottom. It hangs in my reading nook, and the texture of the burlap matches the rustic farmhouse feel perfectly. It is lightweight, easy to swap photos, and costs almost nothing to make.
4. Log Slice Pet Name Sign
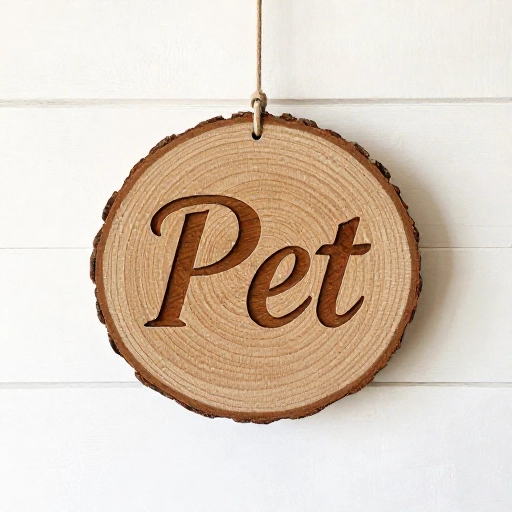
I went for a walk in the woods and found a fallen branch about six inches thick. I asked my partner to cut it into a one-inch thick slice. After letting it dry for a few days, I sanded it smooth. Using a wood burner, I carefully wrote my dog’s name in the center. I added a small paw print underneath. Then, I screwed a simple picture hanger ring into the back. The tree ring patterns on the wood are naturally beautiful, so no paint is needed. It hangs above her bed, and it feels like a little piece of the forest inside my home.
5. Mason Jar Treat and Toy Organizer
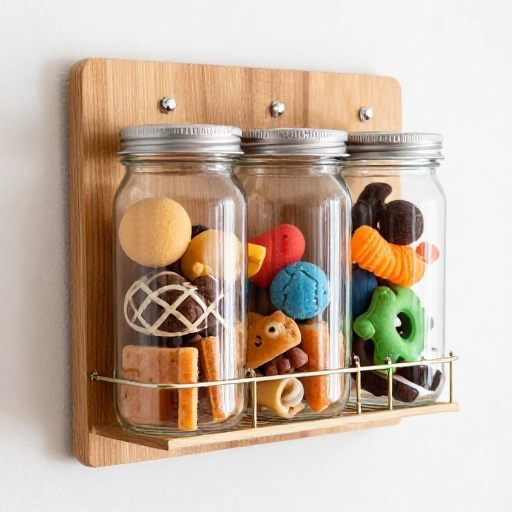
I took a long piece of salvaged wood from an old pallet and sanded it down until it was smooth. I attached three metal mason jar lid rings to the board using small screws. Then, I screwed the jars into the rings. I filled the first jar with small dog biscuits, the second with tennis balls, and the third with squeaky toys. I mounted the whole board on the wall in the laundry room. It keeps the treats visible but contained, and the clear glass jars let you see when you are running low. The contrast of the rustic wood against the glass is charming.
6. Woven Burlap Pet Portrait Wall Hanging
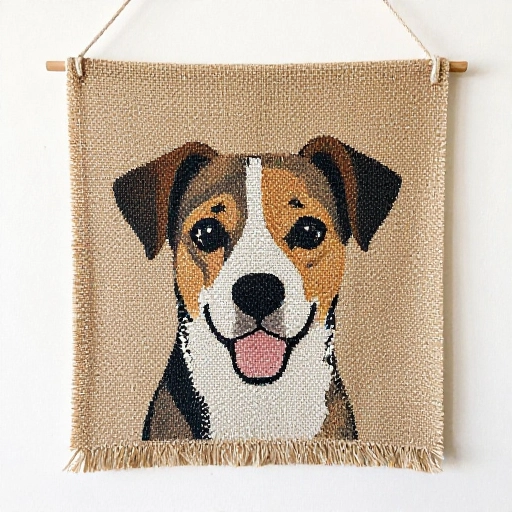
I bought a plain stretched canvas from the dollar store. Instead of painting it, I wrapped it in a piece of natural burlap fabric and stapled it tightly on the back. Using hot glue, I arranged a simple outline of a cat silhouette using black jute twine. It looks like a minimalist line drawing. I added a small wooden bead at the bottom of the twine for a little weight. The burlap gives it that rough, organic texture that rustic lovers adore. It hangs in my hallway, and it adds a soft, earthy touch to an otherwise blank wall.
7. Reclaimed Window Pet Photo Collage
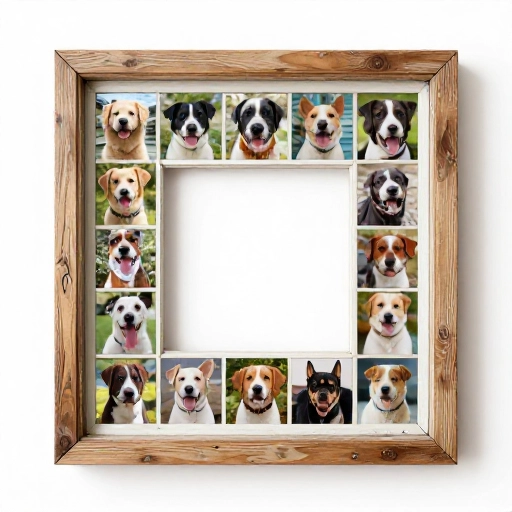
I found an old wooden window frame with six panes at a flea market. The paint was chipped and peeling, which was exactly the look I wanted. I removed the glass from two of the panes and replaced them with chicken wire. Then, I used tiny clothespins to attach photos of my pets to the chicken wire. The other panes I left clear so you can see the wall behind it. I hung it in the kitchen, and it acts like a living photo album. You can swap the pictures out seasonally, and the weathered wood ties the whole room together.
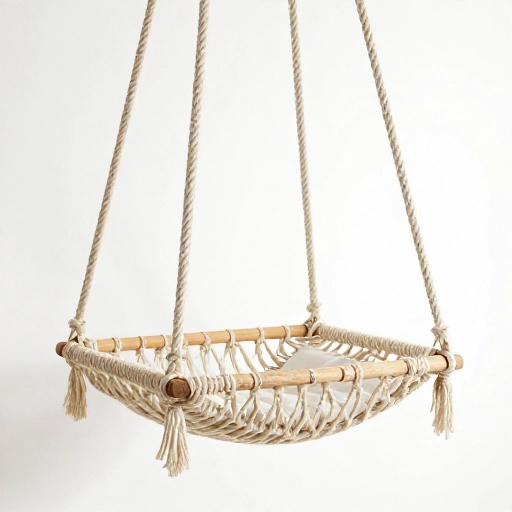
8. Rustic Rope and Wood Hanging Bed
I wanted something that was both decor and functional. I took a thick, round wooden slab and drilled four holes near the edges. I threaded a strong, natural cotton rope through each hole and tied knots underneath to hold the slab. Then, I braided the ropes together at the top and hung it from a ceiling hook. I placed a small, soft cushion on top. My cat absolutely loves sleeping on it, and it looks like a piece of macrame art. The natural wood and rope combination is pure rustic simplicity, and it saves floor space.
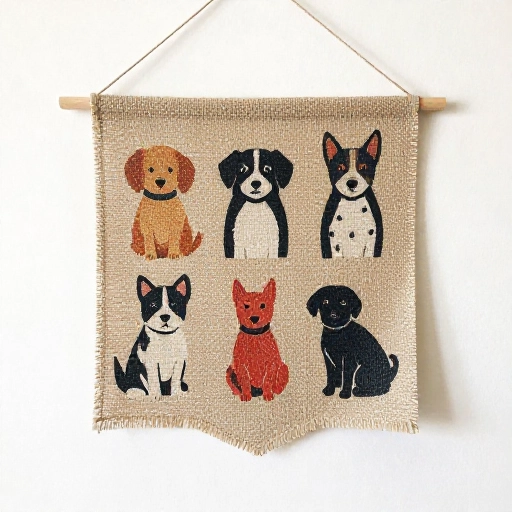
9. Stenciled Burlap Banner
I cut a long strip of burlap fabric, about five feet long and eight inches wide. I folded the top edge over a piece of jute twine and sewed it with a simple running stitch. Then, I used a cardboard template of paw prints and a bit of dark gray fabric paint to stamp a pattern across the whole banner. I hung it across the mantelpiece above the fireplace. The banner softens the hard lines of the brick, and the handmade feel makes the room feel lived-in and cozy. It is perfect for renters because you can take it down easily.
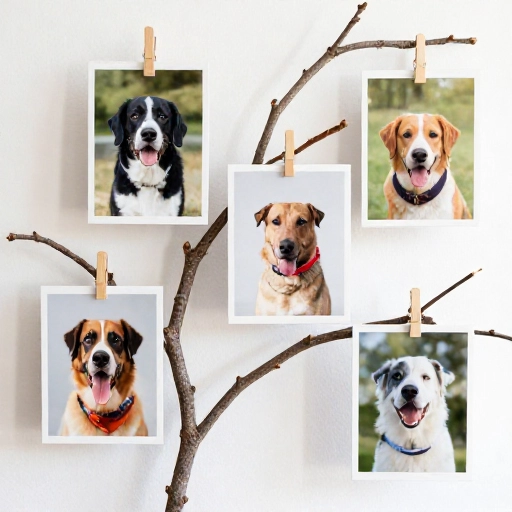
10. Branch and Twig Photo Display
I went outside and found a sturdy, interestingly shaped branch that had fallen from an oak tree. I stripped off the small twigs and bark that was loose. Then, I spray-painted it a matte white to brighten it up. I hung it horizontally on the wall using two clear picture hooks and clear fishing line. Then, I used small wooden clothespins to clip photos of my pets directly onto the branch. You can also hang small trinkets like their first collar or a favorite toy. It gives the wall a sculptural, organic look that changes whenever you want.
Bringing It All Together
These projects changed the way I see my home. Instead of hiding the pet stuff, I put it on display in a way that feels intentional and beautiful. Rustic decor does not have to be expensive or complicated. It is about using natural materials, repurposing old things, and letting the imperfections shine. Every time I walk past my log slice sign or see my cat napping in her hanging bed, I smile. Your pet is part of your family, so let their presence add warmth to your walls. Grab some wood, a little twine, and your favorite photos. Your walls are waiting for a rustic upgrade.
Frequently Asked Questions
1. Do I need special tools for these rustic pet wall projects?
Not at all. Most projects use basic tools like a hammer, screwdriver, sandpaper, and scissors. You probably already have everything you need in a small toolbox. For the wood burning, you will need a cheap wood burner, but you can also use a permanent marker instead.
2. How do I keep burlap from fraying on my wall hanging?
Burlap will fray a little over time, but you can prevent heavy fraying by folding the edges over twice and gluing them down with a hot glue gun. You can also sew a simple hem if you prefer. A light spray of fabric stiffener can also help hold the fibers in place.
3. Can I do these projects if I live in a rental apartment?
Yes, absolutely. Stick to lightweight projects like the embroidery hoop, burlap banner, or the branch display. Use removable adhesive hooks instead of nails or screws. The mason jar organizer can be hung with strong, removable strips as long as it is not too heavy.
4. What type of wood is best for a rustic look?
Reclaimed wood is the best because it already has character. Look for old pallets, barn wood, or even driftwood. If you cannot find reclaimed wood, buy new pine and distress it yourself by hitting it with a hammer, scratching it with a screwdriver, and sanding the edges.
5. How do I clean rustic wood decor without damaging it?
Dust your wood pieces regularly with a dry microfiber cloth. For deeper cleaning, use a slightly damp cloth and wipe gently, then dry immediately. Avoid soaking the wood. If your piece has a wax finish, you can reapply a thin layer of furniture wax once a year to keep it looking fresh.