11 Weather-Ready Cat Shelters You Can Build Today
Winter winds, summer storms, and sudden downpours—if you care for outdoor or feral cats, you know how desperately they need a safe, dry place to call their own. Building a weather-ready cat shelter doesn’t have to be complicated or expensive. With a few basic materials and a couple of hours, you can give a cat a fighting chance against the elements.
I’ve put together 11 practical shelter ideas that range from super simple to slightly more involved. Pick the one that fits your space, your skill level, and the cats you’re helping. Every single one of these can be built in a single afternoon.
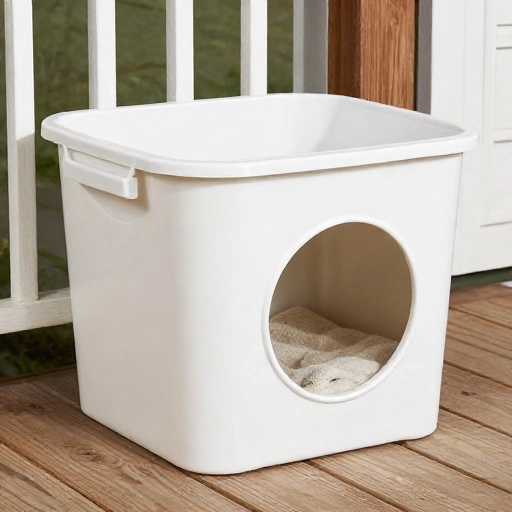
1. The Classic Plastic Bin Shelter
This is the gold standard for feral cat shelters, and for good reason. A sturdy plastic storage bin with a lid provides instant structure and great insulation. The key is cutting a small entry hole and filling the inside with straw—not hay, which absorbs moisture and gets moldy.
Start with a 30-gallon bin and cut a 6-inch circular hole on one of the short sides. Place the hole about 4 inches from the bottom so rain and snow don’t easily blow in. Sand the edges smooth to protect paws and fur.
Fill the bin about three-quarters full with straw. The straw lets cats burrow while creating air pockets that trap body heat. Put the lid on tightly, and you have a shelter that can handle freezing temperatures and heavy rain. Add a brick on top to keep the lid from blowing off.
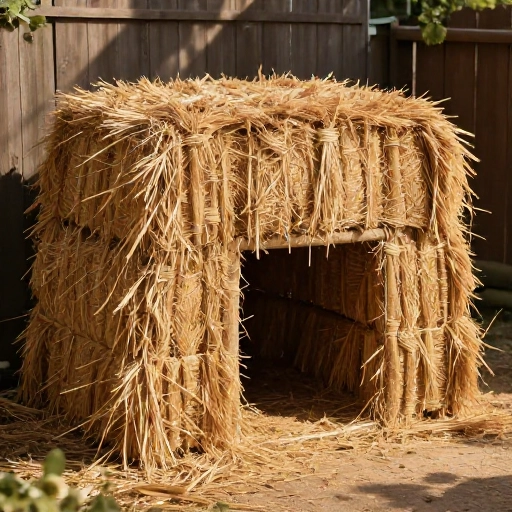
2. The Hay Bale Fortress
If you live in a rural area or have access to square hay bales, this shelter is practically free and incredibly warm. Hay bales are dense, insulating, and sturdy enough to create a cozy cave that blocks wind completely.
Arrange three bales in a U-shape, leaving the open side facing a wall or fence. Place a fourth bale on top as a roof. The space inside becomes a natural windbreak that holds in warmth.
Line the floor with a thick layer of straw and add a small piece of plywood as a floor base to keep moisture from wicking up. The bales themselves will absorb some weather, but the interior stays dry and warm for months. Replace bales as they break down.
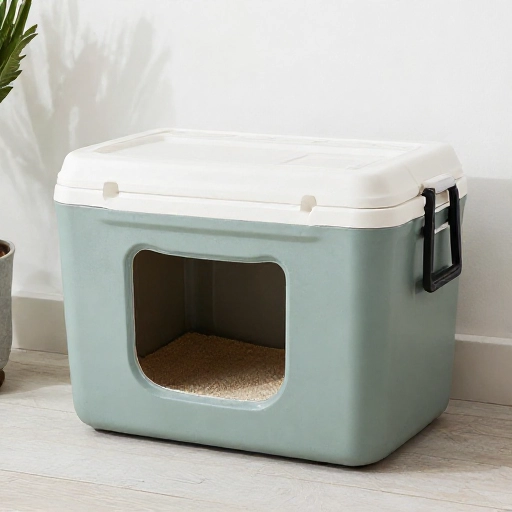
3. The Repurposed Cooler Shelter
That old picnic cooler you never use? It’s about to become a lifesaver. Coolers are designed to maintain temperature, which makes them perfect for keeping cats warm in winter and cool in summer.
Cut a 6-inch hole in the side using a jigsaw or utility knife. Leave the lid attached since it seals better. Add a few inches of straw at the bottom, making sure the straw doesn’t block the entry hole.
One cool trick is to place a heated pet pad inside on very cold days. The cooler’s insulation will hold the heat around the pad, turning it into a toasty retreat. Just make sure the cord route doesn’t create a gap for rain.
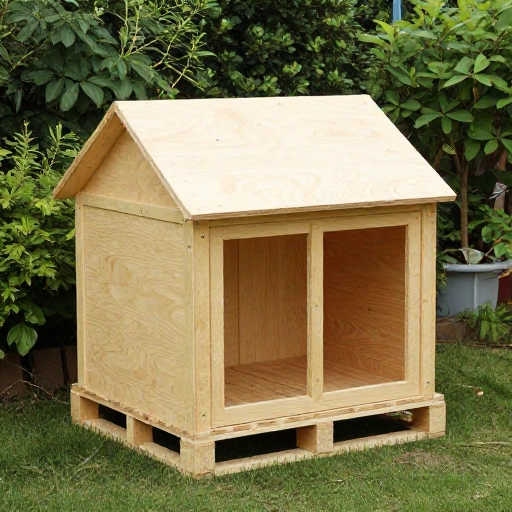
4. The Pallet and Plywood Shelter
Pallets are everywhere, and they make a surprisingly solid shelter base. They lift the shelter off cold, wet ground while providing natural air circulation underneath. Build a simple frame using pallets for the base and walls.
For this build, use two pallets stacked for the floor, then attach plywood sheets to create three walls. Leave the front open but angled slightly inward to block rain. Add a plywood roof with a slight overhang.
Seal all the wood with a non-toxic, water-resistant paint or primer. Stuff the interior walls with foam board insulation before attaching the final layer of plywood. Finish with straw on the floor and a flap of heavy plastic over the entry.
5. The Two-Bucket Shelter
This micro-shelter is perfect for a single cat or a quick emergency solution. Take two large buckets—one 5-gallon and one 3-gallon. Place the smaller bucket upside down inside the larger one, leaving a gap between the two.
Cut an entry hole in the large bucket, and then cut a matching hole in the smaller bucket, but offset it so cats enter, turn, and then crawl into the inner space. This creates an airlock that blocks wind and rain completely.
Fill the gap between the buckets with straw or crumpled newspaper for insulation. The cat curls up inside the smaller bucket opening. This shelter is small enough to hide under a porch or in a garden shed.
6. The Elevated Rubbermaid Shed
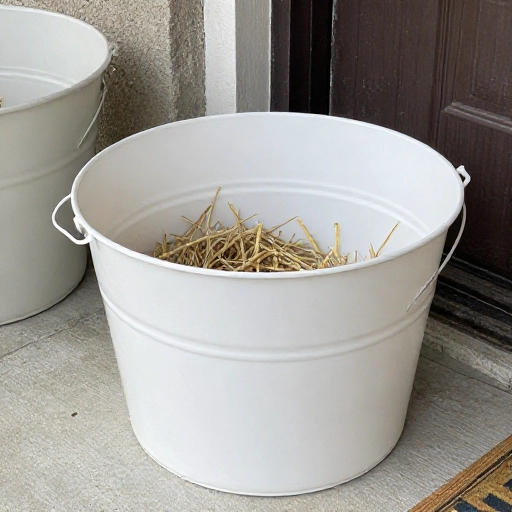
Sometimes cats need extra height to feel safe from dogs or flooding. This elevated version of the classic bin shelter uses a sturdy shelf or a cinder block platform to lift the bin a foot off the ground.
Use a large Rubbermaid or similar brand tote with a locking lid. Cut two entry holes on opposite sides so cats always have an escape route. This is critical if predators lurk nearby.
Add a layer of foam board insulation to the inside walls and floor before adding straw. Elevating the shelter also keeps it dry during heavy rain or snowmelt. Make sure the platform is stable and can’t tip over in high winds.
7. The DIY Tent Shelter
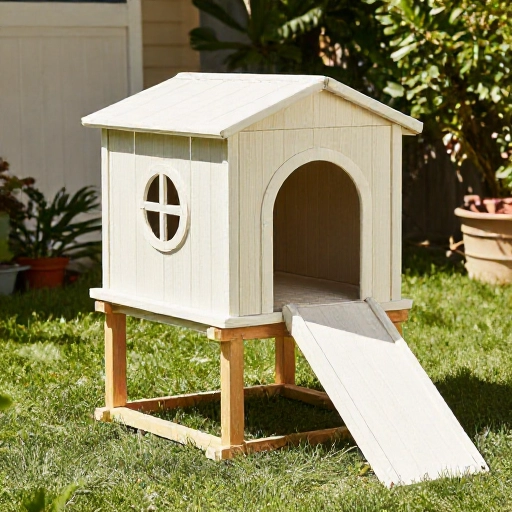
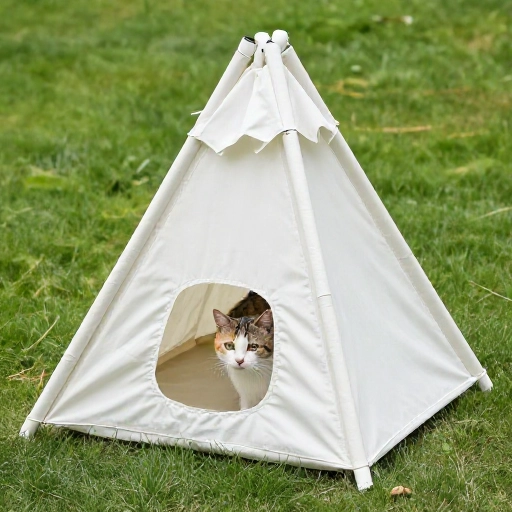
If you have an old small tent or a pop-up kennel, you can turn it into a weather-ready shelter with just a few modifications. Tents are already waterproof and provide good wind protection.
Set up the tent and place a thick foam mat or old rug on the floor. Add a layer of straw on top. To draft-proof the interior, hang a heavy blanket over the tent’s door opening, cutting a small cat-sized slit in the center.
Weigh down the tent edges with bricks or sandbags. Tents don’t hold heat well on their own, so consider adding a solar-powered LED light or a microwavable heating pad wrapped in a towel inside. This is a great temporary option if you’re in between builds.
8. The Styrofoam Cooler Wonder
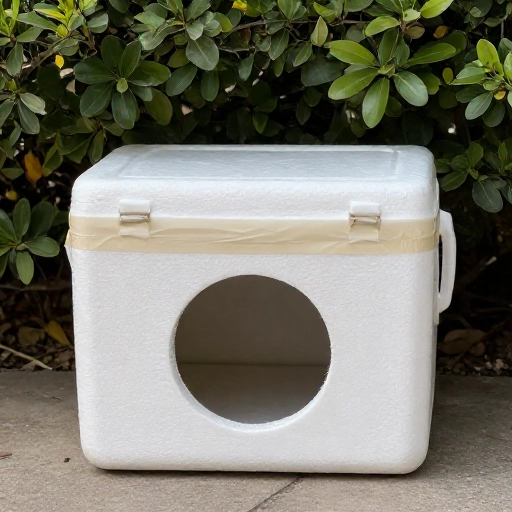
Large styrofoam fish coolers are a crafter’s secret weapon for cat shelters. They are incredibly light, waterproof, and have excellent insulating properties. You can often find them free at fish markets or grocery stores.
Cut a 6-inch entry hole in the side. Because styrofoam is soft, use a sharp serrated knife and cut slowly. After cutting, reinforce the edges with duct tape to prevent cats from scratching the foam apart.
Place the foam cooler inside a larger plastic bin to protect it from the elements and add structural strength. Fill the space between the cooler and the bin with straw. This double-wall construction builds an insulation sandwich that keeps cats warm in sub-zero temperatures.
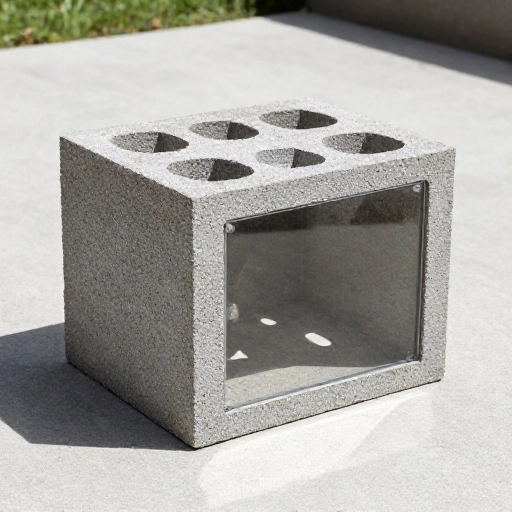
9. The Cinder Block & Plexiglass Shelter
This shelter is heavy-duty and built to last through any storm. Cinder blocks are cheap, and they stack easily to create a robust structure. You’ll need about 12 blocks and a piece of plexiglass for the roof.
Stack the blocks in a rectangle, leaving one side open. Use the blocks with their holes facing inward to create small nooks where cats can hide. The holes also act as natural handholds.
Place a sheet of plexiglass on top for the roof. The clear roof lets in light, which cats love, while the heavy blocks keep everything stable. Add a flap of canvas over the open side. Fill the interior with straw or old blankets for bedding.
10. The Under-Deck Hideaway
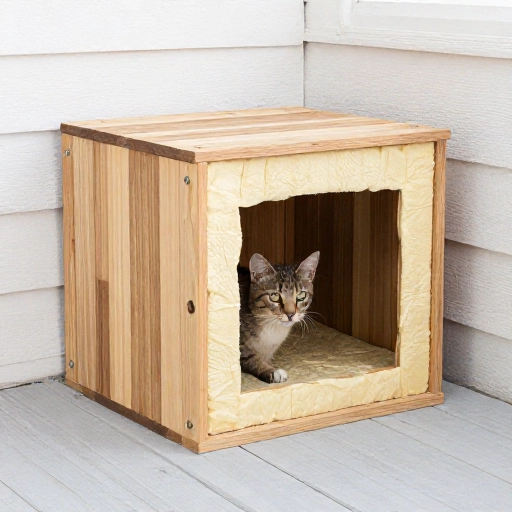
If you have a deck, you probably have a perfect natural shelter spot underneath it. The deck boards block rain and snow, and the enclosed sides trap heat. You just need to fill the gaps.
Measure the space and build a simple wooden frame to enclose the sides. Use plywood for the back and sides, and leave a small opening in the front. This creates a permanent, weatherproof room under your deck.
Line the floor with a layer of gravel for drainage, then add a thick layer of straw. You can also add a small dog door flap to the opening to keep wind out. This shelter is discreet, spacious, and practically invisible.
11. The Recycled Barrel Shelter
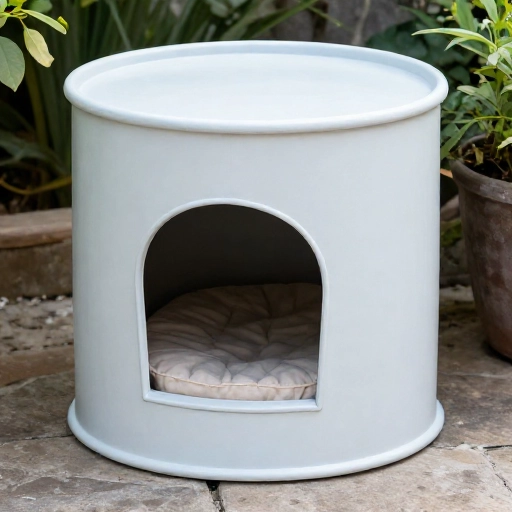
A food-grade plastic barrel can be transformed into a cozy, weatherproof cat cave. These barrels are tough, waterproof, and won’t rust. You can often get them free from car washes or food processing plants.
Wash the barrel thoroughly to remove any residue. Cut a 6-inch hole near the bottom edge. If you want extra insulation, cut the barrel in half and nest the two pieces together with a layer of foam between them.
Place the barrel on its side and secure it with bricks or stakes so it doesn’t roll. Fill the inside with straw. The curved shape naturally sheds rain and wind, making it an excellent all-season option. Paint the outside with a non-toxic outdoor paint to help reflect heat.
A Little Effort Goes a Long Way
Building a shelter isn’t just about providing a roof—it’s about giving a living creature a chance to survive the night. The cats you help will remember the warmth and safety you provided, even if they’re too shy to show it.
Start simple. Even the most basic bin shelter is better than nothing. Check your shelters regularly, replace wet straw, and secure them against wind. Your kindness will make a real difference in the life of an outdoor cat.
Frequently Asked Questions
What’s the best material to use for bedding?
Straw is the best choice. It doesn’t absorb moisture like hay, and it creates air pockets that trap body heat. Avoid towels and blankets because they get wet, freeze, and lose their insulating ability.
Where should I place the shelter?
Put it in a quiet, low-traffic spot away from predators. Place it against a wall or fence for extra wind protection. Elevate it slightly off the ground to keep it dry and warm.
How big should the entry hole be?
About 6 inches in diameter is ideal. This is big enough for a cat to pass through comfortably but small enough to keep out larger animals like raccoons or dogs.
Can I use a heated pad in the shelter?
Yes, but only if you use a pet-safe, chew-resistant heated pad designed for outdoor use. Always wrap it in a towel and place it under a layer of straw. Never use regular household heating pads.
How often should I clean the shelter?
Check the shelter at least once a week. Remove wet or soiled straw immediately. A full clean and fresh straw refresh should happen every few weeks, or more often in wet weather.