12 Creative DIY Slinky Dog Projects for Disney Fans

If you grew up watching Toy Story, you know Slinky Dog isn’t just a toy—he’s a loyal best friend with a spring in his step. That adorable dachshund with the slinky middle is pure nostalgia, and honestly, he’s one of the most fun characters to craft. I’ve spent way too many weekends rummaging through craft bins and hardware stores trying to recreate his magic, and I’m here to share all my favorite ideas with you.
Whether you’re planning a Toy Story themed birthday party, decorating a playroom, or just want a cute desk buddy, these DIY Slinky Dog projects are perfect for crafters of all skill levels. Some are super simple (think ten minutes with a glue gun), while others are a bit more involved for those days when you really want to get your hands dirty. Grab your supplies, put on your favorite Pixar movie, and let’s get crafting!
1. Classic Plastic Cup Slinky Dog
This is the project that started it all for me. It’s the perfect introduction to DIY Slinky Dog because you probably have most of the supplies in your kitchen cabinet right now. You’ll need a few red plastic cups, a metal slinky, some brown felt, and a couple of googly eyes.
Start by threading the metal slinky through the center of the cups, spacing them out so they look like his accordion body. For the head, use a small cardboard box or a paper mache form, glue brown felt over it, and attach those floppy felt ears. The best part? This guy is lightweight enough to hang from the ceiling or place on a shelf without toppling over.
I love using this project for classroom parties. The kids can decorate their own cups with markers before assembly, making every single dog unique. Pro tip: use a hot glue gun on the slinky ends to keep the cups from sliding off during playtime.
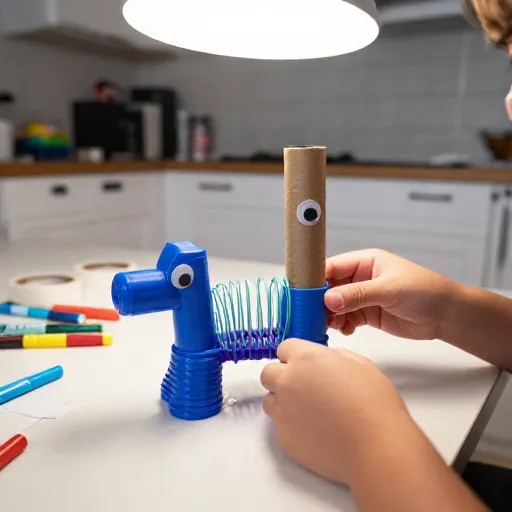
2. Upcycled Cardboard Tube Slinky Pup
Don’t throw away those toilet paper rolls and paper towel tubes! They make the most fantastic body segments for a Slinky Dog that’s perfect for little hands to hold. This is a fantastic eco-friendly craft that teaches kids about reusing materials while creating something adorable.
Cut your cardboard tubes into two-inch sections. Paint them all brown, then string them together using a thick piece of elastic cord or even a stretchy shoelace. The elastic gives that real “slinky” wobble that plastic tubing just can’t match. For the head, crumple up newspaper into a ball, tape it, and cover it with brown construction paper.
Add a red collar made from a strip of felt and a paper tongue sticking out. This version is surprisingly durable. I made one last year and my nephew still carries it around the house, dragging its floppy body behind him. It’s the perfect size for a toddler’s imagination.
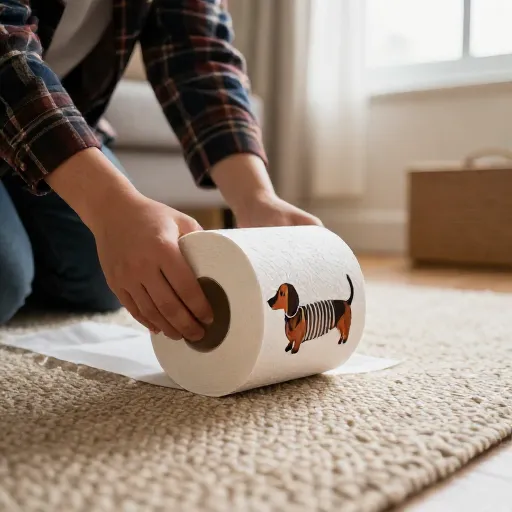
3. Wooden Bead Slinky Dog Necklace
Who says Slinky Dog has to be a floor toy? Turn him into wearable art with this jewelry-inspired craft. You’ll need large wooden beads, some stretchy cord, and a small polymer clay dog head that you bake in the oven.
String the beads onto the cord, alternating between brown and tan to mimic his classic coloring. Leave a loop at the end so you can attach the clay head. This makes a fantastic statement necklace for Disney World trips or just a quirky accessory for a casual Friday.
I like to make these as party favors for Toy Story birthday parties. They’re inexpensive to make in bulk, and the kids absolutely lose their minds over a necklace that looks like their favorite character. Just make sure you seal the clay head with a clear varnish so it doesn’t chip when they inevitably start swinging it around.

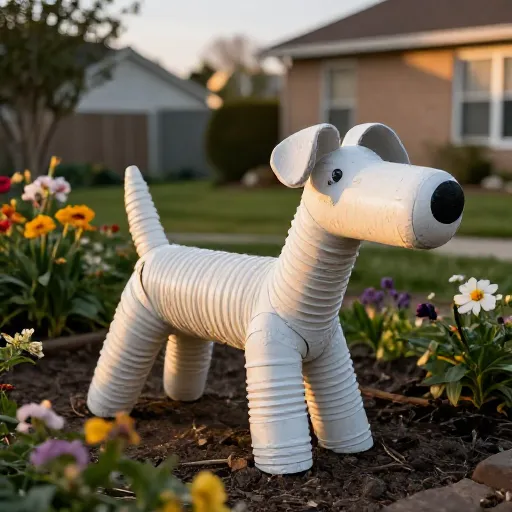
4. PVC Pipe Slinky Dog Yard Art
This one is for the overachievers out there—and honestly, it’s my favorite piece in my garden. If you want a giant Slinky Dog that stands guard by your front door, this is the project for you. It’s a bit more work, but the payoff is absolutely massive.
You’ll need a few lengths of PVC pipe, some flexible tubing for the body, and a large foam ball for the head. Paint everything with outdoor-grade spray paint so it can withstand the elements. Cut the tubing into zigzag shapes to mimic the slinky coil, then attach them to the PVC frame.
The key to making this look good is getting the proportions right. Slinky Dog has a long, low body, so keep the legs short and the body elongated. I added a wooden base to his feet so he doesn’t sink into the mud. He’s become a neighborhood landmark, and I often see kids stopping to say hi to him on their way to school.
5. Sock Monkey Style Slinky Dog Plush
If you know how to sew a basic plushie, you can absolutely handle this project. Instead of using a traditional slinky, we’re going to use a fabric accordion fold technique. This gives you a soft, huggable Slinky Dog that’s safe for babies and toddlers.
Cut a long rectangle of brown fabric and fold it back and forth like an accordion. Sew the folds in place to create that springy look. Attach this to a simple dog-shaped body pattern. Use black buttons for the nose and floppy felt ears.
What I love about this version is how much personality it has. You can embroider a little smile or add a squeaker inside the head. It’s the kind of plush that becomes a bedtime companion, not just a display piece. I’ve made three of these for different baby showers, and they’re always the most talked-about gift.
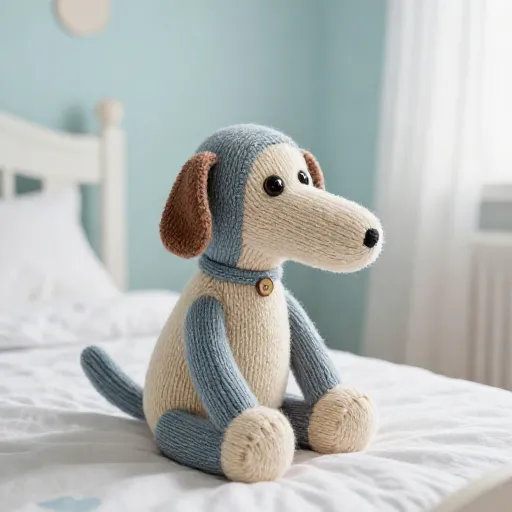
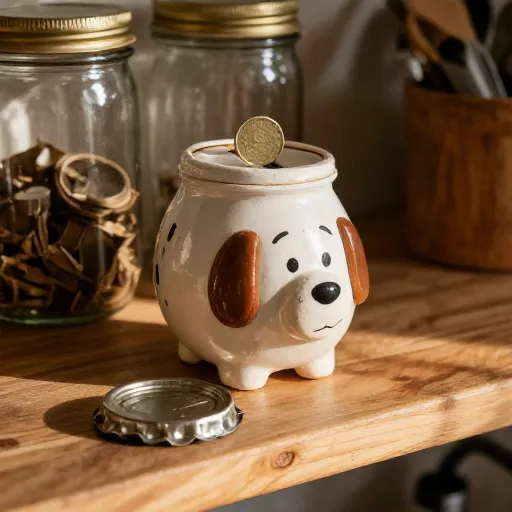
6. Recycled Jar Lid Slinky Dog Bank
Teach kids about saving money with a DIY piggy bank that’s actually a dog! This project uses metal jar lids (like those from spaghetti sauce jars) as the body segments. It’s a brilliant way to recycle and create something functional.
Flatten the lids with a hammer (adults only for this part), then drill a small hole in the center of each. Thread them onto a wooden dowel or a sturdy piece of wire. Attach a small plastic container for the head with a coin slot cut into the top.
Kids love watching their coins stack up inside the clear container. You can paint the lids brown or leave them silver for a more modern, industrial look. I painted mine with chalkboard paint and wrote “College Fund” on the head. It’s a conversation starter and a great way to make saving money feel fun.
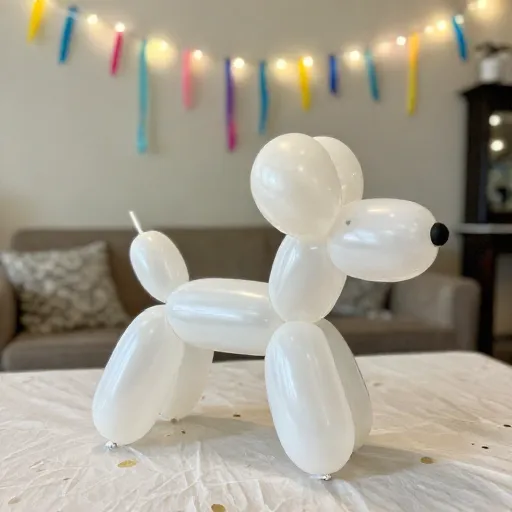
7. Balloon Slinky Dog Centerpiece
Planning a Toy Story party? These balloon Slinky Dogs are the absolute easiest and most impressive decorations you can make. They take about five minutes each once you get the hang of it, and they cost pennies to make.
You’ll need long, skinny balloons (the kind used for balloon animals) and standard round balloons. Inflate the long balloons and twist them into a zigzag pattern to create the slinky body. Then, inflate a brown round balloon for the head and draw a face on it with a permanent marker.
I recommend making a few of these and placing them on the dessert table or hanging them from the ceiling with fishing line. They bob and sway with the air conditioning, looking like they’re actually moving. Just be careful with the marker—it can smudge if you’re not gentle.
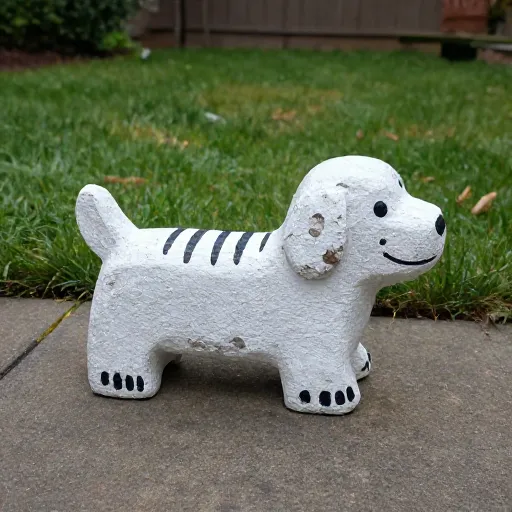
8. Painted Rocks Slinky Dog Garden Stepping Stones
This is a wonderful project for a rainy afternoon, and it doubles as a lovely gift for a Disney-loving neighbor. You’ll need smooth, flat river rocks in various sizes. The biggest rock will be the head, and the smaller ones will be the body segments.
Paint the rocks brown using acrylic paint. For the body, line up the smaller rocks in a curve to mimic the slinky’s zigzag. Glue them together with strong outdoor adhesive. Add a cute face to the head rock and place the whole thing in your garden.
I love how this project forces you to work with what nature gives you. No two rocks are exactly the same, so every Slinky Dog has its own unique charm. Seal the whole thing with a clear outdoor sealant to protect it from rain.
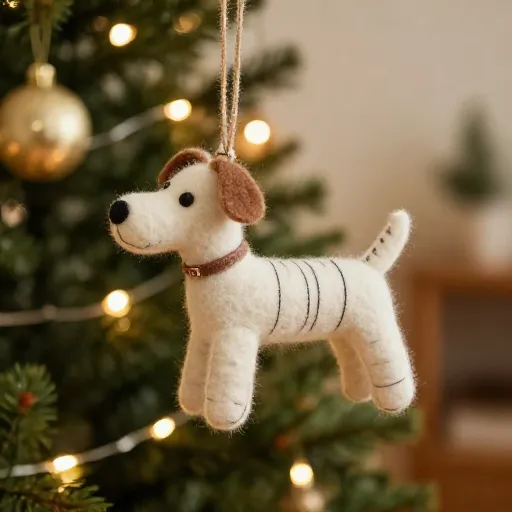
9. Felt Stuffed Slinky Dog Ornament
This tiny version is perfect for Christmas trees, backpacks, or just as a cute keychain. It’s a quick sewing project that uses felt scraps and a bit of stuffing. The whole thing is only about four inches long, so it’s the perfect weekend afternoon project.
Create a simple dog template out of paper. Cut the body out of brown felt, but make the middle section zigzagged to look like the slinky. Sew the front and back together, leaving a small opening to stuff. Attach a small ribbon loop at the top.
These are fantastic for holiday gift exchanges or as stocking stuffers. I made a whole set of Toy Story characters last year—Buzz, Woody, and Slinky—and they look adorable hanging together on the tree. They’re also a great way to use up tiny felt scraps you’ve been hoarding.
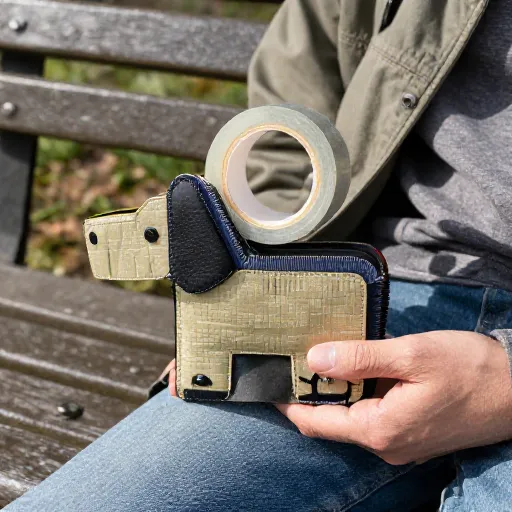
10. Duct Tape Slinky Dog Wallet
Okay, this one is a bit out there, but bear with me. A duct tape wallet shaped like Slinky Dog is the ultimate statement piece for a Toy Story fan. It’s surprisingly functional, and it’s a great way to practice your duct tape crafting skills.
Fold a standard duct tape wallet pattern, but make the flap look like the dog’s head. Use a separate piece of duct tape folded accordion-style for the body, which acts as the billfold. You can use a permanent marker to draw on his cute face.
This is a great project for teens who are into crafting. It’s not too hard, but it requires a bit of patience to get the folds right. I made one as a gift for a coworker, and he actually uses it every day. It’s durable, waterproof, and guaranteed to make people smile when he pulls it out to pay for lunch.
11. Magna-Tile Slinky Dog Building Challenge
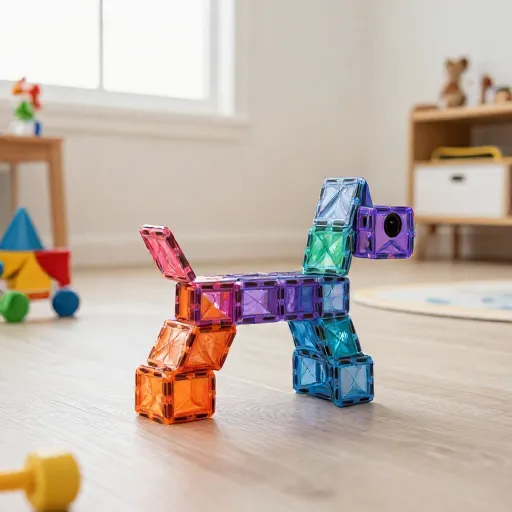
This isn’t a permanent craft—it’s an activity! If you have a child who loves building blocks or magnetic tiles, challenge them to create a Slinky Dog out of them. It’s a fantastic STEM activity that encourages creativity and problem-solving.
Use the square magnetic tiles to build a rectangular body, then use triangles for the ears and a circle for the nose. The trick is to make the body look segmented. Instead of a solid rectangle, leave small gaps between the tiles to mimic the slinky coils.
I love doing this with my nieces and nephews. It’s a screen-free activity that gets them thinking about shapes and structure. We often have contests to see who can build the most creative Slinky Dog. The best part? You can take it apart and build a castle or a rocket ship five minutes later.
12. Miniature Clay Slinky Dog Desk Buddy
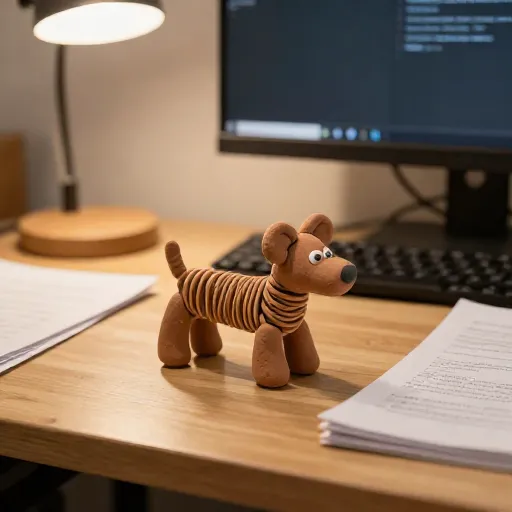
Last but not least, this is the perfect project for office workers or anyone who wants a tiny companion on their desk. Using air-dry clay, you can sculpt a miniature Slinky Dog that’s about three inches tall. It’s delicate work, but the result is absolutely precious.
Roll a small oval for the body, then use a toothpick to carve little ridges into the clay to simulate the slinky. Form a separate piece for the head and attach it with a bit of clay slip. Use tiny black beads for eyes and a little pink tongue.
I keep mine on my monitor stand, and it’s a little reminder to stay loyal and playful. Because it’s air-dry clay, it’s very lightweight. You can also paint it with acrylics once it’s fully dried. This is a fabulously calming project that requires a lot of concentration, so it’s a great stress reliever after a long day.
Conclusion
As you can see, there’s a Slinky Dog project out there for everyone. Whether you’re looking for a quick afternoon craft with the kids, a weekend woodworking project, or a tiny desk companion, the possibilities are endless. The best part about making these crafts is the joy they bring to others.
I’d love to know which project you’re going to try first! Don’t stress about making them look perfect—remember, Slinky Dog’s charm comes from his slightly clumsy, always lovable personality. Gather your supplies, put on a smile, and get to work. Your new best friend is waiting to be built.
Frequently Asked Questions
What is the best material to use for the slinky body?
For a classic look, a metal slinky works best, but it can be tricky for kids to handle. For a safer, more durable option, I recommend using cardboard tubes or flexible plastic tubing. For a soft plush version, fabric accordion folds are the winner.
How do I keep the cups or tubes from sliding off the slinky?
A hot glue gun is your best friend here. Apply a small dab of glue to the inside of the cup or tube before sliding it onto the slinky. You can also use electrical tape on the ends of the slinky to create stoppers.
Can these projects be done with toddlers?
Absolutely, but they’ll need supervision. For toddlers, I recommend the sock monkey style plush or the cardboard tube version. Skip the hot glue and use strong craft glue or tape instead. Let them paint the pieces while you do the assembly.
What kind of paint should I use for the outdoor yard art?
Definitely use spray paint that is specifically labeled for outdoor use. It’s resistant to fading and chipping. If you use a foam ball for the head, make sure to apply a primer first so the paint doesn’t eat through the foam.
Where can I find the polymer clay for the necklace project?
You can find it at any major craft store, usually in the baking or sculpting aisle. It’s very affordable and comes in tons of colors. Just follow the baking instructions on the package carefully—it’s usually a low temperature for about 30 minutes.