13 Weatherproof Cat House Designs That Actually Work
Let’s be real—our cats love the outdoors, but they don’t love getting soaked or shivering in the wind. If you’ve got a furry friend who spends hours on the porch or a community cat that needs a safe spot, a weatherproof cat house is a game-changer.
I’ve spent way too much time researching and testing different designs, and I’ve learned that not all cat houses are created equal. Some look cute but leak like a sieve, while others are ugly but bulletproof. So, I pulled together 13 of my favorite designs that balance comfort, durability, and style. Whether you’re a DIY newbie or a seasoned builder, there’s something here for you.
Grab a cup of coffee, and let’s find the perfect shelter for your feline friend.
1. The Classic Styrofoam Cooler Upgrade
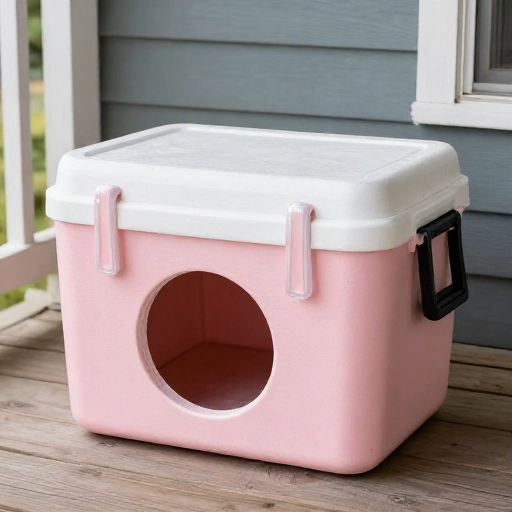
This is the budget-friendly secret that rescue groups swear by. Grab a large styrofoam cooler, cut a six-inch entrance hole, and line the inside with straw (never blankets—they trap moisture).
To make it truly weatherproof, place the cooler inside a plastic storage tote with a lid. Cut matching holes, and fill the gaps between the two with more straw for extra insulation. The lid keeps rain out, and the double walls trap body heat.
It’s not fancy, but it’s incredibly effective. I’ve seen cats snuggle into these on freezing nights and come out perfectly warm.
Just make sure the entrance is elevated a few inches off the ground with a small lip to keep water from seeping in.
2. The Pallet House with a Slanted Roof
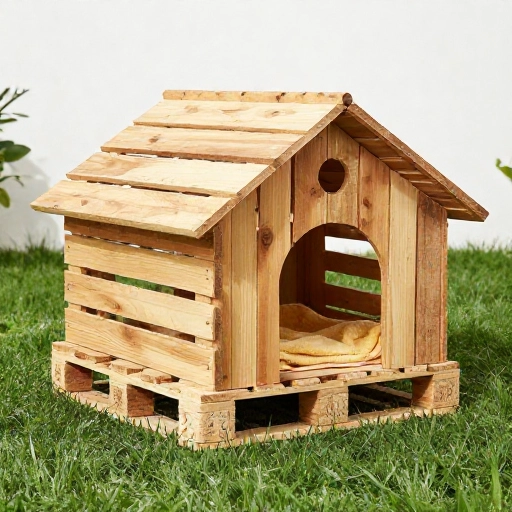
If you have old wooden pallets lying around, you can build a sturdy, rustic shelter in an afternoon. Stand four pallets upright to form a square, and use a fifth as the roof—but prop one side higher than the other so rain runs off.
Line the inside with foam board or rigid insulation. A slanted roof is the secret here; flat roofs always collect water and eventually leak. Add a strip of weatherproof tarp over the top and staple it down.
This design is heavy enough to withstand strong winds. I like to place a small rubber mat at the entrance so cats can wipe their paws before stepping in.
It’s a great option if you want something that looks intentional in a backyard garden.
3. The Repurposed Plastic Bin Shelter
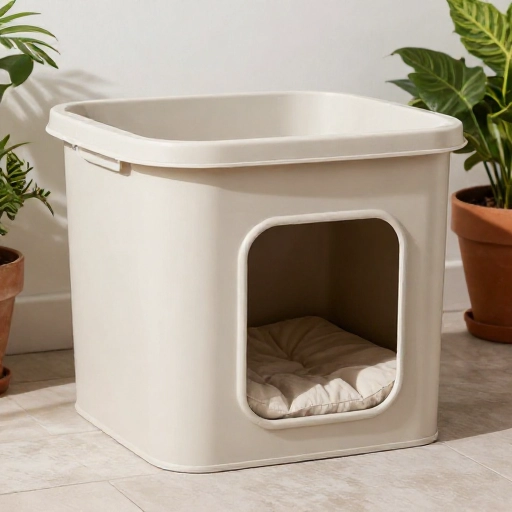
That old storage bin taking up space in your garage? It’s about to become a cat palace. Flip it upside down, cut a doorway, and add a few drainage holes in the bottom for any accidental spills.
Spray the outside with a waterproof sealant or plasti-dip to prevent cracking in the sun. Inside, add a layer of mylar emergency blankets (the shiny kind) to reflect body heat back to the cat.
For extra warmth, place a heating pad made for pets under a thick layer of straw. Never use regular electric blankets—they’re a fire hazard.
This is one of the simplest builds, and it takes less than 30 minutes from start to finish.
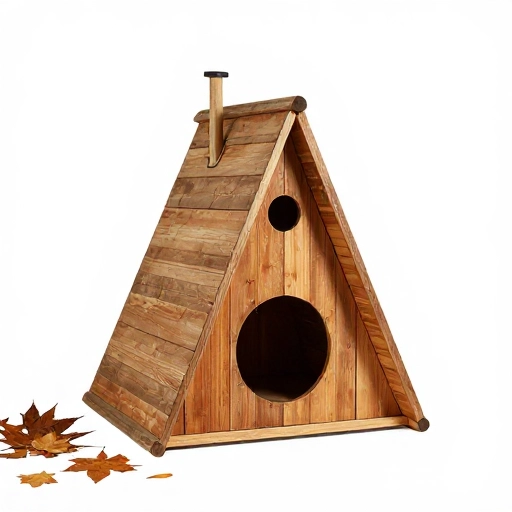
4. The A-Frame Wooden Cabin
This is the classic “little house” look that people love. Build a simple A-frame using exterior plywood and 2x4s. The steep angle of the roof is perfect for shedding snow and rain.
Add a hinged roof panel that opens for easy cleaning. Trust me, you’ll thank yourself later when you need to swap out straw or remove a wasp nest.
Seal all wood with a non-toxic, water-based outdoor paint or stain. Avoid anything with strong fumes that could bother a cat’s sensitive nose.
Place it on bricks or concrete blocks to keep the floor dry and off the cold ground.
5. The Igloo Dome with a Windbreak
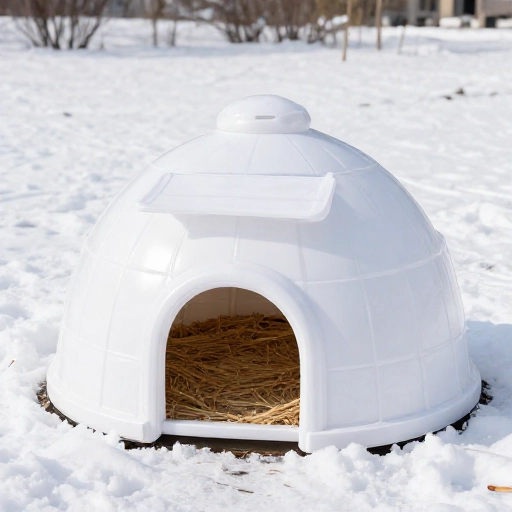
You can buy pre-made igloo-style cat houses, but they often have a wide opening that lets in wind. Fix this by adding a small plastic flap over the doorway.
Cut a piece of thick, clear vinyl or rubber, and attach it with heavy-duty Velcro. The cat can push through easily, but the flap blocks the wind and rain.
Anchor the igloo to the ground with tent stakes or sandbags. These dome shapes catch the wind like a sail, so they can tip over in a storm.
For extra warmth, wrap the outside in a layer of bubble foil insulation—it’s cheap and works wonders.
6. The Cinder Block Fortress
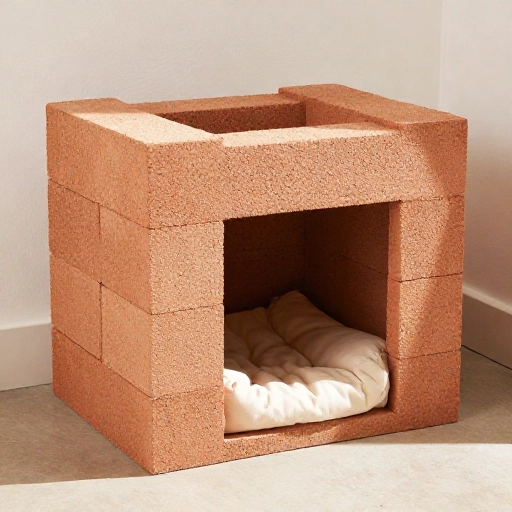
This is the ultimate “set it and forget it” design. Stack concrete cinder blocks in a U-shape, leaving a gap for the door. Top it with a thick piece of plywood and a heavy paving stone to weigh it down.
Fill the hollow cores of the blocks with straw or crumpled newspaper for insulation. Cinder blocks absorb heat during the day and slowly release it at night, which keeps the interior surprisingly cozy.
It’s not pretty, but it’s completely waterproof and virtually indestructible. I’ve seen these last for a decade without any maintenance.
This is a perfect option for feral cat colonies or barn cats.
7. The Under-Deck Cozy Hideout
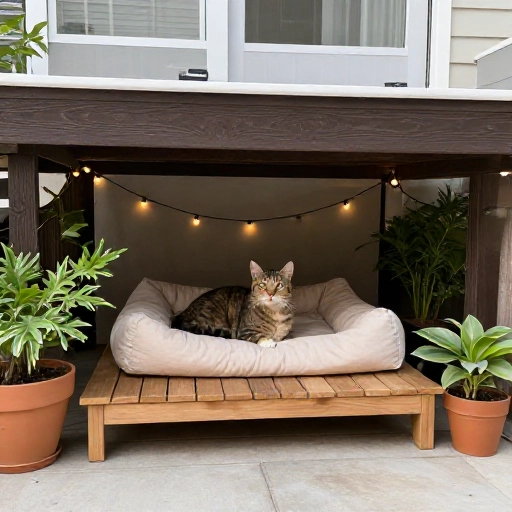
Why build a standalone structure when you can use the space you already have? If you have a deck, create a sheltered zone underneath it by closing off three sides with plywood or lattice.
Hang a heavy vinyl curtain over the open side, leaving a small gap for cats to slip through. Fill the space with plastic storage bins filled with straw—cats love to burrow into these.
This method keeps the house out of sight, which many skittish cats prefer. It also stays naturally cooler in summer and warmer in winter.
Just make sure you don’t block any access to utilities, and keep the area free of sharp debris.
8. The Upcycled Cooler Chest
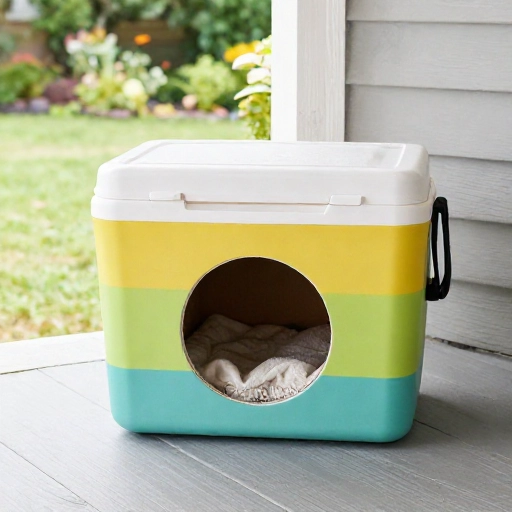
Look for a used hard-sided cooler (the kind you take to the beach) at a thrift store. These are already insulated and waterproof, making them perfect cat shelters.
Cut a circular hole in one side using a jigsaw. Because coolers have thick walls, this creates a natural tunnel that blocks wind.
Add a piece of outdoor carpet on the bottom for traction. The insulated lid keeps the heat in, and the overall design is practically weatherproof right out of the box.
I love this hack because it requires zero carpentry skills and looks neat and tidy.
9. The Two-Story Cat Mansion
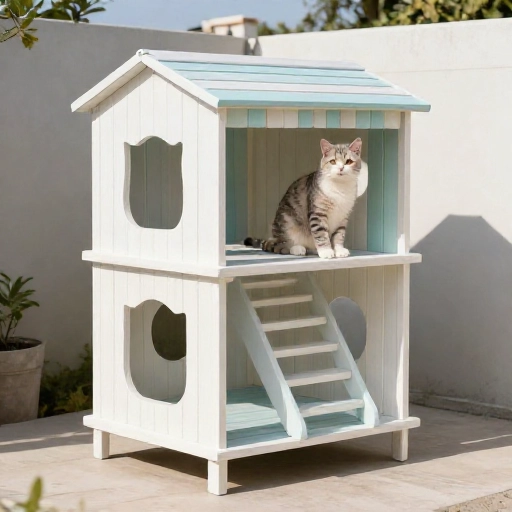
For the fancy cats in your life, build a two-level structure. The bottom floor is enclosed and insulated, while the top floor is a covered lookout perch.
Use exterior-grade plywood and build a ramp between the levels. Add a clear vinyl flap on both entrances to keep the wind out.
The extra height helps cats feel safe from predators like dogs or raccoons. It also gives them a sunny spot to lounge without being fully exposed to the elements.
This is a bigger project, but it’s the ultimate statement piece for a cat lover’s backyard.
10. The Tire Stack Shelter
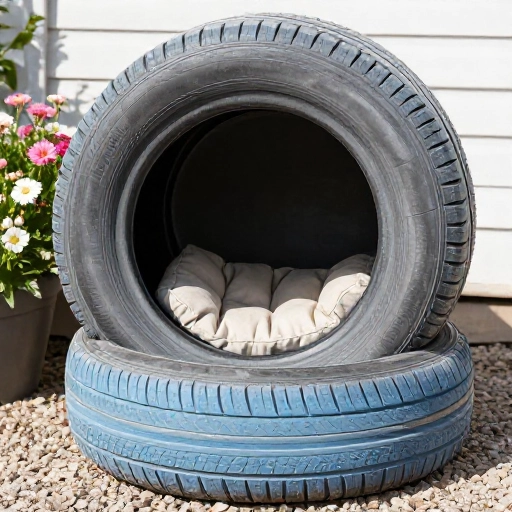
Old tires are durable, waterproof, and easy to stack. Place one tire on the ground, fill it with straw, and place a second tire on top, slightly offset.
Cut a wooden or plastic circular piece to cap the top—the hole in the tire creates a natural lip that holds the cap in place. Weigh it down with a brick.
The rubber absorbs heat from the sun and keeps the interior warm at night. It’s an industrial look, but it’s incredibly effective.
Make sure the tires are clean and free of any metal wire sticking out.
11. The Lean-To Shed Style
This design is perfect for placing against a wall or fence. Build a simple rectangular box with a single-sloped roof that tilts backward against the wall.
The back and one side are formed by the existing wall, which saves materials and provides excellent wind protection. Use pressure-treated wood for the bottom frame to prevent rot.
Add a small awning over the front entrance to keep rain from blowing directly inside. A piece of clear corrugated plastic works great for this.
It’s a sleek, low-profile design that blends into any yard.
12. The Heated Outdoor Cat House
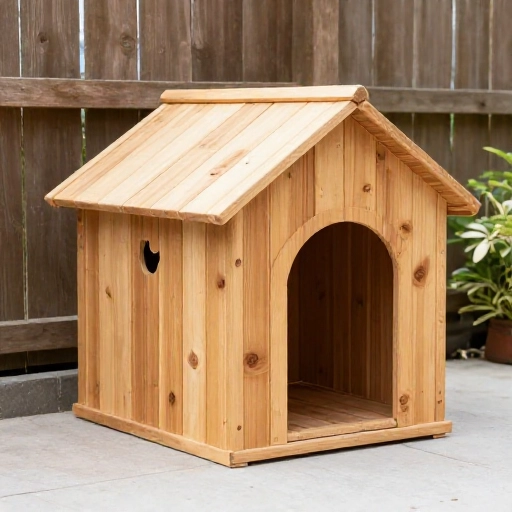
If you live in a seriously cold climate, this is the gold standard. Build a well-insulated wooden box and install a heated pet pad (specifically designed for outdoor use) inside.
Use a thick layer of foam insulation on all walls, and make the interior just big enough for one or two cats. A smaller space is easier to heat.
Route the power cord through a sealed conduit to protect it from moisture. Always use a GFCI outlet for safety.
This design is an investment, but it can literally save a cat’s life during a deep freeze.
13. The Quick Tarp Teepee
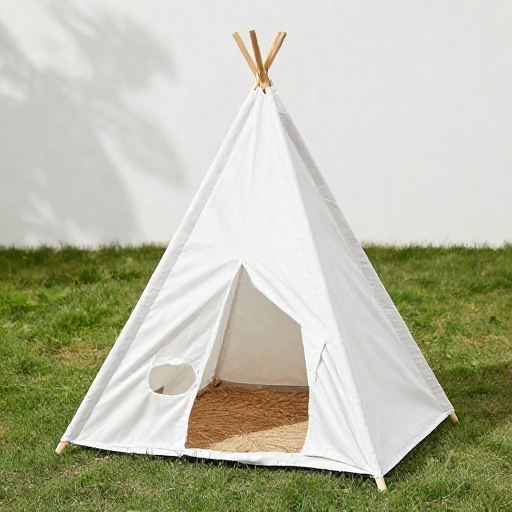
Need a temporary shelter fast? This is your answer. Build a teepee shape using three long wooden poles, and wrap them in a heavy-duty tarp.
Leave a small opening at the front, and use binder clips to secure the tarp tightly. Place a thick layer of straw on the ground inside.
This is perfect for emergencies or unexpected cold snaps. I keep the materials in my garage so I can set it up in under 10 minutes.
It won’t last for years, but it will keep a cat dry and warm for a season.
Final Thoughts
Building a weatherproof cat house doesn’t have to be complicated or expensive. The best design is the one you can actually build and maintain. Start with something simple, like the cooler upgrade, and see what works for your cat’s personality.
Remember, straw is your best friend. It repels moisture, dries quickly, and lets cats burrow. Avoid towels and blankets—they absorb water and turn into ice blocks.
Check your shelter regularly for signs of wear, especially after heavy storms. A little maintenance goes a long way in keeping your outdoor cat safe and happy.
Frequently Asked Questions
Q1: What is the best material for insulating a cat house?
Straw is the best choice. It wicks away moisture and provides excellent insulation without trapping dampness like towels or blankets do. You can also use foam board for the walls.
Q2: How big should the entrance hole be?
Aim for a six to seven-inch diameter. This is big enough for an average cat to enter comfortably but small enough to keep out predators and retain body heat.
Q3: Can I use a regular electric heating pad?
No, never. Regular heating pads are a fire hazard and can overheat. Use a heated pet pad specifically certified for outdoor use and always plug it into a GFCI outlet.
Q4: How do I keep the cat house off the cold ground?
Place the house on bricks, concrete blocks, or a wooden pallet. This creates an air gap that prevents cold from seeping up through the floor and keeps moisture out.
Q5: Why won’t my cat use the new house?
Give it time. Rub a bit of catnip inside, or place a piece of clothing with your scent (if it’s your cat) near the entrance. Sometimes they just need a week to decide it’s safe.