15 DIY Double Dog Houses with a Shared Roofline That Two Pups Will Actually Share
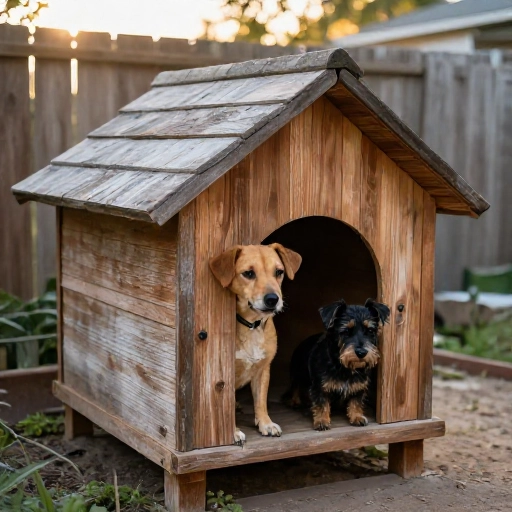
If you’ve got two dogs, you already know the struggle. One house means one dog claims it and the other stands outside looking betrayed. Two separate houses means two roofs, twice the shingles, and a backyard that looks like a weird dog suburb.
A double dog house with one shared roofline fixes all of that. You build a single solid structure, split it down the middle, and both dogs get their own space without the doubled-up materials and doubled-up cost.
I’ve built three of these over the years, and I’ve learned the hard way what works and what turns into a leaky mess by spring. Below are 15 designs I’d happily build again, from simple weekend builds to slightly more ambitious projects. Pick the one that fits your dogs, your tools, and your patience level.
1. The Classic Twin Gable Cottage
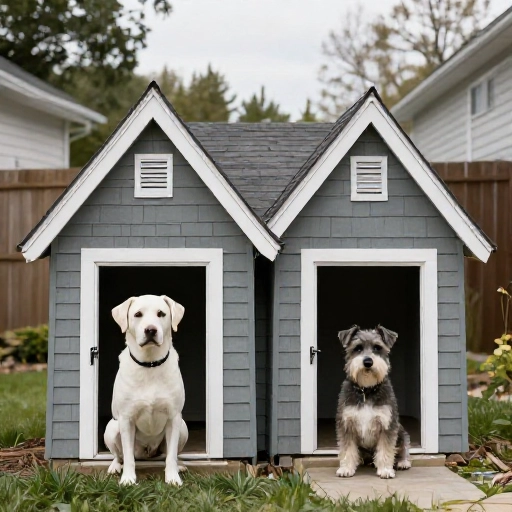
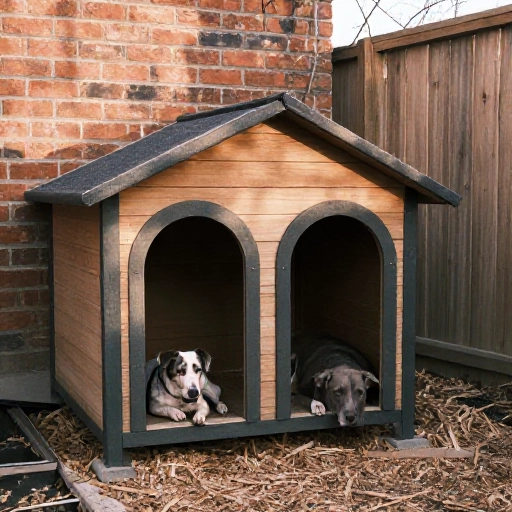
This is the design most people picture when they think double dog house. Two gable ends, one continuous ridge line, and a single roof covering both sides. It looks tidy and it sheds water beautifully.
I built mine at 4 feet wide by 3 feet deep, then split it down the middle with a plywood divider. Each side got its own doorway, slightly offset so the dogs couldn’t stare directly at each other while eating.
The trick is framing the ridge beam before you sheathe anything. Once that center beam is level, both halves stay square and the roofline stays straight. Skip that step and you’ll fight the siding for an entire afternoon.
2. Lean-To Duplex Against the House
If you’re short on yard space, tuck the double house against an exterior wall. The house wall becomes the back of your build, which saves materials and gives you natural wind protection.
I angled the single-slope roof away from the house so rain runs off toward the yard instead of pooling at the foundation. That one detail matters more than any trim choice you’ll make.
Just leave a two-inch gap between the dog house and the wall for airflow. I learned that after a humid summer turned the back panel into a science experiment.
3. Pallet Wood Duplex with a Removable Divider
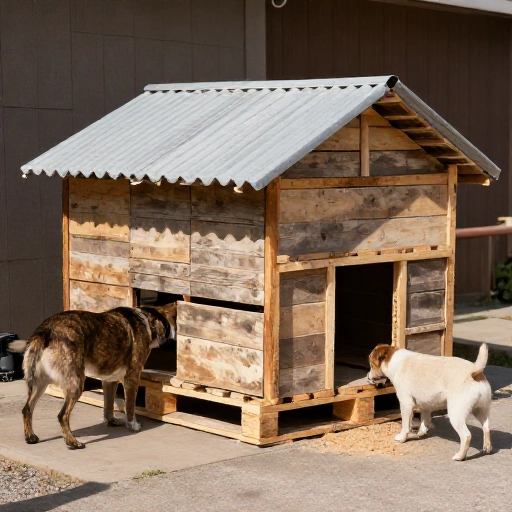
Pallet builds are cheap and full of character, but the wood is rough. Sand the interior walls well or your dogs will end up with splinters in their noses.
My favorite part of this design is the removable center divider. Slide it out and you’ve got one big open kennel for bonding, a new puppy, or a dog recovering from surgery who needs to be watched.
Use a single corrugated roof panel across both sides. It’s light, cheap, and handles the shared roofline without any complicated framing.
4. The Modern Flat-Roof Double Kennel
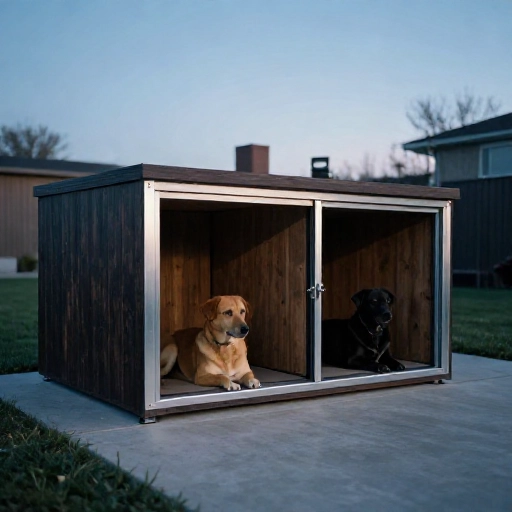
Flat roofs get a bad reputation, but they look amazing when they’re done right. The secret is a very slight slope, maybe a quarter inch per foot, so water always knows where to go.
I used exterior-grade plywood with a rubber membrane over the top. Two years in, zero leaks, and it doubles as a shelf for storing leashes and bowls.
Paint it in a matte charcoal or deep green and it’ll look intentional instead of homemade. My neighbors assumed I bought ours.
5. Barn-Style Double House with Loft Storage
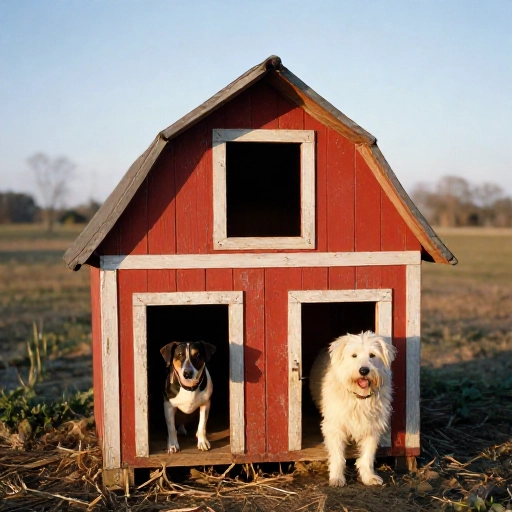
Give the shared roof a steeper pitch and you create attic space above both kennels. That’s where the bedding, food bin, and dog towels live.
Put a small hinged door on the loft so you can reach in without climbing. I hinged mine on the side facing away from the weather and it’s held up great.
Barn style also gives you that charming vertical board-and-batten look on the front. It photographs so well that half my Pinterest feed is basically this house.
6. Under-the-Deck Duplex with Insulated Walls
If you have a raised deck, the space beneath it is prime real estate. It’s shaded, protected, and your dogs already hang out there anyway.
Frame the walls with 2x4s and pack them with rigid foam insulation. Then close everything in with the shared roof tucked under the deck joists.
Keep the front open for airflow and add a removable panel for colder months. My dogs use this setup year-round, and in July it stays noticeably cooler than the open yard.
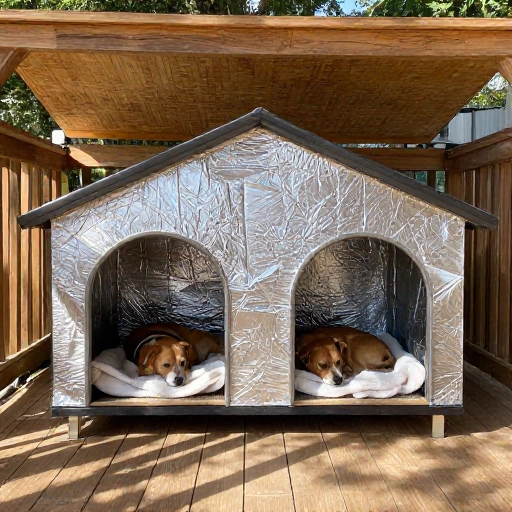
7. A-Frame Double Cabin
An A-frame is one of the easiest shared-roofline builds out there, because the roof is the walls. Two angled panels, one ridge, done.
Cut a single A-frame shape, then duplicate it for the back, and connect the two with a floor and a center divider. That’s genuinely the whole build.
Because the walls slope inward, put the door on the tall front face rather than the slanted sides. Trust me on this one — I tried it the other way first.
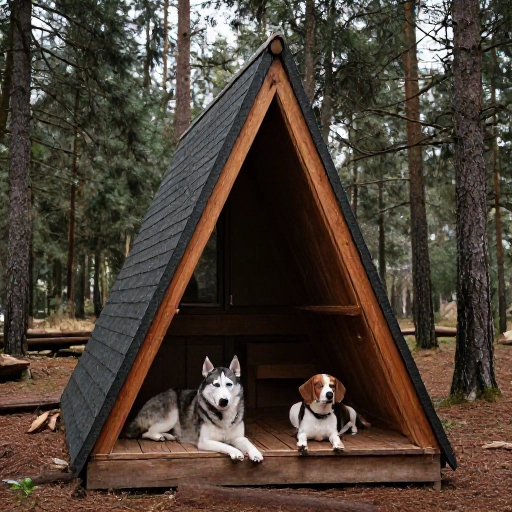
8. Repurposed Cabinet Duplex
An old solid-wood cabinet or wardrobe makes a shockingly good double dog house. Cut two doorways in the front, add a divider, and seal the whole thing with exterior paint or polyurethane.
You get beautiful paneled doors and drawers for free, and the shared top means you only need one roof panel over the whole unit.
Check for particle board before you commit. It swells and crumbles outdoors, and I’ve watched a “free” cabinet turn into mulch in one rainy season.
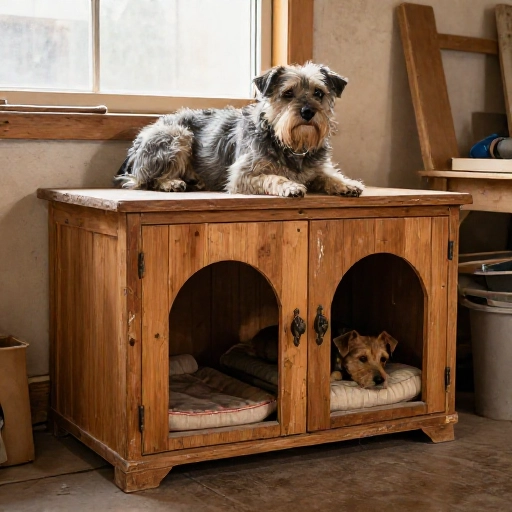
9. Portable Double Dog House on Wheels
Building it on casters changed how I use my yard. I roll it under the tree in summer, into the lee of the garage in winter, and out of the way when we host cookouts.
Use locking swivel casters rated well above the finished weight. A wet double house is heavier than you think.
Because it moves, keep the shared roof slightly overhanging on all four sides. That overhang keeps rain off the seams even when the house sits at a slight angle on uneven ground.
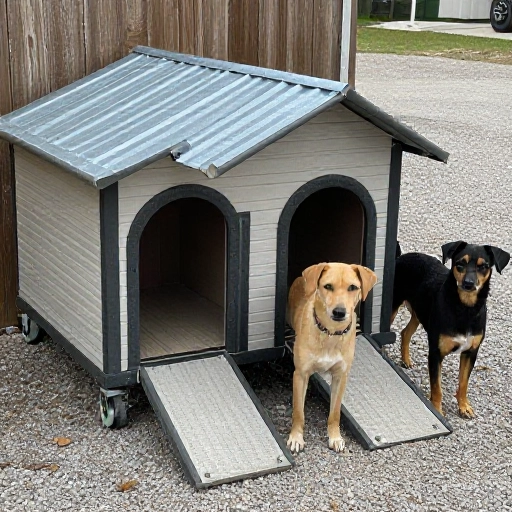
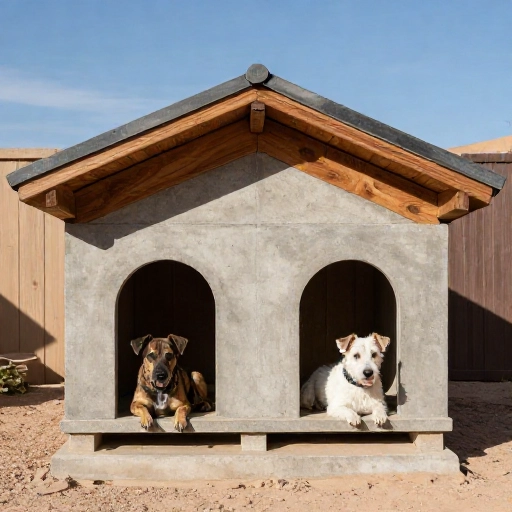
10. Concrete-and-Cedar Duplex for Hot Climates
In really hot, dry places, wood alone can bake. A concrete base with cedar walls on top stays cool and holds up to sun without warping.
I poured a simple slab with a slight slope, then anchored pressure-treated sill plates into it. The cedar above breathes and never gets that sour, musty smell.
Raise the floor at least three inches above the slab so air moves underneath. Your dogs will find the coolest spot in the whole yard and claim it immediately.
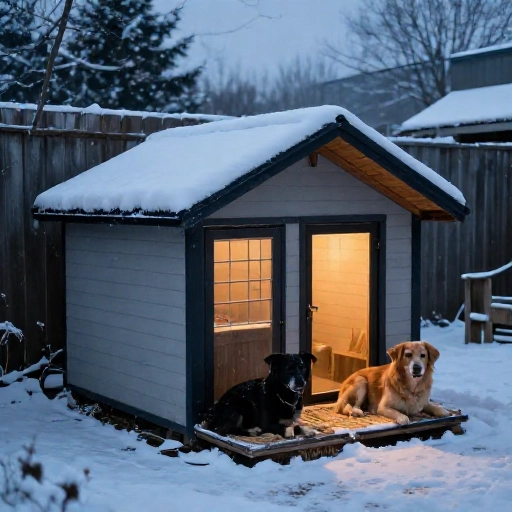
11. Insulated Winter Duplex with a Heated Pad
Cold-climate folks, this one’s for you. Insulate the floor, walls, and ceiling, then run a single low-wattage heated pad shared between both sides if the divider is low enough.
Better yet, use two small pads on separate thermostats. It costs a bit more but prevents one dog from hogging all the warmth.
Face the doorways away from prevailing winter wind. That single direction change made a bigger difference for my dogs than adding another layer of insulation did.
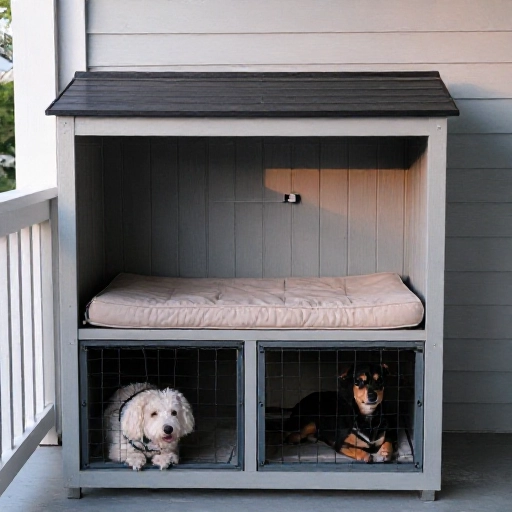
12. Porch-Mounted Double Kennel with Storage Bench
Covered porch? Put the double dog house under the shared porch roof instead of building your own. You save the entire roofing step.
I framed ours so the top of the kennel doubles as a bench. Cushion on top, dogs underneath, and suddenly it’s furniture instead of a project.
Use the same roofing material as your porch so the roofline visually continues. It makes the whole thing look built-in rather than bolted on.
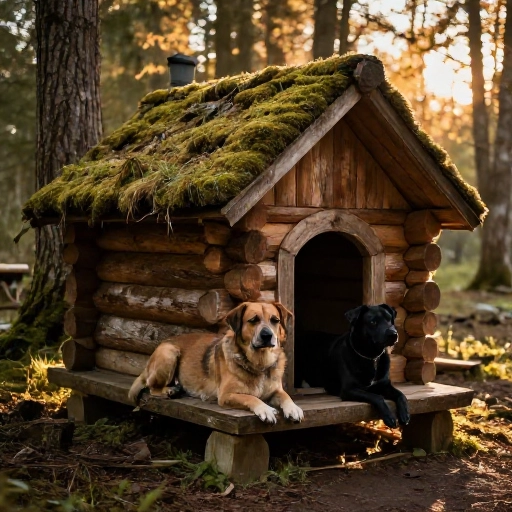
13. Rustic Log-Style Double House
If you have access to cedar or pine logs, a log-style build looks incredible and insulates naturally. Stack them with notched corners and a single heavy ridge beam across the middle.
Chinking between logs takes patience, but it’s what keeps drafts out. I did one side per weekend and didn’t hate myself for it.
Log builds are heavy, so plan for a proper foundation. Mine sits on gravel with pressure-treated beams underneath, and it hasn’t shifted a bit.
14. Two-Story Double House with a Shared Balcony Roof
Here’s the fun one. Two kennels side by side below, and a flat shared roof with a small railing above. It’s basically a dog balcony.
My two spend most of the summer up there, sunning themselves and judging the mail carrier. The lower level stays cool and shaded because the roof blocks direct sun.
Build sturdy stairs or a ramp with grip strips for the climb. Older dogs and short-legged breeds will thank you.
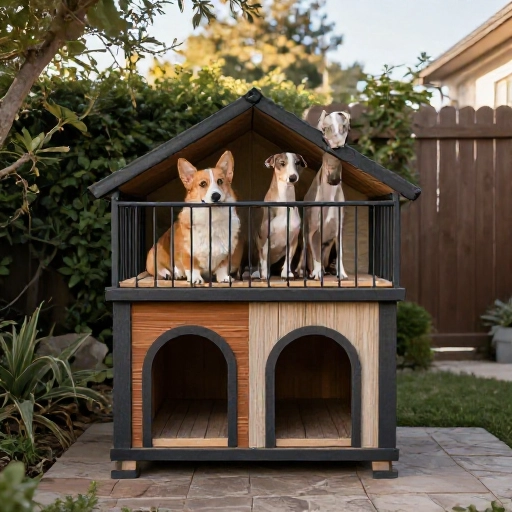
15. Double Dog House with a Built-In Feeding Station
My favorite upgrade: extend the shared roof forward to cover a small feeding alcove between the two doorways.
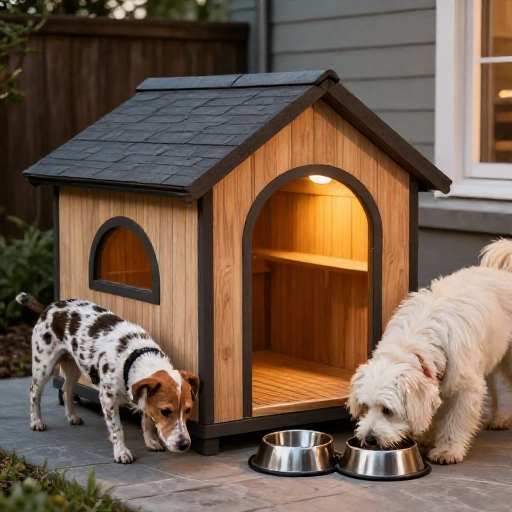
Mount two raised bowls on a removable board so you can pull the whole thing out for cleaning. No more bowls sliding around the patio or getting rained in.
Since the roof already spans both kennels, adding a few extra feet of overhang costs almost nothing. It’s the kind of detail that makes the build feel finished.
Wrapping Up
Of all the yard projects I’ve taken on, the double dog house with one shared roofline is the one I’d recommend most. You save money on roofing, you get a cleaner look, and your dogs get a space that’s genuinely theirs.
Start with the ridge line and get it level. Everything after that is just siding, paint, and a couple of dogs who will absolutely ignore the house for the first week before deciding they love it.
FAQ: Double Dog Houses with a Shared Roofline
How big should each side of a double dog house be?
Measure your dog from nose to tail and add about 6 inches in each direction. Most medium dogs do great in a 2.5 x 3 foot space per side.
Should the two sides be connected or fully separated?
A removable divider gives you the best of both. Keep it in for dogs who want privacy, and pull it out when you need one big space.
What’s the best roofing material for a shared roofline?
Corrugated metal panels are light, cheap, and easy to keep watertight over one long span. Asphalt shingles work too if you want a more traditional look.
How do I stop rain from blowing into both doorways?
Offset the doors so they don’t face the same direction, and add a 6-inch roof overhang above each opening. A small windbreak wall beside each door helps too.
Do I need to insulate both sides?
Only if you live somewhere with real winters. Insulate the floor and ceiling first — those two surfaces make the biggest difference for the least effort.