15 Dog Collar DIY Tutorials With Style Tips
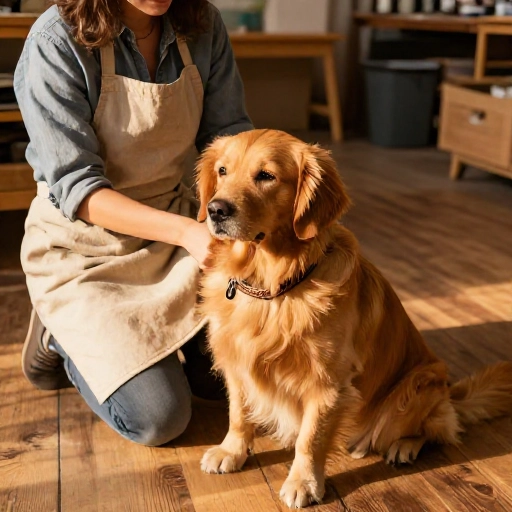
I used to think dog collars were one of those boring basics you just buy at the pet store. Then I made my first one out of leftover fabric, and my dog walked into the park looking like she owned the place. Now I keep a little box of buckles, D-rings, and ribbon scraps on my craft shelf, and I swap her collar out with the seasons.
Making a collar yourself is cheaper than you’d expect, and it takes way less time than most people assume. Some of my favorites take 20 minutes. Others are weekend projects I actually look forward to.
Below are 15 DIY dog collar tutorials I’ve tried, tweaked, or bookmarked for later. Each one comes with a style tip so your pup doesn’t just look homemade — they look styled. One quick note before you start: always measure your dog’s neck snugly plus two fingers of wiggle room, and never use a DIY collar as a tie-out.
1. Braided Paracord Collar
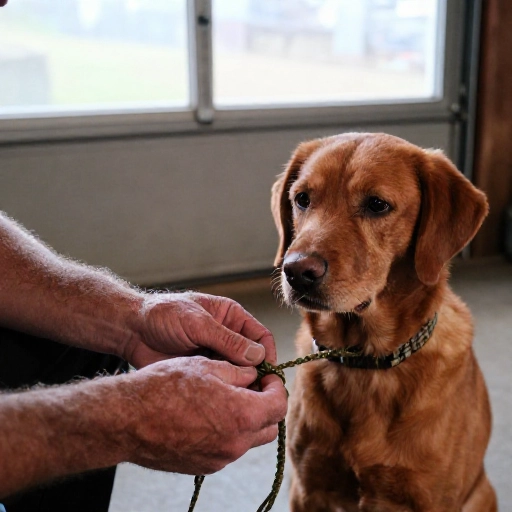
This is the one I recommend to total beginners. Paracord is cheap, comes in every color under the sun, and braids into a sturdy, washable collar that handles mud and lake days without complaining.
I cut three strands about four times the length of my dog’s neck, melt the ends so they don’t fray, and braid until I hit my measurement. Then I fold the ends through a metal D-ring and a side-release buckle, and finish with a tight knot plus a dab of super glue.
Style tip: pick one main color and one accent that pops. Neon orange against charcoal or mint against tan looks intentional instead of random.
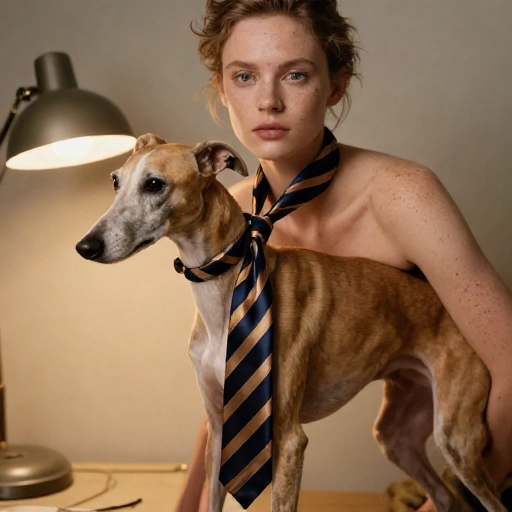
2. Upcycled Necktie Collar
Thrift store neckties are my secret weapon. They’re already cut on the bias, so they sit flat and drape nicely around a dog’s neck, and the patterns are way more interesting than standard pet fabric.
I fold the tie around a strip of heavy interfacing, stitch along both long edges, and add a buckle and D-ring at the ends. A tie with a small repeat pattern works better than a giant novelty print — trust me, I learned that one the hard way.
Style tip: a slim silk tie in a muted stripe gives instant old-money dog vibes. Pair it with a brass D-ring instead of silver for a warmer look.
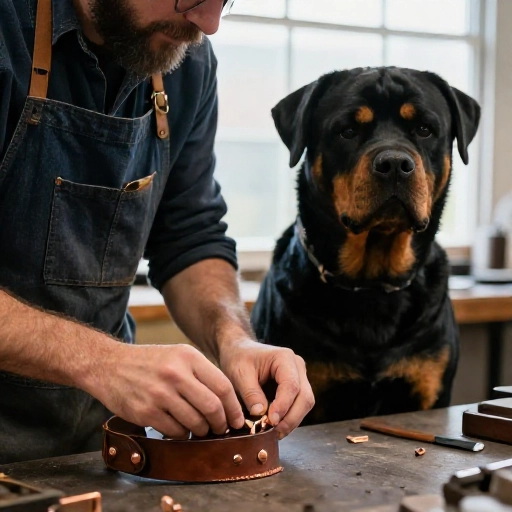
3. Leather Scrap Collar With Rivets
Any leather shop or online scrap bag will sell you strips that are perfect for collars. I look for 3/4-inch to 1-inch wide vegetable-tanned strips, because they soften beautifully with wear.
The build is simple: punch holes for the buckle, add a D-ring, and set rivets with a rivet setter and a mallet. If you don’t want to punch holes, use a slide adjuster and Chicago screws instead.
Style tip: skip the giant studs. Three or four small brass rivets spaced out looks handmade and expensive; a full row of spikes looks like a costume.
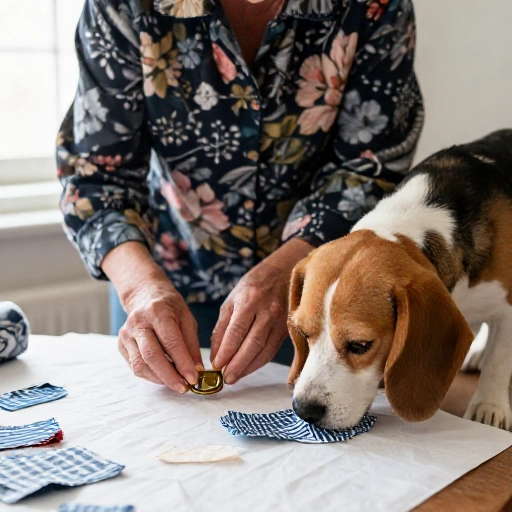
4. Fabric Scrap Collar With a Buckle
This is my go-to when I want something that matches a bandana or a leash I already own. Cotton canvas, denim, and upholstery remnants all hold up well.
I cut two strips, sew them right sides together, turn, press, and topstitch. Then I add a welded D-ring and a plastic or metal buckle. Using two layers of fabric plus fusible interfacing keeps it from stretching out over time.
Style tip: if your fabric is busy, keep the hardware plain. If your fabric is solid, go bold with a colored buckle or a contrasting thread.
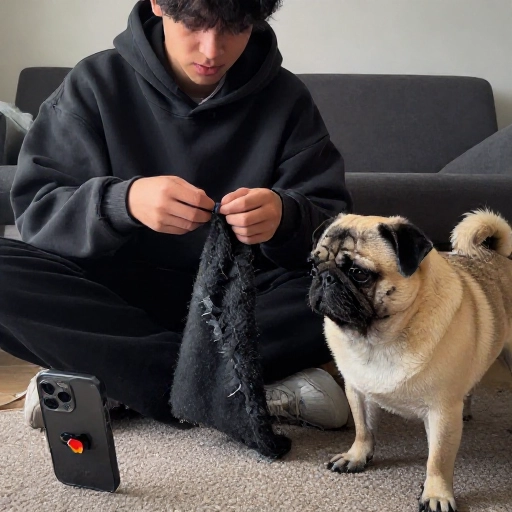
5. No-Sew Fleece Collar
No sewing machine? No problem. Fleece doesn’t fray, which makes it the friendliest no-sew option out there.
I cut two strips of fleece, layer them, and either braid them together or knot them along the length. A D-ring gets knotted into one end, and a buckle or a simple slip loop finishes the other.
Style tip: fleece reads as cozy and casual, so lean into it. Think cable-knit patterns, soft oatmeal tones, and a matching fleece tug toy in your photos.
6. Beaded Boho Collar
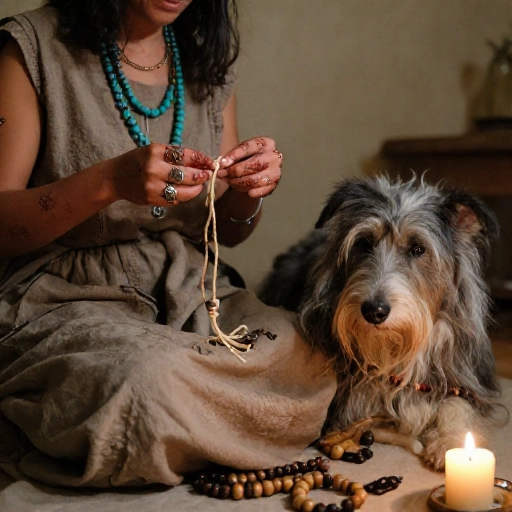
I make these mostly for photos and parties, not for everyday walks. Wooden beads, a sturdy cord, and a small clasp turn a plain collar into something that looks like it came from a boutique.
The trick is threading beads onto a strong cord, then knotting between each bead so a single break doesn’t send everything rolling across the floor. Keep beads away from the buckle area so they don’t dig into your dog’s neck.
Style tip: stick to two or three bead colors plus one natural wood tone. Alternating sizes in a simple pattern looks more polished than a random mix.
7. Personalized Name Tag Collar
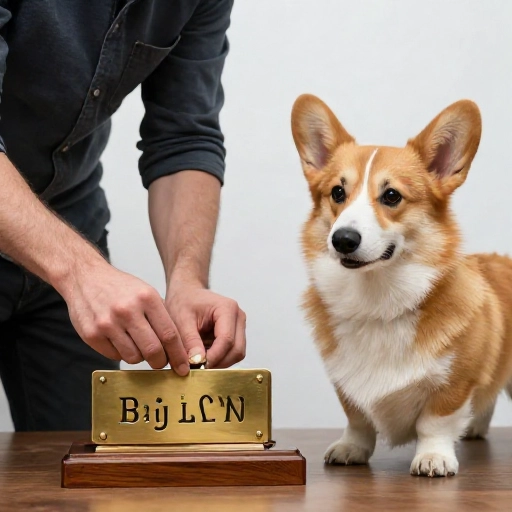
Instead of hanging a tag, I sometimes stitch my dog’s name right into the collar. It’s a small detail that makes the whole thing feel custom.
I use a satin stitch on my machine, or embroidery floss and a simple backstitch if I’m doing it by hand. Place the name on the side that sits at the back of the neck so it stays clean and readable.
Style tip: match your thread color to the D-ring hardware, and keep the font simple. A clean sans-serif in white on navy or tan on brown always looks sharp.
8. Spring Floral Collar With a Bow
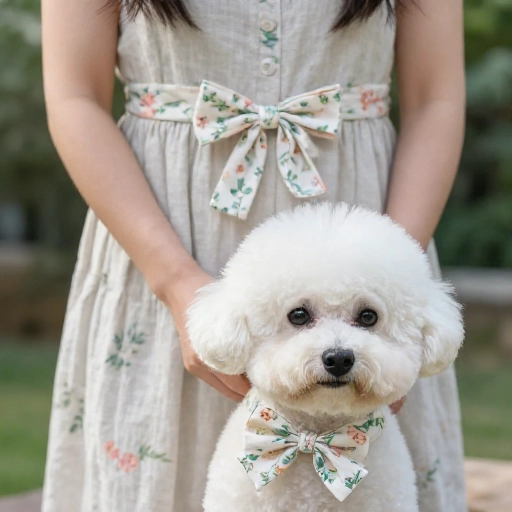
This one is pure joy. I take a lightweight floral cotton, back it with interfacing so it doesn’t stretch, and sew a removable bow onto a small elastic loop.
Because the bow slides off, I can wash the collar without crushing it, and I can swap bows for different seasons. It’s also a lifesaver if your dog is a champion mud roller.
Style tip: scale the bow to your dog’s size. A tiny bow disappears on a big dog, and an oversized bow can look heavy on a small one. Small dogs can handle big bows, big dogs need medium ones.
9. Plaid Fall Collar
Plaid flannel is cozy and forgiving, and it hides dirt better than almost anything else. I buy a yard of brushed flannel and get several collars out of it.
I line it with a plain cotton for structure, then add a dark leather or faux leather tab near the buckle. That little tab is what makes people ask where I bought it.
Style tip: match the leather tab to your dog’s coat. Rust and brown pop on black dogs, deep green and burgundy look rich on golden and cream coats.
10. Reflective Night-Walk Collar
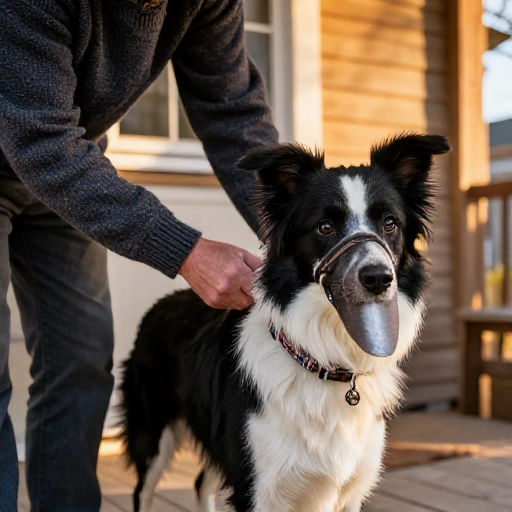
Safety collars don’t have to be ugly. Reflective ribbon and piping come in silver, neon, and even rainbow, so you can get visibility without the standard-issue look.
I sew reflective piping between two layers of webbing or fabric, leaving it exposed along the edges. For extra visibility, I add a small reflective strip along the top of the neck.
Style tip: use a dark base fabric so the reflective strip really glows. Black with silver piping is my favorite, and it looks sleek in daylight too.
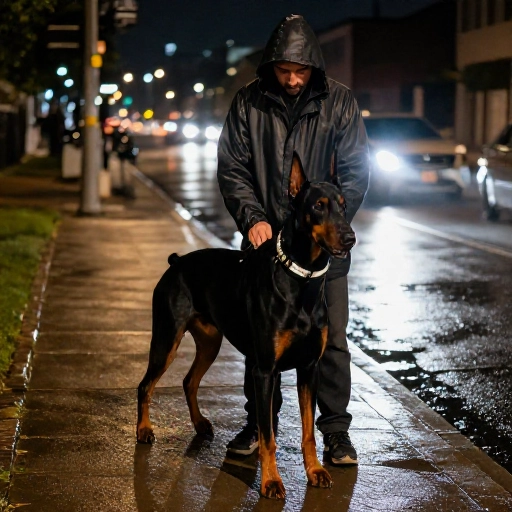
11. Denim Upcycle Collar
Old jeans are practically made for this project. The waistband is already reinforced, so it’s a great shortcut for a sturdy collar.
I cut a strip from the leg, double it, and stitch it with a heavy-duty needle. A denim seam running down the center adds texture, and frayed edges can be sealed with fray check or a tight zigzag stitch.
Style tip: keep the original topstitching visible if you can. That gold thread is what makes it read as denim instead of just blue fabric.
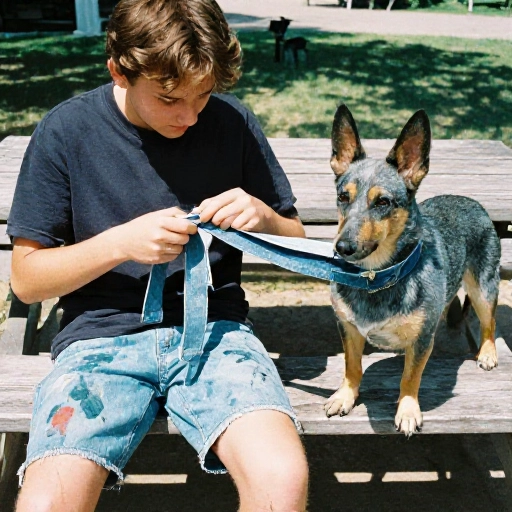
12. Woven Ribbon Collar
Ribbon weaving looks way more complicated than it is. I use a webbing base, then weave grosgrain ribbon over and under in a simple pattern, securing it at the ends.
Grosgrain holds its shape better than satin, and it doesn’t snag as easily on bushes. After weaving, I run a line of stitching along both edges to lock everything in place.
Style tip: two ribbons of different widths look more designer than five thin ones. Try a wide solid plus a narrow stripe.
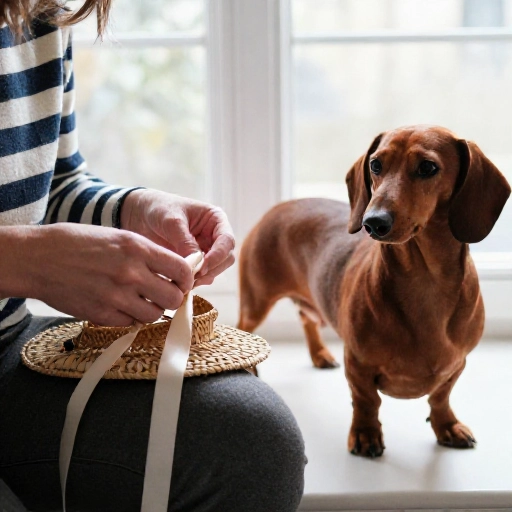
13. Chain and Ribbon Collar
This is the collar I get the most compliments on. A lightweight chain, a wide ribbon, and a few jump rings — that’s it.
I thread the ribbon through the chain links and tie it off, or stitch a fabric loop at each end to connect to the chain. It’s important to use a chain that isn’t heavy, and to check the jump rings are properly closed.
Style tip: keep the ribbon wide and simple. Velvet ribbon in emerald or plum against brushed gold chain looks like something from a boutique display case.
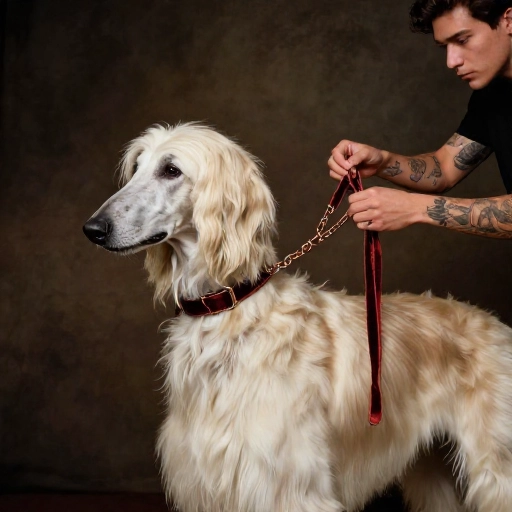
14. Adjustable Martingale Collar
If your dog has a narrow head and slips out of regular collars, a martingale is the smarter shape. It tightens slightly when pulled, but it never chokes when fitted correctly.
I build mine from two loops of webbing plus a fabric cover, with a limited-slip section that’s no more than a couple of inches. Measure carefully — the loop should sit snug at the widest part of the head and rest comfortably on the neck.
Style tip: because this collar is mostly functional, add personality with the fabric cover. A bold geometric print reads clean and modern.
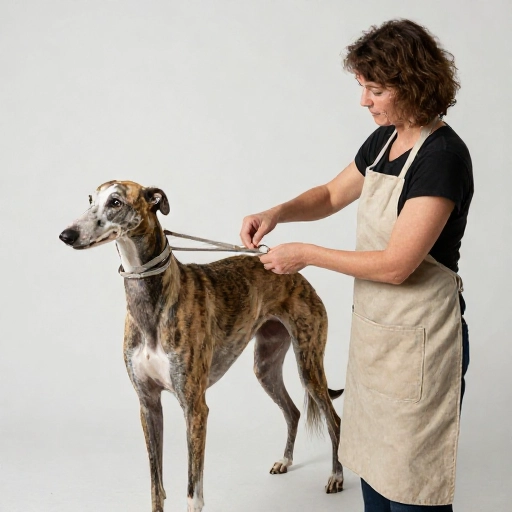
15. Nautical Rope Collar
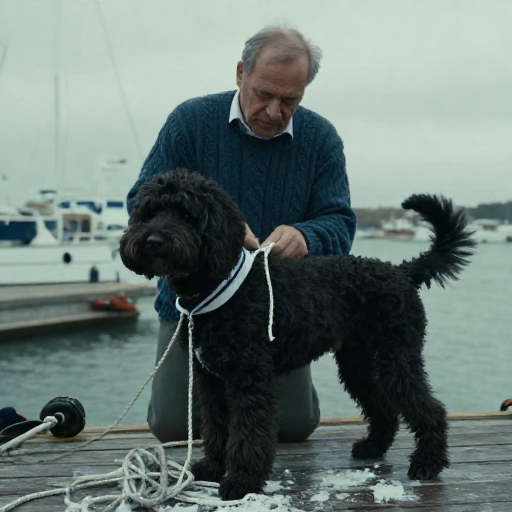
Rope collars are durable, quick to make, and look great on almost any dog. I use 3/8-inch marine rope, which is soft enough to be comfortable and strong enough for daily walks.
I cut the rope to length, seal the ends with a flame or tape, and splice or knot it into a D-ring. A leather or fabric sleeve near the D-ring covers the messy part and adds a finished look.
Style tip: white or natural rope with a navy sleeve is classic. Add a small brass shackle instead of a standard D-ring for a boat-dock feel.
A Few Things I Always Do Before the First Walk
Tug on every seam and every piece of hardware before it goes on your dog. If a buckle flexes or a rivet wiggles, fix it now instead of three blocks from home.
Wash new fabric collars once before wearing them. It softens the edges, removes any sizing or dye residue, and shows you whether the color bleeds.
Rotate collars instead of wearing one every single day. It gives fabric time to air out and keeps your favorite one looking new for longer. And always keep a plain, well-fitted collar with a real ID tag as your everyday backup.
FAQ
What’s the best material for a DIY dog collar?
For everyday wear, I reach for nylon webbing covered in cotton canvas or denim. It’s strong, washable, and holds its shape. Leather is great too, but it needs a bit more care and a heavier sewing machine or hand tools.
How do I measure my dog’s neck for a collar?
Wrap a soft tape measure snugly around the middle of the neck, then add two fingers of space. If you don’t have a tape measure, use a piece of string and lay it flat against a ruler. Always double-check before cutting.
Can I make a dog collar without a sewing machine?
Absolutely. Fleece, rope, and paracord collars need no sewing at all. For fabric collars, fabric glue or iron-on adhesive works in a pinch, though stitched edges last much longer.
Is it safe to use a DIY collar for walks?
Yes, as long as the hardware is strong and the stitching is secure. Give it a firm tug test first, check it monthly for wear, and never use a homemade collar for tie-outs or as a restraint in a car.
How do I keep a light-colored collar looking clean?
Pretreat with a stain spray, wash in a mesh bag on cold, and air dry. A quick wipe with a damp cloth after muddy walks helps more than anything. I also spray fabric collars with a pet-safe fabric protector.