DIY Christmas Dog Collars for Festive Pups
The holidays aren’t just for humans — they’re for our furry family members too! As the tree sparkles and the stockings hang, your dog deserves a touch of Christmas magic as well. What better way to celebrate than by making a DIY Christmas dog collar that’s as festive and joyful as the season itself? These adorable, easy-to-make collars are fun, affordable, and filled with love — perfect for showing off your dog’s holiday spirit.
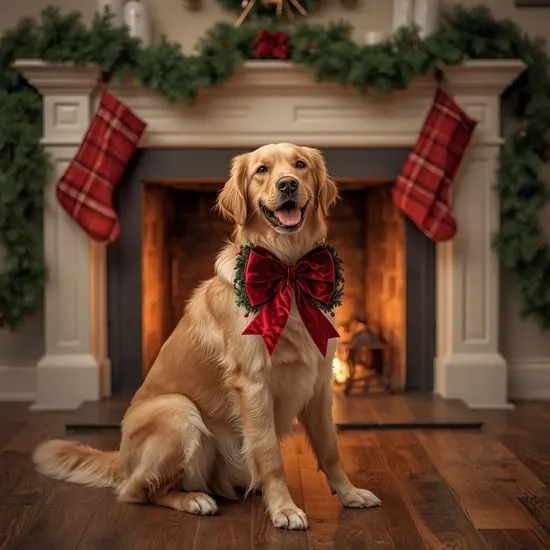
Whether your pup is posing for photos, joining family gatherings, or simply lounging by the fire, these homemade collars will make them the star of the season.
Why Make a DIY Christmas Dog Collar?
Buying cute pet accessories is always tempting, but making one yourself adds something extra special — your personal touch. A homemade collar is more than just a fashion statement; it’s a gesture of love and creativity. Plus, you can customize it to fit your dog’s size, style, and comfort perfectly.
DIY collars are also budget-friendly and eco-conscious, allowing you to reuse materials like old fabrics, ribbons, or bells from past decorations. It’s a fun family activity that brings everyone together — including your pup!
Supplies You’ll Need
You don’t need fancy tools to get started. Most materials can be found at home or in a craft store. Here’s what you’ll need:
- A sturdy plain dog collar (or webbing if you’re making one from scratch)
- Holiday-themed fabric or ribbon (think red, green, plaid, or snowflake prints)
- Hot glue gun or fabric glue
- Scissors
- Jingle bells or bow accessories
- Needle and thread (optional, for extra strength)
Pro tip: Always ensure that any decorations are securely fastened and not too heavy, so your dog stays comfortable and safe.
Step-by-Step DIY Christmas Dog Collar Guide
Step 1: Measure and Prepare
Measure your dog’s neck and decide whether you’ll decorate an existing collar or make a new one from scratch. If you’re creating one, cut a piece of webbing or fabric that’s long enough to fit comfortably around your dog’s neck, leaving room for adjustment.
Step 2: Add Festive Fabric
Wrap your chosen holiday fabric or ribbon around the collar. You can glue or sew it in place, depending on your skill level. Choose patterns that reflect your dog’s personality — plaid for classic charm, sparkly snowflakes for glamour, or candy-cane stripes for playful pups.
Step 3: Attach Accessories
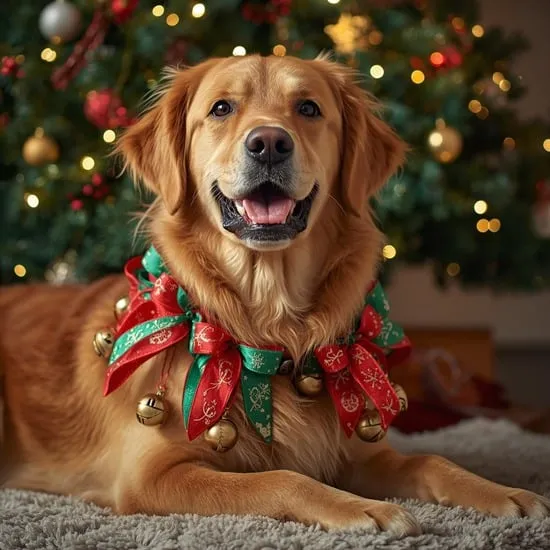
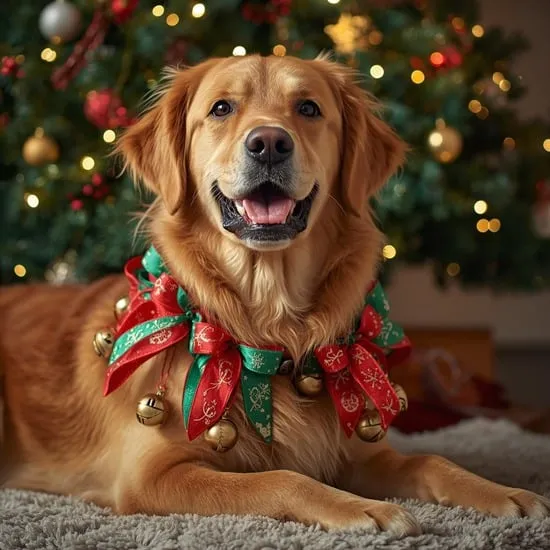
This is where the fun begins! Add jingle bells, bows, or small ornaments for a festive touch. You can glue a bow at the front, tie a ribbon, or stitch on tiny felt shapes like stars or trees. Be sure that all pieces are secure and won’t dangle loosely to prevent choking hazards.
Step 4: Let It Dry
If you’ve used glue, allow it to dry completely before letting your dog wear the collar. This ensures everything stays in place when your pup starts running, playing, or shaking off snowflakes.
Step 5: Add a Personal Touch
Personalization makes your collar truly unique. Consider adding your dog’s name with fabric paint, embroidery, or a custom tag. You can even match the collar with a holiday bandana or leash for an extra festive flair!
Creative Collar Ideas to Try
Need a little inspiration? Here are a few DIY Christmas dog collar ideas that are sure to make your pup the talk of the neighborhood:
- Santa Style: Wrap the collar in red velvet fabric and add a small black ribbon belt with a gold buckle for a Santa look.
- Reindeer Vibes: Add a soft brown ribbon, mini antler attachments, and a red bow to turn your pup into Rudolph’s helper.
- Winter Wonderland: Use white and silver fabrics with snowflake charms for a classy, icy look.
- Gingerbread Joy: Brown felt with white trim and candy-colored buttons for a sweet, cozy vibe.
Safety Tips for Holiday Collars
As cute as your DIY collar looks, safety always comes first. Avoid using small parts that your dog could chew off or swallow, like loose bells or beads. Always check the collar’s fit — it should be snug but allow two fingers’ space between the collar and your dog’s neck.
Never leave your dog unattended while wearing decorative collars, especially if they’re very active or prone to chewing. A safe, comfortable dog is a happy dog!
Capturing the Holiday Magic
Once your DIY masterpiece is complete, it’s photo time! Dress your pup in their new festive collar, grab some Christmas lights, and capture those heartwarming holiday moments. Whether it’s for your family card, social media, or just to keep as a memory, your dog’s festive glow will melt hearts everywhere.
Final Thoughts
Creating a DIY Christmas dog collar is more than just a craft project — it’s a joyful way to celebrate the love and warmth your dog brings to your home. Every stitch, bow, and bell reflects the bond you share and the holiday cheer you create together.
So grab your materials, pour some cocoa, and get crafting. Because nothing says Christmas quite like a happy dog wagging their tail in a collar made with love.