Homemade Yogurt and Oat Dog Cookies Your Pup Will Love
I’ll be honest—I started making these dog cookies because my picky pup turned up his nose at every store-bought treat. Now, this yogurt and oat recipe is our go-to. It’s simple, uses ingredients I usually have in the kitchen, and takes less than 30 minutes from start to finish.
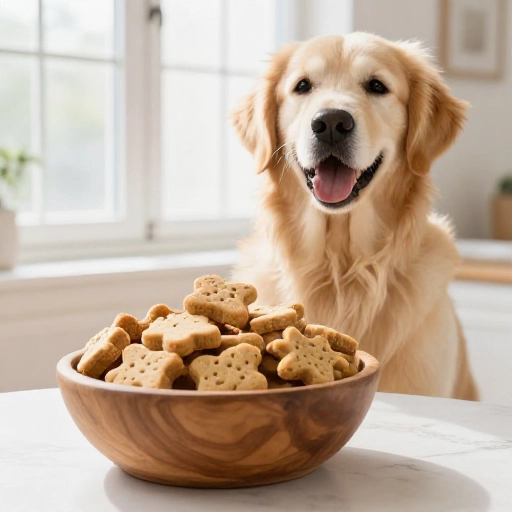
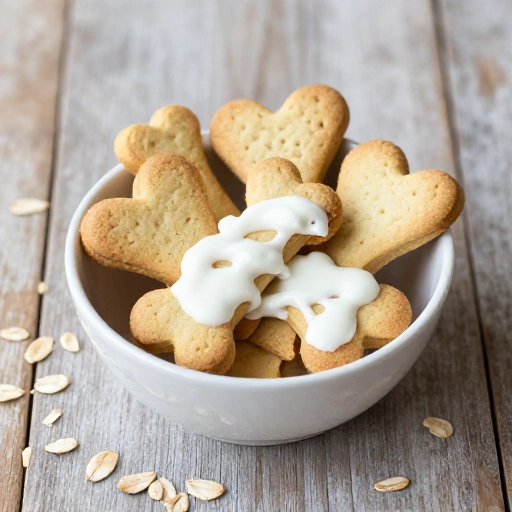
These cookies are crunchy on the outside, a little soft inside, and packed with plain yogurt for gut-friendly probiotics. Plus, oats are gentle on doggy tummies. The best part? Your dog will stare at you like you’re a kitchen superstar.
Let’s get baking. No fancy skills required.
Equipment You’ll Need
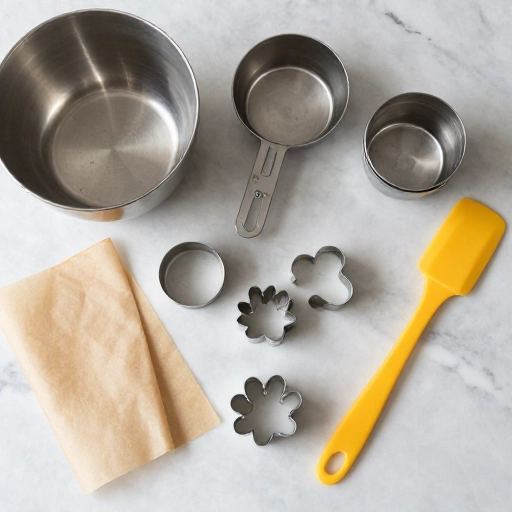
You don’t need a lot of gear for this recipe. A mixing bowl, a spoon, and a baking sheet are the basics. If you have cookie cutters—bone shapes are fun—use those. Otherwise, just roll the dough into small balls and flatten them slightly.
I also like to line my baking sheet with parchment paper. It makes cleanup quick, and the cookies won’t stick. That’s really it. No stand mixer or food processor required.
Ingredients for These Dog Cookies
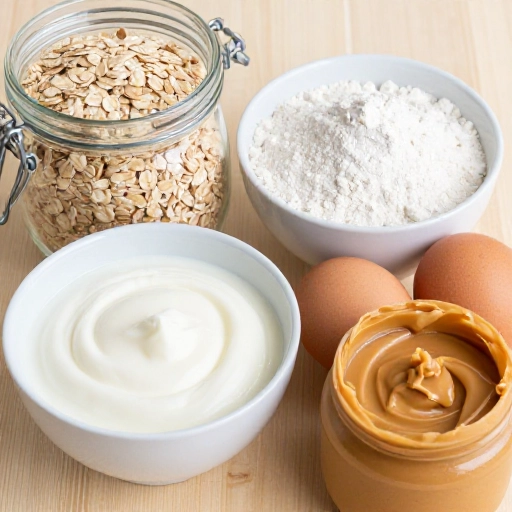
- 1 cup rolled oats (not instant)
- 1/2 cup plain yogurt (no added sugar or artificial sweeteners)
- 1/4 cup peanut butter (xylitol-free, unsalted)
- 1 tablespoon coconut oil (melted, optional but nice)
That’s the whole list. I use plain, full-fat yogurt because it’s creamier and has less sugar. Check your peanut butter label carefully—many brands sneak in xylitol, which is toxic to dogs. If you’re unsure, just skip it and add a little extra yogurt.
How to Make Yogurt and Oat Dog Cookies
First, preheat your oven to 350°F (175°C). While it heats, grind the oats in a blender or food processor until they look like coarse flour. You want a few small oat pieces left for texture.
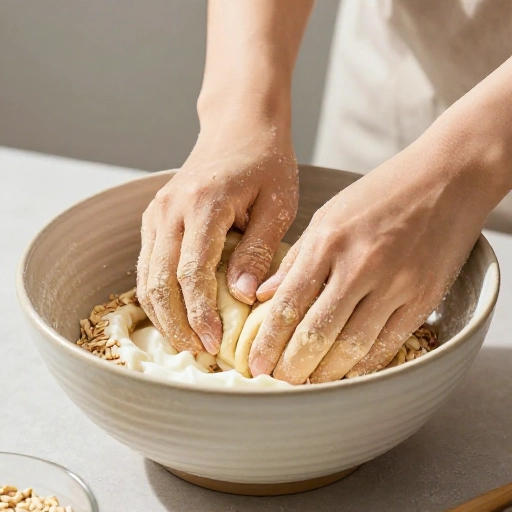
In a bowl, mix the oat flour, yogurt, peanut butter, and melted coconut oil. Stir until a soft dough forms. If it’s too sticky, add a spoonful more oat flour. Too dry? A splash of water works fine.
Roll the dough to about 1/4-inch thick on a lightly floured surface. Cut into shapes or just press into small rounds. Place them on your parchment-lined baking sheet, spaced about an inch apart.
Bake for 12–15 minutes, until the edges turn golden. Let them cool completely on a wire rack. They’ll firm up as they cool. Store in an airtight container in the fridge for up to a week, or freeze for a month.
Why This Recipe Works for Your Dog
Plain yogurt is full of probiotics that support healthy digestion. Oats are a great source of fiber and are easy on sensitive stomachs. Combined, these ingredients make a treat that’s gentle and nutritious.
I’ve tested these cookies on several dogs—neighbor’s pups, my friend’s picky terrier—and they all came back for more. Plus, you control exactly what goes in. No preservatives, no mystery fillers, just real food your dog deserves.
Conclusion
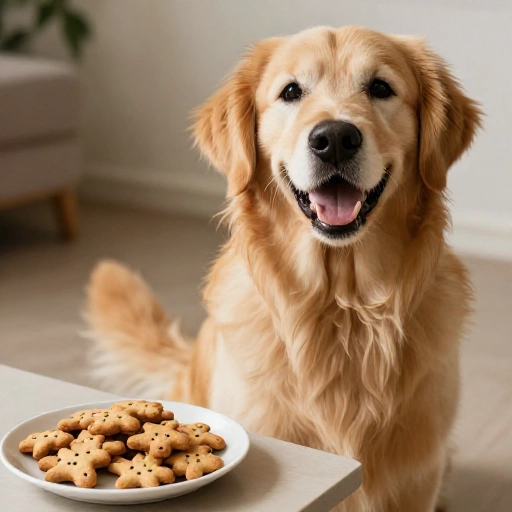
Making dog treats at home feels good. It’s a small way to show your furry friend you care. This yogurt and oat cookie recipe is forgiving, fast, and uses everyday ingredients. Your dog won’t care if the shapes are perfect—they’ll just love the taste.
Give it a try this weekend. I promise the tail wags are worth it.
Frequently Asked Questions
Can I use Greek yogurt instead of plain?
Yes, Greek yogurt works great. It’s thicker, so you might need a splash of water to get the right dough consistency. Just ensure it’s plain and unsweetened.
Are these cookies safe for puppies?
Absolutely. These ingredients are gentle for puppies, but start with a small piece to see how they handle it. Always supervise when giving new treats.
How long do these cookies stay fresh?
Store them in the fridge in an airtight container for up to a week. For longer storage, freeze them for up to three months. Thaw in the fridge before serving.
Can I substitute the peanut butter?
Sure. Try mashed banana or pumpkin puree instead. Both add natural sweetness and are safe for dogs. Adjust the flour if the dough gets too wet.
My dough is crumbling—what went wrong?
Probably too dry. Add a little yogurt or water, one tablespoon at a time, until it holds together. Humidity can also affect the dough, so adjust as needed.