10 DIY Dog House Plans That Are Budget-Friendly (Cute, Cheap & Actually Doable)
I still remember dragging home my first pile of free pallets, convinced I was about to build my dog the backyard mansion of his dreams. Three hours later I had a pile of splinters and a very confused Labrador. But once I figured out which plans were actually worth the effort, everything changed.
The truth is, you don’t need fancy tools or a $400 kit from the pet store. Most of the dog houses I’ve built over the years cost me less than a nice dinner out, and a few of them were basically free because I used stuff people were throwing away.
Below are my ten favorite budget-friendly dog house plans. Some are weekend projects, some take an afternoon, and a couple work perfectly indoors if your pup mostly lives inside. I’ve included rough costs and the little details that actually matter, so you can skip the mistakes I already made for you.
1. The Classic Pallet Wood Dog House
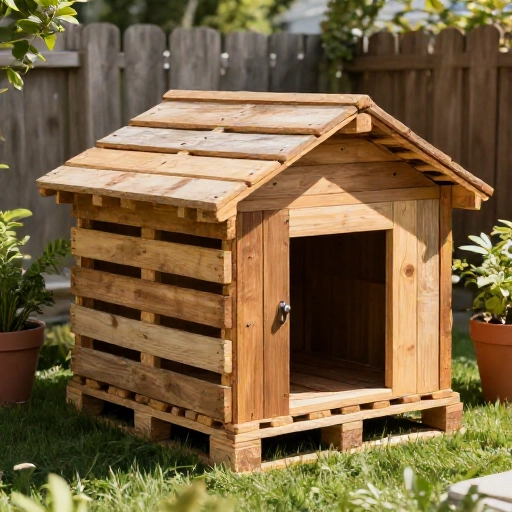
This is the one that started it all for me. Pallets are everywhere, they’re usually free, and if you pull them apart carefully you end up with a surprising amount of usable lumber. One good pallet gives you enough slats for the walls, and two will cover the whole thing with room to spare.
My rough cost breakdown for this one is about $25 to $40. That’s screws, a tube of exterior caulk, and a small can of pet-safe sealant. Everything else was free.
Two things I learned the hard way: always look for the “HT” stamp on pallets (that means heat treated, not chemically treated), and sand every single edge. Pallet wood is rough, and your dog’s nose and paws will find every splinter.
Build a simple box shape, add a flat roof with a slight overhang, and seal it well. A roof that hangs over the front by a few inches keeps rain from blowing straight into the doorway.
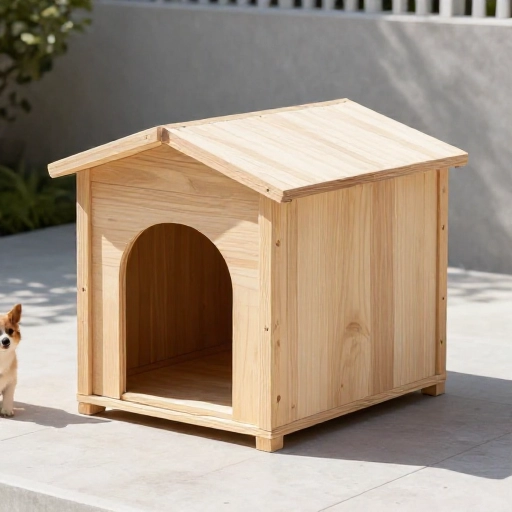
2. The A-Frame Dog House (Two Triangles and Done)
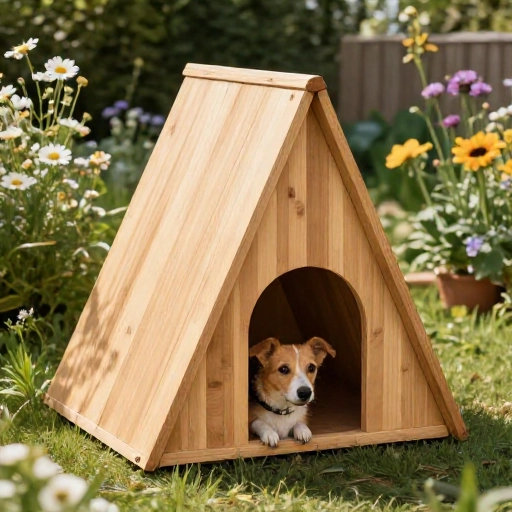
If you want the fastest possible build, this is it. You cut two triangles out of plywood, connect them with three panels, and you’re basically finished. I built one of these for my neighbor’s terrier in a single afternoon.
It’s not the roomiest option, so it’s best for small to medium dogs. But it sheds rain and snow beautifully because of the angled sides, and there’s something really charming about that little cabin look sitting in the yard.
Budget-wise, expect $40 to $60 if you buy plywood new. If you’ve got scrap plywood in the garage, this project drops to almost nothing. Add a raised floor so the bottom panel never sits directly on wet ground.
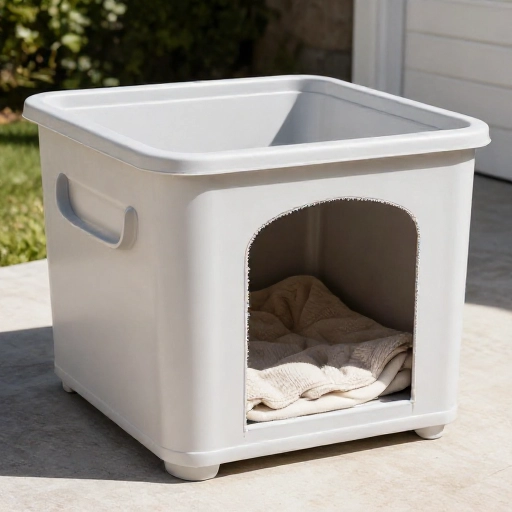
3. The Plastic Storage Tote Dog House
Hear me out on this one. A heavy-duty plastic storage tote, a utility knife, and a piece of foam board can become a legitimately cozy dog house in under an hour. I made one for my garage and it’s still holding up two years later.
You cut a doorway on one end, line the inside walls with foam board for insulation, and tape the edges so nothing sharp is exposed. Total cost is usually $30 or less, and there is zero sawing unless you count the plastic.
This one works best indoors, in a garage, or on a covered porch. Direct sun will make plastic brittle over time, and it will get hot inside fast. Keep it shaded and it’s a fantastic cheap option.
4. One-Sheet Plywood Dog House
If you want a proper wooden dog house but don’t want to overthink materials, this is your plan. One 4×8 sheet of exterior-grade plywood gives you a floor, two side walls, a back, a front, and a roof for a medium-sized dog.
I aim for roughly 24 by 30 inches of interior space for a dog around 40 to 50 pounds. Bigger isn’t always better here, because a space that’s too large won’t hold your dog’s body heat in winter.
You’re looking at about $50 to $70 total, including 2×2 framing strips, screws, and paint. Paint it inside and out with something pet-safe and you’ll get years out of it.
My favorite trick: cut the doorway about an inch wider than your dog’s widest point and raise the bottom of the opening a couple inches off the floor. That keeps drafts and rainwater out.
5. Upcycled Dresser Dog House
I found a solid wood dresser on the curb, and it became the cutest dog house I’ve ever made. You pull out the drawers, keep the frame, flip it on its back or leave it upright, and add a roof panel on top.
The drawers themselves are gold, by the way. I used two of them to build a little raised platform base, which keeps the whole thing off the damp ground.
Cost depends entirely on what you find. I spent about $15 on paint and screws. Thrift stores and marketplace listings are full of old dressers nobody wants, and solid wood ones are surprisingly sturdy.
Sand the inside, seal it, and add a washable cushion. It looks like furniture from the outside, which means it can live in your living room without wrecking your decor.
6. The Insulated Winter Dog House
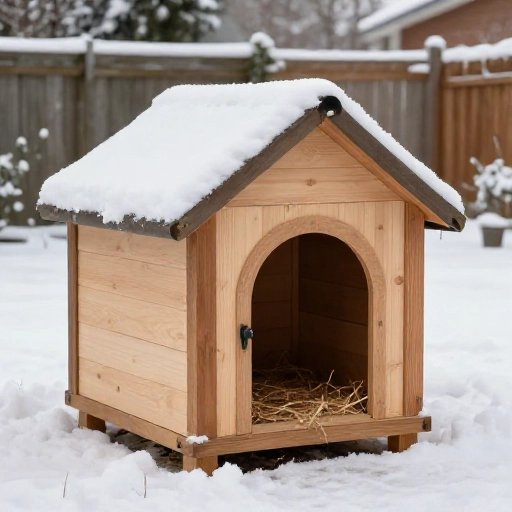
This is less of a different plan and more of an upgrade you can add to any of the builds above. If your dog spends real time outside in cold weather, insulation is not optional.
Rigid foam board is cheap and easy to cut. I line the walls, floor, and ceiling, then cover the foam with thin plywood so my dog can’t chew it. A flap over the doorway makes a huge difference too.
One thing people get wrong: use straw, not blankets, for bedding in cold weather. Blankets absorb moisture and freeze. Straw lets air move and keeps your dog dry.
Raise the whole house a few inches off the ground on pressure-treated blocks or bricks. That single step keeps the floor warm and stops rot from starting underneath.
7. Elevated Dog House on Scrap Lumber Stilts
I built this one almost entirely from leftover lumber after finishing a deck project. The idea is simple: build your dog house like normal, then set it on a low platform supported by short legs.
Elevation does three things at once. It keeps the floor dry, it improves airflow underneath so the house doesn’t stay damp, and it stops bugs and moisture from creeping in from the ground.
Four legs made from 4×4 scraps, a plywood platform, and a few joist hangers will do it. I think I spent around $20 because I already had the fasteners.
Make sure the platform is wider than the house so it doesn’t wobble, and check it after the first big storm to be sure nothing shifted.
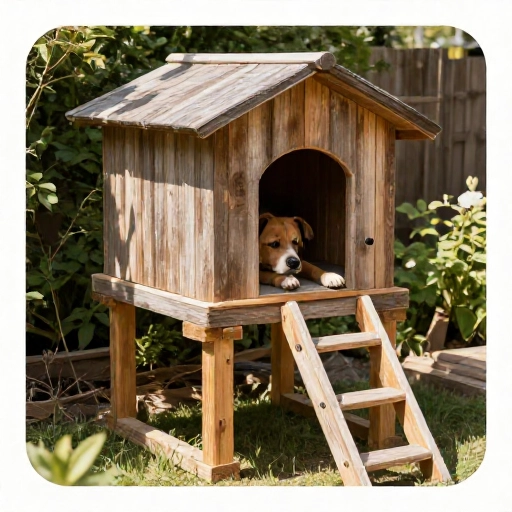
8. Old Fence Panel Dog House
When my neighbor replaced his fence, I asked for the old panels. Those weathered cedar boards became one of the prettiest dog houses I’ve built, and it cost me nothing but a few hours and some paint.
Fence boards are already cut to a consistent height, which makes framing surprisingly fast. I framed the shape with 2x3s, then nailed the fence boards on as siding.
Give them a good pressure wash first, let them dry completely, then sand and seal. Old wood holds up great once it’s protected again.
Budget version: about $30 to $50 for framing lumber, screws, and finish. Everything else was rescued.
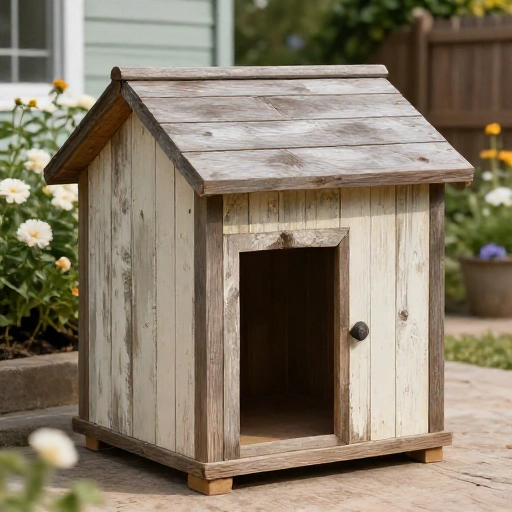
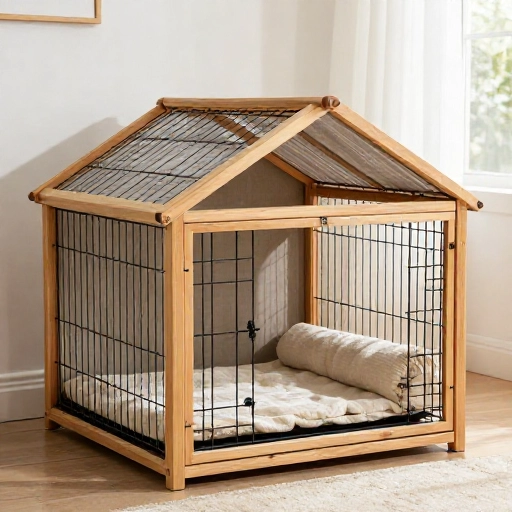
9. Indoor Crate Cover Dog House
If your dog is crate trained, this is the plan I recommend most for indoors. You build a simple wooden frame that slides right over the wire crate, add a roof panel, and suddenly the crate looks like a piece of furniture.
It solves two problems at once. Your dog gets a den-like feel, which most dogs love, and your living room stops looking like a pet supply store.
I use 1×3 pine boards, wood glue, and screws. A single sheet of thin plywood or beadboard for the sides and top does the rest. Total cost is usually $40 to $60, and you can stain it to match your furniture.
Leave the back partly open for airflow. A covered crate gets stuffy fast if you seal it up completely.
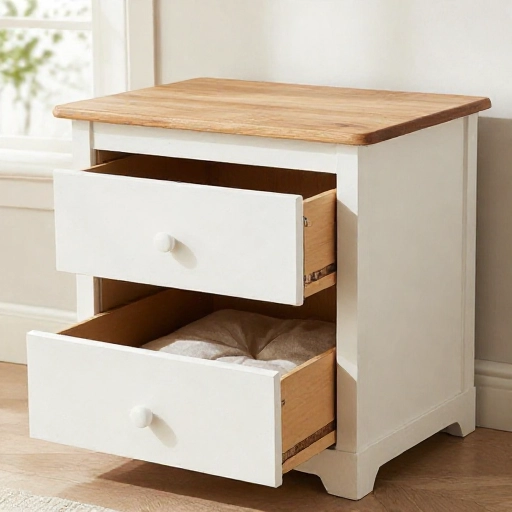
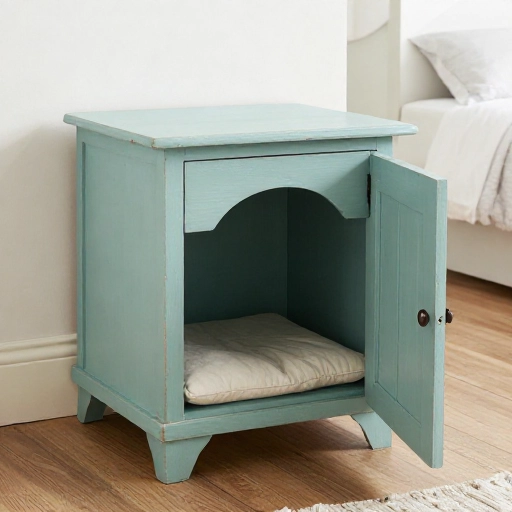
10. Repurposed Nightstand or Cabinet Dog House
Small dogs and thrifted furniture are a match made in budget heaven. A sturdy nightstand or lower cabinet makes a perfect little hideaway, and you can often find one for under $20 at a thrift store or yard sale.
You cut a doorway in one side, remove the drawers or leave them for storage, and seal every surface inside and out. I like adding a small lip or trim around the opening so the edges look finished.
Paint it in whatever color matches your home, add a washable bed, and you’ve got a dog house that looks intentional rather than DIY.
Just make sure whatever you pick is solid wood or good plywood, not particle board. Particle board swells and falls apart the first time it gets damp.
My Bottom Line on Budget Dog House Plans
You really don’t need to spend a lot to give your dog a space of their own. Free pallets, a thrifted dresser, or a single sheet of plywood can turn into something that looks like you bought it, and honestly, a few of mine turned out better than the store versions I’ve seen.
Pick the plan that matches your tools, your space, and your dog’s size. Then spend your money where it counts: pet-safe sealant, good screws, and insulation if your dog is outside in winter. Those three things make the difference between a project that lasts a season and one that lasts a decade.
Frequently Asked Questions
How much should I expect to spend on a DIY dog house?
Most of the plans above land somewhere between $0 and $70. If you use free pallets or reclaimed fence boards, your only real costs are screws, caulk, and sealant. Buying new plywood pushes you closer to the $50 to $70 range.
Is pallet wood safe for dogs?
Yes, as long as you check for the “HT” stamp, which means heat treated. Avoid pallets marked “MB,” since those were treated with methyl bromide. Sand everything smooth and seal the wood before your dog moves in.
What size should a dog house be?
Big enough for your dog to stand up, turn around, and lie down comfortably, but not much bigger. Extra space makes it harder to stay warm in cold weather. A good rule of thumb is roughly your dog’s length plus about 8 to 10 inches in each direction.
Do I really need to insulate a dog house?
If your dog is outside in cold or very hot weather, yes. Rigid foam board is cheap and easy to install, and it makes a noticeable difference. In mild climates, a raised floor and a well-sealed roof are usually enough.
How do I keep my dog house from rotting or smelling?
Raise it off the ground, seal the wood inside and out, and make sure the roof overhangs the walls. For cleaning, use a washable cushion or straw rather than a permanent pad, and wipe down the interior with a mild pet-safe cleaner every few months.