10 DIY Dog Wheelchair Hacks That Work Fast (Save Money & Get Your Pup Moving!)
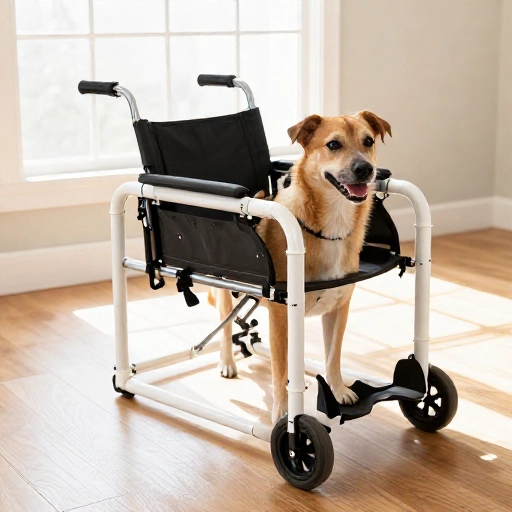
Watching your best friend struggle to walk is heartbreaking. Maybe they’re dealing with older-age weakness, a spinal injury, or recovering from surgery. The good news? You don’t have to wait weeks for a custom-made cart or drain your savings to get them moving again.
I’ve spent countless hours tinkering in my garage to help my own senior pup, and I’ve learned that a little creativity goes a long way. These DIY dog wheelchair hacks are all about using common household items and basic hardware to build support fast.
Whether you need a full rear support system or just a little lift for a wobbly back leg, these projects are simple, effective, and built with love. Let’s get your furry friend back to sniffing the world!
1. The PVC Pipe Classic (The Most Reliable DIY Cart)
This is the gold standard for a reason. It’s lightweight, waterproof, and super easy to adjust. You can build a sturdy frame in about an hour using just a few parts from your local hardware store.
You’ll need 1-inch PVC pipes, four elbow joints, and two T-joints. Measure your dog from the hip to the floor for the wheel axle height, and from the hip to the chest for the frame length. Dry-fit everything before gluing to ensure the angles are right.
For the wheels, 8-inch solid rubber casters work best for stability on grass and pavement. Thread a long bolt through the axle pipe and secure the wheels on either side. Add some pipe insulation foam around the top bar for a comfy chest pad.
This hack is perfect if you need a rigid, durable solution that will last for months. It’s also incredibly easy to paint to match your pup’s personality!
2. The Pool Noodle Rear Lift (For Mild Weakness)
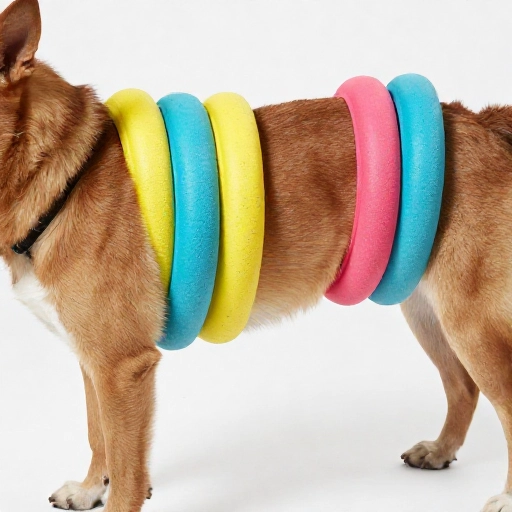
If your dog is just dragging their back paws slightly, you might not need a full frame. This quick hack uses a simple pool noodle to provide just enough buoyancy to help them lift their hindquarters.
Take a standard pool noodle and cut a piece about 10 inches long. Slice it down the middle lengthwise to create a “C” shape. Snap this around your dog’s belly, right in front of their back legs.
To keep it in place, use two pieces of duct tape or zip ties to secure it to a harness. The noodle acts as a gentle bumper, lifting the back end just an inch or two off the ground. It’s not a full chair, but it takes the edge off.
This is an amazing option for post-op recovery when you just need a temporary assist for short potty breaks.
3. The Towel & Broomstick Sling (The 5-Minute Emergency Fix)
You need help right now, and you don’t have time to run to the store. This is the ultimate “just get them outside” hack. It’s perfect for a sudden IVDD flare-up or when your dog is too weak to stand on their own.
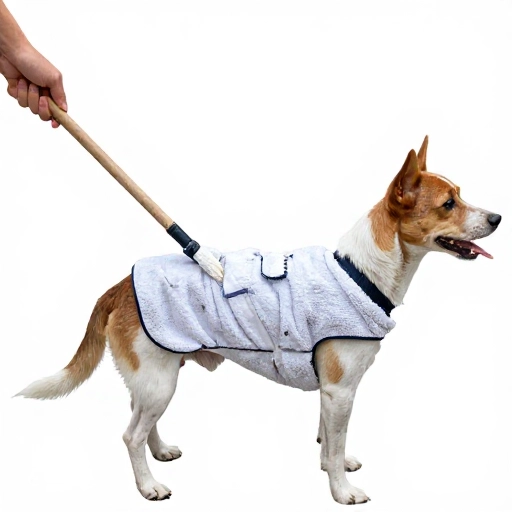
Grab a sturdy bath towel or a long piece of fabric. Fold it lengthwise until it’s about 6 inches wide. Slip this under your dog’s belly, just in front of their hips.
Take a sturdy broomstick or a piece of PVC pipe and thread it through the loop you’ve created. Hold one end in each hand and gently lift. You are now the back wheels! You can walk with them, controlling the height and support perfectly.
This hack saves my back and gives my dog total confidence. It’s not a long-term solution, but it is an absolute lifesaver in a pinch.
4. The Skateboard Wheels Upgrade (For Carpet & Grass)
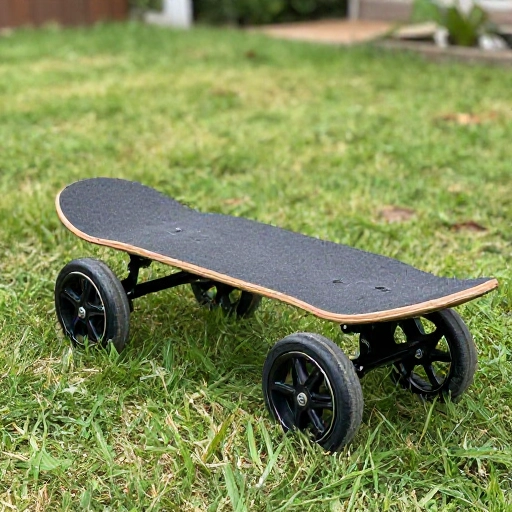
Most cheap plastic wheels get stuck on thick carpet or soft dirt. If your dog wheels are spinning but not moving, it’s time to upgrade to skateboard wheels. They are wider and roll much smoother.
You can easily swap out the wheels on a PVC frame. Just make sure to get the right axle size. Usually, you can find skateboard wheel kits that come with the ball bearings and spacers you need.
Use a bolt that fits snugly through the bearing and secure it with a lock nut on the outside of the frame. The smooth rolling action means your dog can actually trot instead of drag.
This small change makes a massive difference in how far your dog can go before getting tired.
5. The Dog Stroller Front Wheel Hack (Steering with Ease)
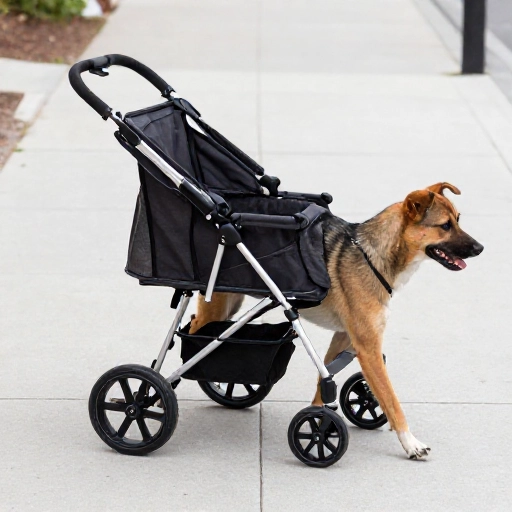
Rear wheels are great, but steering is tricky if your dog has limited front-leg strength. This hack repurposes a broken jogging stroller to create a pivoting front wheel.
If you have an old stroller with a swivel wheel, detach the front wheel and fork assembly. Attach this to the front of your PVC frame using a metal bracket. The swivel action allows for easy turning.
This gives your dog the ability to walk in any direction without struggling to turn the whole frame. It’s excellent for bigger dogs who need a wider turning radius.
Plus, used strollers are super cheap at garage sales, making this a budget-friendly win.
6. The Harness & PVC Support (No Drilling Required)
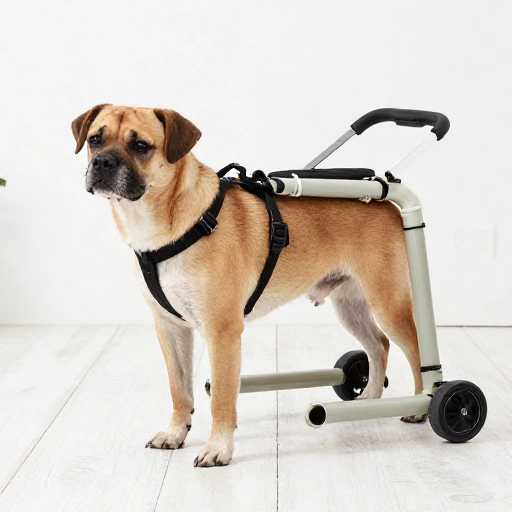
Not everyone is handy with a drill. This hack uses friction and zip ties to create a support system that connects directly to a standard dog harness.
Build a simple U-shape out of PVC pipe. The bottom of the “U” should sit around your dog’s rear, and the arms of the “U” should point forward. Attach two vertical PVC pipes to the top of the arms.
Place a commercial harness on your dog. Use heavy-duty zip ties to attach the vertical pipes directly to the harness’s side rings. The U-shape lifts the rear, while the harness takes all the weight.
This is brilliant because it allows you to use the cart for short bursts and easily unclip it when they want to rest.
7. The Swivel Caster Wheels (For Tight Spaces)
Standard fixed wheels make it hard to navigate around furniture. Swivel caster wheels are the answer. They rotate 360 degrees, which means your dog can move backwards and sideways without the frame getting stuck.
You can buy swivel casters with a stem or a plate. For PVC, a stem caster is easier to work with. Insert the stem into the end of the PVC pipe and secure it with a set screw or strong epoxy.
These wheels are typically a bit smaller, which is great for indoor use. They are incredibly responsive and make your dog feel like they are in total control.
It’s the best hack for dogs who love to back up or spin around out of excitement!
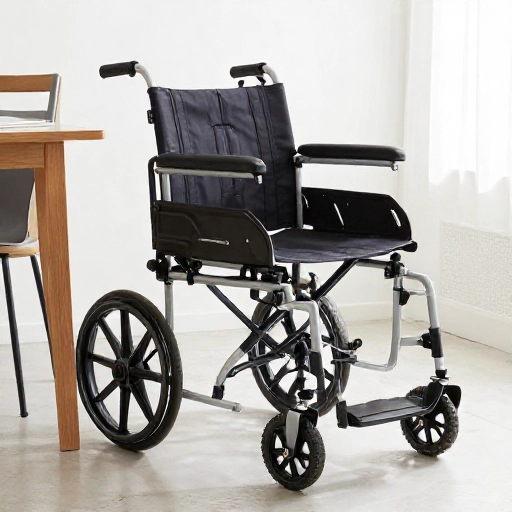
8. The Plastic Bucket Sling (A Comfy Alternative to Towels)
A towel sling can dig into a dog’s belly, especially if they need support for a long time. A plastic bucket gives a much wider, more comfortable surface area to sit on.
Take a sturdy bucket and cut it in half vertically. Sand down the rough edges so they are smooth. Then, drill two holes on the top rim and thread a rope or strap through them.
This creates a “bucket seat.” Place the curved part of the bucket under their belly and lift the handles. It distributes the weight evenly and feels like a little hammock.
This is a great hack for dogs with sensitive skin or those who have pressure sores from standard slings.
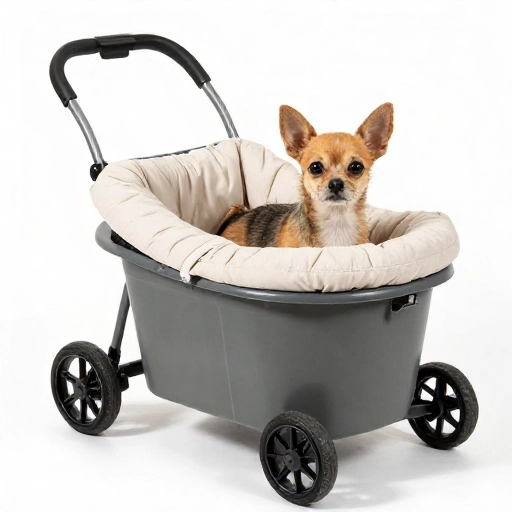
9. The Luggage Cart Conversion (For Large Breeds)
For a 70-pound lab, PVC might not be strong enough. A folding luggage cart or a hand truck has a solid metal frame and big wheels that are perfect for heavy-duty support.
Lay the cart on its back. The bottom platform becomes the support for the rear. You can strap a piece of wood or a sturdy cushion to the platform for comfort.
Use bungee cords to attach the cart to your dog’s harness. The tall handle gives you a great lever to lift the rear end with minimal effort.
This hack is faster and sturdier than building a PVC frame from scratch, and it is an absolute game-changer for big dogs.
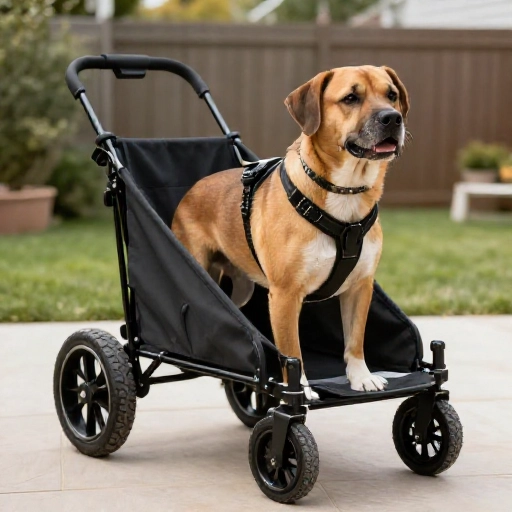
10. The Tennis Ball Glides (For a Smooth Slide)
Sometimes the issue isn’t standing up—it’s sliding. For dogs who can stand but have no grip on hardwood floors, this hack prevents injuries and helps them walk with confidence.
Cut a small “X” into four tennis balls. Push the bottom legs of a wire crate or a PVC frame into these balls. The balls act as gliders instead of wheels.
This is perfect for a dog who is just starting physical therapy. They can slide their back end along without the friction of the floor burning their paws.
It’s also whisper-quiet, so you won’t hear them clunking around the house at 2 AM.
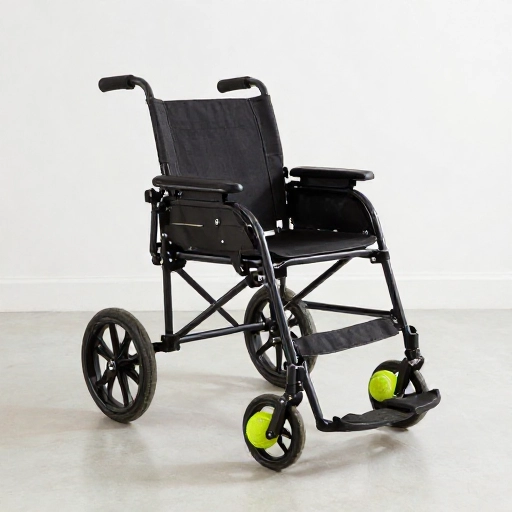
Final Thoughts: Give It Time & Adjust
Building a DIY wheelchair is a trial-and-error process. Don’t be discouraged if your first attempt doesn’t fit perfectly. Watch your dog’s body language—if they are wagging their tail, you are on the right track!
Always check for chafing around the armpits and hips after the first few uses. Add padding with fleece or pipe insulation where needed. The goal is to give them freedom without pain.
Remember, these hacks are about getting your pup moving again quickly. With a little bit of effort, you can give them the best gift of all: the ability to run and play with you again.
Frequently Asked Questions
How long does it take to build a DIY dog wheelchair?
Most of these hacks can be assembled in under 30 minutes. The PVC frame takes the longest because you have to measure and cut the pipe. The towel sling takes less than 5 minutes to set up.
What is the best material for DIY wheelchair wheels?
For indoor use, swivel casters are best. For outdoor use, look for solid rubber wheels or air-filled tires. They provide better traction on grass and gravel than hard plastic wheels.
Can I use a DIY wheelchair for a paralyzed dog?
Yes, but you need to ensure the frame supports the entire weight of the rear. For full paralysis, the PVC frame with a wide sling is best. Always supervise them to prevent pressure sores on their feet.
How do I measure my dog for a PVC wheelchair?
Measure from the ground to the top of the back leg (where the hock meets the paw) to set the axle height. Then measure from the rear to the front of the chest to set the length. Add 2 inches for clearance.
Is it cheaper to build or buy a dog wheelchair?
Building is significantly cheaper. A commercial cart can cost $300-$600. A DIY PVC cart usually costs between $40 and $80, depending on the wheels you choose.