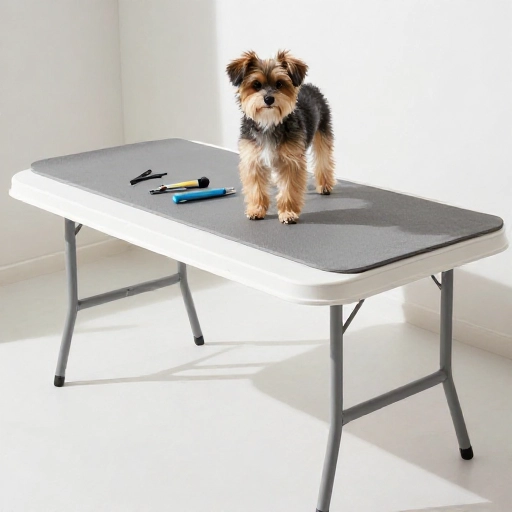
10 DIY PVC Pipe Dog Wheelchair Tutorials That Will Get Your Pup Moving Again
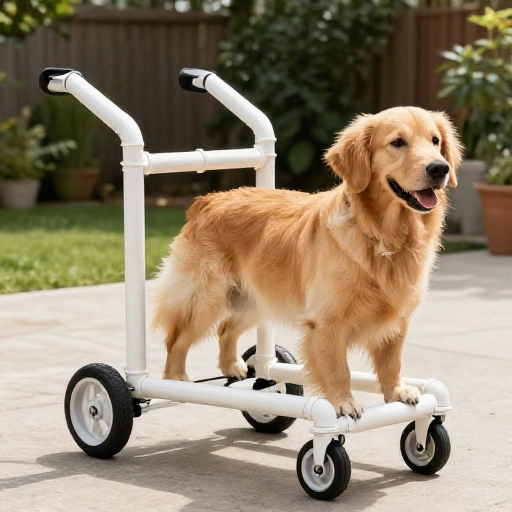
Watching your best friend lose mobility is heartbreaking. Maybe it’s old age, a surgery recovery, or a condition like degenerative myelopathy. The vet bills are already piling up, and the price tag on a custom dog wheelchair can feel like a punch to the gut. But here’s the thing—you don’t always need a fancy, expensive rig. Sometimes, you just need a trip to the hardware store and a weekend afternoon.
PVC pipe is cheap, lightweight, and ridiculously easy to work with. It’s the perfect material for building a supportive cart that can give your dog their freedom back. I’ve scoured the internet and pulled together the ten best DIY tutorials that are actually doable for a regular pet parent. Whether you have a tiny Chihuahua or a sturdy Lab, there’s a plan here for you. Let’s get building!
1. The Classic “Stroller” Cart for Rear Leg Support
This is the gold standard for dogs with weak back legs. The design uses a simple rectangular frame that sits over the dog’s hips, supported by two bicycle wheels on the sides. It’s perfect for dogs who can still walk with their front legs but drag their back end. The key is getting the height right so your pup’s back feet just barely brush the ground.
You’ll need about 10 feet of ¾-inch PVC pipe, four elbow joints, and two 12-inch wheels. The beauty of this design is that you can adjust the height by cutting the vertical support pipes longer or shorter. Most builders wrap the crossbar in pipe insulation foam to protect the dog’s belly.
This tutorial is great for beginners because it doesn’t require any complex cutting angles. Just straight cuts and push-fit connections. If you want to get fancy, you can add a quick-release pin so the frame comes apart for easy storage.
2. The “Hip Sling” Wheelchair Using a Harness
This one is a game-changer for dogs that need a little extra help but hate feeling confined. Instead of a full rigid frame, this design uses a standard dog harness attached to a PVC “A-frame” on wheels. It supports the dog’s hindquarters while allowing them to move their legs naturally.
The frame is basically two vertical posts connected by a top bar, with wheels mounted at the bottom. You attach the harness to the top bar with some sturdy carabiners or zip ties. This is incredibly adjustable—you can change the height of the harness to take more weight off the back legs.
I love this one for post-surgery recovery because it’s less intimidating for the dog. They get the support they need without feeling like they’re trapped in a cage. Plus, it’s probably the cheapest build on this list, using less than $20 worth of materials.
3. The Front-End Support Cart for Weak Front Legs
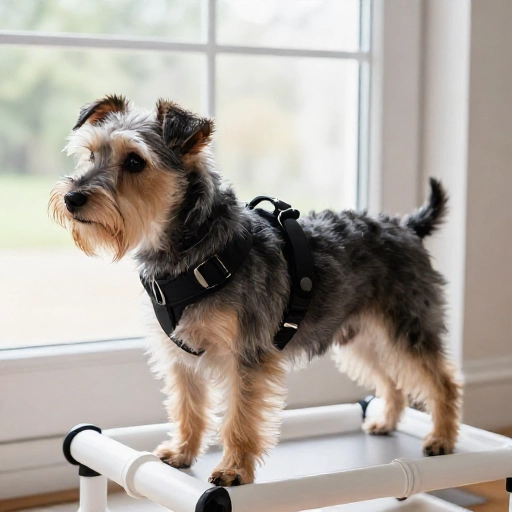
Most wheelchairs focus on the back legs, but what about dogs with front leg issues? Conditions like carpal flexural deformity or front leg arthritis need a different approach. This design flips the script, providing a platform that supports the chest and front legs while the back legs do the work.
This build is a bit more complex because you need to create a comfortable “bucket” or platform for the dog’s chest to rest in. The wheels are positioned forward, under the shoulders. You’ll want to use larger wheels (14-16 inches) to handle bumps and curbs better.
Pay extra attention to padding on this one. The chest area needs soft foam and a breathable fabric cover to prevent chafing. It’s a bit more work, but seeing a dog with front-leg weakness run again is absolutely worth it.
4. The Budget “Stroller Wheels” Hack
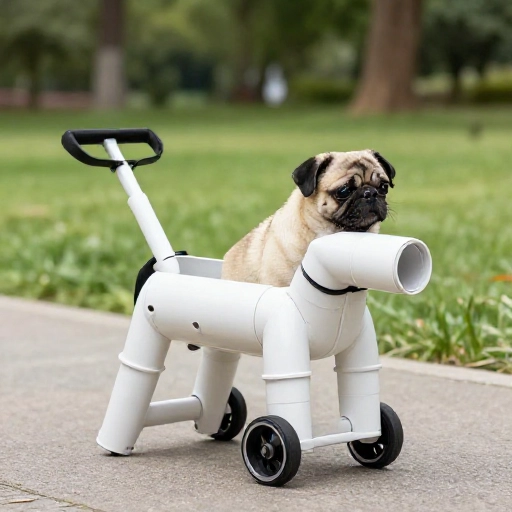
Don’t want to drop $40 on specialty wheels? Here’s a secret: go to a thrift store and grab an old baby stroller or jogging stroller. You can salvage the wheels, axles, and sometimes even the handlebars. This is the ultimate budget hack that can save you a ton of cash.
This tutorial focuses on disassembling the stroller and integrating the wheel assembly into your PVC frame. The stroller wheels are usually high-quality with good bearings, making them perfect for outdoor use. You’ll need to be careful with the axle connection, often using a bolt and nut through the PVC.
The result looks a bit more “Frankenstein” but it works like a charm. This is my go-to recommendation for anyone who wants to try a DIY build but isn’t sure if they want to commit to buying new parts.
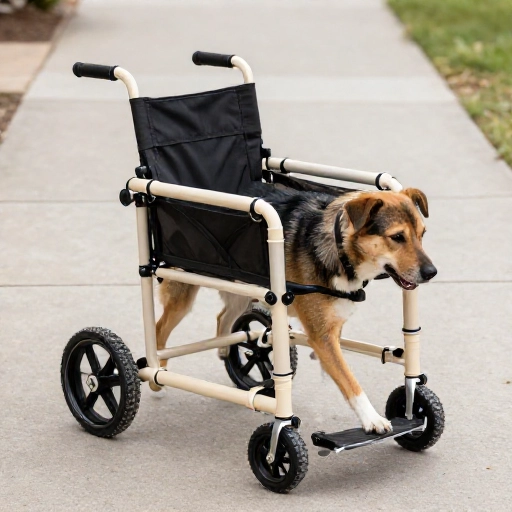
5. The Adjustable Growth Frame for Puppies
Got a young pup with a mobility issue? They grow so fast that a custom wheelchair is obsolete in a month. This design solves that problem with a telescoping frame. Using a smaller diameter pipe that slides inside a larger one, you can extend the length of the frame as your puppy grows.
The tutorial shows you how to drill a series of holes and use a simple cotter pin to lock the frame at the right length. This is a brilliant solution for juvenile dogs with conditions like Swimmer Puppy Syndrome or those recovering from broken bones.
It’s a little more work upfront, but you save a ton of money in the long run. You can even adjust the width slightly by swapping out the crossbars. This is a smart, forward-thinking build that will last through your dog’s growing years.
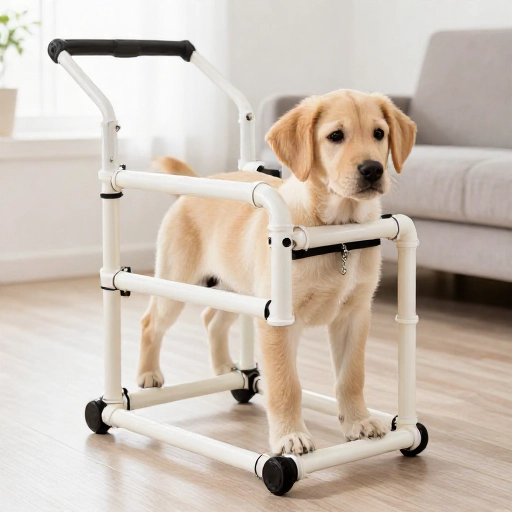
6. The Multi-Purpose “Rehab” Walker (With Wheels)
This is less of a wheelchair and more of a mobile rehab station. The frame is taller and surrounds the dog completely, with wheels on all four corners. You can attach slings, harnesses, or even hanging toys to encourage the dog to bear weight and build muscle.
It’s perfect for post-op physical therapy. You can hook up a sling to take off 50% of their weight, allowing them to practice walking without full pressure on a healing joint. The tall frame also gives you a place to hang a water bowl or a treat dispenser.
This design uses more PVC pipe than the others, so it’s a bit heavier. But the stability it offers is unmatched. It’s like a portable gym for your furry friend.
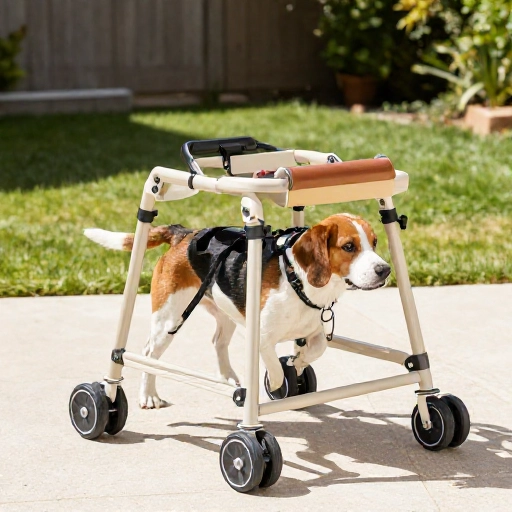
7. The Lightweight “Bike Trailer” Conversion
If you already have a bike trailer for your dog (or can find one cheap at a garage sale), you can convert it into a DIY wheelchair base. The trailer frame provides the perfect platform for mounting PVC supports and wheels. This is a hack for people who want a sturdy base without building the entire frame from scratch.
This tutorial focuses on stripping the fabric off the trailer and using the metal frame as your anchor point. You attach PVC pipes to create the support for the dog’s hindquarters. The trailer wheels are usually quite large and durable, making this a great option for off-road walks.
This is one of the more robust builds on the list. It’s not the lightest option, but it’s incredibly sturdy and can handle rough terrain without wobbling.
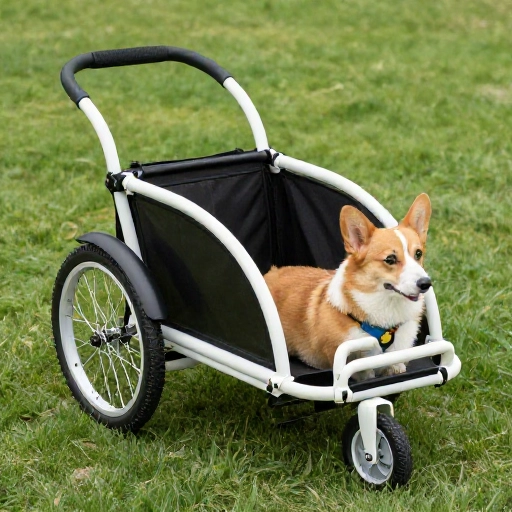
8. The “No-Slip” Indoor PVC Wheelchair
Hardwood floors and slick tile are the enemy of a dog with mobility issues. This specific build is designed for indoor use, featuring softer, smaller wheels that grip better on smooth surfaces. It also incorporates rubber feet or caps on the front to prevent sliding.
The tutorial recommends using ½-inch PVC for this one to keep it lightweight and maneuverable in tight spaces. The frame is narrower to fit through doorways easily. It also uses a simple “saddle” design that sits over the dog’s back for extra stability.
This is a fantastic option for dogs who need support just to get to their food bowl or to go to the bathroom on a pee pad. It’s not built for long outdoor hikes, but it will make a world of difference inside the house.
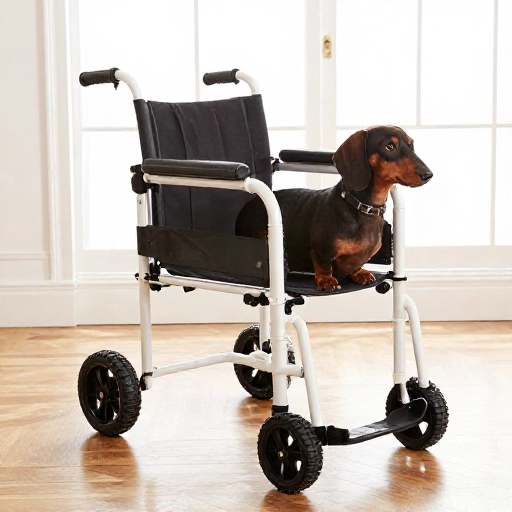
9. The “Padded Seat” Full Support Wheelchair
For dogs with severe weakness or paralysis in all four legs, a standard sling isn’t enough. They need a full body support system. This advanced tutorial shows you how to build a frame that includes a padded “bucket seat” that the dog sits in, with wheels on all four corners.
This is the most complex build on this list, requiring some sewing skills to create the padded seat. You’ll need to measure your dog very carefully to ensure a snug, comfortable fit. The frame often uses larger diameter pipe (1 inch) for structural integrity.
This gives complete freedom to dogs who can’t support any of their own weight. It’s a labor of love, but it essentially gives your dog their mobility back entirely. They can roll around the yard, sniff the grass, and be a dog again.
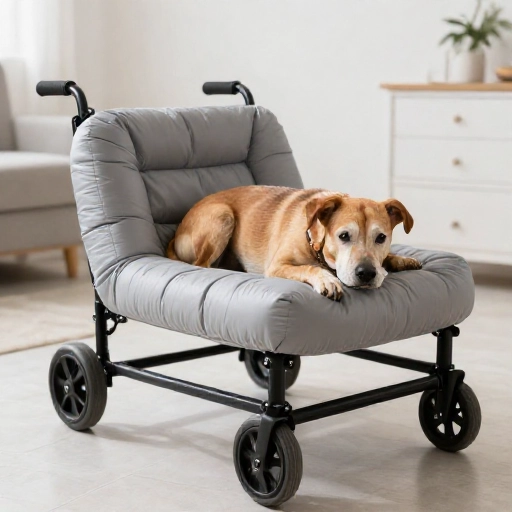
10. The Quick-Fix “Weekend Warrior” Wheelchair
Need a solution right now? This is the fastest, simplest build you can do. It sacrifices some adjustability for speed. Using pre-cut PVC pipe lengths and basic T-joints, you can have a working wheelchair assembled in under an hour. It’s rough around the edges, but it functions perfectly.
This tutorial is perfect for a temporary solution while you wait for a custom chair to be shipped or while you save up for a professional one. It uses basic dimensions that work for medium-sized dogs (30-50 pounds) and can be tweaked as needed.
Don’t overthink this one. The goal is to get your dog outside and moving. It might not be pretty, but your dog won’t care about the aesthetics—they’ll just be happy to run.
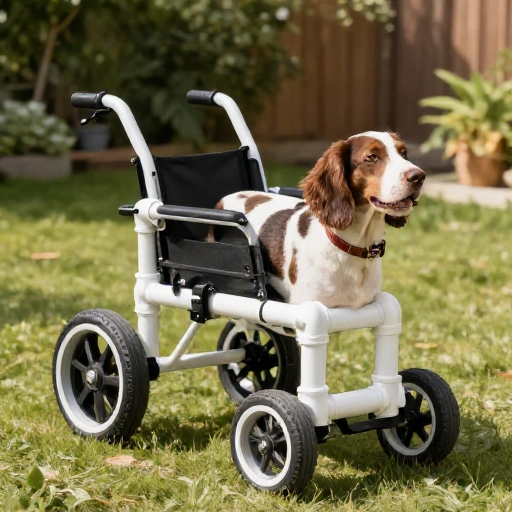
Final Thoughts on DIY Dog Wheelchairs
Building a PVC wheelchair is a fantastic weekend project that can dramatically improve your dog’s quality of life. The most important thing is to measure your dog correctly before you start cutting pipe. Watch your dog’s gait as they walk to see exactly where they need support. And always test the fit in a safe, enclosed area before letting them run wild.
Remember that PVC is forgiving. If you cut a piece too short, you can usually adapt the design. Don’t be afraid to make mistakes and iterate. The joy on your dog’s face when they realize they can chase a squirrel again is the ultimate reward.
Frequently Asked Questions
Can I use PVC pipe for a large dog wheelchair?
Yes, but you’ll want to use 1-inch or even 1.25-inch diameter PVC pipe for larger breeds (over 60 pounds). Thinner pipe might bow or crack under the weight. You might also need to add cross-bracing for extra stability.
What wheels are best for a homemade dog wheelchair?
For outdoor use, look for wheels with rubber tires and ball bearings, usually 10 to 16 inches in diameter. For indoor use, small plastic casters work fine. You can salvage wheels from old scooters, strollers, or buy them cheaply online.
How do I measure my dog for a PVC wheelchair?
Measure the height from the floor to the base of the tail (this is your frame height). Then measure the distance from the base of the tail to the armpits (this is your frame length). Finally, measure the width of the hips and add a few inches for clearance.
My dog hates the wheelchair. What should I do?
Start slow. Place the wheelchair near your dog for a few days and give them treats. Then, just hold it over them without attaching it. Only do short sessions (5 minutes) at first. Make sure the fit is comfortable and nothing is pinching. Positive reinforcement is key.
How long does it take to build a PVC dog wheelchair?
Most basic designs take between 1 and 3 hours to build. The more complex padded versions might take a full weekend, especially if you need to sew custom fabric parts. The good news is that the materials are cheap if you make a mistake and have to start over.