9 Easy Shelf-Stable Dog Treats You Can Make in 30 Minutes (No Fridge Needed!)
Let me guess—you’re looking for simple, healthy dog treats that won’t go bad after two days in the fridge? I totally get it. Between busy workdays, weekend hikes, and training sessions, having a jar of crunchy, shelf-stable treats ready to go is an absolute lifesaver. I’ve tested dozens of recipes in my own kitchen, and these nine are the ones I keep coming back to again and again.
These aren’t just any treats—they’re made with wholesome ingredients like oats, peanut butter, pumpkin, and sweet potato. No weird preservatives, no mystery meat byproducts, just real food your pup will absolutely devour. And the best part? Every single one of these recipes comes together in about 30 minutes flat. Let’s get baking!
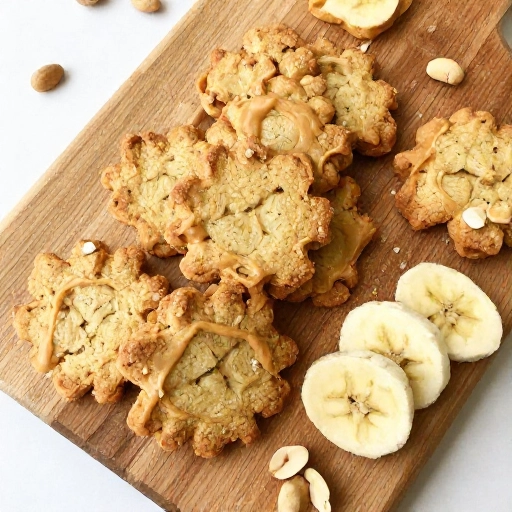
1. Peanut Butter & Banana Crunchy Biscuits
This classic combo never fails. The natural sweetness of banana pairs perfectly with creamy peanut butter, and baking them low and slow gives you that satisfying crunch dogs love. Bananas provide potassium and fiber, while peanut butter offers healthy fats and protein.
- 2 ripe bananas, mashed
- 1 cup natural peanut butter (xylitol-free)
- 2 cups whole wheat flour
- 1 egg
- 1/4 cup rolled oats
- Preheat oven to 350°F. Mix mashed bananas, peanut butter, and egg in a large bowl.
- Gradually add flour and oats until a stiff dough forms. Roll out and cut into fun shapes.
- Bake for 20-25 minutes until golden and crisp. Cool completely before serving.
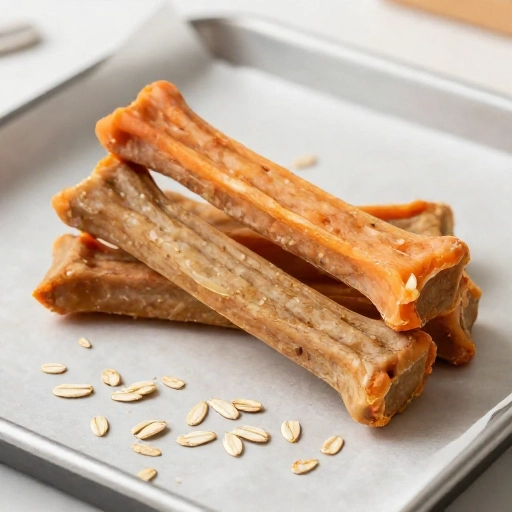
2. Sweet Potato & Oat Chews
These are like nature’s jerky for dogs! Sweet potatoes are packed with beta-carotene, vitamin A, and fiber—great for digestion and a shiny coat. The oats add a nice texture and help bind everything together. Your dog will think they’re getting a treat, but you’ll know they’re getting a superfood boost.
- 1 large sweet potato, cooked and mashed
- 2 cups old-fashioned oats
- 1/4 cup coconut oil, melted
- 1/2 cup oat flour (or blend oats)
- Preheat oven to 325°F. Combine all ingredients until a dough forms.
- Roll dough to 1/4-inch thickness and cut into strips or bone shapes.
- Bake for 25-30 minutes, flipping halfway. Let cool until very crisp.
3. Pumpkin Spice Crunch Cookies
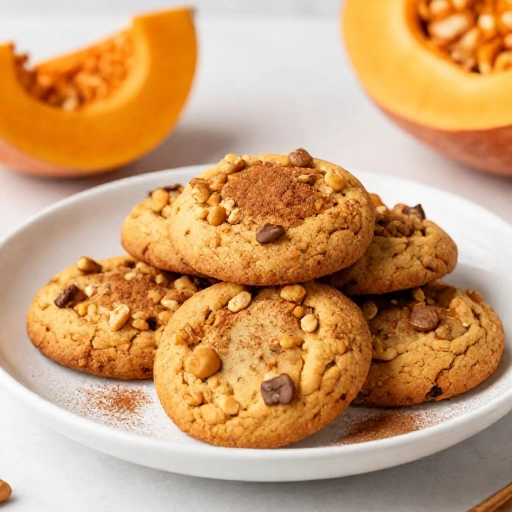
Don’t let the name fool you—these have zero sugar and zero spice that’s harmful to dogs. Pumpkin is amazing for sensitive tummies, and the cinnamon (yes, a tiny bit is safe!) adds warmth dogs seem to love. These cookies stay crunchy for weeks when stored properly.
- 1 cup canned pumpkin (not pie filling)
- 2 cups whole wheat flour
- 1/4 cup unsweetened applesauce
- 1/2 teaspoon cinnamon
- 1 egg
- Preheat oven to 350°F. Mix pumpkin, applesauce, egg, and cinnamon together.
- Stir in flour gradually until dough is firm. Roll and cut into shapes.
- Bake for 25 minutes, then turn off oven and let treats sit inside for 10 more minutes for extra crunch.
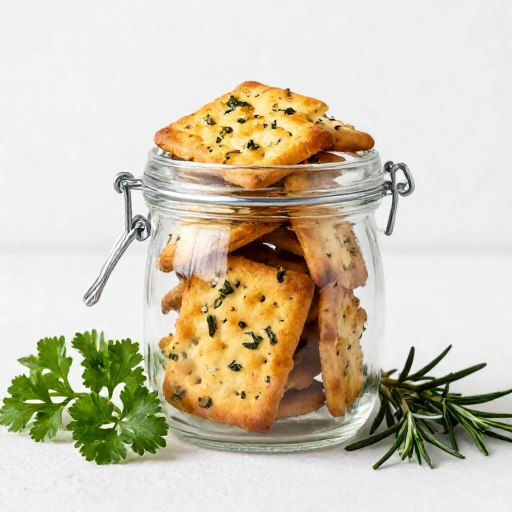
4. Cheesy Herb Mini Crackers
I call these the “cheese-its” for dogs! Sharp cheddar gives them an irresistible savory flavor, and the herbs like parsley help freshen breath naturally. These little crackers are perfect for training treats because they’re small, crunchy, and dogs go absolutely nuts for them.
- 1 1/2 cups shredded sharp cheddar cheese
- 1 cup whole wheat flour
- 1/4 cup grated Parmesan
- 2 tablespoons fresh parsley, chopped
- 1/4 cup water (as needed)
- Preheat oven to 350°F. Mix cheese, flour, Parmesan, and parsley in a food processor.
- Add water slowly until dough comes together. Roll very thin and cut into small squares.
- Bake for 18-20 minutes until crispy and lightly browned.
5. Apple Cinnamon Oat Bars
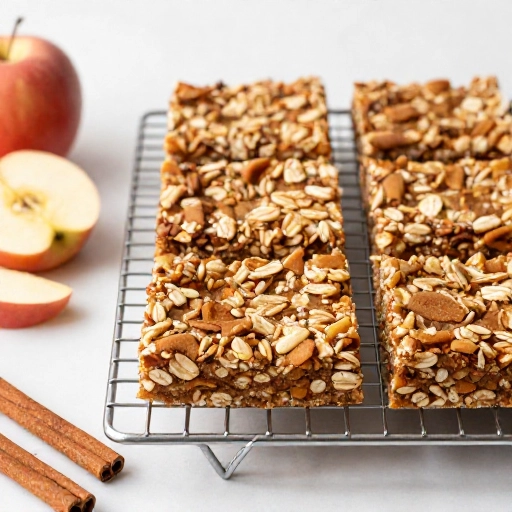
These soft-baked bars are great for older dogs or pups with dental issues. Apples provide vitamin C and fiber, while the oats and cinnamon make them taste like an oatmeal cookie. I love cutting these into bar shapes—they’re perfect for breaking into smaller pieces during training.
- 1 apple, grated (remove seeds)
- 1 1/2 cups rolled oats
- 1 cup oat flour
- 1/4 cup unsweetened applesauce
- 1 teaspoon cinnamon
- Preheat oven to 350°F. Combine grated apple, applesauce, oats, flour, and cinnamon.
- Press mixture into a greased 8×8 pan.
- Bake for 25 minutes until firm. Cool, then cut into bar shapes.
6. Coconut & Carob Crunch Bites
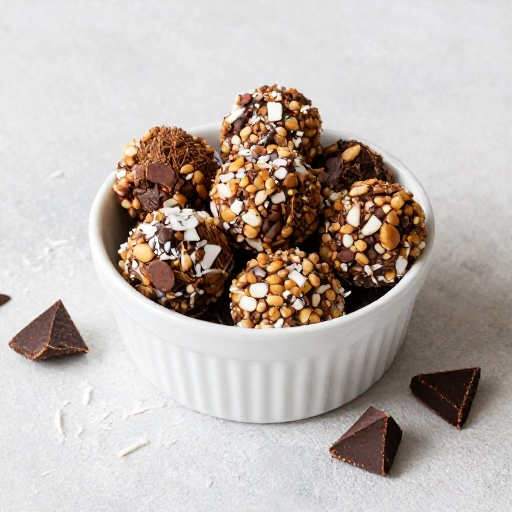
If your dog has ever tried to steal a chocolate chip cookie, these are the safe solution! Carob is completely safe for dogs and tastes just like chocolate to them. Coconut adds healthy medium-chain triglycerides (MCTs) that support brain health and give a glossy coat.
- 1 cup unsweetened shredded coconut
- 1/2 cup carob chips
- 1 1/2 cups whole wheat flour
- 1/4 cup coconut oil
- 1 egg
- Preheat oven to 325°F. Melt coconut oil and mix with egg, then add dry ingredients.
- Fold in carob chips and form small balls or cut-out shapes.
- Bake for 20 minutes until golden. These keep well in an airtight jar.
7. Carrot & Honey Biscuits
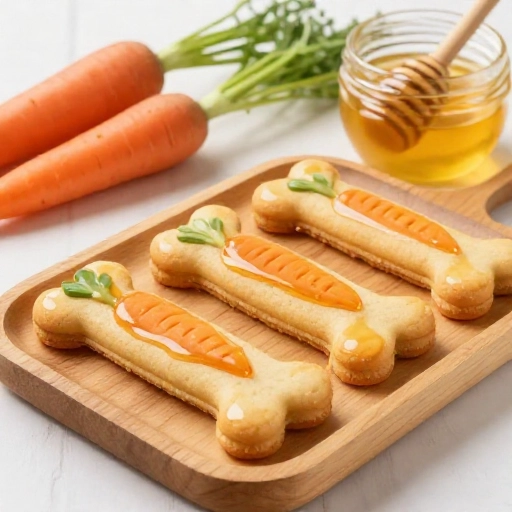
Sweet, crunchy, and naturally golden—these biscuits are a total crowd-pleaser. Carrots are excellent for eye health and teeth cleaning, while a drizzle of raw honey adds natural sweetness and antibacterial benefits. Even picky eaters can’t resist these.
- 1 1/2 cups grated carrots
- 2 cups whole wheat flour
- 2 tablespoons raw honey
- 1/4 cup olive oil
- 1 egg
- Preheat oven to 350°F. Grate carrots finely and squeeze out excess moisture.
- Mix all ingredients into a stiff dough. Roll out and cut into shapes.
- Bake for 25-30 minutes until crisp and slightly golden around edges.
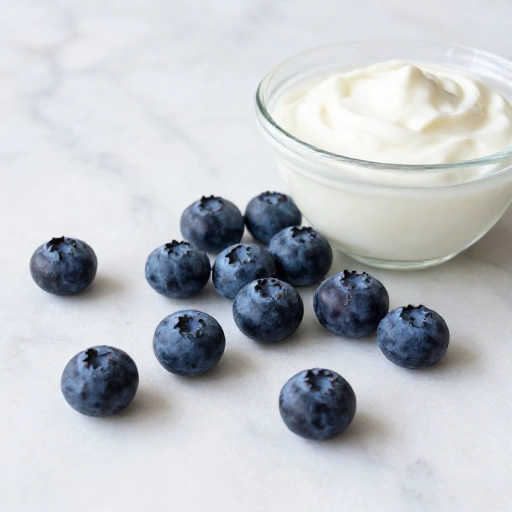
8. Blueberry & Yogurt Drop Treats
These are the “cookies” of the dog world! Blueberries are packed with antioxidants that fight inflammation, and powdered yogurt gives them that tangy taste dogs love—without needing refrigeration. I use a dehydrator setting or very low oven to keep them shelf-stable.
- 1 cup fresh or frozen blueberries
- 1/2 cup plain yogurt powder (or dry milk powder)
- 1 1/2 cups oat flour
- 1 egg
- 1/4 cup water
- Preheat oven to 300°F. Blend blueberries until slightly pureed but still chunky.
- Mix blueberry puree with yogurt powder, oat flour, egg, and water.
- Drop spoonfuls onto a baking sheet and flatten slightly. Bake for 25-30 minutes until dry and firm.
9. Turkey & Rosemary Training Bites
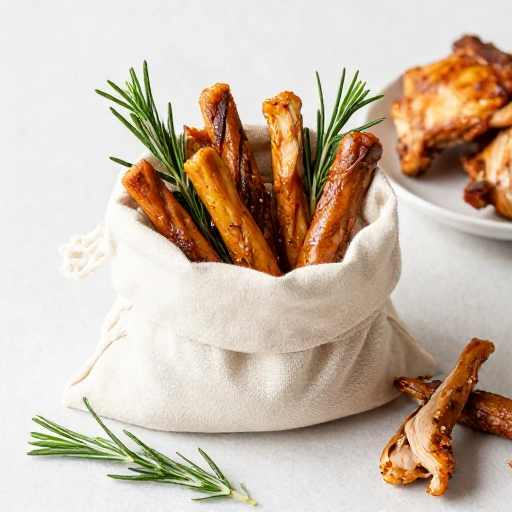
These savory little bites are my secret weapon for training sessions. Real turkey provides high-quality lean protein, and rosemary is a natural antioxidant that also acts as a preservative. They’re small, smelly (in a good way!), and dogs will do anything for them.
- 1 cup cooked turkey, finely shredded
- 1 cup whole wheat flour
- 1/4 cup chicken broth (low-sodium)
- 1 teaspoon dried rosemary
- 1 egg
- Preheat oven to 350°F. Shred turkey very finely and mix with egg and broth.
- Add flour and rosemary until a crumbly dough forms. Roll into small bite-sized balls.
- Bake for 20 minutes until golden brown and dry to the touch.
Tips & Safe Baking Guidelines
Before you start your baking spree, here are some things I’ve learned the hard way! Proper storage is key to keeping these treats shelf-stable. After baking, make sure every single treat is completely cooled—any residual moisture will cause mold. Store them in an airtight glass jar or container in a cool, dry place. Most of these treats will stay fresh for 2-3 weeks at room temperature, but you can always freeze them for up to 3 months.
Always double-check that your peanut butter is xylitol-free—this artificial sweetener is extremely toxic to dogs. Also, skip the salt, sugar, and any artificial preservatives. If you’re using whole wheat flour and your dog has grain sensitivities, swap it for oat flour or chickpea flour instead. And remember, treats should never make up more than 10% of your dog’s daily calorie intake.
I hope these recipes bring as much tail-wagging joy to your home as they did to mine! There’s something so satisfying about watching your pup’s eyes light up when you reach for that treat jar that you made yourself. Start with one or two recipes this weekend, and before you know it, you’ll have a whole rotation of homemade treats that are healthier, cheaper, and made with more love than anything from the store.
Can I really keep these treats out of the fridge for weeks?
Yes! The key is making sure they’re baked until completely dry and crisp. Any moisture left inside will cause spoilage. If your treats still feel soft in the center after baking, pop them back in the oven at 200°F for an extra 15-20 minutes.
My dog has a grain allergy. Can I substitute the flour?
Absolutely! Oat flour, coconut flour, chickpea flour, or even almond flour work great in most of these recipes. Just note that coconut flour absorbs more liquid, so you may need to add a bit more water or broth to get the right dough consistency.
How many treats can my dog eat per day?
It depends on your dog’s size and activity level, but a good rule of thumb is to keep treats to about 10% of daily calories. For a medium-sized dog, that’s usually 2-4 small treats a day. Always adjust based on your vet’s recommendations.
Can I make these treats softer for puppies or senior dogs?
Definitely! Just reduce the baking time by 5-7 minutes and store them in a container with a slice of bread to keep them softer. Check them after a few days—if they harden, just microwave for 10 seconds before serving.
What’s the best way to cut these treats without special cookie cutters?
I use a pizza cutter for straight lines, a small knife for freehand shapes, or even the rim of a drinking glass for round treats. For training bites, just pinch off small pieces and roll them into balls—no fancy tools needed!