10 Easy DIY Dog Leash Ideas You Can Actually Make Today
Let’s be honest—dog leashes are kind of boring. You walk into any pet store and see the same black nylon straps and generic clip handles. But what if your dog’s walking gear could actually show off their personality (and yours)? That’s where DIY comes in.
I’ve been making my own dog gear for years, mostly because my pup chews through everything store-bought. But honestly, the real reason is that homemade leashes are stronger, cuter, and way more fun to create. Plus, you probably have most of the supplies hiding in your closet or garage right now.
Below are ten different leash projects, from beginner-friendly to slightly more advanced. Pick one that fits your style and your dog’s size. These are perfect for a rainy afternoon or a quick weekend project.
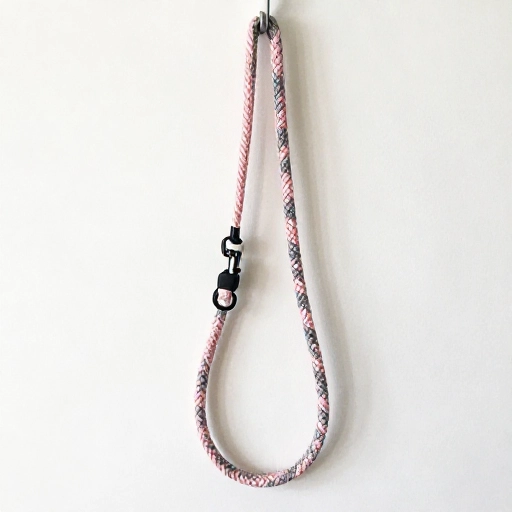
1. The Classic Paracord Braided Leash
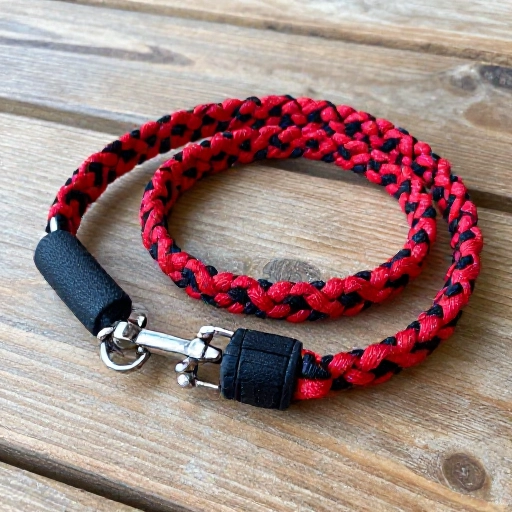
This is the ultimate starter project. Paracord is incredibly strong, holds up to weather, and comes in a million colors. The best part? You only need one long piece and a heavy-duty swivel snap hook.
Start by folding your paracord in half and attaching the snap hook to the looped end. Then, simply braid the two strands together in a simple over-under pattern. It takes about twenty minutes once you get the rhythm down.
- Use 550 paracord for medium to large dogs.
- Add a few beads to the strands before braiding for extra style.
- Melt the ends with a lighter to prevent fraying.
This leash is so durable that you’ll probably pass it down to your next dog.
2. Braided T-Shirt Yarn Leash (Upcycled)
Got old t-shirts that are stained or stretched out? Don’t toss them—turn them into a super soft and surprisingly strong leash. This is perfect for small breeds or puppies who need something gentle on their necks.
Cut your shirts into long strips, stretch them so they curl into yarn, and then braid three strands together. Attach a small bolt snap to one end and create a loop on the other for your hand.
This is probably the cheapest option on the list. You can even mix different colored shirts for a fun rainbow effect. Just keep in mind that it’s not ideal for heavy pullers.
3. The Double-Layer Leather Strap Leash
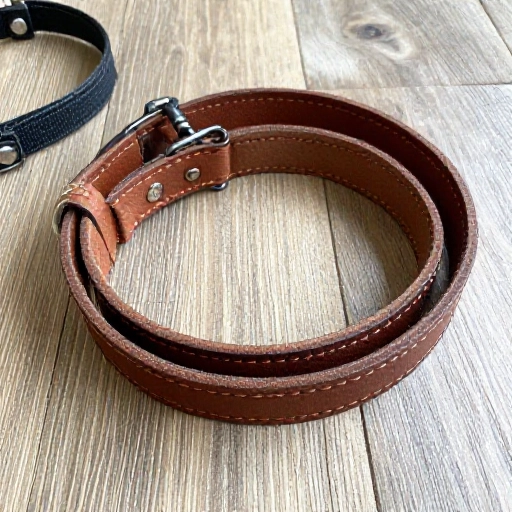
If you want something that looks expensive but costs a fraction of the price, leather is your friend. Head to a craft store and grab a long strip of unfinished leather. It’s usually sold by the yard.
Cut two strips to your desired length, stack them, and rivet them together every few inches. This creates a thick, comfortable grip that feels great in your hands. Attach a heavy-duty clasp at the end.
Leather softens with age, so the leash gets more comfortable the more you use it. Plus, it looks classy enough for a city stroll or a fancy training session.
4. Rope and Wood Bead Handle Leash
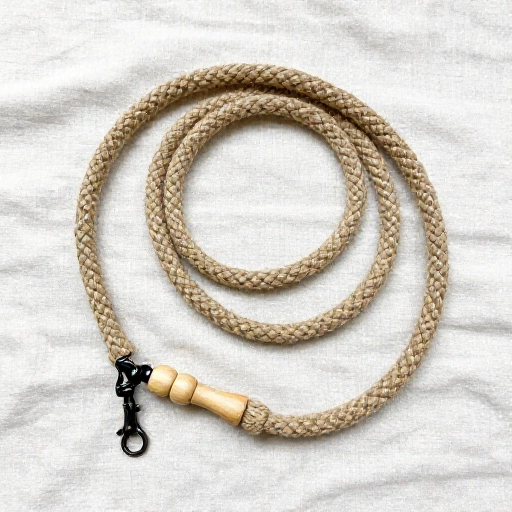
This one is all about the grip. Instead of using a standard handle, you’ll create a loop and slide large wooden beads onto the rope. The beads sit between your fingers and give the leash a natural, earthy feel.
Use a thick cotton or poly rope, not the slippery nylon kind. Tie a sturdy knot at the end to keep the beads from sliding off. Then attach a simple clip to the other end.
You can stain the beads different colors or leave them natural. This design is a favorite among hikers because it doesn’t slip out of your hands when it gets wet.
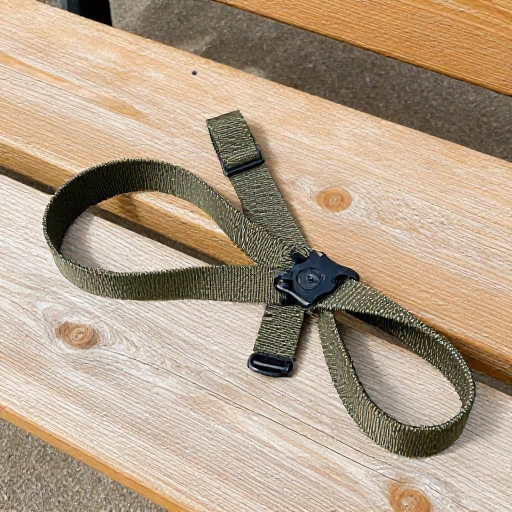
5. Quick-Release Snap Leash for Car Rides
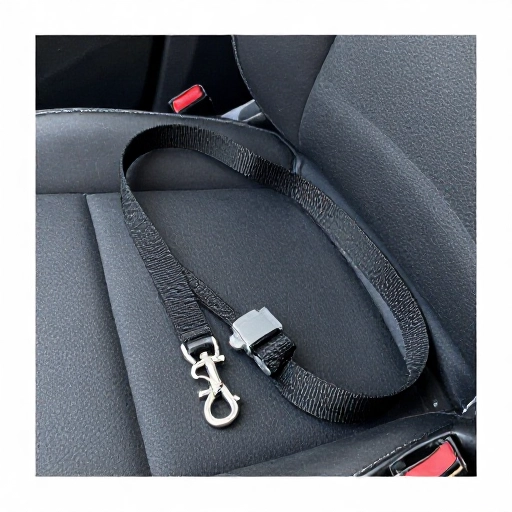
Ever struggled to unclip your dog’s leash while holding a bag of groceries? A quick-release snap solves that. This leash uses a plastic side-release buckle that you can press with one thumb.
You’ll need flat nylon webbing, a trigger snap hook, and a side-release buckle. Sew or rivet the buckle into the middle of the leash so you can snap it in half when needed.
This is a game-changer for dogs who get excited at the park. You can also use it to secure your dog to a tree or bench while camping.
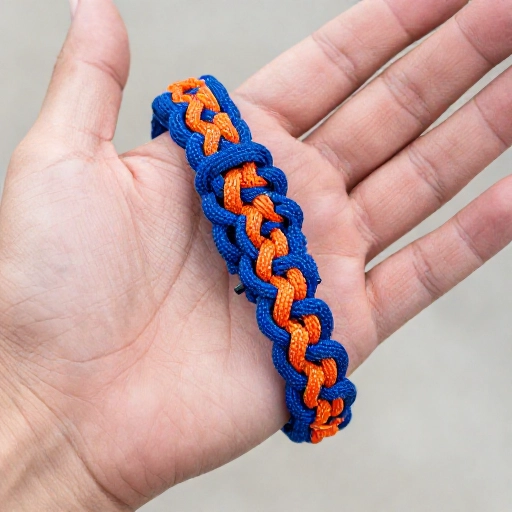
6. The Waterproof Paracord Handle Wrap
Do you already have a leash you love but the handle is worn out or uncomfortable? Don’t replace the whole thing—just wrap it. This project takes about ten minutes and uses a simple knot called a “cobra weave.”
Fold your handle in half and run a piece of paracord through it. Then, alternate overhand knots down the length of the handle. The result is a padded, textured grip that won’t slip.
This is also a great way to add a pop of color to an old leash. Choose a bright orange so you never lose it in the grass.
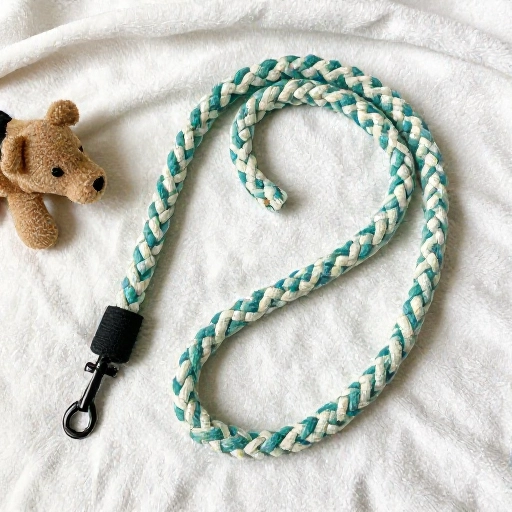
7. No-Sew Fleece Rope Leash
Fleece is soft, cozy, and doesn’t fray, which makes it perfect for a no-sew project. Cut two long strips of fleece and tie them around a heavy-duty ring at the leash end. Then, simply braid the strips together.
You’ll want to use quite a bit of fleece because it compresses when braided. A good rule of thumb is to cut strips that are twice as long as your final leash length.
This is a cuddly option for indoor training or for dogs who are sensitive to rough materials. It’s also machine washable on a gentle cycle.
8. The Multi-Function Training Leash
This one is for the serious dog owners. It’s a long leash (15-20 feet) that can be used for recall training, hiking, or as a hands-free option. You only need a long strip of biothane or nylon webbing and a clip on both ends.
Clip one end to the collar. To use it hands-free, wrap the middle around your waist and clip the second end to the first. This gives you a secure waist belt in seconds.
It’s also great for letting your dog sniff and explore without running into the street. Just keep your feet planted when you’re using the waist wrap.
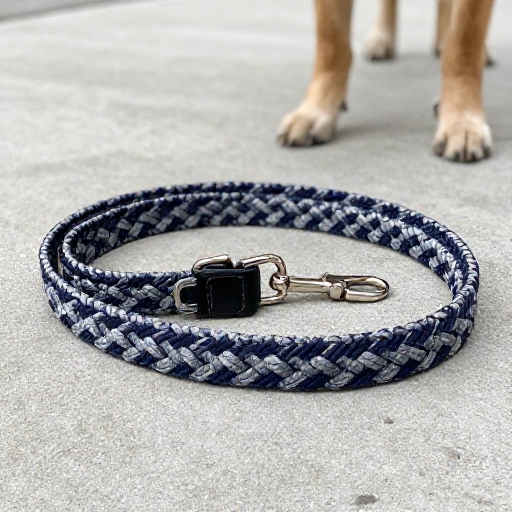
9. Braided Polyester Rope Leash with Metal Clasp
Polyester rope is different from paracord—it’s thicker, softer, and has a nice nautical vibe. You can find it at any hardware store. This project looks complicated, but it’s just a simple three-strand braid.
Cut three equal lengths of rope, tie them together at one end, and clip them to your leash hook. Braid them tightly, then tie off the bottom end. Use a heavy metal clasp for the collar.
This style is incredibly strong and has a bit of stretch, which helps absorb sudden tugs. It’s ideal for dogs who like to lunge at squirrels.
10. The Fashion-Forward Ribbon Wrap Leash
Last but not least, this one is purely for the aesthetics. Take a basic nylon leash and wrap it with colorful ribbon or patterned fabric. Use fabric glue to secure the ribbon as you spiral it down the leash.
Once it’s dry, coat it with a clear waterproof spray to protect it from rain and dirt. This allows you to change the look of your leash with the seasons or your dog’s birthday.
It’s a super quick project that costs less than $5. Your dog will be the best-dressed on the block, guaranteed.
Final Thoughts on Making Your Own Leash
Making your own dog leash is one of those projects that feels surprisingly rewarding. You’re not just saving money—you’re creating something custom that fits your dog’s size and your personal style. And honestly, the look on people’s faces when they ask where you bought it is priceless.
Start with the simplest project on this list, like the paracord braid or the fleece rope. Once you make one, you’ll probably get hooked and want to make them as gifts for all your dog-owner friends. Just remember to always double-check your knots and hardware before using it on a walk.
Frequently Asked Questions
How long should a DIY dog leash be?
Most standard leashes are 4 to 6 feet long. A 6-foot leash is great for training, while a 4-foot is better for city walking where you need more control. For hiking or recall practice, go with a 15-foot long line.
What is the strongest material for a homemade leash?
Paracord and thick leather are the strongest materials. Paracord is lightweight and has a high breaking strength, while leather is heavy-duty and gets softer with age. Both will last for years if you take care of them.
Can I wash a homemade dog leash?
Yes, but it depends on the material. Nylon and paracord can be machine washed on a gentle cycle and air-dried. Leather should only be wiped down with a damp cloth. Fleece leashes can be machine washed in a laundry bag.
Is it safe to use a DIY leash on a strong puller?
Only if you use the right materials. For strong pullers, avoid fabric or ribbon leashes. Stick to paracord, thick rope, or leather, and always use a metal clasp instead of plastic. Test the strength by pulling on it yourself before attaching it to your dog.
What tools do I need to get started?
At minimum, you’ll need scissors and a lighter or matches to melt the ends of ropes. For most projects, a snap hook, some webbing, and a sewing kit or rivet set will get the job done. You don’t need a sewing machine for the majority of these ideas.