10 Easy DIY Dog Leash Tutorials You Can Make Today
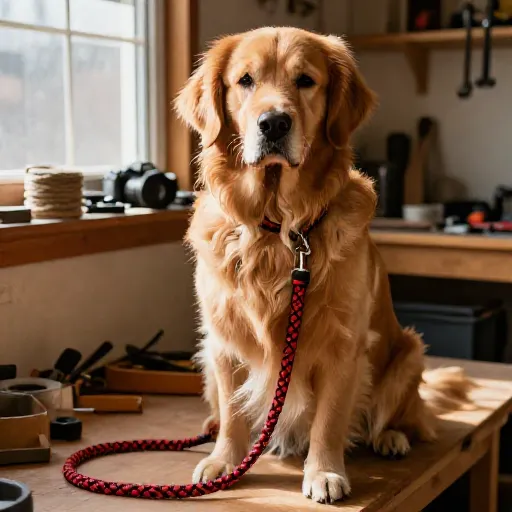
I don’t know about you, but I have a serious weakness for cute dog gear. The only problem? The price tags. I once saw a simple patterned leash go for forty bucks, and I almost choked on my coffee. That’s when I decided to start making my own. It turns out, DIY dog leashes are ridiculously easy, way cheaper, and you get to pick the exact colors and materials that match your pup’s personality (and your own).
Whether you have a tiny Chihuahua who needs something lightweight or a big, pull-happy Labrador who needs serious durability, I’ve rounded up ten of my favorite leash tutorials. Most of these take under an hour to make, and you probably already have a lot of the supplies in your junk drawer or craft bin. Grab your scissors and let’s get started—your dog is going to be the best-dressed on the block in no time.
1. The Classic Paracord Braid
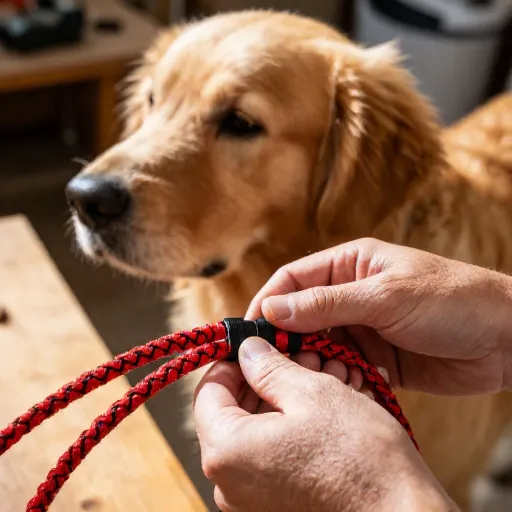
This is the one I always recommend to beginners. Paracord is strong, comes in a million colors, and it’s super cheap. You can pick up a spool at any outdoor store or online for a few bucks. The braid itself is just a simple three-strand braid, but you can dress it up with different color combinations.
To make it, you’ll need a swivel snap hook, a D-ring, and about 8 feet of paracord. Fold the cord in half, loop it through the snap hook, and start braiding. It sounds simple because it is! Once you get the hang of the rhythm, it’s actually a really relaxing project to do while watching TV.
The best part? Paracord is incredibly strong. It can handle even the strongest pullers, and it’s soft on your hands. Plus, if you ever find yourself in a survival situation, you can unravel the leash and use the inner strands for, well, anything.
- Materials: Paracord, snap hook, D-ring.
- Time: 20–30 minutes.
- Skill Level: Super easy.
2. Braided T-Shirt Leash (No-Sew)
Got an old t-shirt that’s seen better days? Turn it into a funky, colorful leash that’s also eco-friendly. This is a no-sew project, so it’s perfect if you don’t own a sewing machine. The fabric is soft and stretchy, making it super comfortable to hold.
First, cut your t-shirt into three or four long strips. The trick is to cut in a spiral so you get one continuous piece of fabric. Then, simply braid the strips together and tie them securely onto a carabiner or a bolt snap. It really is that easy.
I made one from an old band t-shirt, and honestly, it’s my go-to for quick trips to the park. Just a heads up, this leash isn’t great for heavy pullers, but it’s perfect for small to medium dogs or for those who have already mastered loose-leash walking. It’s also machine washable, which is a huge win in my book.
3. The Rope Handle Leash
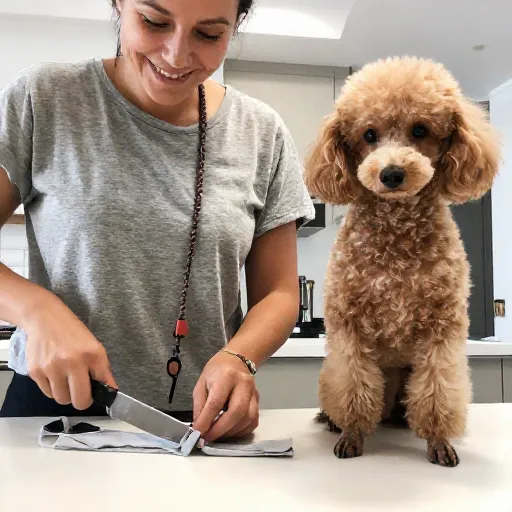
If you have a dog that likes to yank you around, a standard thin leash can dig into your palms. That’s why I love this rope handle design. It gives you a thick, padded grip that makes walking a much more pleasant experience. It’s a simple upgrade that makes a world of difference.
All you need is some sturdy rope (cotton or polypropylene works well), a bolt snap, and a needle and thread. You’ll fold the rope in half, attach the snap, and then sew a loop at the other end for your hand. The sewing part is a little fiddly, but it’s just a few strong stitches to hold it in place.
I like to use a bright, colorful rope so I can spot it easily in the dark grass. It’s also really durable and won’t fray easily, even with daily use. This is a great project for someone who wants something a little more substantial than a basic braid.
4. Upcycled Climbing Rope Leash
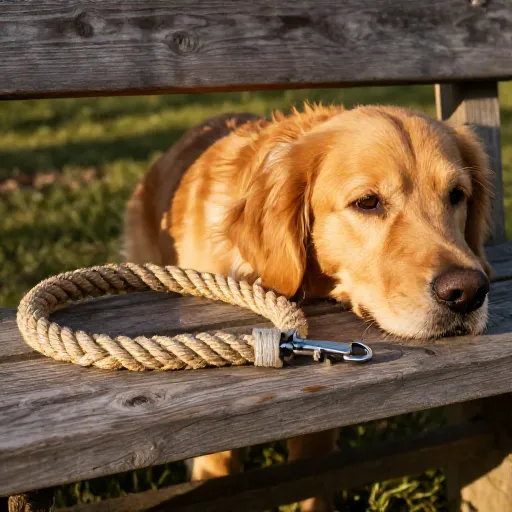
This is the “tough guy” of DIY leashes. If you or a friend have an old climbing rope that’s been retired, don’t throw it away! That rope is designed to hold a person’s weight, so it’s more than strong enough for your furry friend. Plus, the thick, textured feel is really unique.
You just need a length of the rope (about 5-6 feet), a heavy-duty carabiner, and a needle and thread to secure the loop at the end. The hard part is cutting the rope—it’s thick and tough. You’ll need a sharp knife and a steady hand, but once you do, it’s simple to finish.
The result is a rugged, long-lasting leash that looks super cool. It’s perfect for hiking or any outdoor adventure. Just be warned, it’s a bit heavy, so it’s best for medium to large dogs. This one definitely has a “bought from a boutique” look, but for a fraction of the price.
5. Two-Tone Leather Leash
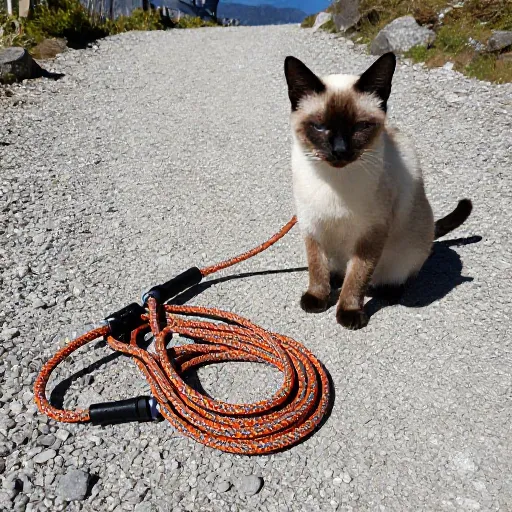
Feeling a little fancy? This leather leash is surprisingly easy to make and looks so elegant. You can find strips of leather at craft stores, or even repurpose an old leather belt! It’s a classic look that never goes out of style and gets better with age as it softens and develops a patina.
For this one, you’ll need two strips of leather (you can do different colors or the same), a rivet tool, a swivel hook, and a D-ring. You’ll stack the two strips together and rivet them at the ends to create the loop for the hook and the handle. It’s a super clean, minimalist design.
I love how professional this looks. It’s one of those projects that looks way more complicated than it is. The rivets are easy to set with a simple hand tool, and the whole thing takes about fifteen minutes. It makes a fantastic gift for a new dog parent, too.
6. The Quick-Release Safety Leash
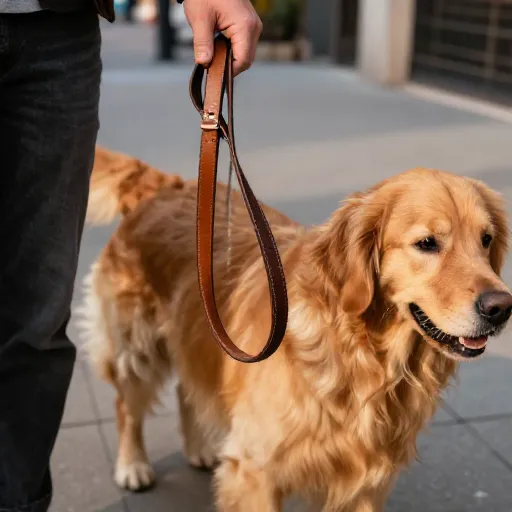
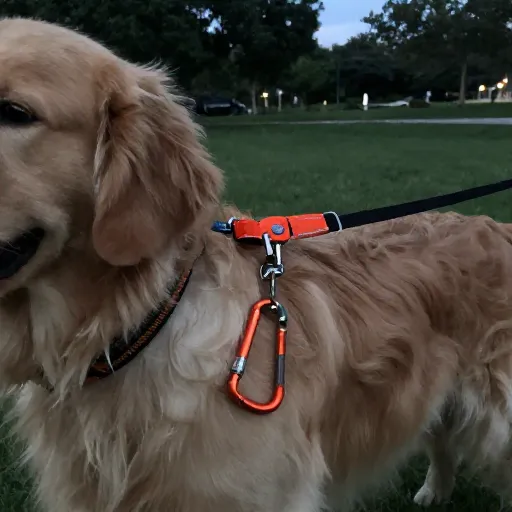
This one is all about practicality and safety. It’s a standard leash with a second clip at the handle end. Why? Because you can clip it around your waist for hands-free walking, or you can clip it to a tree or a pole while you’re camping or at a picnic. It’s a game-changer for multitaskers.
You’ll need some webbing (nylon or polypropylene), two bolt snaps, a triglide or slider to adjust the length, and a sewing machine or heavy-duty needle. The construction is simple: sew the webbing into a loop at one end, and attach the second clip to the handle loop.
This is my absolute favorite for hiking. I can clip it around my waist and have my hands free for my water bottle or to take photos. It’s also great if you’re at a café and want to tie your pup up while you grab a table. It’s a small detail that adds a ton of functionality.
7. Double Leash for Two Dogs
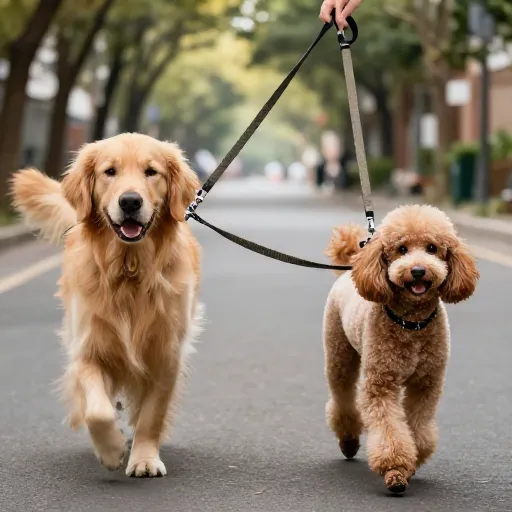
Walking two dogs at once can be a chaotic mess of tangled leashes. This DIY double leash solves that problem in a smart way. It has a single handle that splits into two leads, so you can walk both pups comfortably without them getting wrapped around your legs.
You’ll need one long piece of webbing for the handle, two shorter pieces for the leads, and two snap hooks. You’ll sew the two lead pieces onto the end of the handle piece. You can also add a swivel to each snap hook to prevent tangles.
I made this for my two terriers, and it has saved my sanity. It keeps them on the same side of me, and the single handle gives me much better control. If you’re a multi-dog household, this is a must-make. It’s durable, easy, and makes the daily walk a breeze.
8. Braided Rope & Wood Bead Leash
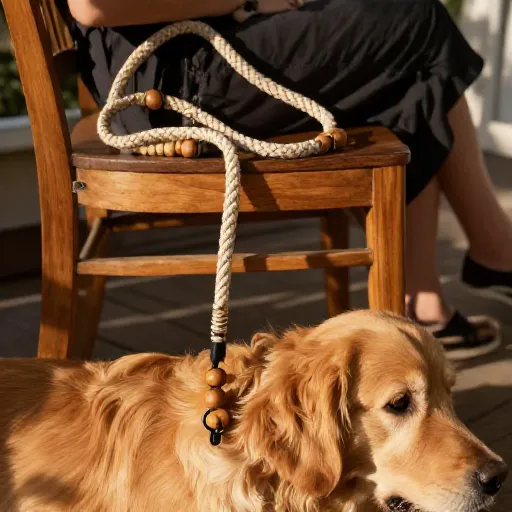
This one adds a little boho-chic style to your dog walks. It’s a simple braided rope leash, but you add some large wooden beads as you braid. The beads not only look great, but they also give you a better grip on the leash, preventing it from slipping through your fingers.
Use a cotton rope for this one, as it’s softer and easier to work with than nylon. Thread your beads onto the strands before you start braiding, and just work them into the braid as you go. It’s a fun way to personalize it with different bead colors and shapes.
I love the natural, earthy look of this leash. It pairs perfectly with a tan leather collar. It’s a little more decorative than some of the other options, but it’s still incredibly functional and sturdy. It’s a great conversation starter at the dog park, too.
9. Traffic Handle Leash
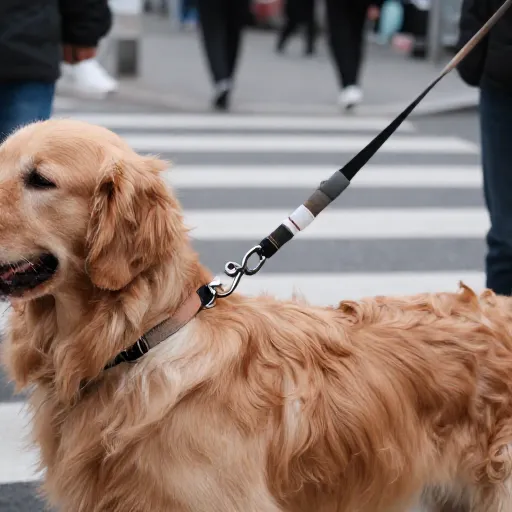
Sometimes you need extra control, especially when walking near busy roads or in crowded areas. A traffic handle is a second, shorter handle near the collar end of the leash. It lets you pull your dog close to your side quickly and easily without having to grab the collar.
This is a simple modification to a standard leash. You’ll need webbing, a snap hook, a D-ring, and some sewing. You’ll attach the D-ring near the snap hook end of the leash, and then add a separate, short loop of webbing to that D-ring. It’s a genius little addition.
I always use this when we’re crossing streets or passing by other dogs. It just gives me that extra bit of security and confidence. It’s a simple project that makes a huge difference in your control and your dog’s safety. Definitely worth the extra ten minutes of work.
10. The Zero-Waste Fleece Leash
This is the simplest one on the list, and it’s perfect for when you need a leash in a pinch. All you need is a piece of fleece fabric. Fleece doesn’t fray, so you don’t even need to finish the edges. It’s soft, warm, and super easy to work with.
Just cut a long strip of fleece, fold it in half, and tie a loop at one end for the handle. Then, tie the other end securely to your dog’s collar. That’s it! You can make it as long or as short as you want. For a thicker, more comfortable grip, you can braid three strips together.
This is my go-to for a quick, last-minute leash. I keep an old fleece blanket in my craft bin just for this purpose. It’s not the most heavy-duty option, but for a small dog or an emergency, it’s perfect. Plus, you’re giving new life to something that would have ended up in the trash.
Final Thoughts
There you have it—ten easy, practical, and stylish DIY dog leash projects that you can actually finish today. I hope I’ve shown you that you don’t need to spend a fortune at the pet store to have great gear. Making your own is not only budget-friendly, but it’s also a really fun way to bond with your pet and express your creativity.
Don’t be afraid to mix and match ideas. Maybe you love the paracord but want a traffic handle, or you love the rope handle but want to add some beads. The possibilities are endless. I’d love to hear which one you try first! Happy crafting, and give your furry friend a belly rub for me.
Frequently Asked Questions
What is the strongest material for a DIY dog leash?
For maximum strength, you can’t beat paracord or upcycled climbing rope. Both are designed to hold significant weight and are incredibly resistant to fraying and snapping. Nylon webbing is also a great, strong choice that’s easy to sew.
How long should a DIY dog leash be?
A standard walking leash is usually around 4 to 6 feet long. This gives your dog enough freedom to sniff and explore without being too far away. For training or high-traffic areas, a 4-foot leash is a good choice, and for hiking, a 6-foot length is nice.
Can I make a dog leash without a sewing machine?
Absolutely! Many of these projects, like the t-shirt leash and the braided paracord leash, require no sewing at all. For those that do need a stitch or two, a heavy-duty needle and some strong thread can easily do the job. Rivets and heavy-duty snaps are also great no-sew alternatives.
Is a DIY leash safe for a strong dog?
Yes, as long as you use the right materials. For strong pullers, stick to paracord, climbing rope, or thick nylon webbing. Avoid using flimsy materials like craft string or thin ribbons. Also, make sure your knots and stitching are secure before you head out.
How do I clean a DIY dog leash?
It depends on the material. Fabric and paracord leashes can usually be thrown in the washing machine on a gentle cycle and hung up to dry. Leather leashes should be wiped clean with a damp cloth and conditioned occasionally to keep them soft and supple.