11 Dog Collar DIY Tutorials for Beginners
There’s something so satisfying about making something with your own hands—especially when it’s for your four-legged best friend. I remember the first collar I made for my rescue pup, Charlie. It wasn’t perfect, but the way he wagged his tail when I put it on him? Pure gold.
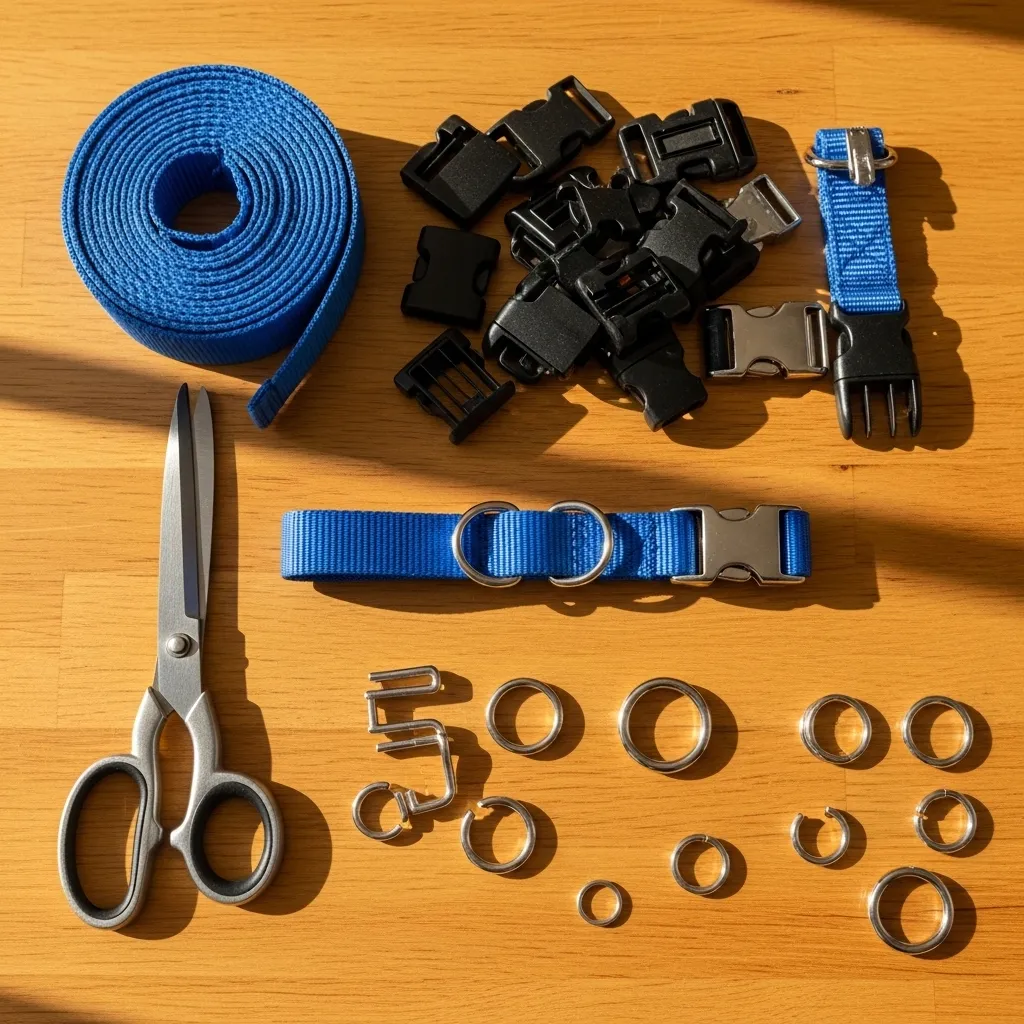
Whether you want to save money, match your dog’s personality, or just try a new hobby, these 11 beginner-friendly dog collar tutorials are for you. Most need just basic supplies, and you don’t need a sewing machine for every project. Grab some webbing, a buckle, and let’s get started.
By the end of this list, you’ll have a collar that’s totally unique—and maybe a new favorite way to spend a quiet afternoon.
1. The Simple Nylon Webbing Collar
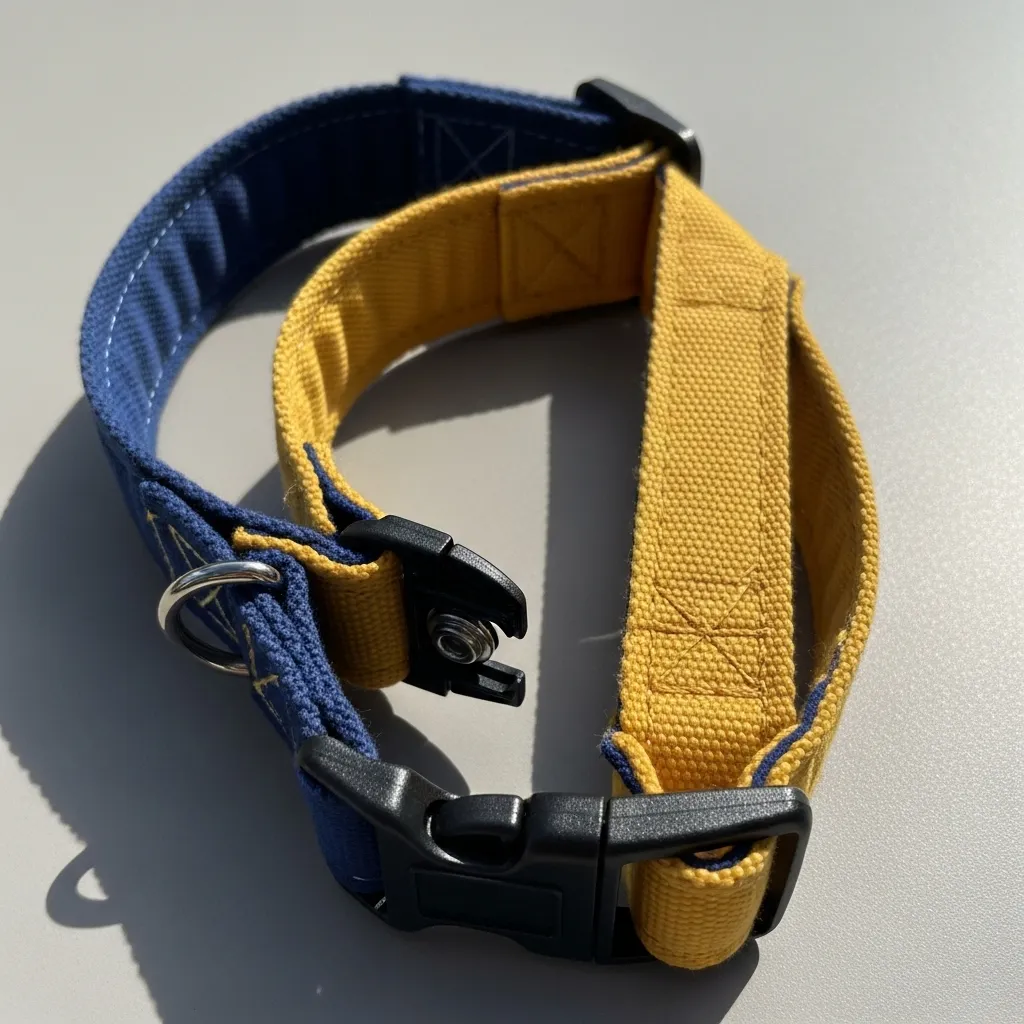
This is the perfect first project. All you need is nylon webbing (1 inch wide works best), a side-release buckle, and a D-ring for the leash. Cut the webbing to your dog’s neck size plus a few inches, then thread the buckle and D-ring onto one end. Fold the end over and sew or use heavy-duty fabric glue to secure it.
No sewing machine? No problem. You can use a needle and strong thread, or even rivets if you’re feeling handy. The best part? You can find webbing in every color imaginable.
Pro tip: Singe the cut edges of the webbing with a lighter to stop fraying. It takes two seconds and makes it look professional.
2. Braided Paracord Collar (No Sewing)
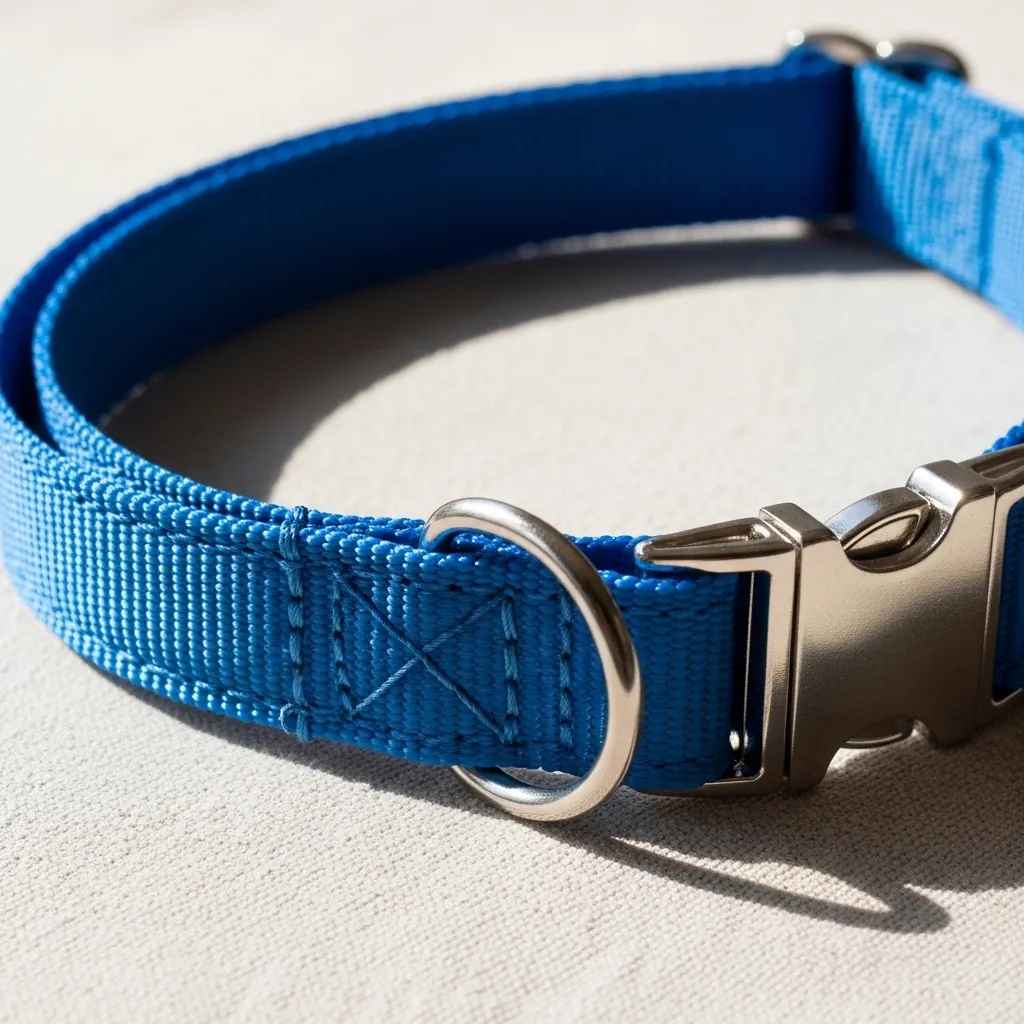
Paracord collars are tough, water-resistant, and look super cool. For beginners, the easiest braid is the “cobra stitch.” You’ll need about 10 feet of paracord, a buckle, and a D-ring. Watch the cord slide through your fingers as you weave—it’s almost meditative.
This collar is great for active dogs who hike or swim. Plus, if you ever get stuck on a trail, you can unravel the paracord for emergency use. Just make sure to measure your dog’s neck carefully, because paracord doesn’t stretch.
Once you finish, pull the braid tight so it doesn’t loosen over time. Your pup will have a rugged, handmade accessory that’s ready for anything.
3. Cotton Fabric Collar with Lining
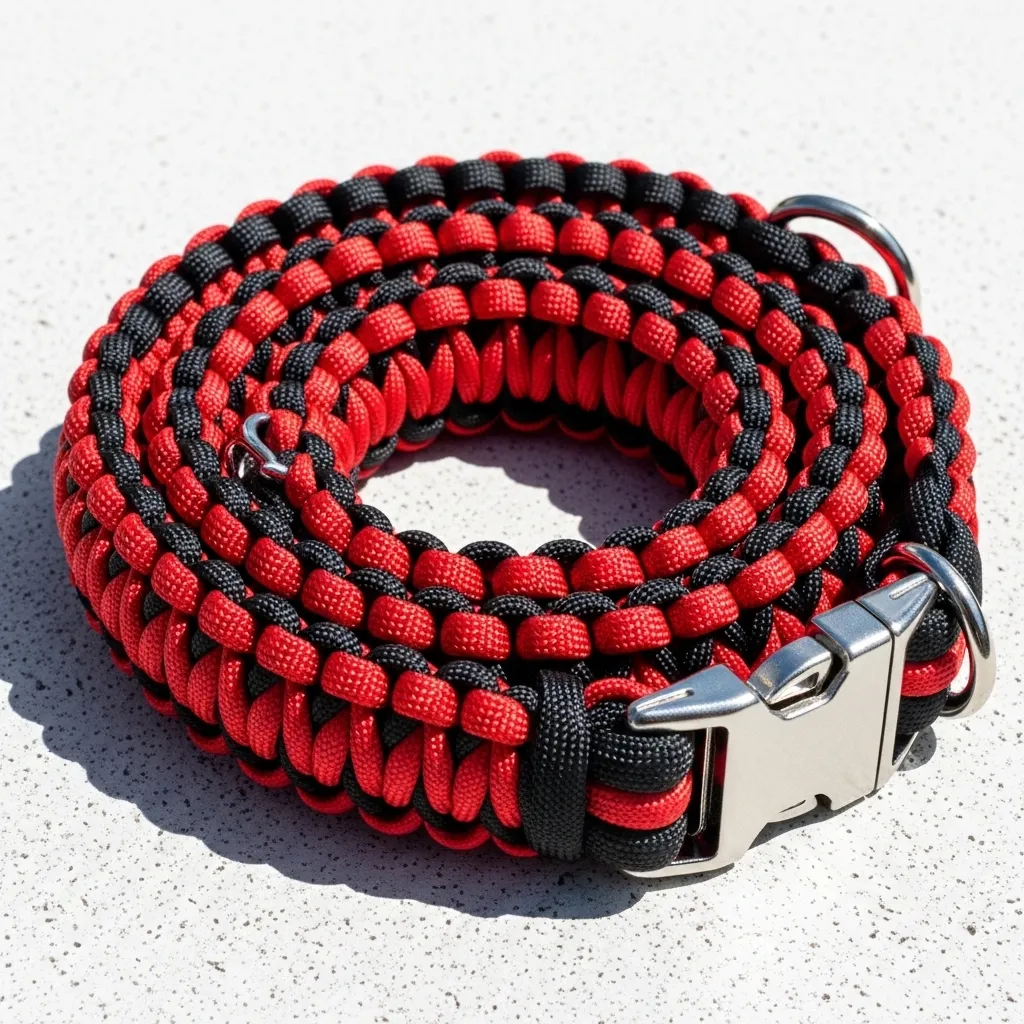
Want something soft and pretty? A fabric collar is your answer. Choose a cotton print—floral, plaid, or even little bones. You’ll also need fusible interfacing to give it stiffness, plus webbing for the inner layer. Cut two strips of fabric, iron on the interfacing, and sew them together around the webbing.
This one does need a sewing machine unless you’re patient with hand stitching. But the result is a gentle collar that won’t rub your dog’s fur. I made a strawberry-print one for my neighbor’s dachshund, and she wears it every day.
Remember to add a D-ring before you finish sewing the ends. It’s easy to forget, and trust me, you don’t want to rip out stitches.
4. Upcycled Leather Belt Collar
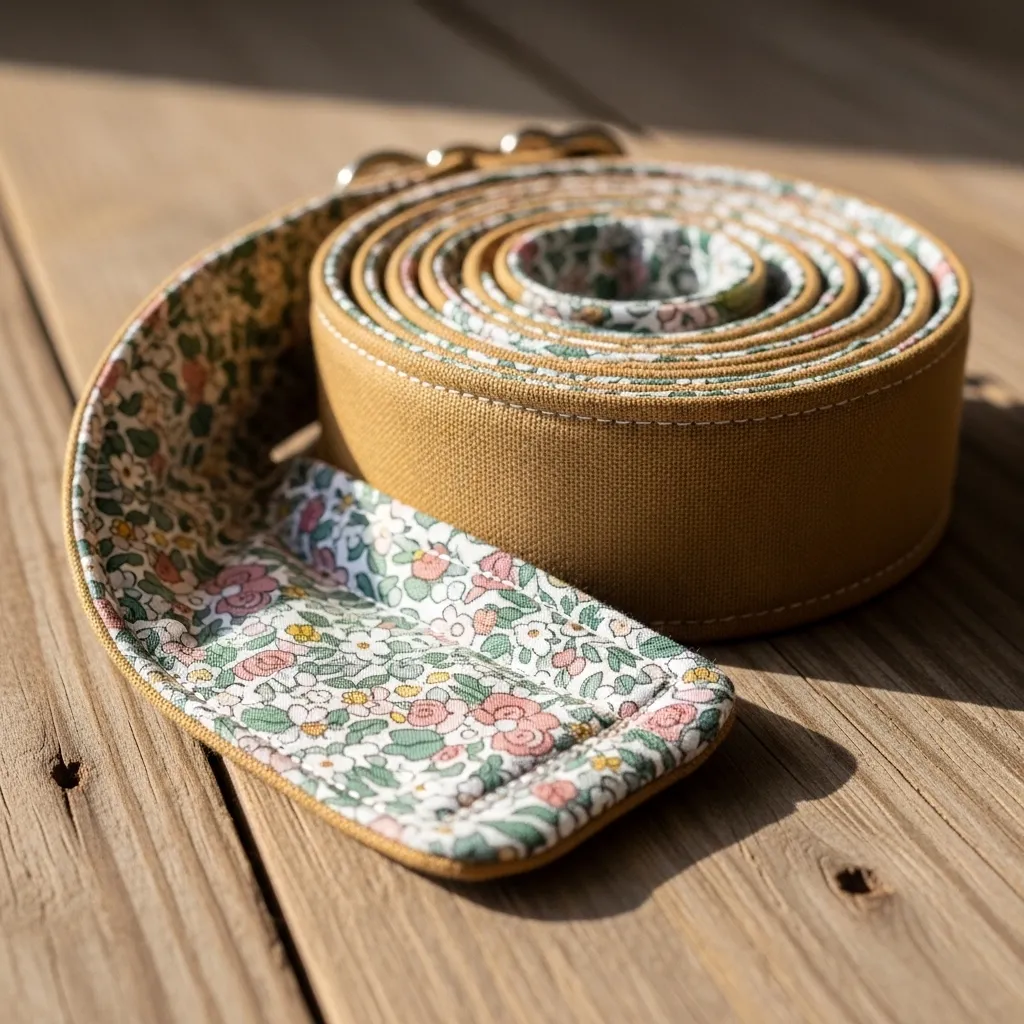
Look in your closet—or a thrift store—for an old leather belt. Cut it to size, punch a few holes, and add a buckle from a craft store. This is the easiest project on the list because you’re basically just shortening a belt. You don’t even need to sew.
Leather collars age beautifully and get softer over time. Plus, they look classy on any dog. If your belt has a cool embossed pattern or a vintage buckle, even better.
Just sand the cut edge smooth so it doesn’t scratch your dog’s neck. A little leather conditioner will keep it supple.
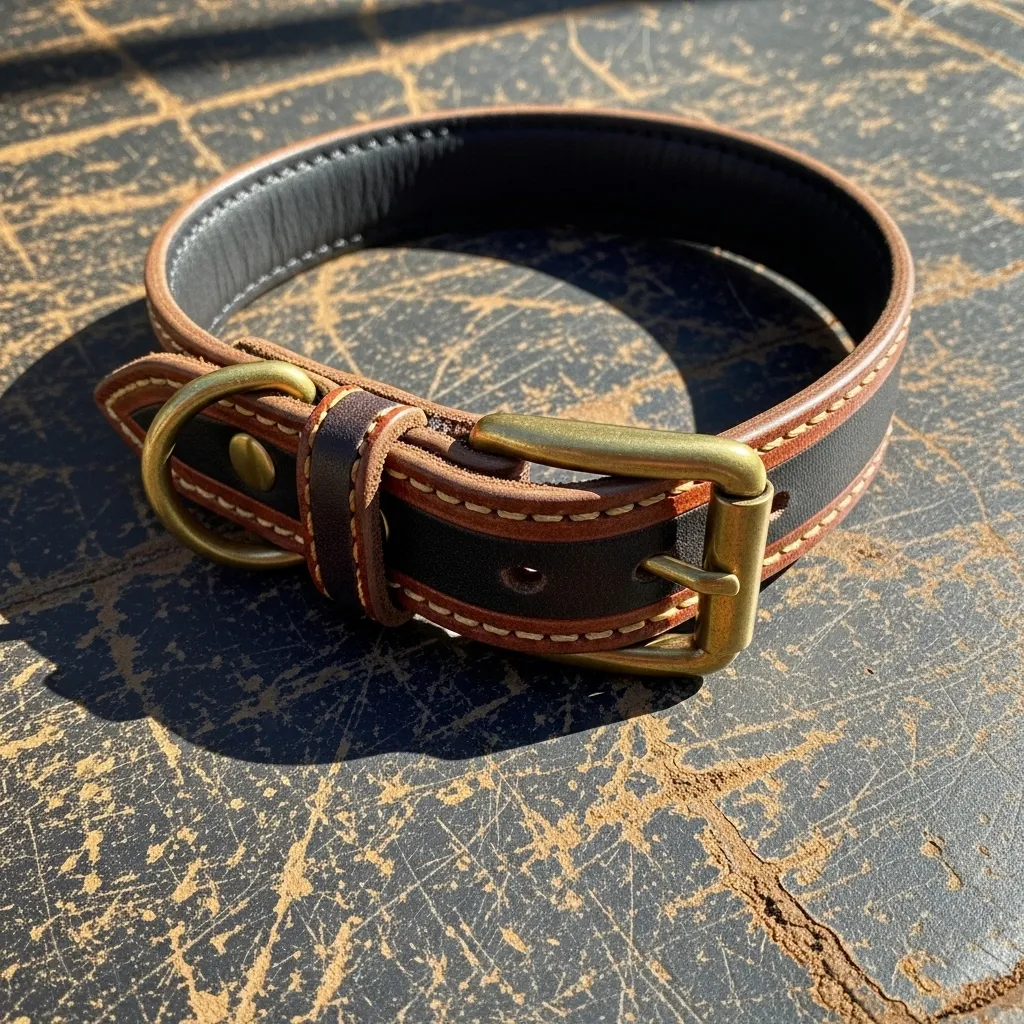
5. Rope Collar with Sliding Knot
This one is super minimalist. You just need a length of cotton rope (3/8 inch thick) and a wooden bead. Tie a simple sliding knot at one end, thread the rope through the bead, and you’re done. It’s adjustable, so it works for growing puppies or dogs who change weight.
I love this for small dogs because it’s lightweight and doesn’t have bulky hardware. It’s also a great project to do with kids—they can help pick the bead color.
Make sure to use a knot that won’t slip under pressure. A double overhand knot works well. Test it before putting it on your dog.
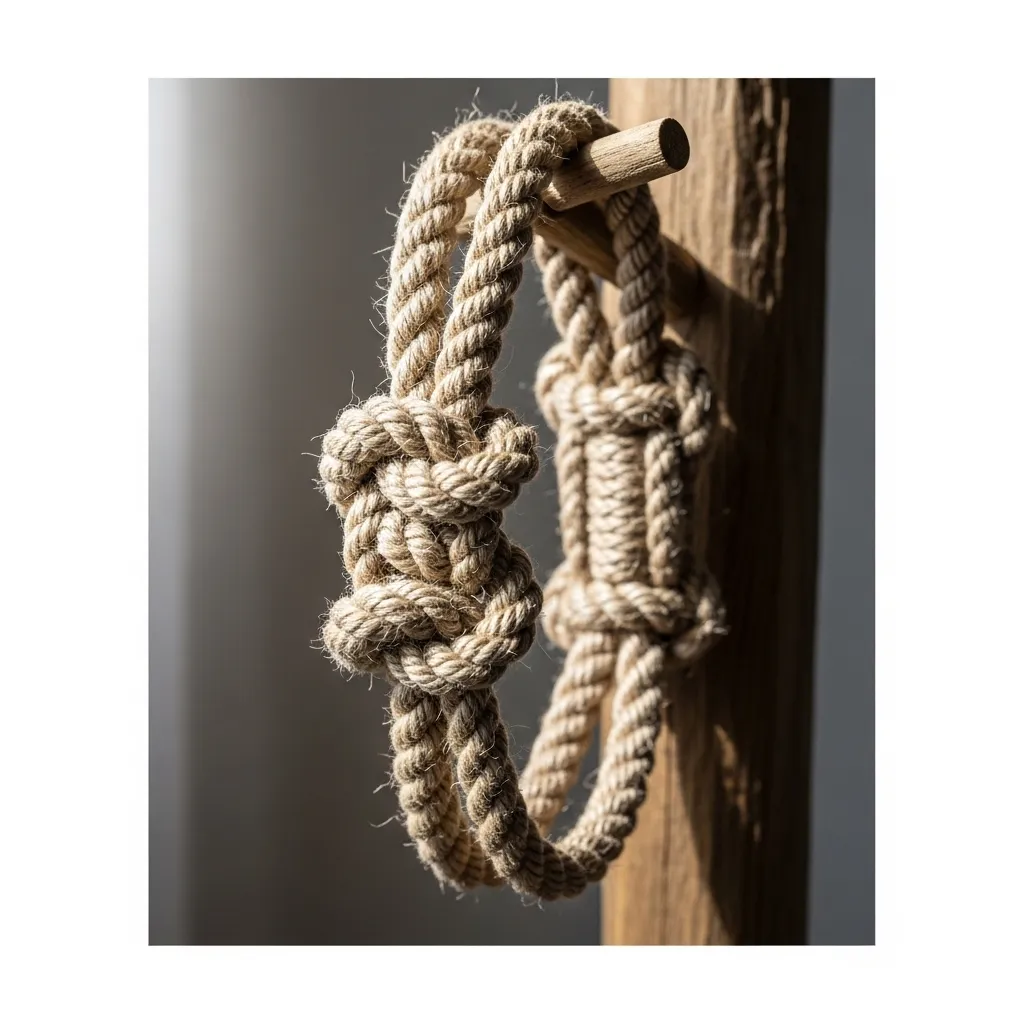
6. Ribbon and Webbing Combo Collar
If you can’t choose between plain webbing and cute fabric, combine them! Glue or sew a strip of grosgrain ribbon onto the center of your nylon webbing. Add a buckle and D-ring, and you’ve got a collar that’s both sturdy and pretty.
This is a great way to use up scrap ribbon from other projects. I once made a set of collars for a litter of puppies using different ribbon patterns—each one was unique.
Use fabric glue if you don’t want to sew. Just clamp the ribbon in place while it dries.
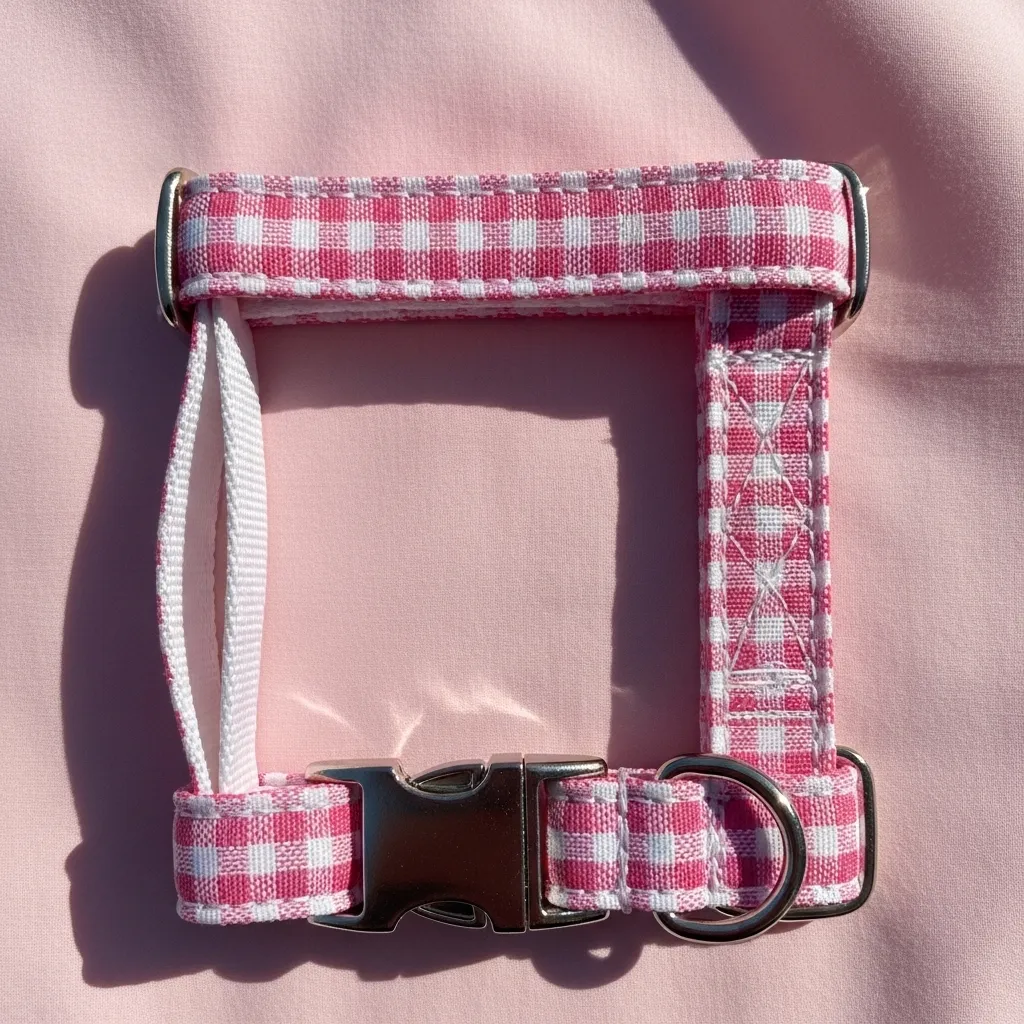
7. Beaded Dog Collar
For a little sparkle, try a beaded collar. Start with a nylon webbing base, then glue or stitch beads onto it in a pattern. Use flat-backed beads for easy application, or sew through round beads if you’re feeling crafty.
This is perfect for small, fashionable dogs. My friend’s chihuahua has a turquoise beaded collar that gets compliments at every dog park visit. Just make sure beads are secure—you don’t want your pup swallowing one.
Keep the pattern simple: a row of beads down the center, or a repeating design. Less is more until you get the hang of it.
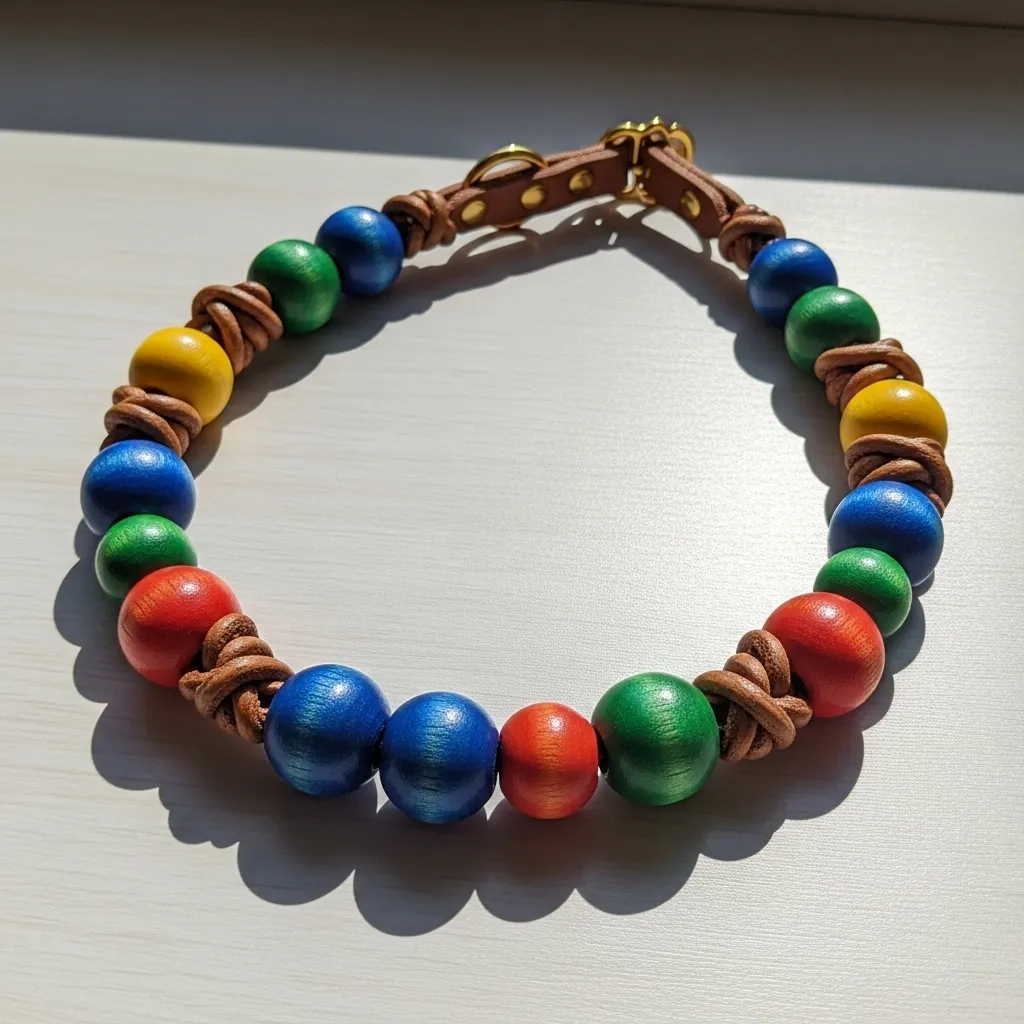
8. Two-Tone Reversible Collar
Two collars in one? Yes, please. Sew two different fabrics together with a layer of interfacing, then add hardware at the ends. One side can be a solid color, the other a fun pattern. When your dog gets tired of one look, just flip it over.
This is a bit more advanced, but still beginner-friendly if you take it slow. Use a sewing machine for straight seams. The key is to make the collar completely reversible, so the hardware works from both sides.
I keep a reversible collar in my car for emergencies. It’s saved me when Charlie got muddy and I needed a clean side fast.
9. Chain and Leather Combo Collar
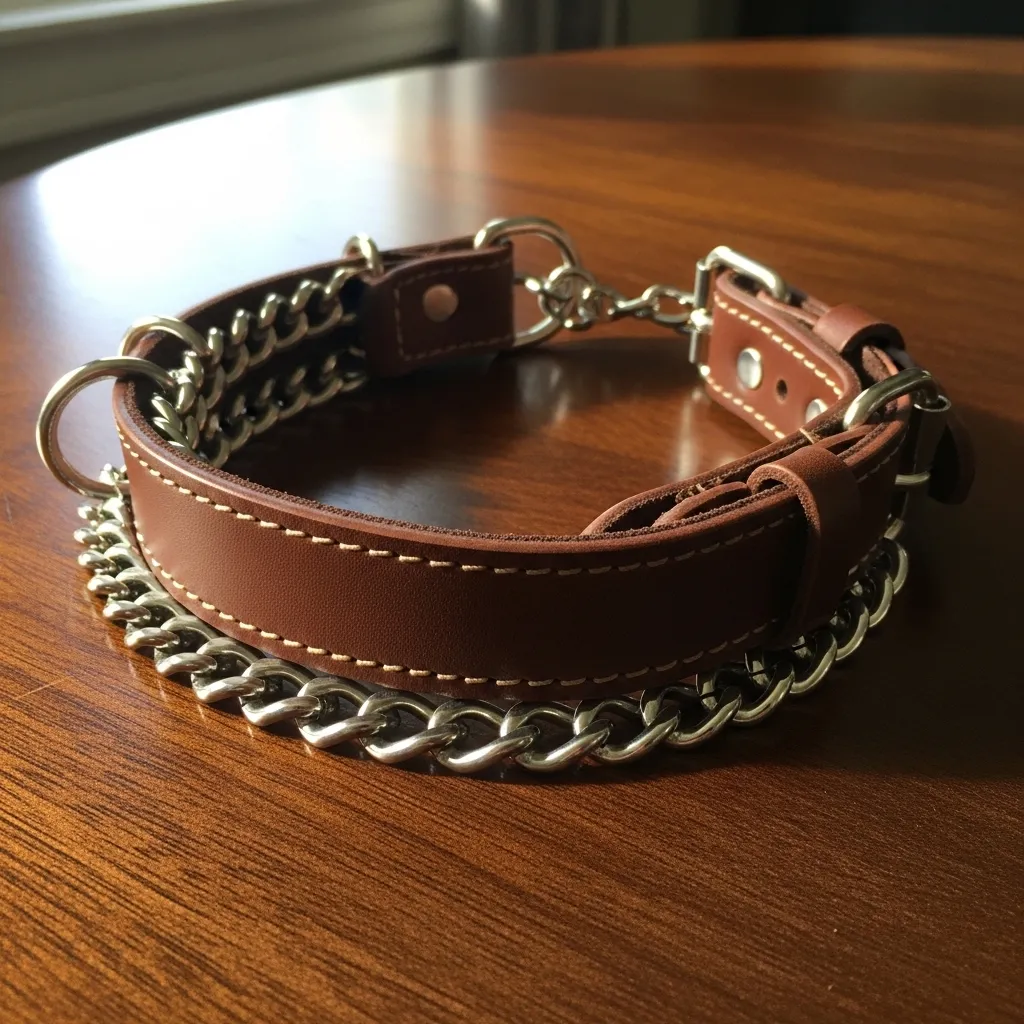
For a tough-but-tender look, combine a short leather strip with a small chain section. The leather goes against your dog’s neck, and the chain sits on top as a decorative accent. Use split rings to connect them.
This collar has an edgy vibe that works well for larger breeds. I made one for a friend’s German shepherd, and it looked like it came from a boutique. Just make sure the chain isn’t too heavy—your dog should barely feel it.
Test the fit before you add the chain. You want it snug but not tight.
10. Embroidered Name Collar
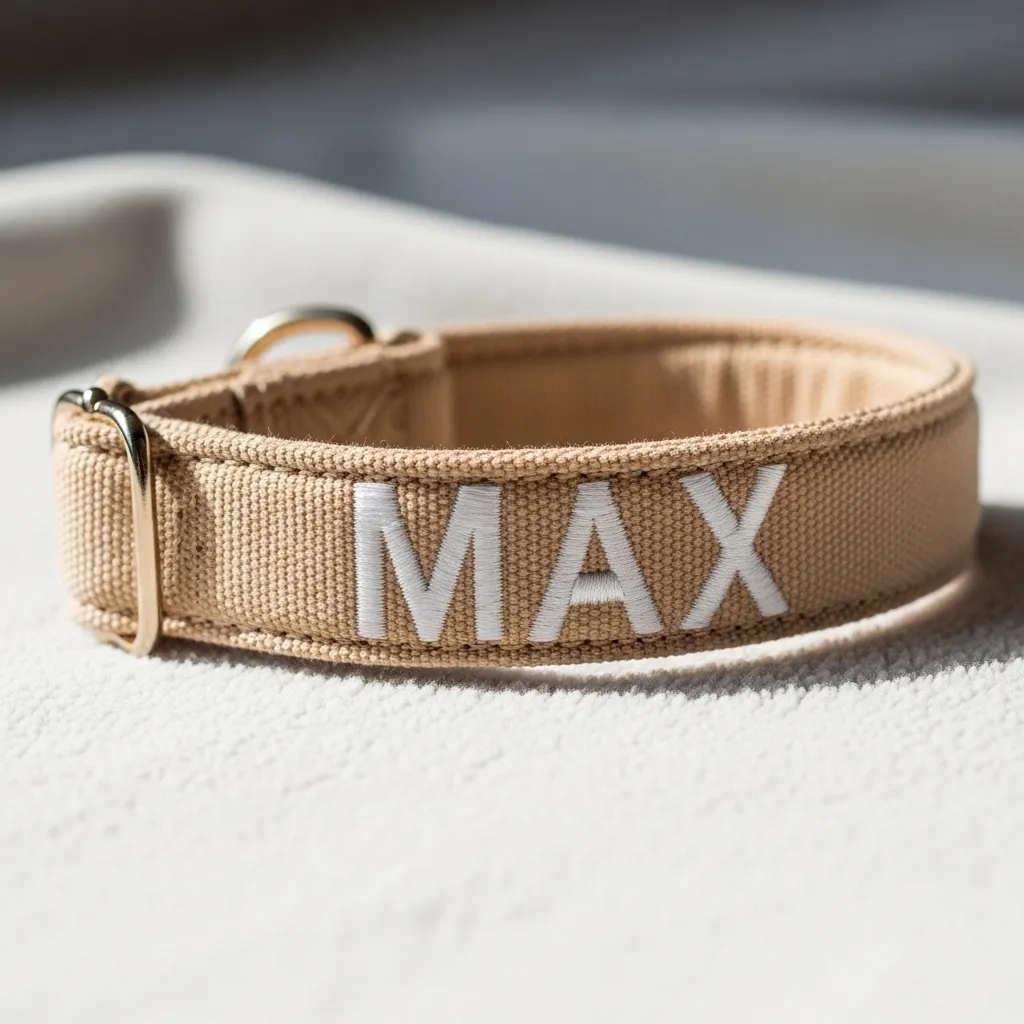
Personalize a plain nylon collar with your dog’s name. Use embroidery floss and a needle to stitch the letters by hand. You can also use a fabric marker to draw the letters first as a guide.
This is a thoughtful gift for a new puppy owner. Plus, it’s safer than hanging tags that can jingle or get caught on things. Use a simple backstitch for clean, readable letters.
If you mess up, no worries—just pull out the thread and start again. Practice on a scrap piece first if you’re nervous.
11. Camping-Themed Collar with Patches
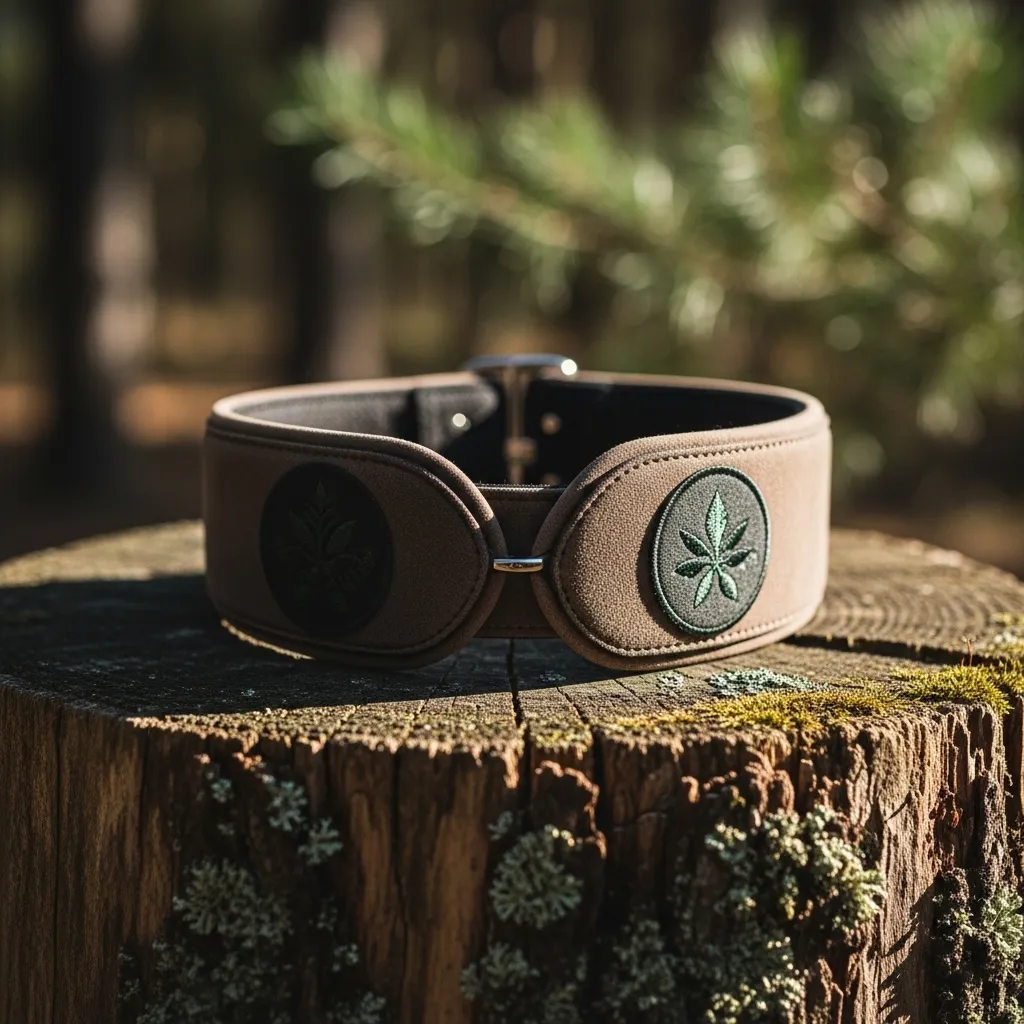
Start with a basic webbing collar, then sew or iron on fabric patches. Think pine trees, mountains, or compass designs. You can find patches online or at craft stores. Arrange them before attaching to make sure the spacing looks good.
This is so easy and lets you change the theme whenever you want. I switched out patches for each season—snowflakes in winter, flowers in spring. My dog never seemed to mind, and it kept things fun.
Use a strong needle and thread for sew-on patches. Iron-on patches are easier but may peel over time.
Making your own dog collar is one of those small projects that brings a lot of joy. You get to create something functional, beautiful, and totally personal. Plus, every time you see your pup wearing it, you’ll feel a little proud. So pick your favorite tutorial, gather your supplies, and make something special today.
Frequently Asked Questions
What supplies do I need to start making dog collars?
Most collars need webbing, a buckle, a D-ring, and something to secure the ends (like a sewing machine, needle and thread, or fabric glue). Start with simple projects to build your skills.
How do I measure my dog’s neck for a collar?
Use a soft measuring tape around the base of the neck where the collar sits. Add two inches for comfort. If you don’t have a tape, use a string and then measure it with a ruler.
Can I make a collar without a sewing machine?
Yes! Many collars use fabric glue, rivets, or knots. Paracord and rope collars don’t need any sewing at all. Just choose a no-sew method that fits your comfort level.
How do I make sure the collar is safe for my dog?
Always test the fit—you should be able to slide two fingers under the collar. Make sure all hardware is secure and there are no loose pieces your dog could chew off. Supervise the first few wears.
Can I wash a handmade dog collar?
It depends on the materials. Nylon and paracord collars can be hand-washed with mild soap. Fabric collars may need spot cleaning. Leather collars should be wiped clean and conditioned occasionally. Always air dry.