10 Steps to a Perfect Fitting Dog Harness
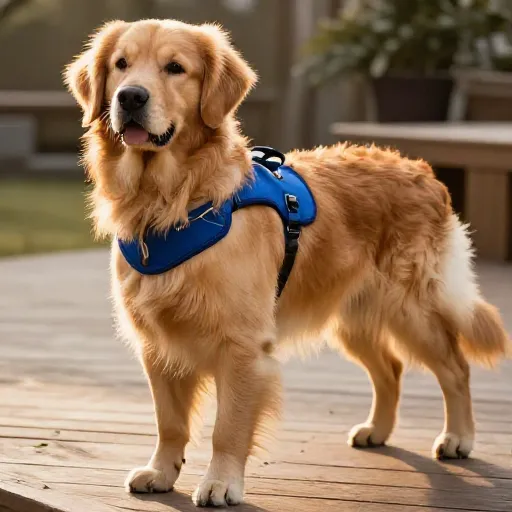
Finding the right harness for your dog can feel like a puzzle. There are so many styles, sizes, and straps that it’s easy to feel overwhelmed. But here’s the thing: a properly fitted harness isn’t just about looking cute on your morning walk. It’s about keeping your pup safe, comfortable, and secure.
I’ve been through the trial and error myself. I’ve bought harnesses that were too loose (hello, escape artist!) and ones that were so tight they rubbed my dog’s armpits raw. After lots of research and a few too many trips to the pet store, I’ve narrowed it down to a simple, foolproof process. Let’s walk through the steps together so your furry friend gets the perfect fit every single time.
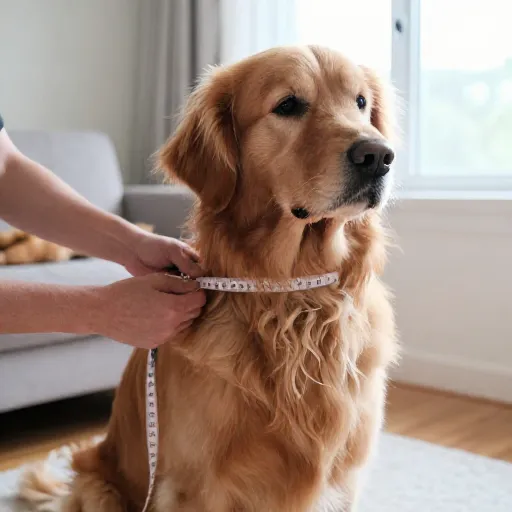
1. Measure Your Dog’s Chest (The Girth)
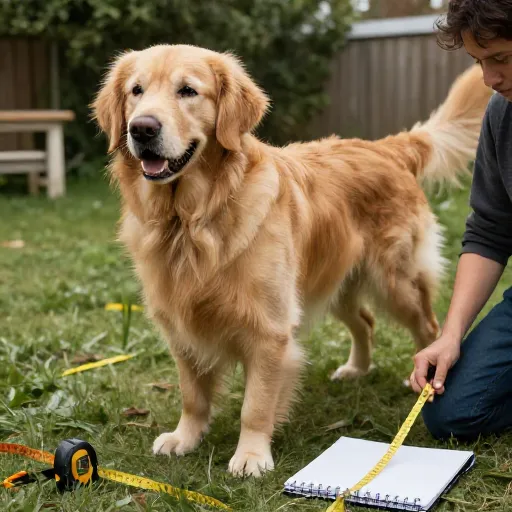
This is the most important measurement you’ll take. Get a flexible tailor’s tape measure (the soft kind you use for sewing). Wrap it around the widest part of your dog’s chest, which is usually right behind their front legs. Make sure the tape is snug but not tight—you want to be able to slide a finger underneath easily.
Write this number down, it’s your golden ticket. Most harness size charts are based on this chest girth measurement, not their weight or neck size. Don’t try to guess; even dogs of the same breed can have very different chest shapes.
2. Check the Neck Size
While you have the tape measure out, grab their neck measurement too. Place the tape around the base of the neck, where a collar would normally sit. This is especially important for breeds with thick necks or lots of fluff, like Golden Retrievers or Huskies. A harness that’s too tight on the neck can cause coughing or discomfort.
Just like the chest, keep it snug but comfortable. You should be able to fit two fingers flat between the tape and your dog’s fur. This gives you a good baseline for the harness’s adjustable neck straps.
3. Weigh Your Dog (And Don’t Trust the Label)
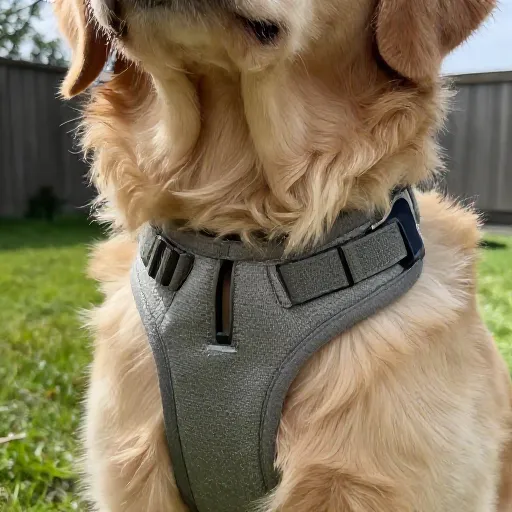
Weight is a helpful starting point, but it’s never the final answer. I’ve seen a lean 50-pound dog fit perfectly into a “large” while a stocky 40-pound dog needs the same size. Use the scale as a rough guide to narrow your options, but always rely on your measurements for the final call.
If you’re shopping online, read the size chart carefully. Some brands run small, some run big. Check customer reviews to see if people mention that the harness runs true to size or if you should size up.
4. Test the Harness on the Floor First
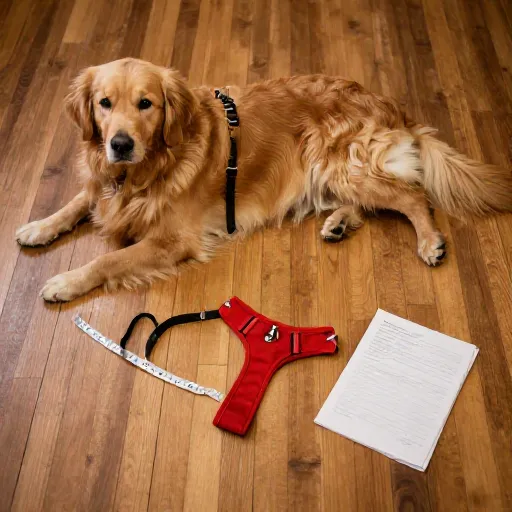
Before you even try to put it on your dog, lay the harness flat on the floor. Look at the straps and the buckles. Get familiar with how it goes together. Many harnesses are easier to put on if you clip the belly strap first, then slide it over the head. Or, some step-in styles require your dog to put their front paws in first.
This little dry run saves you from fumbling around with your wiggly pup. You’ll look like a pro instead of someone wrestling an octopus. Plus, it helps you spot any obvious adjustments you need to make before the dog even gets involved.
5. The “Two-Finger” Test
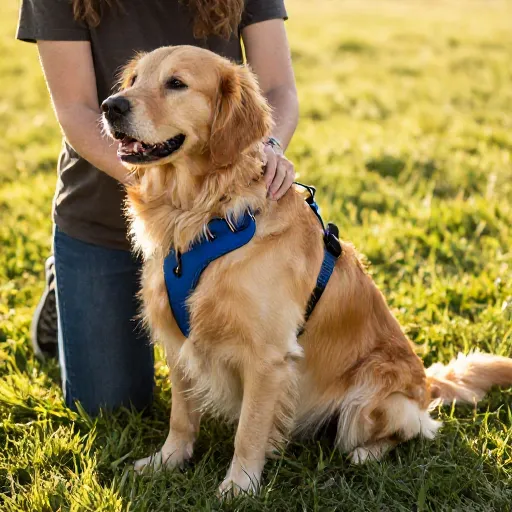
This is the golden rule of harness fitting. Once you have the harness on, you should be able to slide two flat fingers (not your thumb, that’s too big) underneath any strap. This applies to the chest strap, the neck strap, and the belly strap. If you can’t get two fingers in, it’s too tight. If you can fit your entire hand, it’s too loose.
This test ensures the harness is secure enough to prevent slipping out, but loose enough for your dog to move freely and breathe comfortably. It’s a simple check that takes five seconds and prevents so many problems.
6. Watch the “Armpit” Area
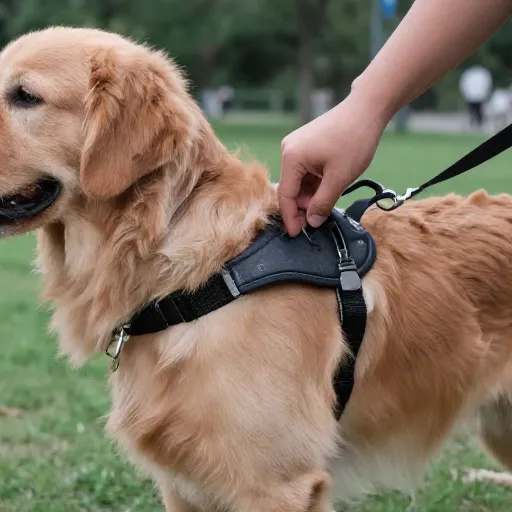
Behind your dog’s front legs is a sensitive spot that often gets overlooked. The chest strap should sit nicely in this “armpit” area without digging in or rubbing. If the strap sits too far forward, it can restrict your dog’s shoulder movement, making walking feel heavy and awkward.
If you see your dog stopping to chew at the harness or lifting their legs oddly, this is probably the culprit. Adjust the front straps so they sit comfortably behind the shoulder blades. A little room here makes a huge difference in your dog’s stride.
7. Do a Home Test Walk
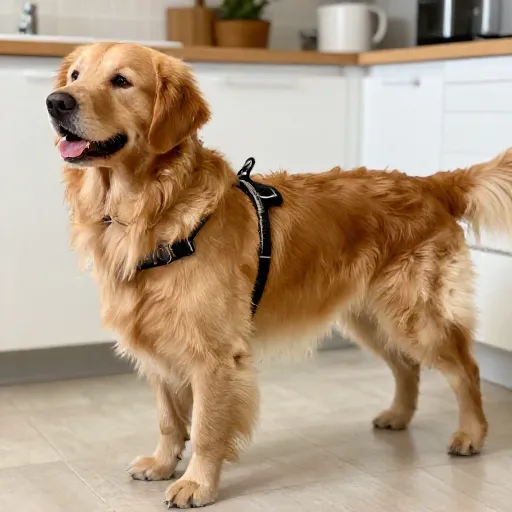
Don’t head straight out for a mile-long hike. Put the harness on and let your dog trot around the house or the backyard for a few minutes. Watch how they move. Are they walking normally? Can they sit, lie down, and turn around without any restrictions? This is your dog’s way of telling you if the fit is right.
Also, listen for any rubbing sounds. Sometimes you can hear the fabric moving before you can see it. A quick test walk indoors is the best way to catch any issues before you’re too far from home to fix them.
8. Adjust the Straps for a “Custom” Fit
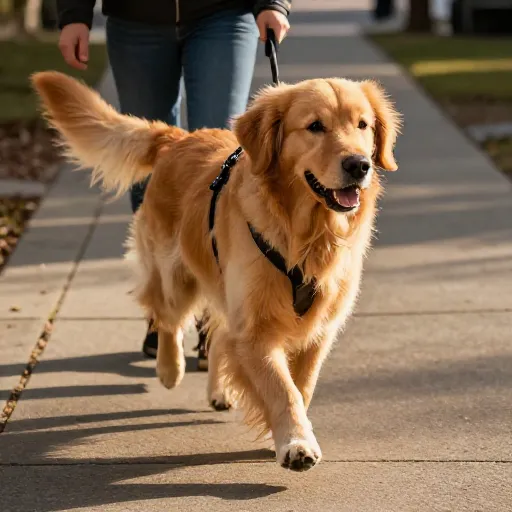
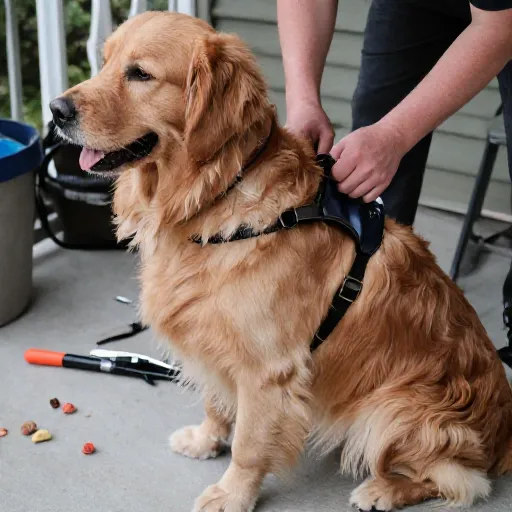
Most modern harnesses have multiple adjustment points. Don’t just set it and forget it. Take the time to adjust the chest and belly straps so the harness fits your dog’s unique body shape. A dog with a deep chest will need different adjustments than one with a barrel chest.
Think of it like adjusting a backpack. You want the weight distributed evenly. When adjusted properly, the Y-shaped strap on the chest should sit flat, and the harness shouldn’t shift from side to side as your dog walks.
9. Re-Check the Fit Every Few Months
Dogs change shape over time. Puppies grow, adult dogs might pack on a few winter pounds, and senior dogs might lose muscle mass. That’s why it’s crucial to do the “two-finger” test again every couple of months. A harness that fit perfectly in the spring might be too snug by the fall.
Set a reminder on your phone to do a quick fit check. It takes less than a minute and ensures your dog is always safe and comfy. This is especially important for young dogs who seem to grow overnight.
10. Know When to Retire the Harness
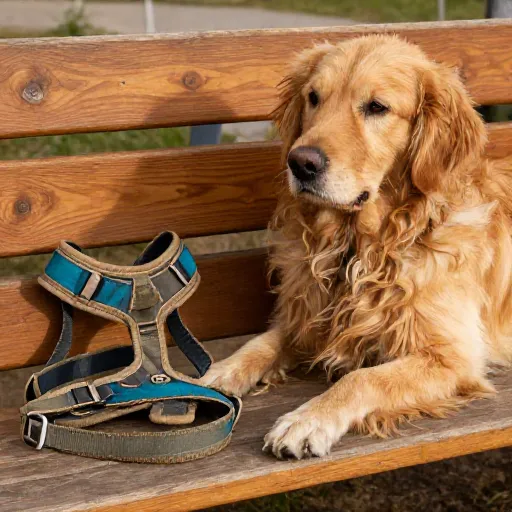
Even the best harness won’t last forever. Check the stitching and the buckles regularly. If you see frayed fabric, bent metal clips, or a buckle that doesn’t click securely, it’s time to replace it. A harness that fails on a walk is a safety hazard—your dog could slip out and run into traffic.
Also, if you’ve adjusted the straps to their maximum length and it’s still too tight, it’s a sign you need a bigger size. Don’t try to make a too-small harness work. Your dog’s safety is worth the investment in a new one.
Conclusion
Getting the perfect fit isn’t a one-time thing—it’s a little bit of knowledge and a lot of paying attention to your dog. Take the time to measure, adjust, and test. Your dog will thank you with happier walks, more tail wags, and zero escape attempts. When the harness fits just right, you’ll both forget it’s even there, which is exactly how it should be.
Frequently Asked Questions
1. Can I use a harness on a puppy?
Absolutely. In fact, it’s often better than a collar for puppies because it’s gentler on their developing necks. Just remember to check the fit frequently as they grow. You might go through a couple of sizes in the first year.
2. My dog pulls a lot. Will a harness help?
It depends on the type of harness. A standard back-clip harness might encourage pulling. For pullers, look for a front-clip harness, which gently turns your dog’s body when they pull, giving you more control without hurting them.
3. How do I know if the harness is too tight?
If you can’t fit two flat fingers under the straps, it’s too tight. Also, look for signs of rubbing, hair loss, or red marks on your dog’s skin after taking the harness off. Your dog might also try to chew or scratch at it.
4. Is a step-in or overhead harness easier to put on?
It’s totally a personal preference! Step-in harnesses are great for dogs who don’t like things going over their heads. Overhead harnesses are usually faster to put on once you get the hang of it. Try both styles to see which your dog tolerates better.
5. Should I leave the harness on my dog all day?
It’s better to take it off when you’re not actively walking or supervising. Wearing a harness all day can cause chafing and matting of the fur, especially in dogs with thick coats. Let them have a break to be free.