11 Adjustable Paracord Dog Collar Techniques for a Perfect Fit Every Walk
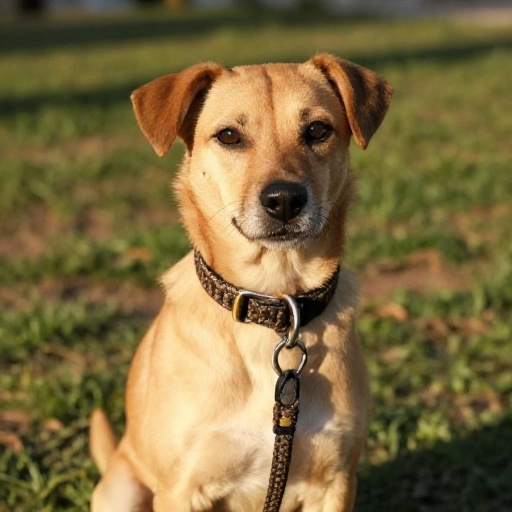
I started making paracord dog collars because store-bought ones never fit quite right. Either they were too loose, too tight, or they rubbed my dog’s neck after a long walk. Once I learned a few adjustable techniques, everything changed. A good collar should move with your dog, not against them.
The best part? You don’t need a fancy workshop. A few feet of 550 paracord, a buckle or slider, a D-ring, scissors, and a lighter can get you started. The technique you choose depends on your dog’s size, pull strength, and how often their neck size changes.
Below are my favorite adjustable paracord dog collar techniques. Some are simple, some take practice, but all of them can help you get a safer, comfier fit. Save this list for your next DIY session.
1. Buckle with a Webbing Adjustment Tail
The easiest adjustable paracord dog collar I make starts with a side-release buckle and a short webbing tail. I weave the main body to my dog’s neck measurement, then leave a few extra inches behind the buckle.
That tail lets me tighten or loosen the collar by an inch or two. I mark my favorite fit with a tiny stitch or a permanent marker dot. It’s perfect for puppies who seem to grow overnight.
I always test the buckle by pulling hard before it goes on my dog. If the tail slips, I add a keeper loop to hold it flat. This is my default method for medium and large dogs.
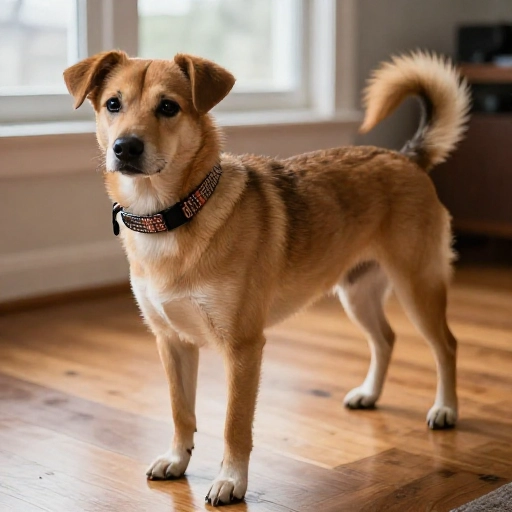
2. Tri-Glide Slider for On-the-Fly Fit
A tri-glide slider is a small piece that turns one straight strap into an adjustable strap. I weave a flat paracord band, thread it through the slider, and double it back.
To adjust, I just slide the tri-glide up or down. No unbuckling, no fuss. It’s great for dogs with thick winter coats and thinner summer necks.
I like to add a D-ring right next to the slider so the leash clip doesn’t pull the adjustment loose. A snug fit keeps the collar from sliding over the head.
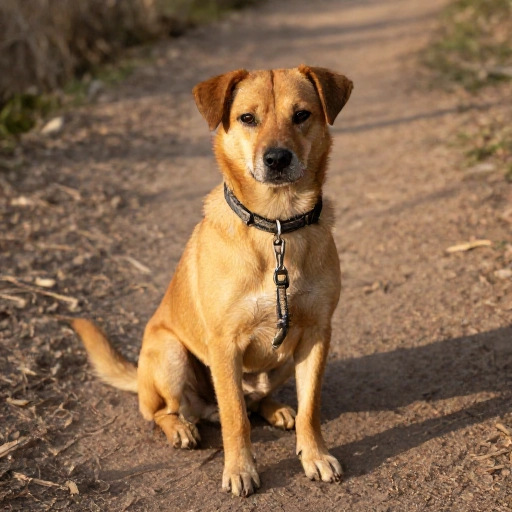
3. Cobra Weave with a Removable Core
The cobra weave is a classic paracord dog collar technique. To make it adjustable, I run a removable core strand through the center of the weave.
When my dog’s neck measurement changes, I pull the core out or replace it with a thinner strand. The outer weave stays the same, but the collar gets slightly bigger or smaller.
I use this for dogs who are between sizes. It takes a little patience to re-thread, but it looks clean. I secure the core ends with a tight melt and a hidden knot.
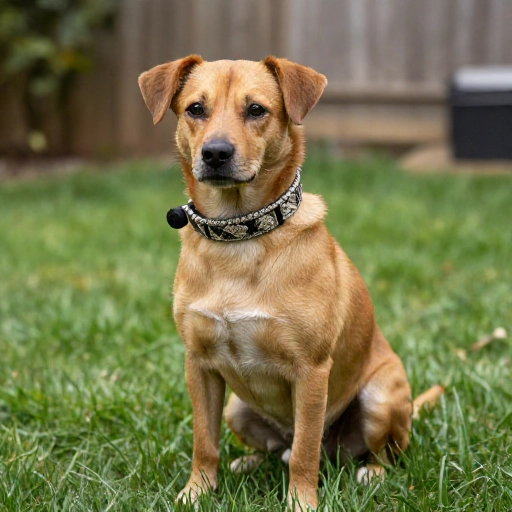
4. King Cobra Weave with Adjustable Side Straps
King cobra is thick and sturdy, which makes it great for strong pullers. The trick is to keep the front chest area fixed and make the side straps adjustable.
I weave two short side straps with buckles or sliders. That way the main design stays centered, and I can fine-tune the fit behind the ears.
This method uses more cord, so I plan about 1 foot of paracord per inch of finished collar. It’s worth it for a collar that looks custom and feels cushioned.
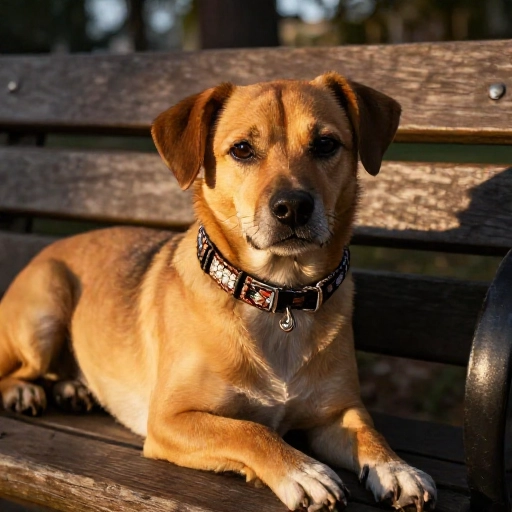
5. Chinese Sliding Knot Adjustment (Use with Care)
A Chinese sliding knot makes a collar look like a simple loop that tightens and loosens. I weave a flat band and finish the ends with this knot.
It’s beautiful for small, calm dogs. But I never use it on a strong puller or a dog who backs out of collars. The knot can loosen if it’s not checked often.
I test the knot by pulling it open and closed 20 times. Then I add a tiny stop knot so it can’t slide too far. Safety first, style second.
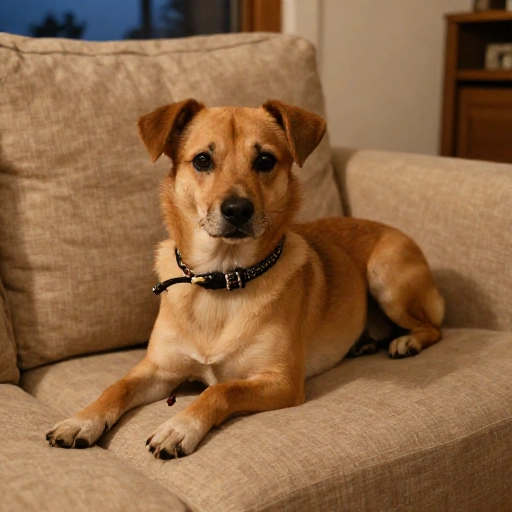
6. Belt-Style Grommets and Pin
This one feels like a tiny belt. I punch evenly spaced holes through a flat paracord band, then add grommets for strength.
A metal pin or small buckle tongue goes through the hole. It gives me lots of size options without any elastic or slipping.
I use this technique for wide paracord bands or leather-like collars. It’s not the fastest DIY, but it’s very secure. I always back the grommets with a second layer of cord.
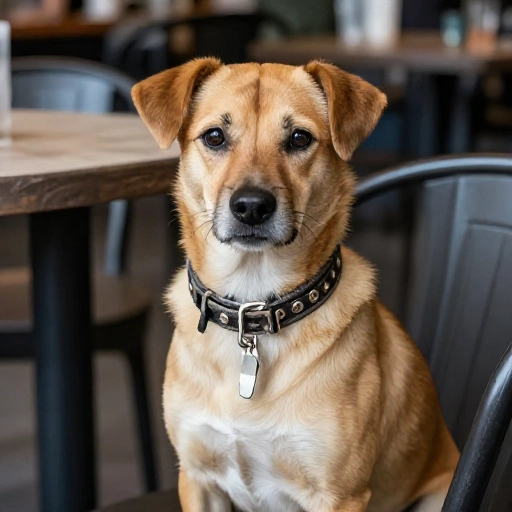
7. Double D-Ring Belt Closure
Two D-rings can work like a belt buckle. I weave a flat strap, add a D-ring on each end, and thread one through the other.
The leash clips to both D-rings for extra security. To adjust, I simply pull more or less strap through the rings.
This is one of my favorite adjustable paracord dog collar techniques because there’s no plastic to crack. I melt the ends flat so they don’t fray. It looks rugged and works great for active dogs.
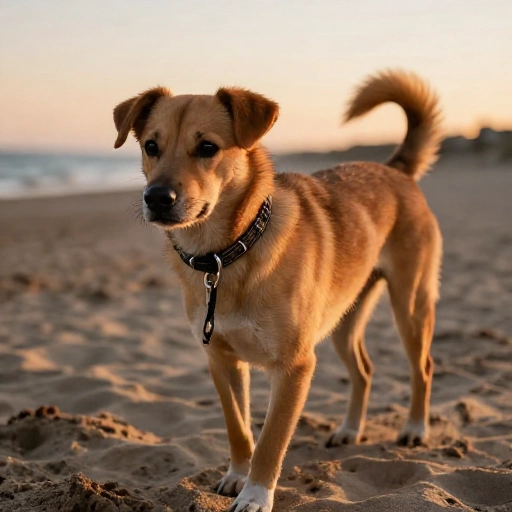
8. Ripcord Core with Quick-Release Buckle
A ripcord core is a hidden strand that runs through the middle of a weave. I attach one end to a quick-release buckle and leave the other end accessible.
Pulling the ripcord tightens the weave slightly; letting it out loosens it. Then I lock the cord with a small cord lock or knot.
I like this for collars that need a custom fit but still look seamless. It’s best for medium to large dogs. I check the cord lock every week because dogs are rough on gear.
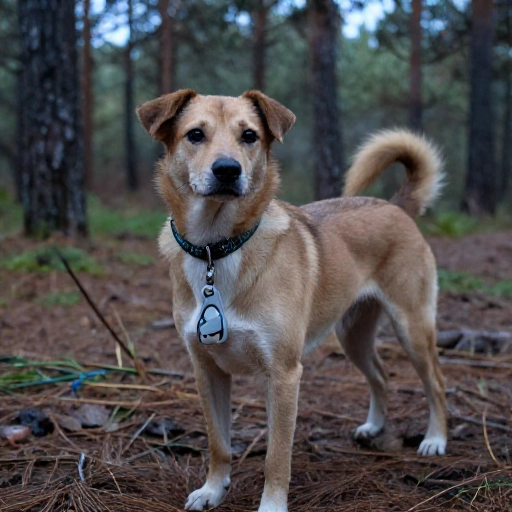
9. Fishtail Weave with an Expandable Base
Fishtail weave is flat and flexible. To make it adjustable, I weave it over an expandable base, like a short piece of elastic cord or a looser paracord core.
The collar stretches just a little when my dog swallows or pulls. That small give can make walks more comfortable.
I don’t rely on the stretch for sizing. I still add a slider or buckle for real adjustment. The fishtail just adds comfort and a pretty pattern.
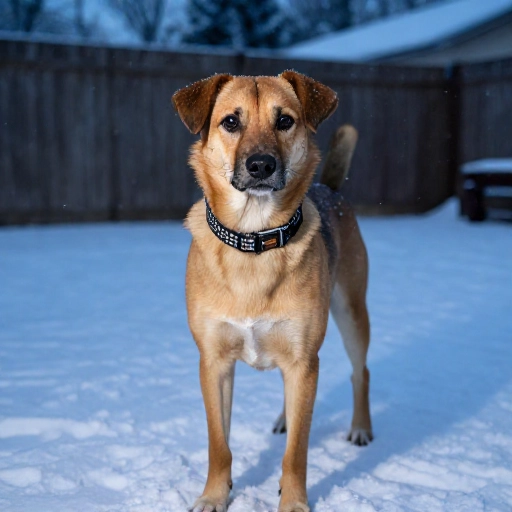
10. Two-Tone Paracord with a Hidden Adjuster
Sometimes I want the collar to look like a solid design with no visible hardware. I weave two colors together and hide a small slider inside the weave.
The slider sits under a loose crossover, so it’s easy to reach but hard to see. I can adjust by half an inch without ruining the pattern.
This technique takes practice. I recommend weaving a test piece first. Once it clicks, it’s a gorgeous way to make an adjustable paracord dog collar that doesn’t look adjustable.
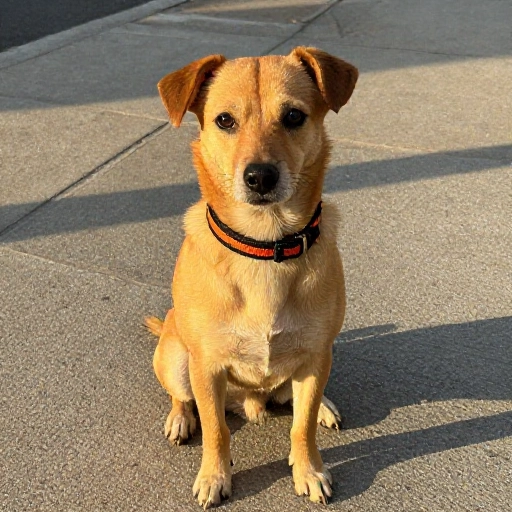
11. Bungee-Assisted Paracord for Gentle Flex
For older dogs or dogs with sensitive necks, I sometimes run a thin bungee cord through the center of a paracord weave.
The bungee gives gentle flex when my dog moves, and I add a tri-glide or buckle for actual size changes. The flex is not a substitute for a good fit.
I keep the bungee short and secure both ends with tight knots. If the bungee wears out, I can replace it without reweaving the whole collar. It’s a small detail that makes a big difference.
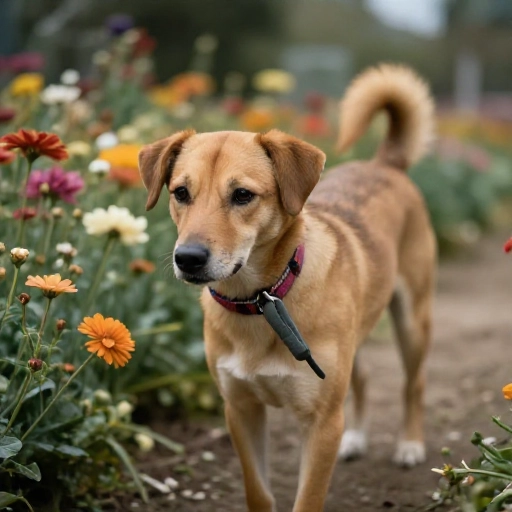
Final Thoughts: Adjust, Check, Repeat
Adjustability is not just about size. It’s about comfort, safety, and peace of mind on every walk. My favorite adjustable paracord dog collar techniques are the ones that stay put and are easy to check.
No matter which method you choose, use the two-finger rule. You should fit two fingers under the collar, but not slip it over the head. Check for fraying, loose knots, and cracked buckles often.
Start with a simple slider or buckle version, then try a woven core or hidden adjuster. Your dog will tell you what works. And you’ll have a collar that fits like it was made for them—because it was.
FAQ: Adjustable Paracord Dog Collar Techniques
How much paracord do I need for an adjustable dog collar?
It depends on the weave and dog size. A simple cobra collar usually uses about 1 foot of paracord per inch of neck size. Adjustable versions with extra straps or cores may need 25–50% more. Always cut extra.
Is an adjustable paracord collar safe for strong pullers?
Yes, if you use strong hardware and a secure technique. Cobra, king cobra, double D-ring, and grommet styles hold up well. Avoid sliding knots or stretchy designs for heavy pullers.
Can I wash a paracord dog collar?
Absolutely. I hand wash mine with mild soap and warm water, then air dry. Avoid hot dryers because heat can weaken paracord and plastic buckles. Check the knots after washing.
What is the best adjustment method for puppies?
I like a side-release buckle with a webbing tail or a tri-glide slider. Both let you resize quickly as your puppy grows. Recheck the fit every week.
How do I keep the adjustable part from slipping?
Add a keeper loop, a cord lock, or a tiny stitch near your favorite setting. Test the collar by pulling gently before every walk. If it slips, tighten the knot or add a second slider.