11 DIY Dog Bowl Stands Worth Making Today (Easy & Adorable Ideas)
Let’s be honest, bending down to pick up a water bowl multiple times a day gets old fast. And watching your furry friend struggle to reach their food? That just breaks your heart. A raised dog bowl stand isn’t just a fancy accessory; it’s a game-changer for their digestion and posture, especially for those long-legged pups or senior dogs with achy joints.
But here’s the thing—store-bought stands can cost a small fortune and rarely match your home’s vibe. That’s why I’ve rounded up my absolute favorite DIY dog bowl stand projects. These aren’t just functional; they’re stylish, budget-friendly, and most of them take less than an afternoon to build. Whether you’re a seasoned woodworker or a total beginner, there’s a perfect project on this list for you and your pup.
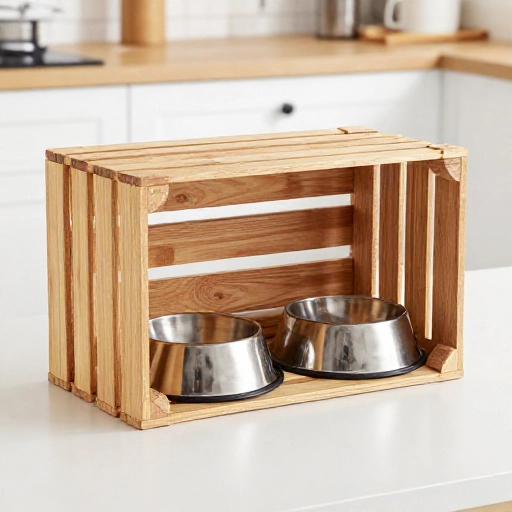
1. The Classic Wooden Crate Stand
This is the easiest project you’ll ever do. All you need is a simple wooden crate from a craft store. Flip it upside down, and you have an instant stand. But let’s make it pretty. I like to sand it down, paint it a fun color, or even stain it to match my kitchen cabinets. It adds rustic charm without any complicated cuts.
The best part? The crate usually has a slatted top that perfectly holds the bowls in place, preventing them from sliding around while your dog chows down. Just make sure the crate is wide enough for two bowls—one for food and one for water.
If you want to get a bit more fancy, you can cut a hole in the top of the crate to sink the bowls in. This creates a cleaner, flush look that’s super easy to wipe down after messy meal times.
2. The Hidden Storage Bench
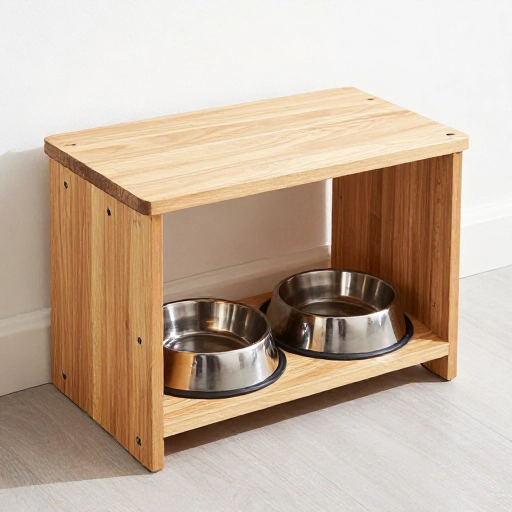
If you have a small entryway or mudroom, this is the ultimate multi-tasker. Build a simple box frame out of plywood that’s tall enough to act as a bench. On top, you’ll place your bowls. Below, you’ll have a hidden compartment for storing dog food bags, toys, and leashes.
I love this design because it hides the dog stuff in plain sight. It looks just like a stylish entryway bench to guests, but it’s actually your dog’s personal dining station. You can add a hinged lid or just make the front panel removable for easy access.
Make sure to add a coat of polyurethane to the top surface. This will protect the wood from water spills and scratches, ensuring your bench looks great for years to come.
3. The Simple Pipe and Wood Creation
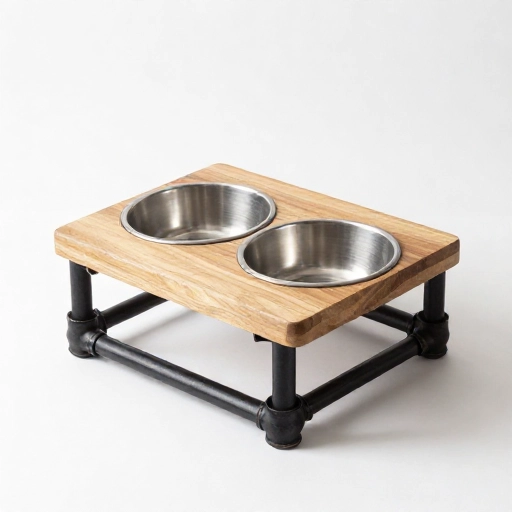
This one has a super cool, industrial vibe that looks great in modern lofts or apartments. Instead of cutting wood for legs, you use black iron pipes from the hardware store. You just need four pipes for legs and a wooden board for the top that you drill holes into for the bowls.
This stand is incredibly sturdy—like, seriously, it won’t budge. It’s perfect for big dogs who like to push their bowls around. The pipes screw together in minutes, so there’s no sawing involved, just a trip to the plumbing aisle.
To finish it, I’d recommend spraying the pipes with a clear coat to prevent rust and sealing the wood with a food-safe mineral oil. It’s a look that’s both tough and trendy.
4. The Pallet Wood Rustic Stand
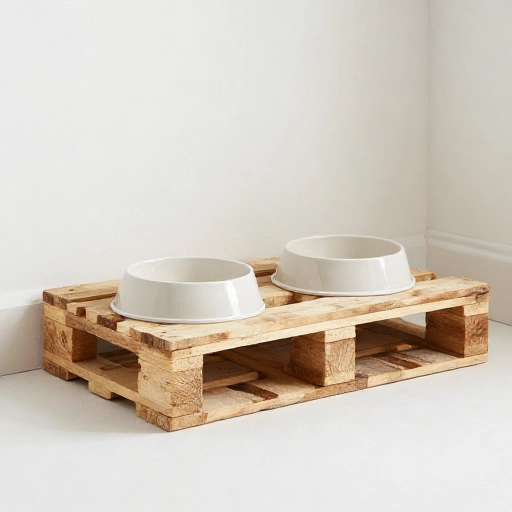
Don’t throw away those old pallets from your last delivery! Pallet wood is free, durable, and gives off that perfect farmhouse aesthetic. You’ll need to carefully dismantle the pallet and pull out the nails, but the effort is totally worth it for that weathered, rustic look.
You can keep the wood as-is for a raw look, or sand it down and whitewash it for a coastal feel. Just stack and screw the boards together to create a sturdy rectangle. The rough texture also provides great grip for the bowls, so they won’t slip.
This is a zero-waste project that costs almost nothing. Just make sure you sand the wood well so your dog doesn’t get splinters on their chin while they eat.
5. The Mid-Century Modern Legs
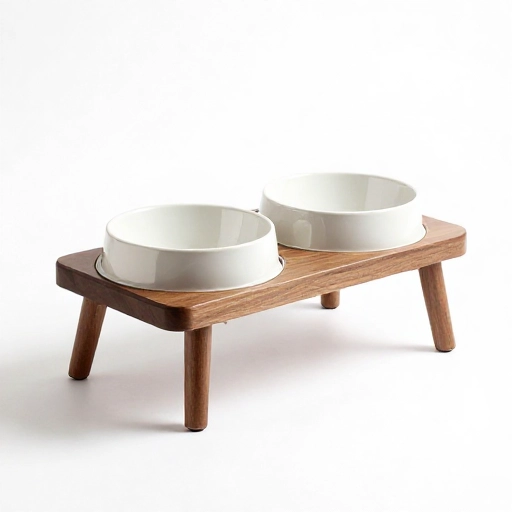
Give your dining area a retro upgrade with this easy hack. Instead of building a full box, just buy a set of wooden hairpin legs (you can find them cheap online or at hardware stores) and screw them into a nice piece of hardwood.
This creates a sleek, minimalist look that’s both elegant and stable. The open space underneath makes it super easy to sweep up any kibble that falls. For the top, I love using a piece of walnut or oak, but even a nice piece of pine painted black looks super sharp.
You can either route out circles for the bowls to sit in or just put a lip around the edge to keep them from sliding off. It’s clean, simple, and very chic.
6. The Repurposed Nightstand
Look around your house before you buy anything. That old nightstand you were going to donate? It’s now a dog bowl stand! Simply remove the drawers and cut a hole or two in the top for the bowls. You can also just place the bowls on the top if the height is right.
This is the ultimate budget-friendly upcycle. I found one with chipped paint and turned it into a shabby-chic masterpiece. The best part is you don’t have to build anything from scratch—just modify what you already have.
If the height is too tall, you can cut the legs down. If it’s too short, you can add furniture risers to the bottom. It’s a super flexible project that lets you get creative with paint and hardware.
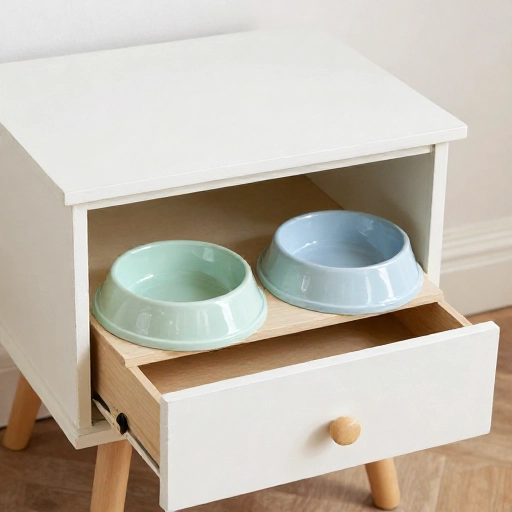
7. The Built-In Wall Nook
If you have a little alcove or an awkward corner in your kitchen, this is the project for you. Build a custom stand that fits perfectly into that space, almost like it was meant to be there. You can frame it out with plywood and add a beautiful quartz or wooden countertop.
This is a bit more advanced, but the result is a seamless, high-end look. You can even add a little shelf underneath to store the food bowl when it’s not in use. It’s the perfect way to utilize dead space in your home.
I love adding a backsplash tile behind the bowls in this design. It protects the wall from splashes and adds a pop of color that makes the whole setup look intentional and polished.
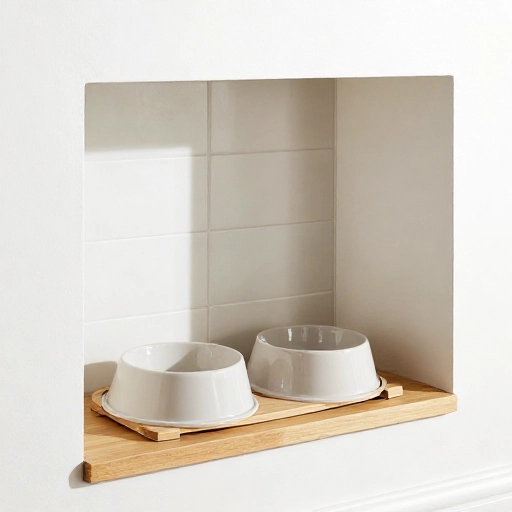
8. The Upside-Down Flower Pot Stand
This is perhaps the sneakiest and most clever idea on the list. You know those decorative concrete or ceramic flower pot stands? Flip them upside down! They have a wide, stable base (now on top) and a narrow bottom (now on the floor).
Just place your dog’s bowls on the flat top, and you’re done. No tools, no screws, no mess. This works best for small to medium-sized dogs. It’s also weather-proof, so you can keep it on the patio or in the garage for outdoor water stations.
It’s a zero-effort hack that looks surprisingly elegant, especially if you find a pot stand with a pretty pattern or a nice terracotta color.
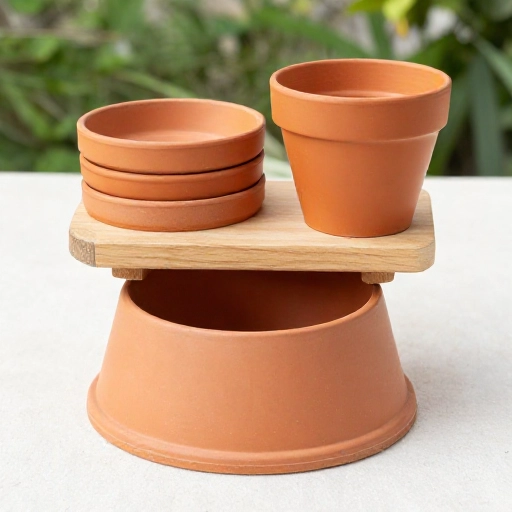
9. The Floating Shelf Feeder
Save floor space with this modern floating shelf trick. Install a sturdy floating shelf into the wall studs at your dog’s eating height. Then, just place the bowls on the shelf. This keeps the floor completely clear, making sweeping and mopping a breeze.
This is also a great option if your dog is a messy drinker—the water drips right onto the floor where you can easily wipe it up, rather than soaking the sides of a wooden stand. Make sure the shelf is deep enough to hold the bowls securely.
For a super sleek look, you can use a live-edge wood slab for the shelf. It adds a natural, organic element to your wall décor while being super functional for your pup.
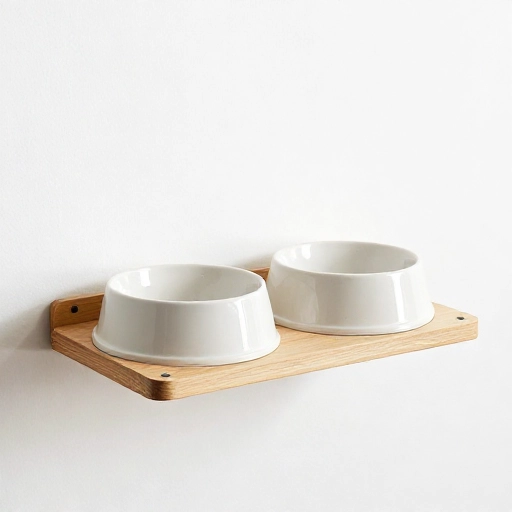
10. The Colorful Painted Tire Stand
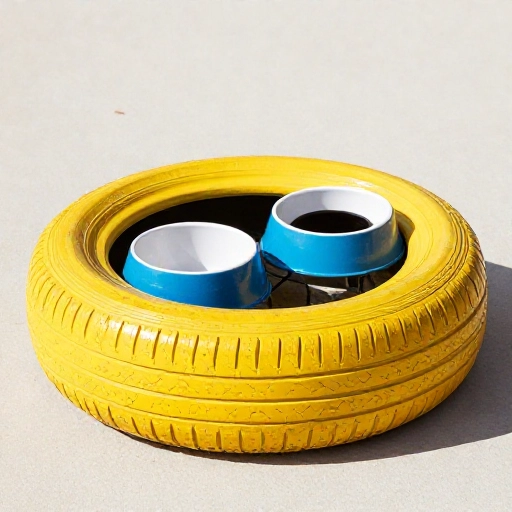
This one is for the quirky, fun, and eco-conscious pet parents. Take an old tire, clean it thoroughly, and paint it a vibrant color (or two!). Then, place a piece of round wood or plastic on top to cover the hole, and put your bowls on that.
It’s incredibly durable and won’t tip over, even with the most energetic eaters. It’s also perfect for outdoor use since it’s weather-proof and rubber won’t rot. You can even wrap rope around the tire for a more bohemian, beachy texture.
Just be sure to use a non-toxic paint or sealant so it’s safe for your pets. This is a fantastic way to recycle something that would otherwise end up in a landfill.
11. The Minimalist Bamboo Stack
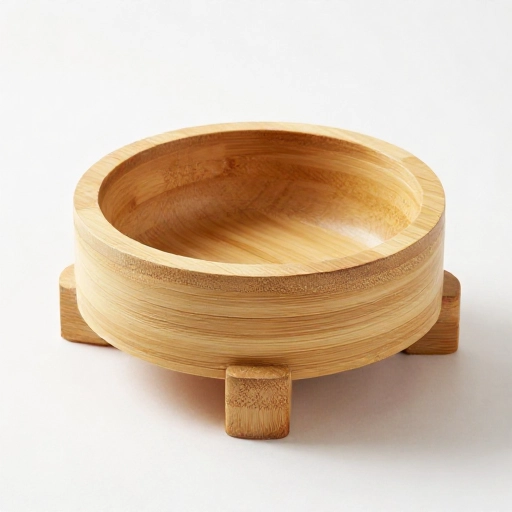
For a light, natural, and eco-friendly option, bamboo is your best friend. You can buy a couple of bamboo cutting boards and stack them, using small bamboo dowels as legs in between. This gives you a custom height without heavy wood.
Bamboo is naturally water-resistant and super easy to clean. You can glue the pieces together for a solid stand or leave them unglued so you can adjust the height as your puppy grows. It’s a really smart, adaptable solution.
This look is perfect for a boho or minimalist home. It’s lightweight, so it’s easy to move around, but it’s still sturdy enough for daily use.
Final Thoughts: Pick Your Project and Get Crafting!
There you have it—eleven totally doable DIY dog bowl stands that range from five-minute hacks to weekend woodworking projects. The best thing about making your own is that you can customize the height perfectly to your dog. A good rule of thumb is that the bowl should be level with your dog’s lower chest, so they don’t have to strain their neck.
Don’t stress about making it perfect on the first try. Just pick a design that fits your skill level and your home’s style. Your dog will love having their own special spot, and you’ll love how good it looks. Happy building, friends!
Frequently Asked Questions
What is the ideal height for a dog bowl stand?
The stand should be roughly level with your dog’s lower chest or elbow. This prevents them from having to hunch down or reach up too high. You can measure your dog from the floor to their chest and subtract about 5-6 inches for a comfortable height.
Is it better to have a raised dog bowl?
For most dogs, yes. It improves posture, aids in digestion, and reduces strain on the neck and joints. However, for some breeds prone to bloat (like Great Danes), it’s best to consult your vet, as there’s ongoing debate about raised bowls and bloat risk.
What is the best material for a DIY dog bowl stand?
Pine is great for beginners because it’s cheap and easy to work with. If you want something more water-resistant, go with cedar or teak. Always finish the wood with a pet-safe, non-toxic sealant to protect it from water damage and bacteria.
Can I use any bowl with a DIY stand?
Yes! Stainless steel is the most durable and hygienic option. Ceramic bowls are heavy and less likely to slide, but they can chip. Just make sure whatever bowl you use is dishwasher safe and doesn’t have sharp edges. If you are cutting holes into the wood, measure the bowl’s base, not the top rim.
How do I keep the bowl from sliding off the stand?
There are a few easy tricks. You can add rubber drawer liners under the bowl, or use a hot glue gun to attach small rubber bumpers to the bottom of the bowl. If you are building a wooden stand, you can route out a shallow circle for the bowl to sit in, which is the most secure option.