11 Secrets to Slinky Dog DIY for Adults
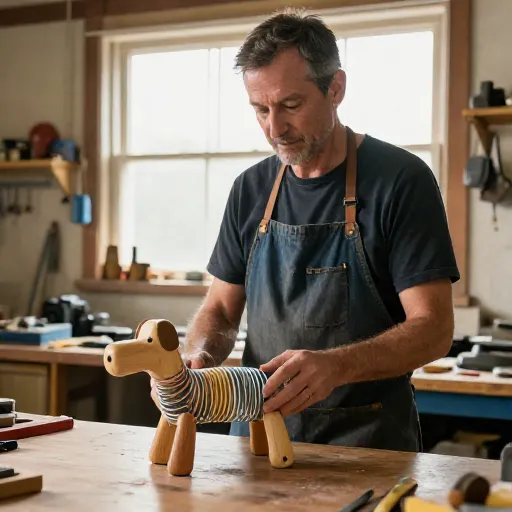
Remember the sheer joy of watching Slinky Dog stretch his coils and race across the floor? That nostalgia hits different when you’re an adult with a glue gun and a free weekend. Building your own toy dog isn’t just a craft project; it’s a tiny time machine back to simpler days.
But let’s be real—adult DIY means we want things to look polished, actually work, and maybe not fall apart after five minutes. Whether you’re making a nostalgic desk buddy, a unique gift for a fellow Toy Story fan, or just love a good engineering challenge, I’ve got the secrets that make the difference between a wobbly mess and a masterpiece.
Forget the flimsy plastic kits. We’re talking about building a Slinky Dog with personality, durability, and that satisfying bounce. I’ve tested these tricks myself, and trust me, these are the details that turn a fun craft into a showstopper. Grab your supplies, and let’s get that tail wagging.
1. Source the Perfect Slinky Spring
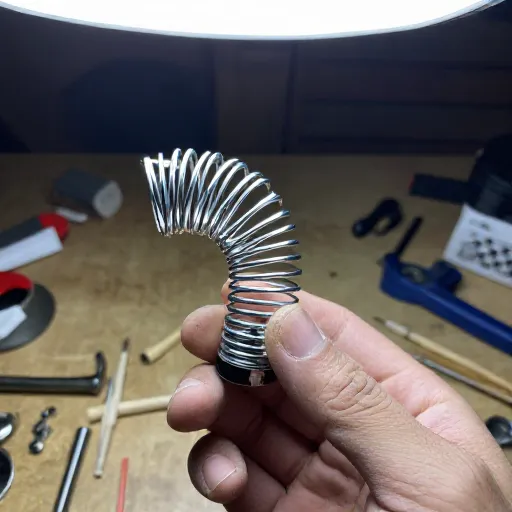
The heart of your project is the spring. Not all Slinkys are created equal. You need the metal ones—the classic, heavy-gauge steel versions that actually hold their shape. Plastic ones are too stiff and won’t give that fluid, wiggly movement we all love.
Check vintage toy stores, thrift shops, or online marketplaces for the originals. You want a spring that’s about 2.5 to 3 inches in diameter when relaxed. This size is perfect for a dog that’s substantial but still fits on a shelf.
Pro tip: Give the spring a little stretch test before you commit. It should extend smoothly and snap back into a tight coil without kinking. A good spring is the difference between a dog that glides and one that trips over itself.
2. Choose the Right Wooden Head Block
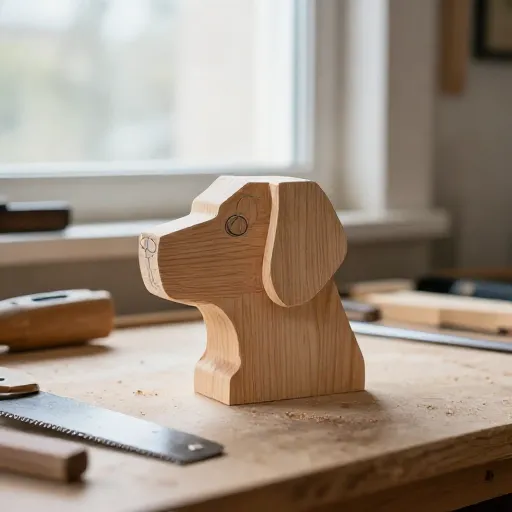
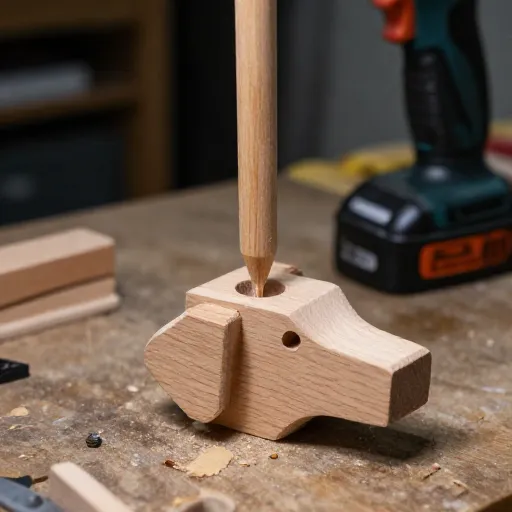
Don’t overthink the head shape, but don’t ignore it either. A simple block of pine from a craft store works wonders. You want a piece that’s roughly 3 inches tall and 2 inches thick. This gives you enough surface area to carve out a recognizable snout.
If you’re not into carving, stack two smaller blocks—one for the main head and a thinner one for the snout. Glue them together for an instant 3D effect. This trick saves time and gives your dog that distinct, boxy Disney charm.
Sand everything smooth before you start painting. Trust me, you’ll feel every rough edge when you’re trying to get a clean paint job later. Smooth wood is the secret to that professional finish.
3. Paint the Head Before Assembly
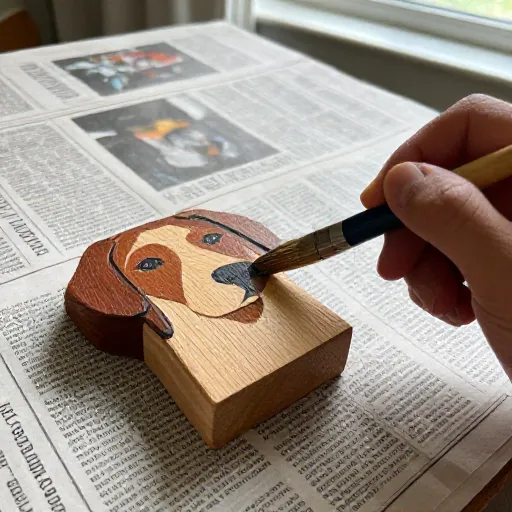
This is the biggest time-saver and sanity-keeper. Paint and seal the wooden head completely before you even think about attaching it to the spring. Trying to paint around the coils is a nightmare, and you’ll end up with paint on the metal.
Use a good quality acrylic paint. Start with a white primer, then layer on your colors. For the classic look, that’s a burnt orange or sienna for the main head, and a lighter cream for the snout and muzzle area.
Finish with a clear matte or satin sealer. It protects the paint from chips and gives it a nice, touchable finish. This step is non-negotiable for a project that’s meant to be handled and played with.
4. Don’t Glue the Spring—Wire It
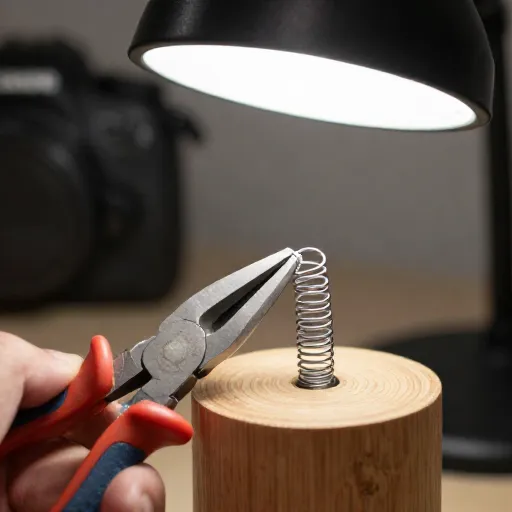
Here’s the pro move that changes everything. Glue alone will eventually fail, especially if you want your dog to actually move. Instead, use thin, sturdy wire to attach the spring to the head. It’s a mechanical connection that can handle the stress of wiggling.
Drill two small pilot holes into the bottom of the head. Thread a piece of 20-gauge wire through the top coil of the spring, then through those holes. Twist the wire tightly on the inside of the head.
Cover the wire and the top coil of the spring with a generous amount of hot glue or E6000. This hides the mechanics and adds extra grip. It’s a bit more work, but your Slinky Dog will survive the occasional drop.
5. Use a Dowel for the Legs
Forget trying to bend wire or carve legs from flat wood. Use 1/4-inch wooden dowels. They’re perfectly round, sturdy, and give the legs that classic, slightly chunky look that matches the cartoon.
Cut four pieces, each about 2.5 inches long. Sand the ends flat. For the feet, you can either leave them as is or glue a small, flat wooden disc to the bottom for a more stable base.
Position the legs on the inside of the spring’s coils, not on the outside. This is crucial for the movement. The spring should glide over the floor while the legs are mounted to the sides of the coil, keeping them out of the way.
6. The Hidden Tail Trick
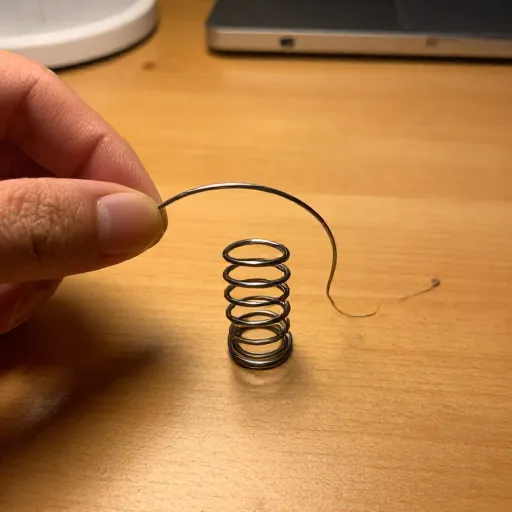
The tail is more than just a decoration; it’s a counterweight and a personality booster. Don’t just glue a stick on. Use a piece of heavy-gauge wire, like a coat hanger, bent into a hook shape at one end.
Hook that wire onto the last coil of the spring at the back. Then, cover the wire with a strip of wood or a shaped piece of craft foam to give it that flat, blue tail look. This connection is strong and won’t snap off.
For the curl, wrap the wire around a pencil before covering it with the foam. This gives you that perfect, iconic curl that looks like it’s mid-wag. It’s a small detail that makes a huge difference.
7. Master the Ears
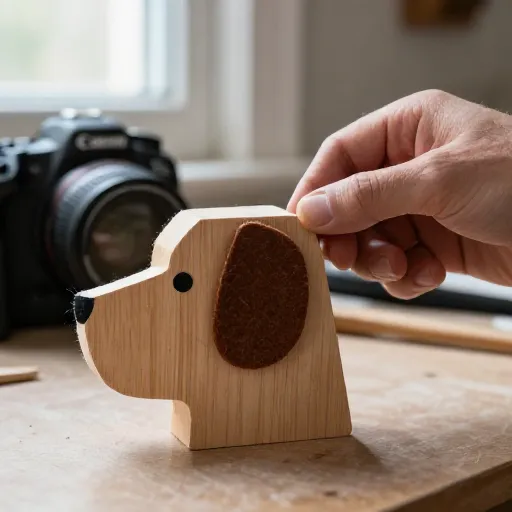
Slinky’s ears are those floppy, droopy flaps that give him so much expression. Use thin craft foam or flexible leather for these. They need to bend and bounce as the dog moves, so stiff wood won’t work here.
Cut two oval shapes, about 2 inches long. Attach them to the top sides of the head with a strong adhesive. Make sure they sit slightly forward, drooping over the eyes a bit for that sad-puppy-dog look.
Don’t paint them a solid color. Add a slightly darker shade around the inner edge or a little highlight on the tip. This adds depth and makes the foam look more like real, floppy ears.
8. Perfect the Eyes for Maximum Charm
The eyes are the soul of the toy. You can’t just paint two black dots. You need that white glint of light to bring him to life. Paint the entire eye area white first, letting it dry completely.
Then, paint a large black circle for the pupil. Once that’s dry, add a tiny white dot or dash in the upper left corner of the pupil. This is the “catchlight” that makes the eye look glossy and alive.
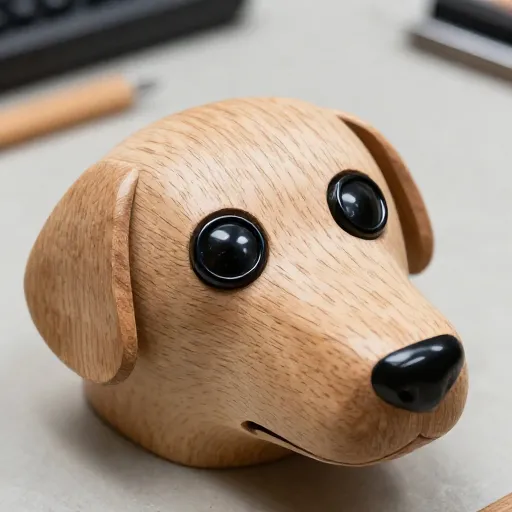
Even better, use small, flat-backed glass cabochons or wooden beads painted black. They give a 3D, shiny effect that’s incredibly charming. Glue them on after the head is fully sealed for a professional finish.
9. The Nose Needs Texture
A flat painted nose looks like an afterthought. Give it some dimension. Use a small wooden bead or a half-round wooden ball for the nose. Glue it right at the end of the snout.
Paint it a glossy black. The gloss is key. It mimics the wet, shiny nose of a real dog. If you’re using regular paint, finish it with a layer of clear gloss sealant or even a drop of epoxy resin.
This little bump of texture completely transforms the profile of the head. It pulls the whole face together and gives it that high-end, collectible look rather than a flat, painted craft project.
10. Weight the Bottom Coils
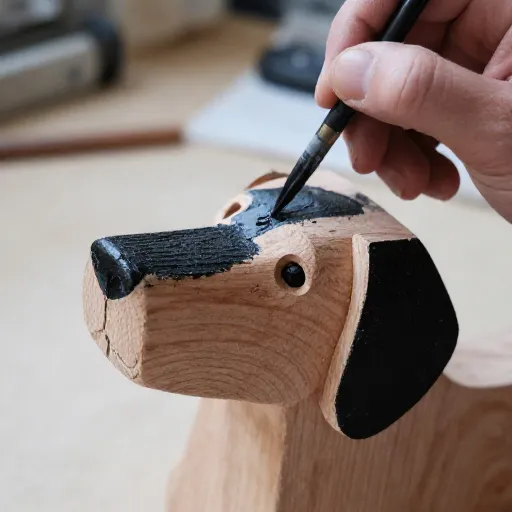
Here’s a physics secret that makes all the difference in stability. A Slinky Dog that’s too top-heavy will always tip over. To fix this, add a little weight to the bottom few coils at the front and back of the spring.
Use small lead fishing weights or heavy metal washers. Thread them onto the bottom coil and secure them with a dab of hot glue. This lowers the center of gravity and keeps the dog standing upright.
This trick is especially important if you’re using a heavy wooden head. You want the toy to sit solidly on its legs without wobbling. A weighted base makes it feel substantial and well-built.
11. Seal the Entire Spring
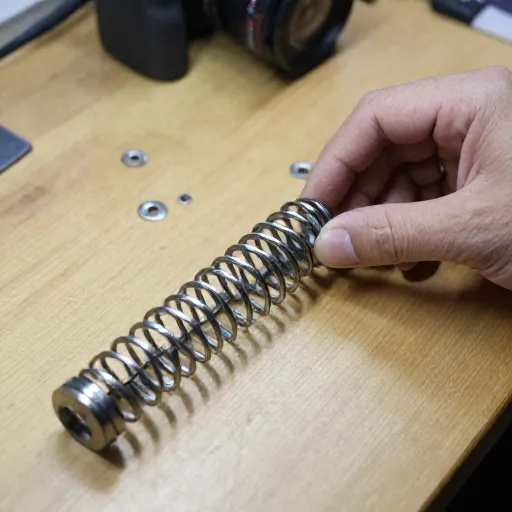
The metal spring is shiny and looks great, but a clear coat will protect it from tarnishing and fingerprints. This is the step most tutorials forget. Spray the entire metal spring with a clear lacquer or matte sealant.
This is best done before you attach the head and legs. Lay the spring on a piece of cardboard and spray it evenly. Let it dry completely before assembly. This prevents rust and keeps the metal looking new.
If you want a more vintage look, use a satin or matte finish to dull the shiny metal slightly. It gives the toy a softer, more nostalgic appearance that fits the Pixar aesthetic perfectly.
Conclusion
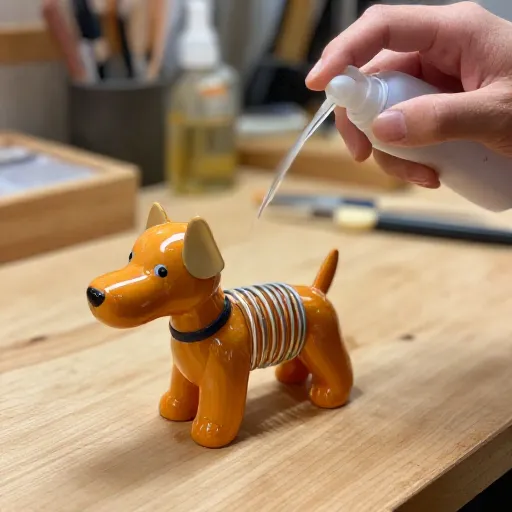
Building your own Slinky Dog is one of those projects that feels almost magical. It’s part engineering, part artistry, and a whole lot of heart. You’re not just assembling parts; you’re recreating a piece of childhood joy that you can actually hold and play with.
The best part is that your version will be uniquely yours. Whether you nail the classic look or add your own quirks, the process is incredibly rewarding. So, take your time, enjoy the build, and don’t be afraid to give that tail a little wag when you’re done.
Now, go find your spring and start creating. I promise, the smile on your face when it’s finished is worth every second of the work.
FAQ
What is the best glue to use for this project?
For the wood and foam parts, E6000 is your best friend. It’s super strong and flexible. For quick holds and the wire attachments, a high-temp hot glue gun works great, but the E6000 will give you a more durable bond for parts that get handled a lot.
Can I use a plastic Slinky instead of metal?
You can, but I wouldn’t recommend it. Plastic Slinkys are heavier and don’t have the same fluid, springy movement. The metal ones are much easier to work with, hold their shape better, and look much closer to the real toy.
How do I get the paint to stick to the metal spring?
If you want to paint the spring, you’ll need to scuff it up with fine sandpaper first and then use a primer made for metal. However, the classic look is the shiny metal, so I usually just seal it with a clear coat to keep it bright.
How long does this project take?
If you’re doing it properly, plan for a full weekend. The painting and sealing steps require drying time between coats. You could rush it in a day, but you’ll have a better result if you let each layer cure properly.
Can I make it move like the real Slinky Dog?
Yes! That’s the magic of using a real metal spring. When you pick it up by the head and gently push it forward, the body will stretch and wiggle just like the movie. Just make sure your leg attachments are on the sides of the coils, not blocking the spring’s ability to expand and contract.