12 Crochet Cat Beds Perfect for Beginners
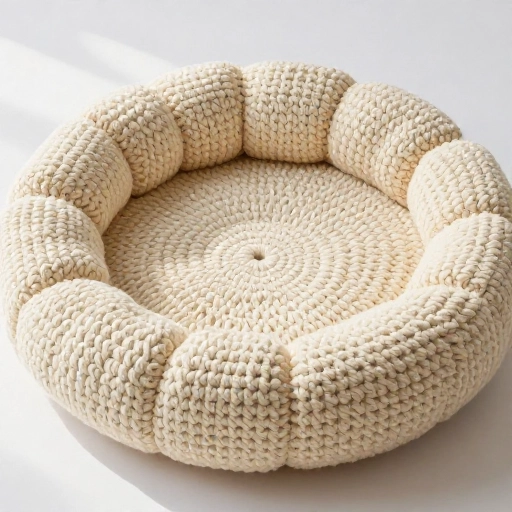
If you’re like me, you love your cat more than just about anything. And what’s better than a cozy, handmade gift for your furry best friend? A crochet cat bed! The best part? You don’t need to be a pro to make one. These beginner-friendly patterns are simple, forgiving, and use basic stitches you already know.
I’ve rounded up 12 of my favorite cat bed ideas that are perfect for new crocheters. They’re all about chunky yarn, simple shapes, and lots of love. Grab your hook, pick a color that matches your living room, and let’s get started. Your cat will thank you with purrs and maybe a little nap right in your lap while you work.
Every pattern here uses mostly single crochet, double crochet, and slip stitches. No complicated shaping or seaming nightmares. Just pure, cozy cat bed magic.
1. The Chunky Circle Bed
This is the ultimate beginner project. You simply work in a continuous spiral, increasing evenly until your circle is the size you want. Then you stop increasing and work even rounds to create the sides. It’s like making a giant flat circle that turns into a little bowl.
Use super bulky weight yarn and a large hook (size N or bigger). The thicker the yarn, the faster it works up. Choose a soft, washable acrylic so you can toss it in the machine when your cat tracks in dirt.
Tip: If your circle starts to ruffle, your increases are too fast. If it curls up like a bowl, you need more increases. Once you get the rhythm, it’s pure muscle memory.
2. The Simple Rectangle Nest
Not all cats like round beds. Some prefer a rectangular shape where they can stretch out. This one is just a rectangle worked flat, then folded and seamed on two short sides to create a little nest.
Chain a length that’s about twice as wide as you want the bed to be. Work rows of half double crochet until you have a square or rectangle. Fold it in half, seam the two open sides, and you have a cozy pouch. Leave one side open for your cat to crawl inside.
For extra coziness, add a simple cushion or folded blanket inside. This is a great stash-buster project for leftover yarn.
3. The No-Sew Donut Bed
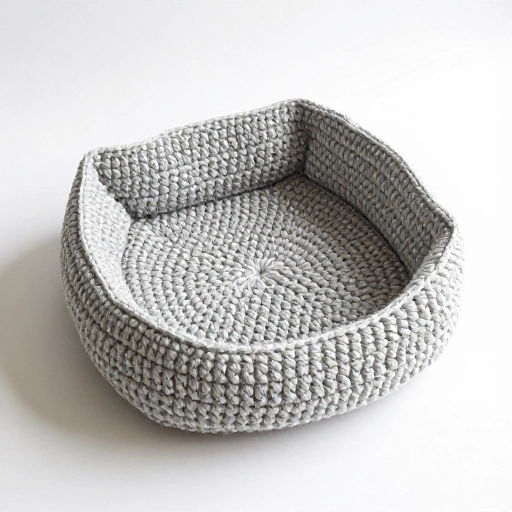
Donut beds are incredibly popular on Pinterest, and this version requires zero sewing. You work the entire bed in one piece, starting with a magic ring and increasing to the center circle, then working the outer ring.
The trick is to make the outer ring taller than the center. You can do this by working the center in single crochet and the outer ring in double crochet. It naturally creates a raised edge that looks like a donut.
Your cat will love curling up in the center, surrounded by a soft, squishy rim. Use two contrasting colors for that classic donut look.
4. The Giant Granny Square Bed
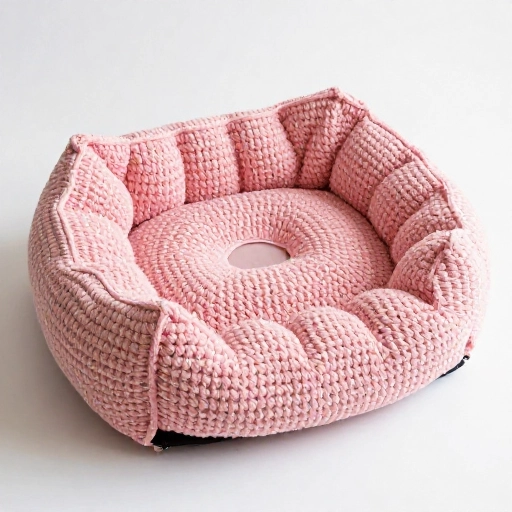
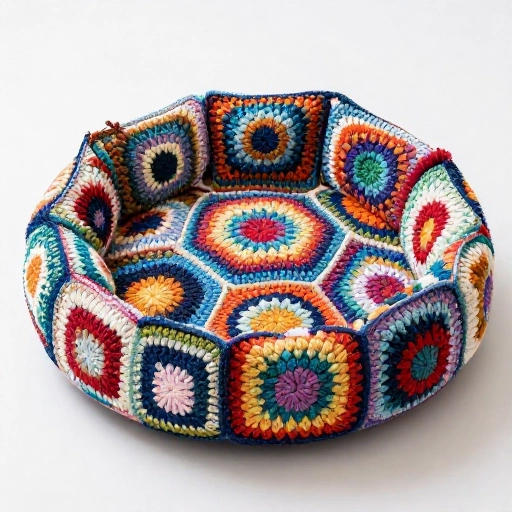
If you can make a granny square, you can make this bed. Just keep going until your granny square is huge—like 30 inches across. Then you fold up the edges to create a shallow bowl.
To make the sides, you work a few rounds of single crochet around the edge, then continue with the granny pattern in the round for the sides. It’s that simple. You can use scraps of yarn for a colorful, scrappy look.
This bed is lightweight but surprisingly sturdy. Plus, it looks like a vintage treasure in your home.
5. The Basketweave Cat Cave
Basketweave stitch sounds fancy, but it’s just alternating front post and back post double crochet. It creates a thick, textured fabric that feels like a woven basket. Cats love the texture for kneading.
Start with a flat circle for the base, then work the basketweave pattern in the round for the sides. You can make the sides tall for a cave-like bed or short for a more open nest.
Use a neutral color like cream or gray to match any decor. The texture alone makes this bed look high-end.
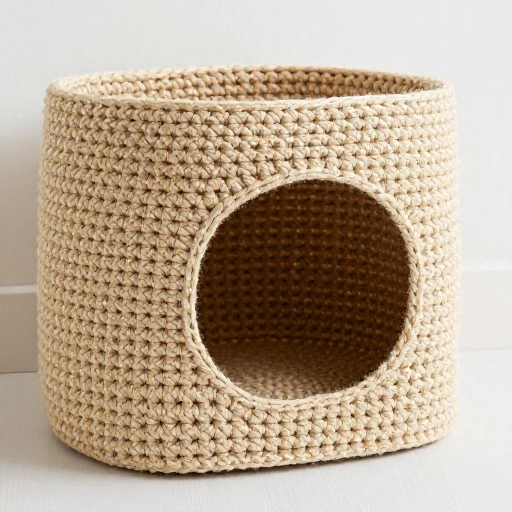
6. The T-Shirt Yarn Braided Bed
This is a great way to upcycle old t-shirts. Cut your shirts into strips, then crochet with them as if they were yarn. The fabric is soft, stretchy, and machine washable.
Work a simple spiral circle for the base, then single crochet in the back loop only for the sides. This creates a nice, firm edge that holds its shape. The bed will be heavy and sturdy, perfect for a cat who likes to plop down hard.
Bonus: T-shirt yarn doesn’t split like regular yarn, making it extra beginner-friendly.
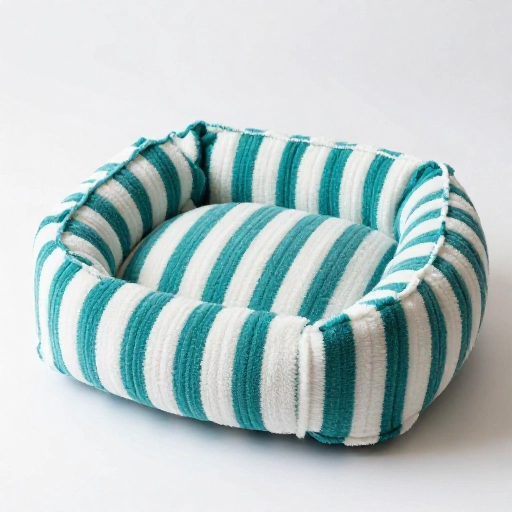
7. The Cuddle Cup with Handles
Add two simple handles to a basic circle bed and you’ve got a portable cat nest. Your cat can curl up, and you can carry them from room to room (if they let you).
Make the base and sides exactly like the chunky circle bed. Then, on the last round, chain 10, skip 10 stitches, and single crochet across the gap. Repeat on the opposite side. Those chains become the handles.
Use a contrasting color for the handles to make them pop. Your cat will think it’s a throne.
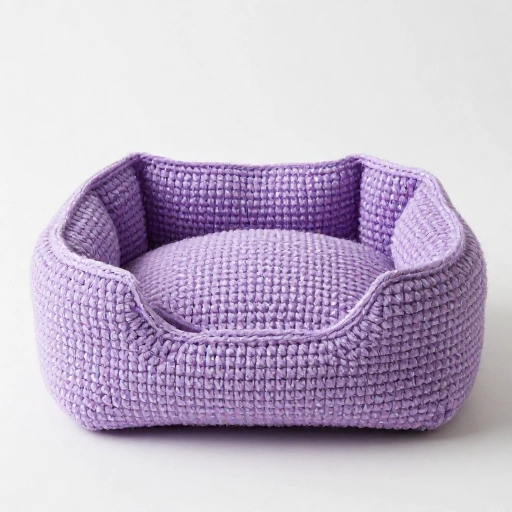
8. The Ripple Wave Bed
Ripple stitch creates a wavy, zigzag pattern that’s surprisingly easy. You just increase and decrease in the same row to create the peaks and valleys. It looks complicated, but it’s just a repeat of two rows.
Work the ripple pattern flat until you have a long rectangle. Then fold it in half and seam the sides to create a wave-shaped nest. The ripples give your cat little ridges to rest their head on.
Use a self-striping yarn for automatic color changes. No weaving in ends required.
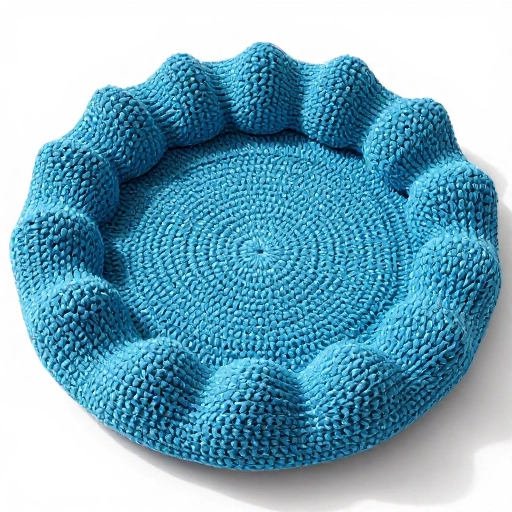
9. The Catnip Pillow Bed
This is a two-in-one project: a soft bed with a removable pillow. Make a simple rectangular base with sides, then crochet a separate pillow to fit inside. Add a little catnip to the pillow filling for extra appeal.
The bed itself is just a box shape: work a rectangle for the base, then continue up for the sides. The pillow is a smaller rectangle worked flat and stuffed. Use a zipper or button closure on the pillow cover so you can refresh the catnip.
Your cat will go crazy for this one. It’s like a bed and a toy combined.
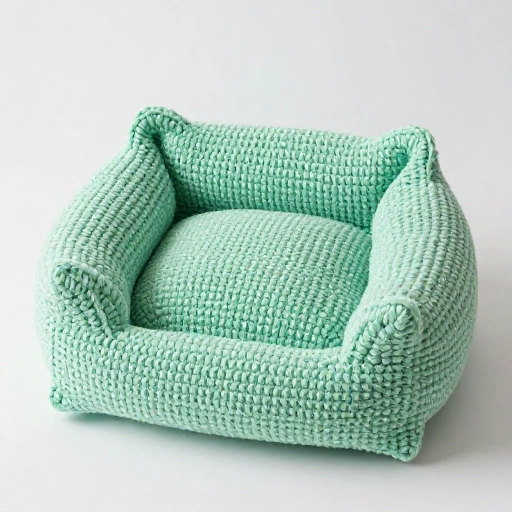
10. The Hanging Window Bed
Yes, beginners can make a hanging bed! This one uses a simple rectangular shape with a flap that goes over a tension rod. No complex sewing required.
Crochet a long rectangle that’s wider than your window. Fold the top edge over the rod and seam it closed, creating a sleeve. The rest of the rectangle hangs down as the bed. Add a soft cushion on the bottom.
Use sturdy cotton yarn so the bed holds its shape. Your cat will love watching birds from their new perch.
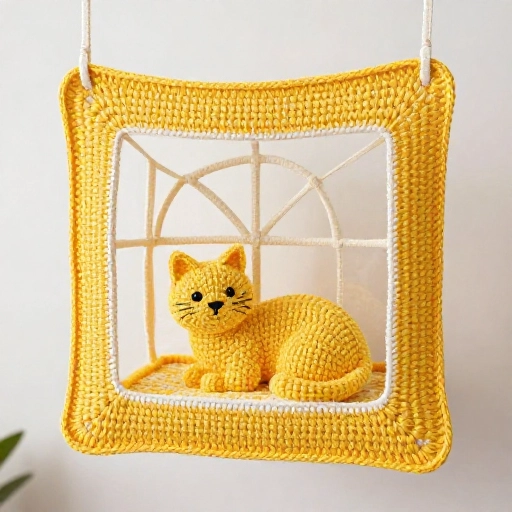
11. The Oval Lounger
Ovals are just as easy as circles, but they give your cat more room to stretch. Start with a chain, then work increases on both ends to create the oval shape. Once the base is big enough, work even rounds for the sides.
This shape is perfect for long cats or cats who like to sleep in a straight line. Use a soft, bulky yarn so it’s plush and inviting.
You can customize the length by chaining more or fewer stitches at the start. It’s super customizable.
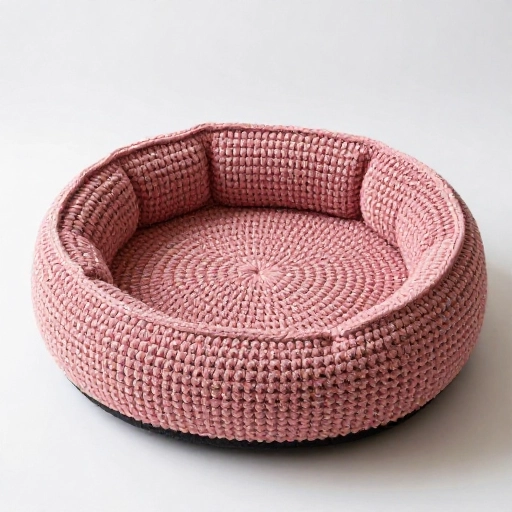
12. The Blanket Bed (No Shaping)
This is the easiest of all. Crochet a large, thick blanket—just a simple rectangle in any stitch you like. Then fold it in half or in thirds to create a soft, nest-like shape. That’s it. No seaming, no shaping, no stress.
Use a super bulky yarn and a large hook. Make the blanket at least 30 inches by 40 inches. When your cat wants to sleep, just fluff it into a nest shape. They’ll rearrange it anyway.
This is perfect for beginners who want instant gratification. You’ll have a finished project in just a few hours.
Conclusion
Crocheting a cat bed doesn’t have to be intimidating. These 12 patterns prove that with basic stitches and a little patience, you can create something beautiful and functional for your furry friend. Every bed on this list is beginner-friendly, forgiving, and designed to make your cat feel loved.
My best advice? Start with the chunky circle bed. It’s quick, uses minimal yarn, and builds your confidence. Once you finish that, you’ll be ready to tackle any of the others. Your cat doesn’t care if your stitches are perfect—they just want a cozy spot that smells like you.
So pick your favorite, grab some yarn, and start hooking. Your cat is waiting for their new throne.
FAQ
What is the best yarn for a crochet cat bed?
Super bulky acrylic yarn is my top choice. It’s soft, machine washable, and holds its shape well. Avoid fuzzy or fluffy yarns that can snag on claws. A smooth, chunky yarn is easiest for beginners and most durable for cats.
How long does it take to crochet a cat bed?
For a simple circle bed in super bulky yarn, you can finish in 2–4 hours. Larger or more textured beds might take 6–8 hours. The blanket bed is the fastest—sometimes under 2 hours.
Can I use cotton yarn for a cat bed?
Yes, cotton yarn is great for cat beds, especially if your cat runs warm. It’s breathable and durable. However, it’s heavier than acrylic, so the bed may not be as fluffy. A cotton-acrylic blend is a good compromise.
Do I need to block my cat bed?
Blocking is optional. If your bed is curling or the edges are uneven, a gentle steam block can help. But for most beginner projects, just fluffing it up by hand is enough. Your cat will squish it into shape anyway.
How do I wash a crochet cat bed?
Most acrylic and cotton beds can go in the washing machine on a gentle cycle with cold water. Lay it flat to dry to maintain its shape. Avoid the dryer unless the yarn label says it’s safe. Washing it every few weeks keeps it fresh and fur-free.