12 DIY Dog Bandana Patterns I Love to Make
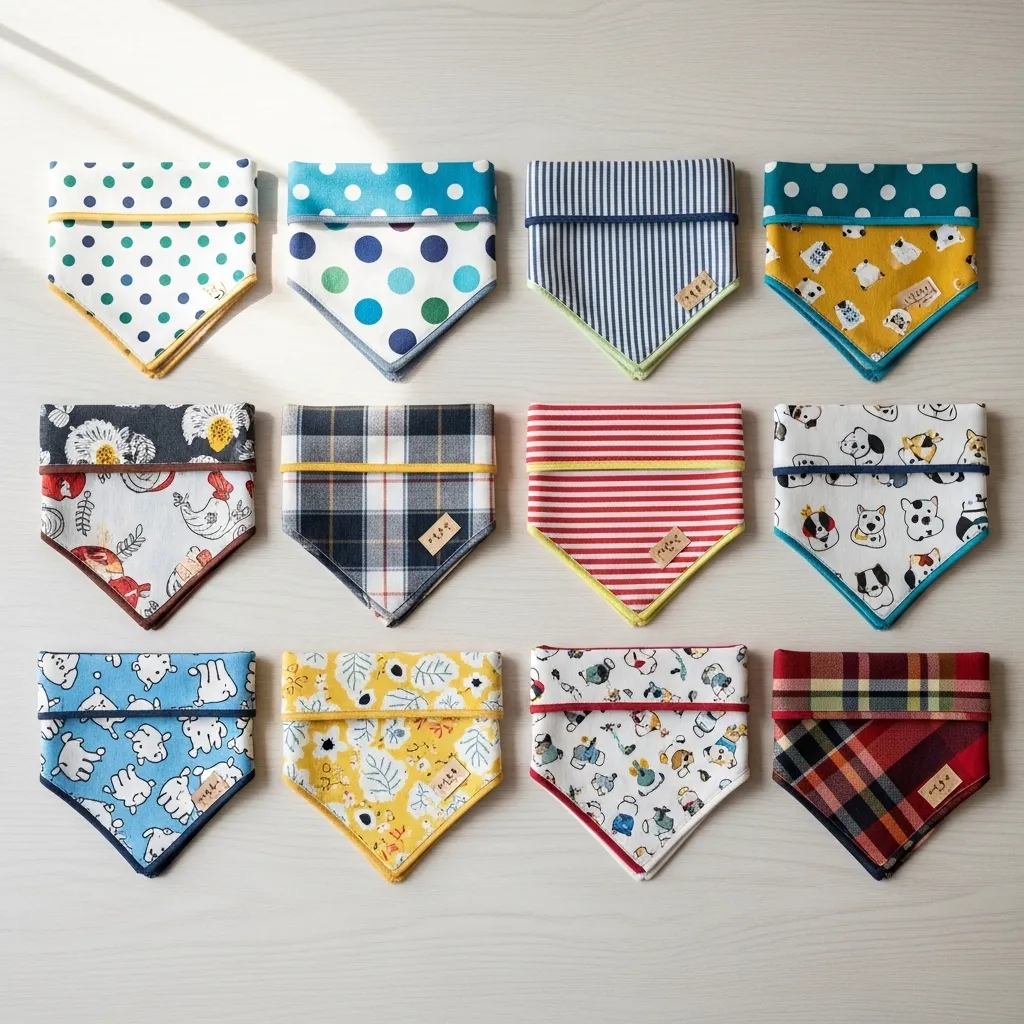
As a dog lover who’s always looking for a fun craft, making DIY dog bandanas has become my favorite hobby. It’s a simple way to add a pop of personality to your pup’s wardrobe without spending a fortune. Plus, it’s a fantastic way to use up fabric scraps from other projects.
Whether you’re a seasoned sewer or just starting with a needle and thread, there’s a pattern here for you. I’ve gathered 12 of my go-to styles, from no-sew options to more detailed designs. Let’s get crafting and make something your furry friend will look adorable in!
1. The Classic Triangle Bandana
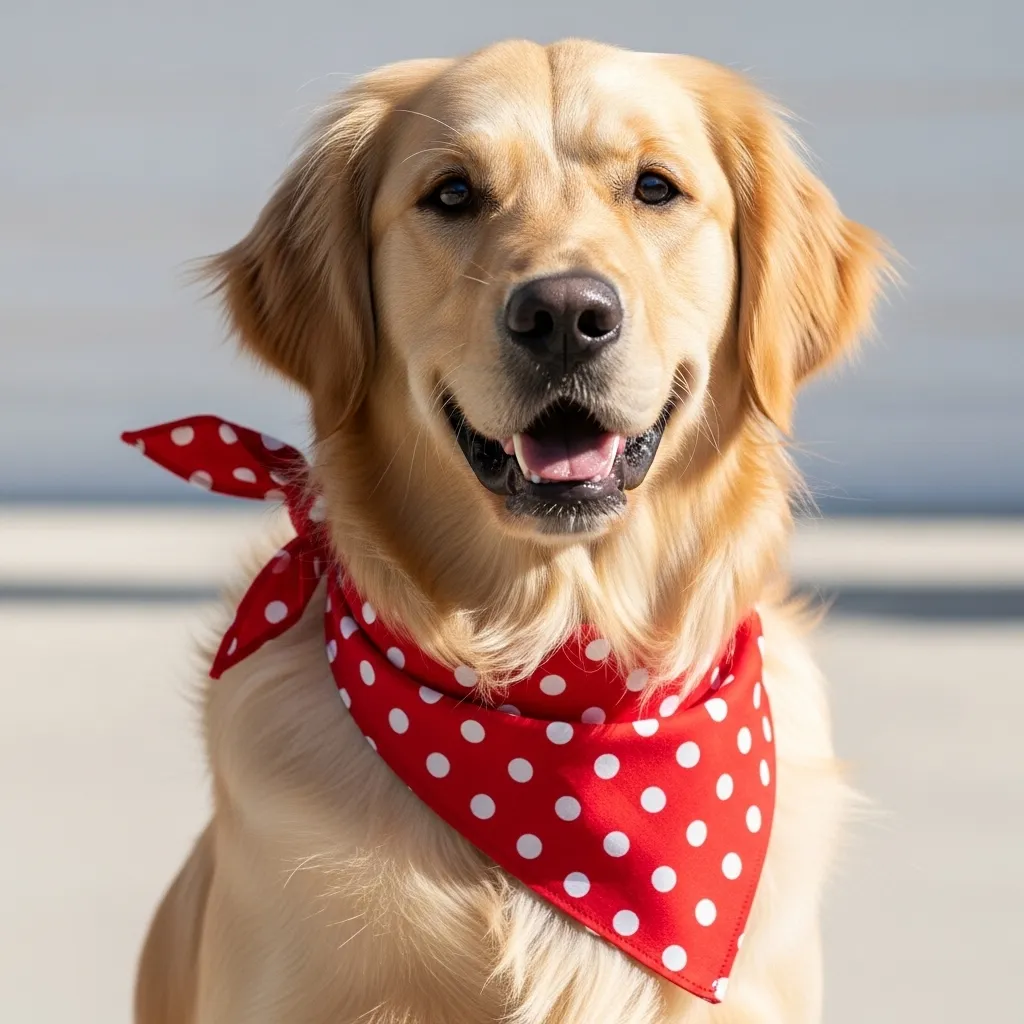
This is the perfect starting point. All you need is a square of fabric! Fold it in half diagonally to create a triangle, and you’re almost done. I love using cotton or flannel for this because they’re soft and easy to work with.
You can hem the edges for a polished look or leave them raw for a quick, frayed style. Simply tie it around your dog’s neck with the point facing down their back. It’s timeless, easy, and endlessly customizable with fun prints.
2. The No-Sew Felt Bandana
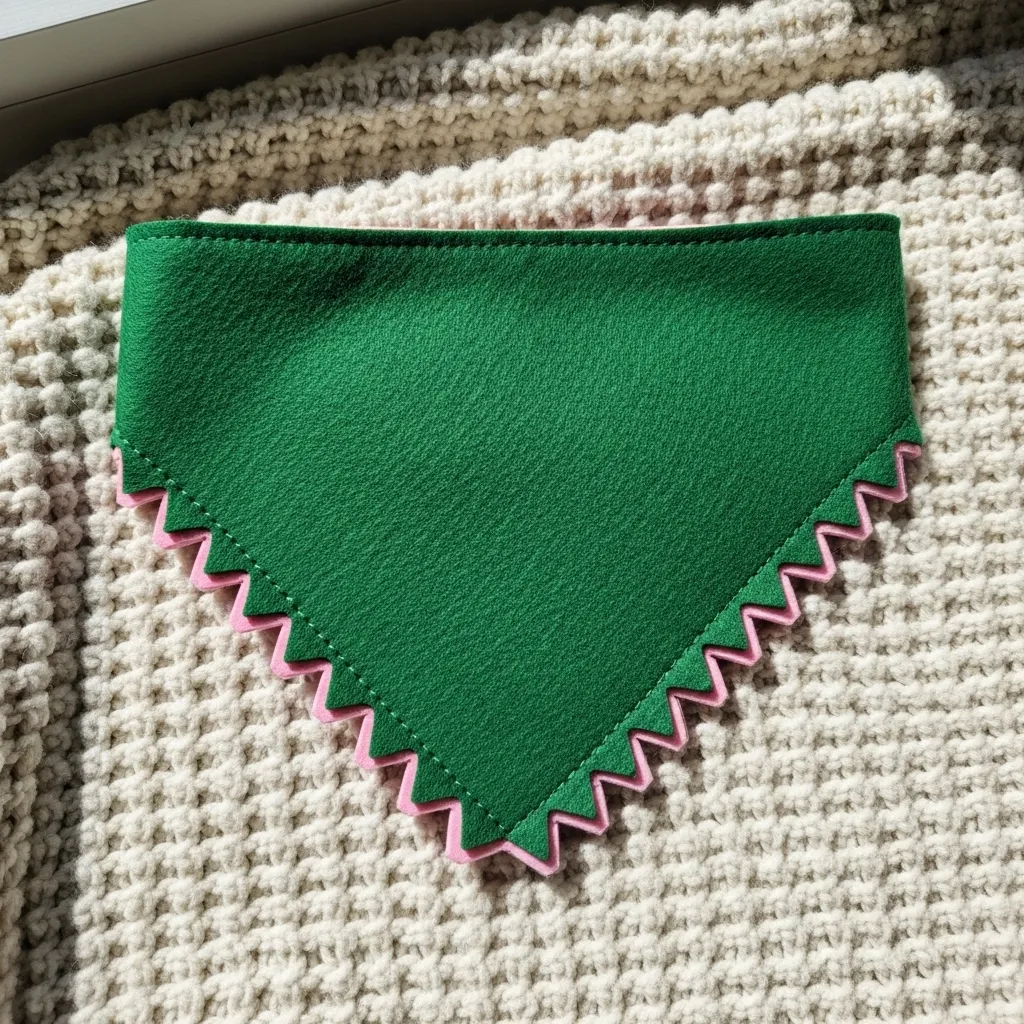
No sewing machine? No problem! Felt is a crafter’s best friend because it doesn’t fray. Just cut your triangle shape from a sheet of felt. To add a little flair, I like to cut out simple shapes like bones or hearts from a contrasting color.
Attach your shapes with fabric glue or a few hand stitches. Punch two holes in the top corners, thread a piece of ribbon through, and you have an adjustable, adorable bandana ready in minutes.
3. The Reversible Double-Sided Style
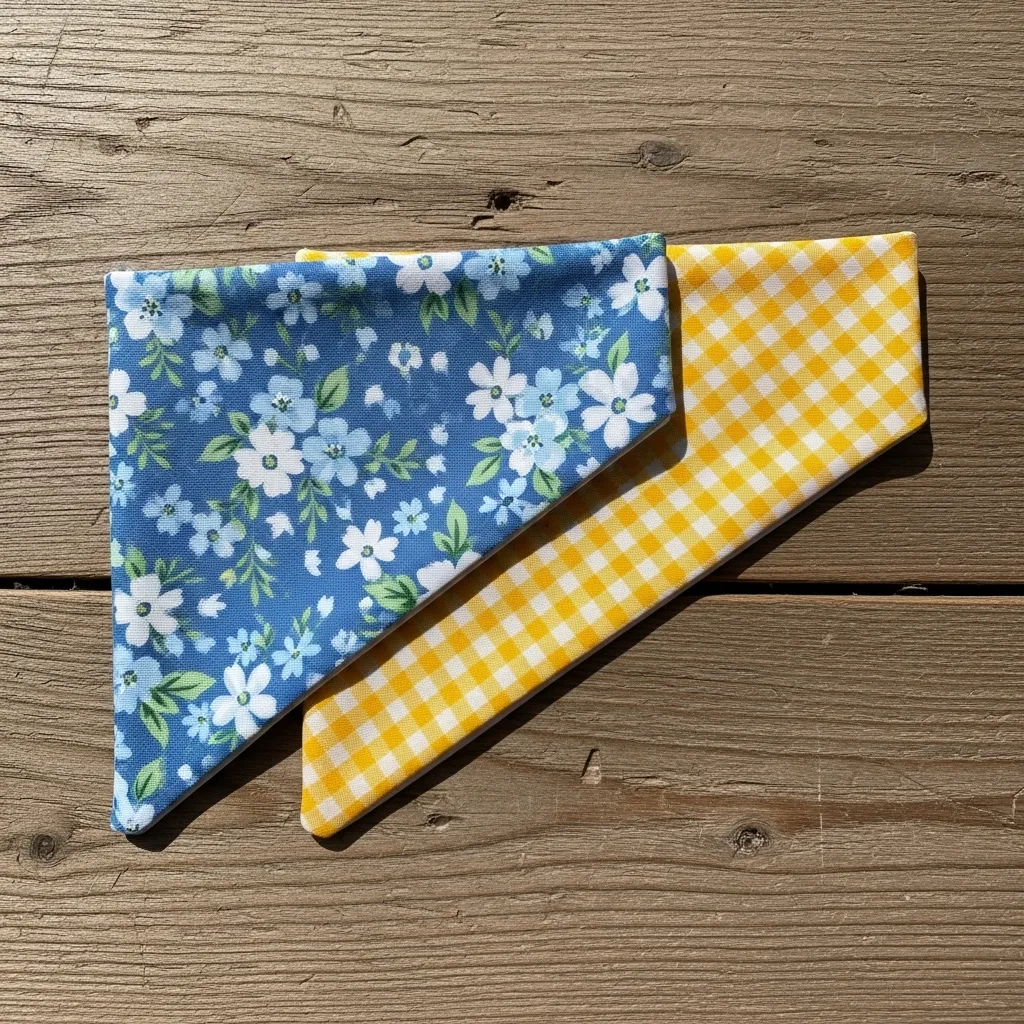
Why choose one fabric when you can have two? This pattern is my secret for getting double the use from one bandana. Cut two identical triangles from different fabrics. Place them right sides together, sew around the edges, and leave a small gap.
Turn it right side out through the gap, press it flat, and stitch the opening closed. Now your pup has a bandana that can match two different moods or outfits!
4. The Bias Tape Bound Edge
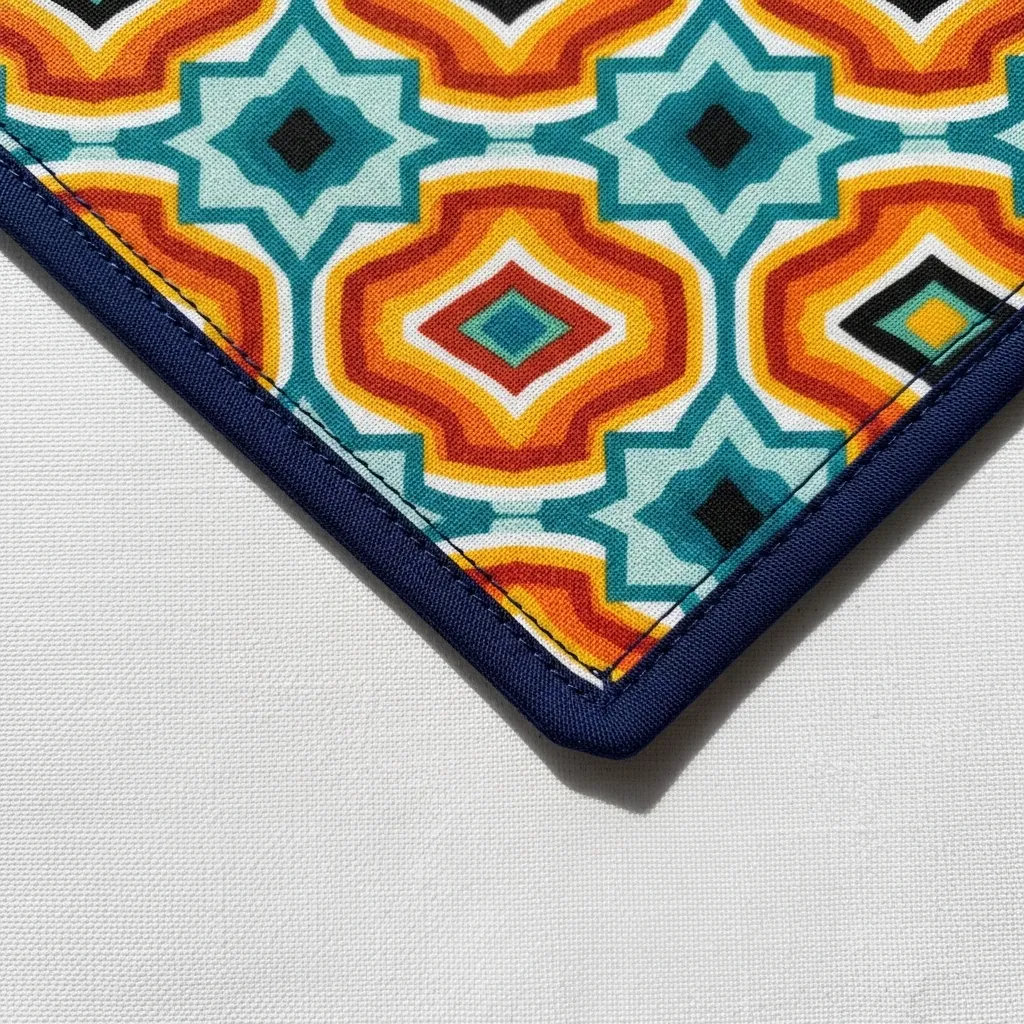
This technique gives a professional, finished look that I adore. After cutting your bandana shape, use store-bought or homemade bias tape to encase all the raw edges. It creates a lovely contrasting border that’s also super durable.
It takes a bit more patience, but the result is so worth it. Choose a bright bias tape against a solid fabric for a really pop of color that frames your bandana beautifully.
5. The Quick-Snap or Velcro Closure
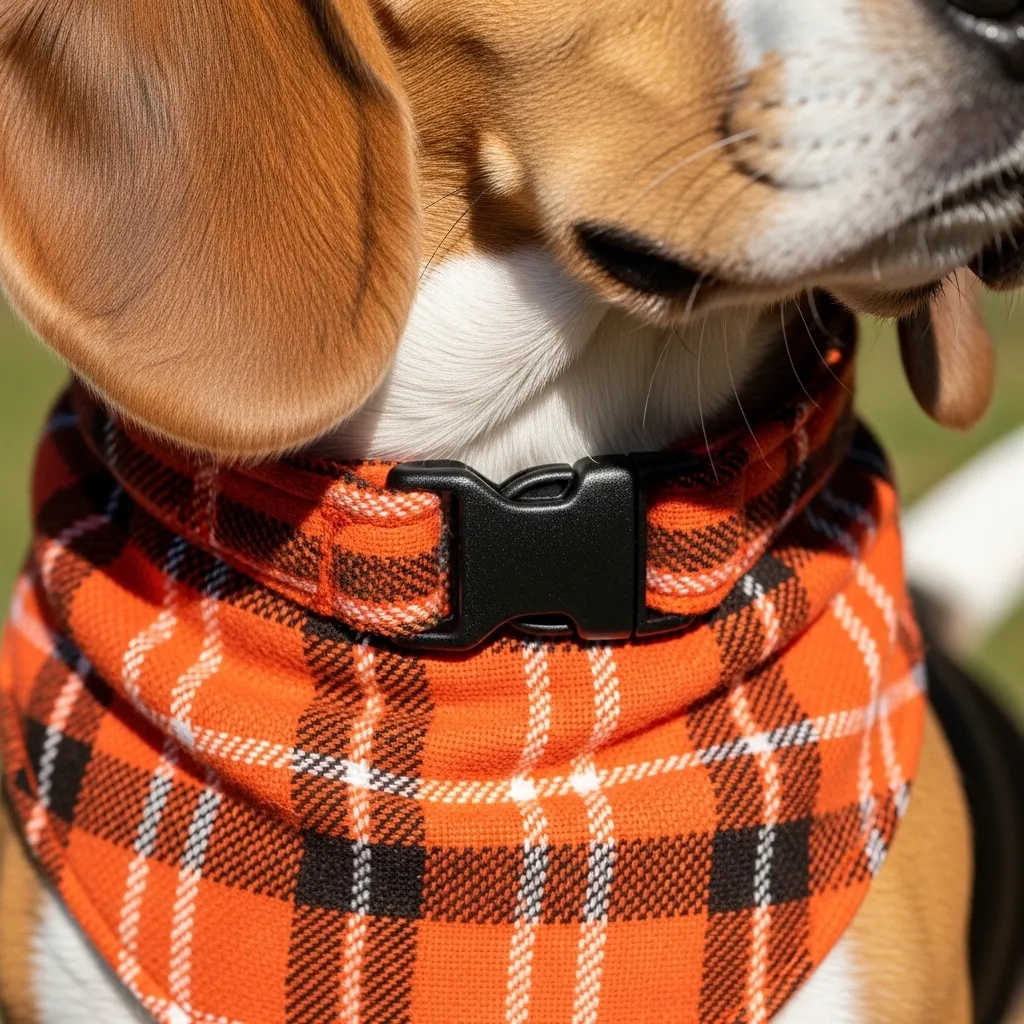
For dogs who don’t love things going over their heads, this closure is a game-changer. Instead of a tie, you attach a snap or a piece of Velcro to the two top corners of your triangle.
This makes it incredibly easy to put on and take off. I find this pattern especially great for puppies or senior dogs. Just be sure to sew the closures on very securely!
6. The Circle Bandana (Cravat Style)
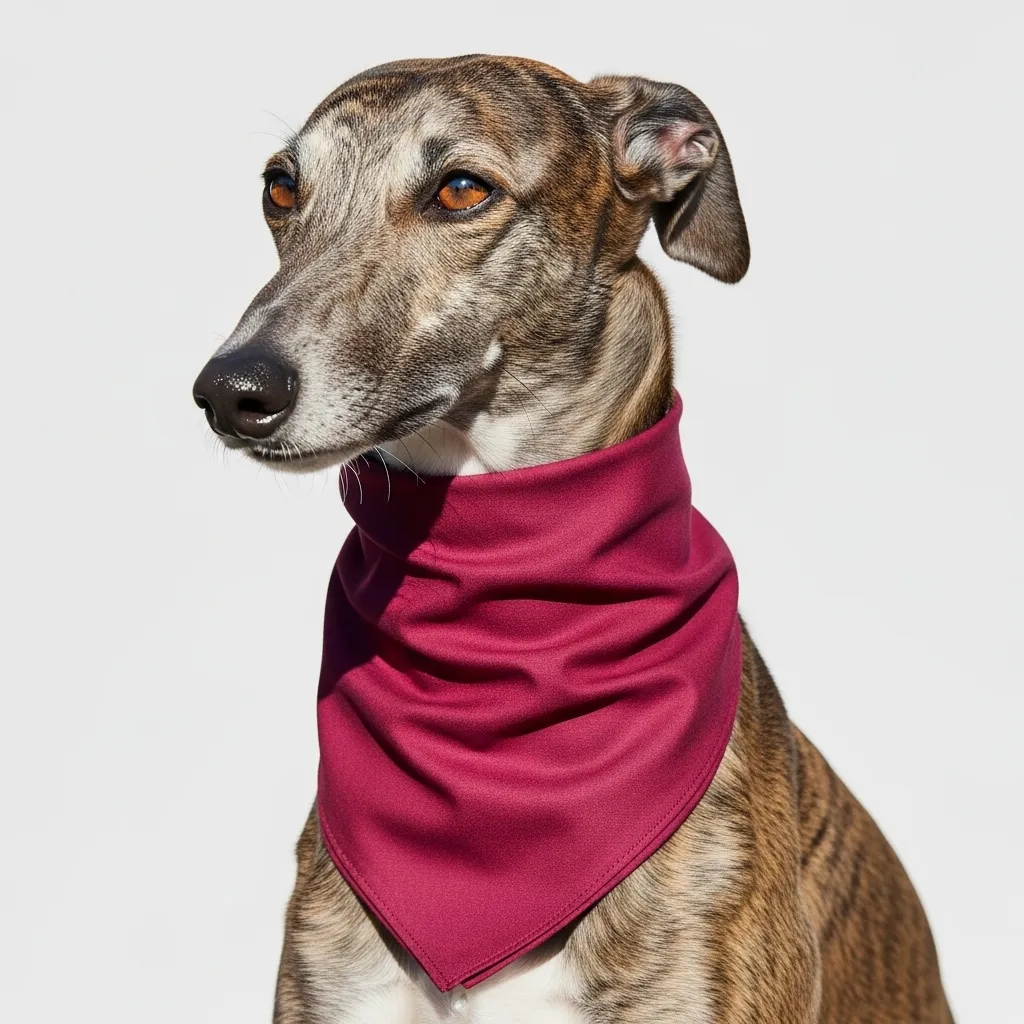
This chic, circular design looks like a fancy cravat. It’s a simple circle of fabric with a hole cut in the center for your dog’s collar to slide through. The fabric drapes so elegantly around the neck.
I like to use a lighter, flowy fabric for this style. Hem the outer edge and the inner circle neatly. It sits perfectly under their collar and has such a distinguished look.
7. The Seasonal Shape Bandana
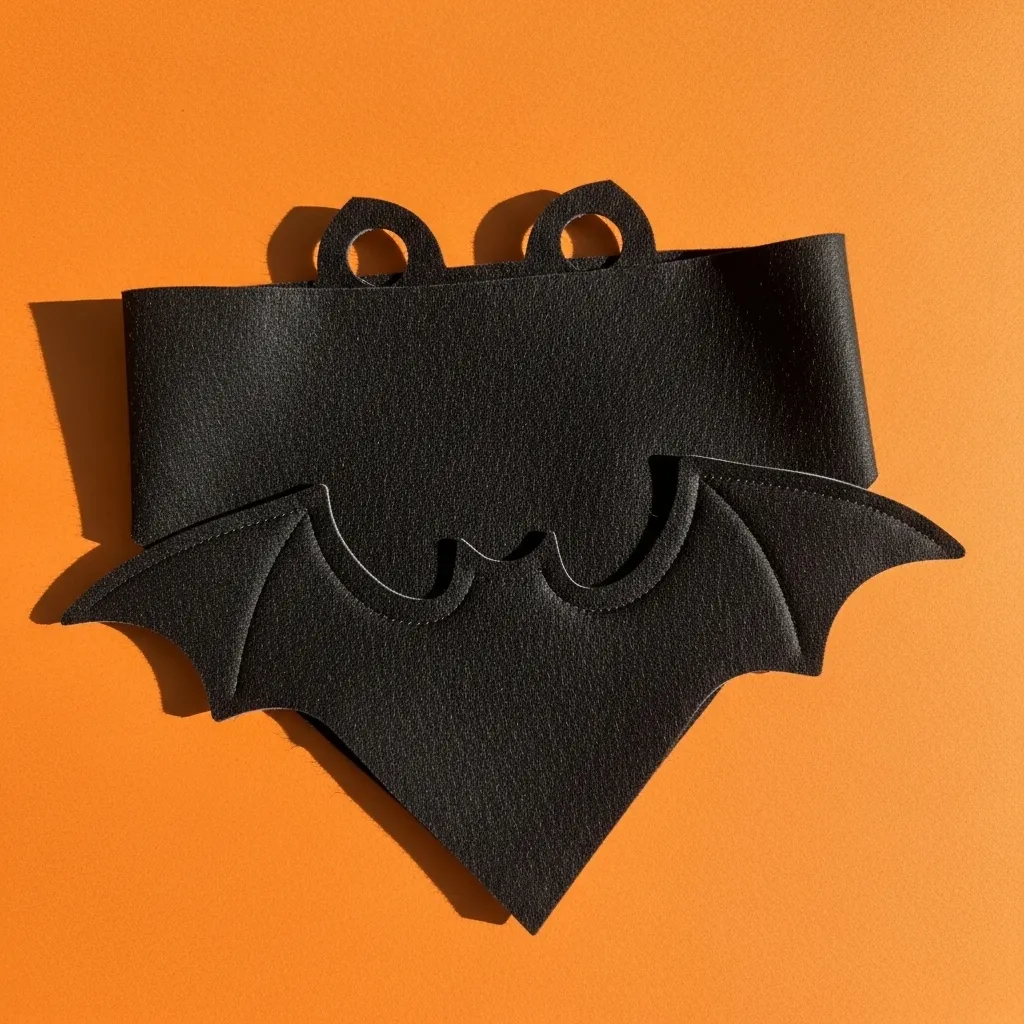
Go beyond the triangle! Cut your bandana into fun seasonal shapes. Think a pumpkin for Halloween, a Christmas tree for December, or a heart for Valentine’s Day.
Use the shape as the main body of the bandana, attaching ties to the back. It’s a surefire way to get compliments at the dog park. I use felt for these often, as it holds stiff shapes really well.
8. The Bandana with a Ruffle
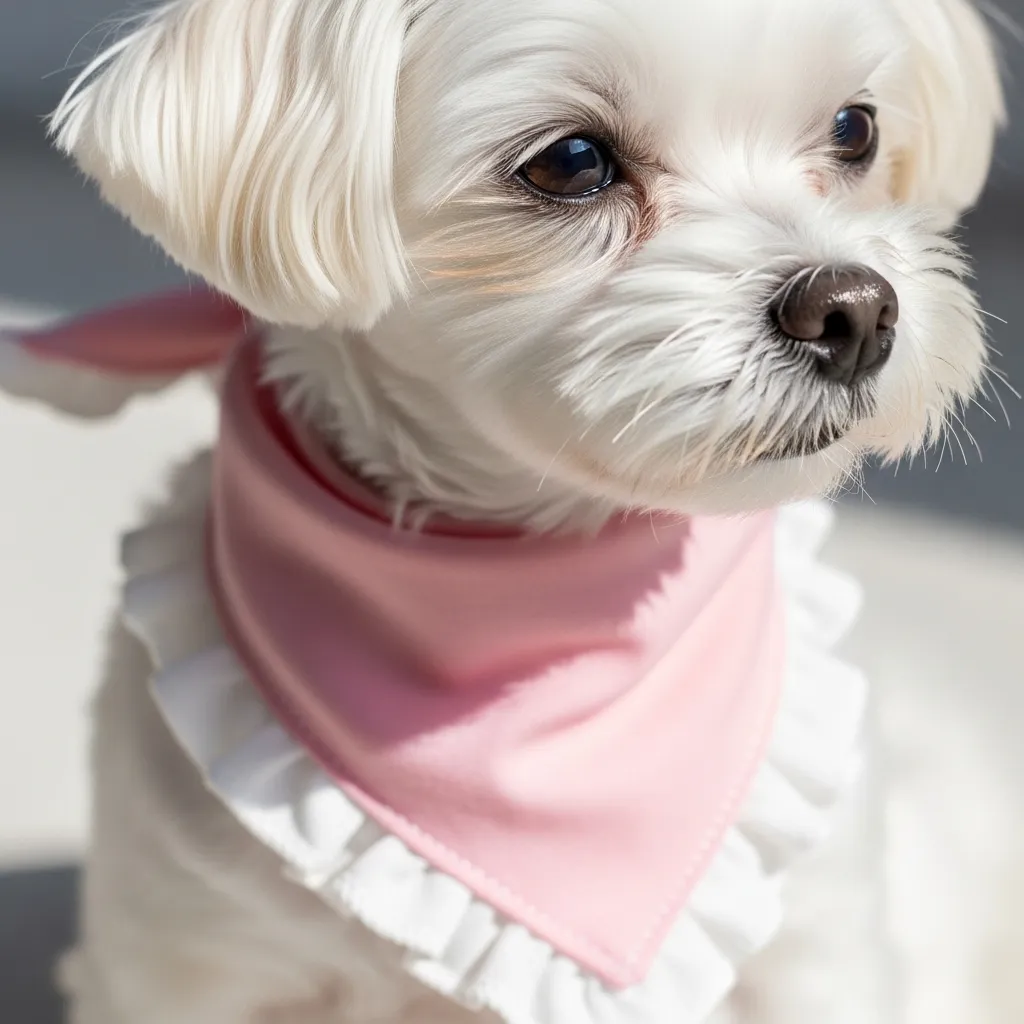
Add a touch of frill and fun. Sew a cute ruffle along the longest edge (the bottom) of a classic triangle bandana. You can make a simple ruffle by gathering a long strip of fabric.
This pattern is absolutely darling on smaller dogs. I love using a gingham or floral print for the ruffle against a solid triangle. It adds wonderful texture and movement.
9. The Upcycled T-Shirt Bandana
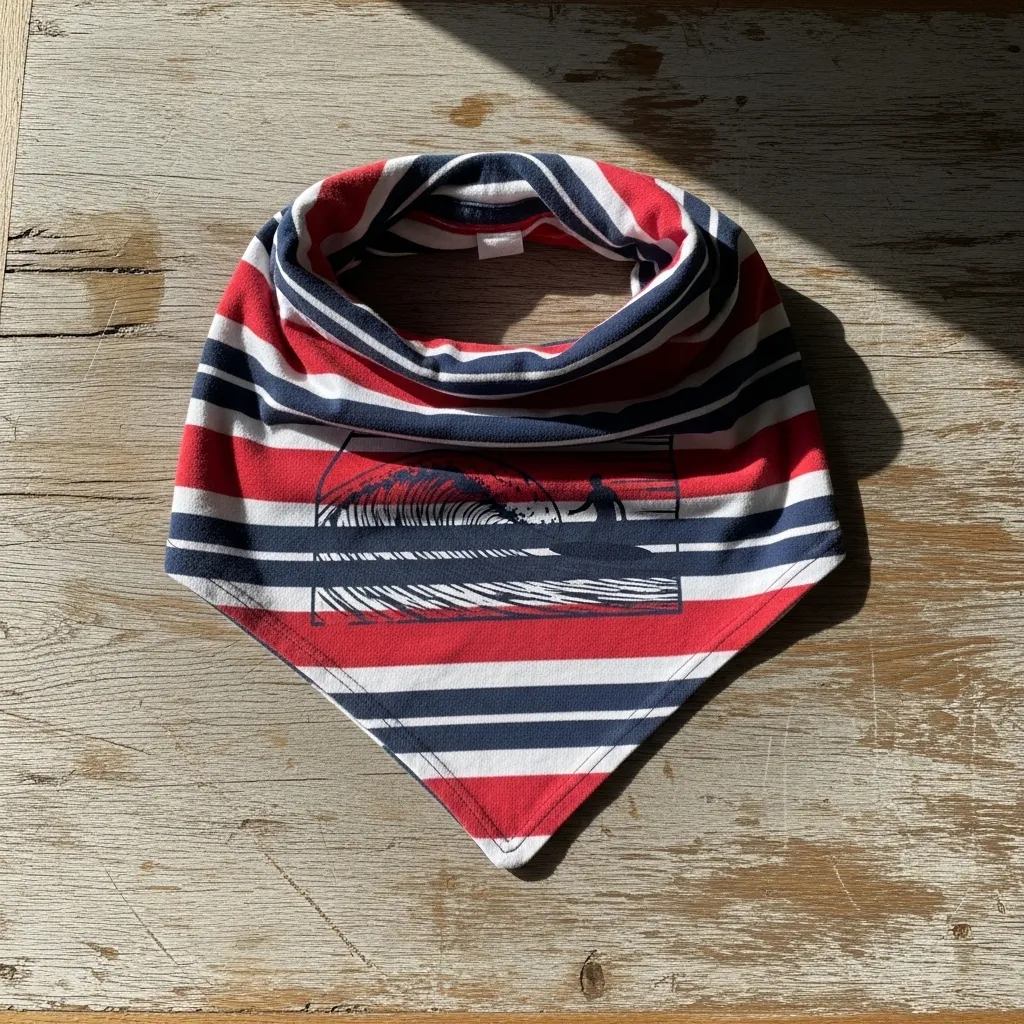
This is my favorite sustainable project. Grab an old t-shirt with a cool graphic or a soft, worn-in fabric. The stretchy knit material is comfortable for dogs and doesn’t require hemming.
Simply cut a large triangle from the body of the shirt, making sure to include part of the design. You get a soft, eco-friendly bandana with sentimental value in just a few snips.
10. The Lined & Quilted Bandana
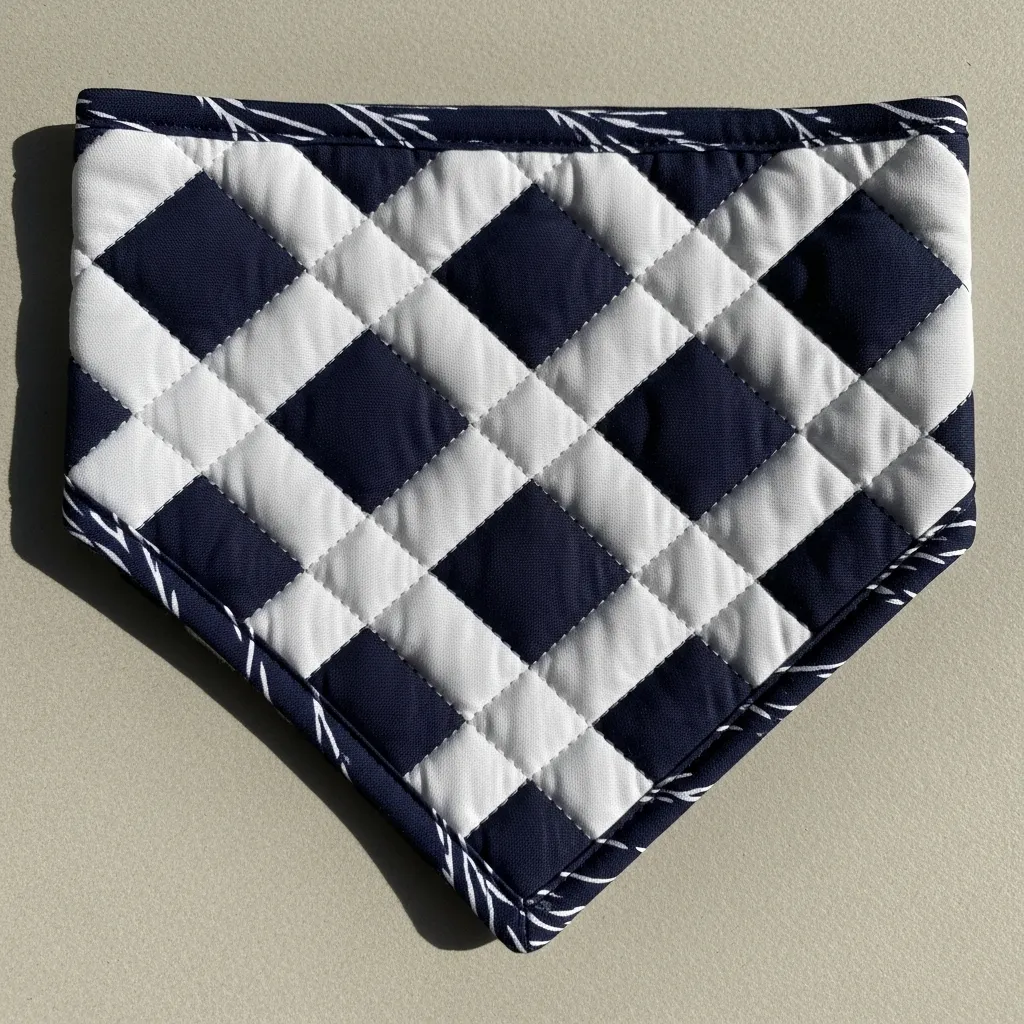
For cooler weather, a little extra warmth is key. This pattern involves adding a layer of thin batting (like Insul-Bright) between your outer fabric and a soft lining fabric, like flannel or minky.
“Quilt” the layers together by sewing simple lines or patterns. It creates a cozy, padded bandana that’s perfect for breezy autumn walks. It feels like a little hug for their neck.
11. The Double-Pointed Bandana
This unique shape has two points instead of one, creating a cool, layered look. Imagine two long triangles sewn together at the top. When tied, both points drape down your dog’s chest.
You can use two coordinating fabrics for each point. It looks more complex than it is, and it always catches the eye. It’s a stylish twist on the traditional shape I love to make for special occasions.
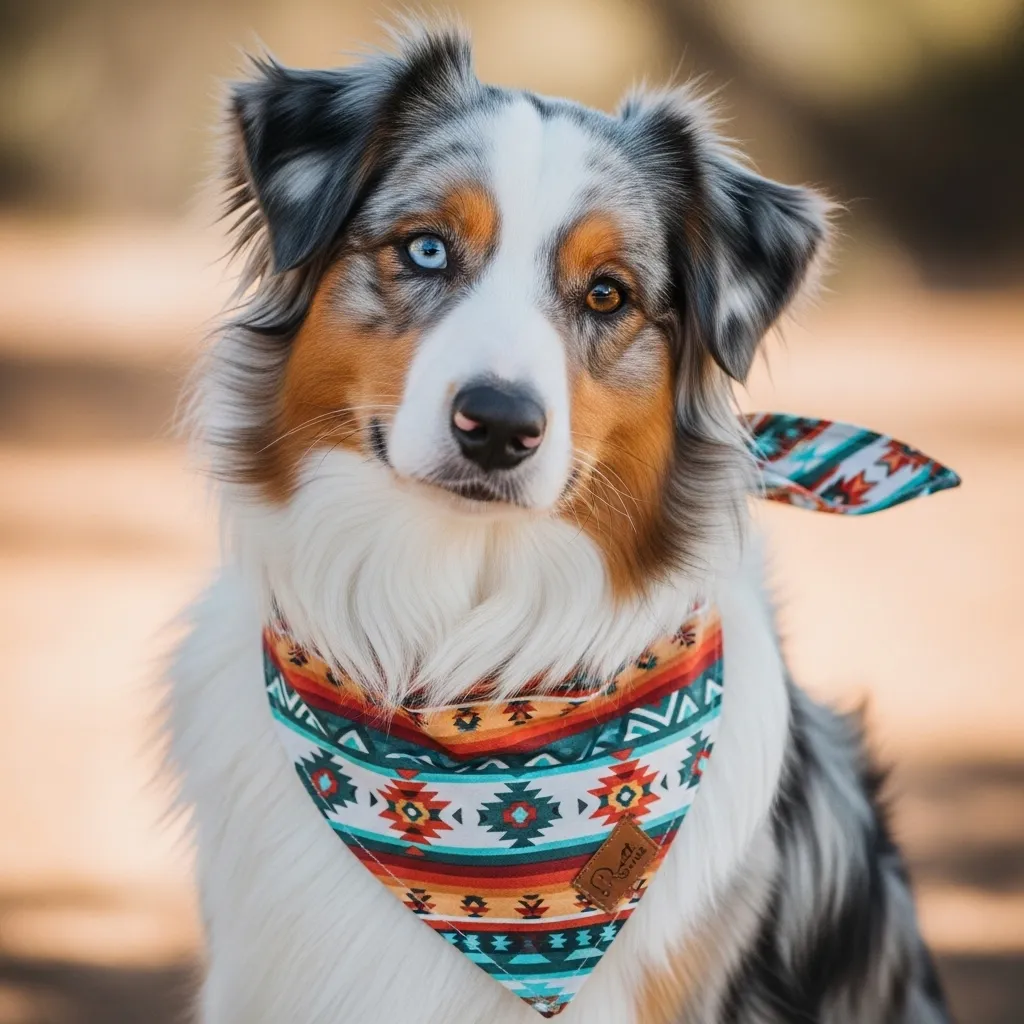
12. The Personalized Embroidered Bandana
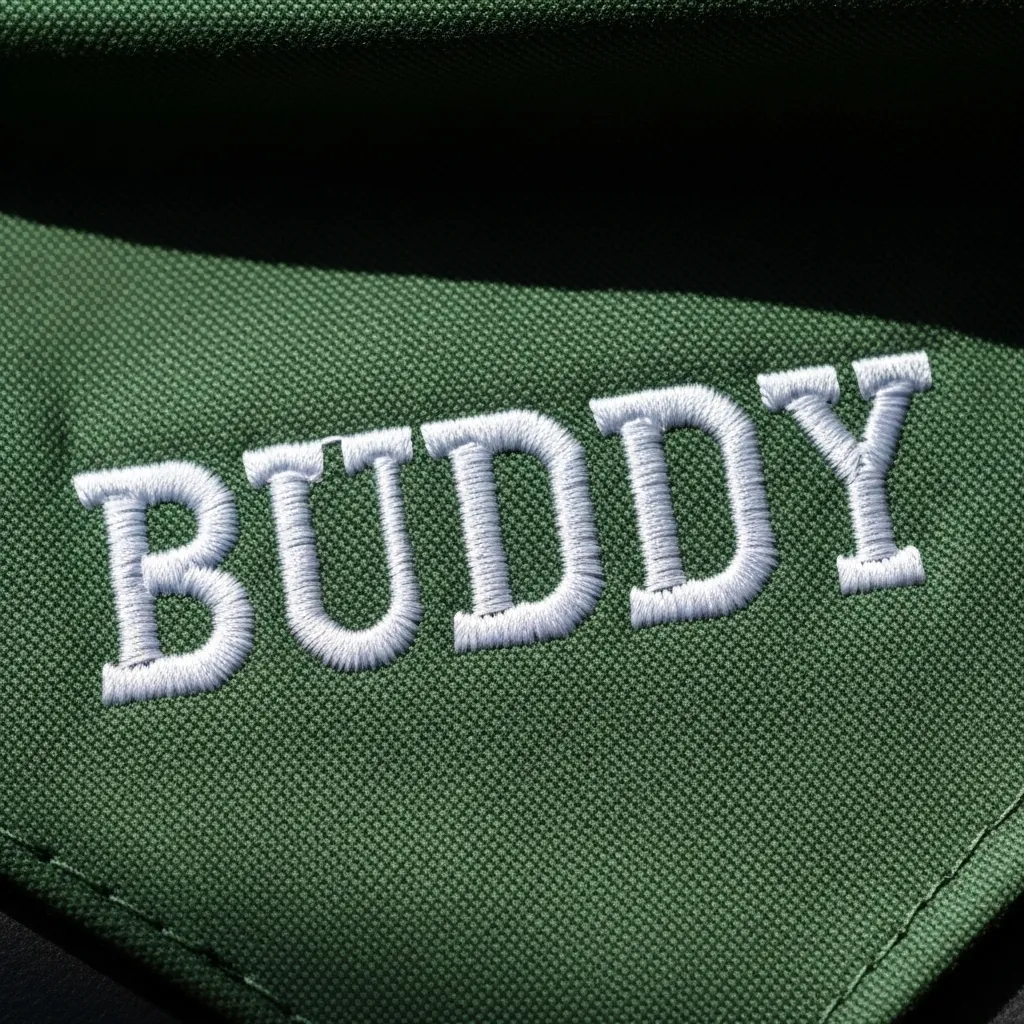
Make it truly one-of-a-kind. Start with a simple bandana in a solid color. Then, use hand-embroidery or a sewing machine with embroidery capabilities to add your dog’s name, a cute bone, or a simple flower.
This personal touch makes it a cherished item. I’ve made these as gifts for fellow dog owners, and they’re always a huge hit. It’s a lovely way to practice your embroidery skills on a small, manageable project.
Ready to Dress Your Pup!
I hope these 12 ideas have sparked your creativity. The best part about DIY dog bandanas is that there are no strict rules. Mix and match these techniques, play with fabrics, and most importantly, have fun with it. Your dog will love the extra attention, and you’ll love seeing them sport your handmade creation.
Start with one simple pattern and see where your imagination takes you. Happy crafting!
DIY Dog Bandana FAQ
Q: What’s the best fabric for a dog bandana?
A: I recommend cotton, flannel, or felt for beginners. They’re easy to cut, sew, and are comfortable for your dog. Avoid itchy or stiff materials.
Q: How do I measure my dog for a bandana?
A: Measure around the base of their neck for the length. For the triangle’s size, a good starting point is a 20-24 inch square for medium dogs. Adjust up or down from there.
Q: Are bandanas safe for dogs to wear?
A: Yes, if made and worn properly. Always supervise your dog, ensure it’s not too tight, and avoid long ties or loose decorations they could chew off.
Q: Can I make a bandana without any sewing?
A> Absolutely! The no-sew felt bandana (Idea #2) or using fabric glue on hem tape are perfect no-sew options. An old t-shirt knit also doesn’t need hemming.
Q: How do I wash my homemade dog bandanas?
A> I always pre-wash my fabrics. Then, toss the finished bandana in with your regular laundry, using a gentle cycle. Air drying helps the colors last longer.