12 Smart DIY Pocket Dog Gate Projects (That Actually Look Good)
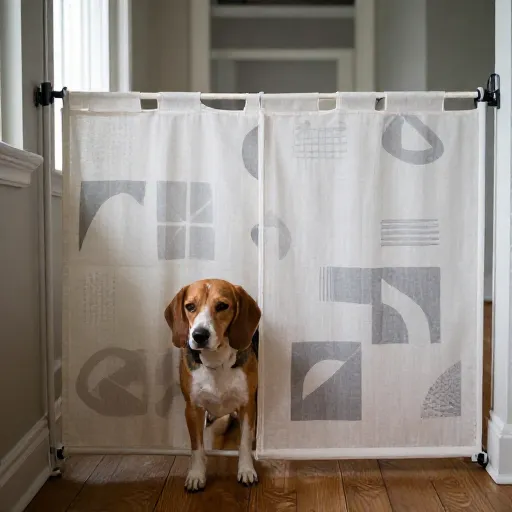
If your home is anything like mine, you’ve got one spot that’s a total pain—maybe it’s the hallway leading to the laundry room, the gap between the couch and the wall, or that weird little nook under the stairs. Big baby gates are bulky, expensive, and honestly, they ruin the vibe of a cozy room. That’s why I started messing around with pocket-style dog gates. They’re slim, clever, and tuck away when you don’t need them.
I’m not a professional carpenter—I’m just a dog mom with a drill and a lot of patience. Over the last few years, I’ve tried a bunch of different approaches. Some were total fails (we don’t talk about the curtain rod incident), but these 12 projects are the ones that actually worked. Each one is budget-friendly, looks intentional, and keeps my chaos monster (affectionately named Biscuit) where he needs to be.
Let’s get into the good stuff. Grab your measuring tape and an afternoon—you’ve got this.
1. The Tension Rod + Fabric Panel Trick
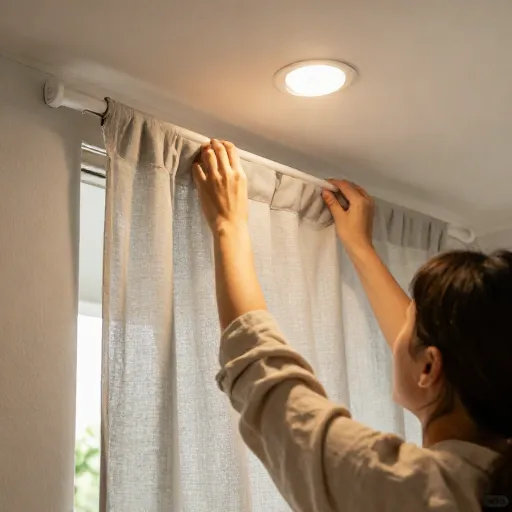
This is the easiest one on the list, and honestly, it’s perfect for renters. You just need a sturdy tension rod (the kind you’d use for curtains) and a piece of fabric or a lightweight wooden panel. Measure the width of your doorway, twist the rod into place, and hang your fabric over it.
The secret is using a rod that’s rated for a bit more weight than you think you need. I made the mistake of buying a flimsy one, and Biscuit pushed right through it. Upgrade to a heavy-duty shower rod and you’ll be golden.
For the fabric, I used a canvas drop cloth and stitched a simple pocket at the top to slide the rod through. It looks like a curtain, but it’s a gate. No hardware, no holes, no landlord drama.
2. The Sliding Barn Door Mini Gate
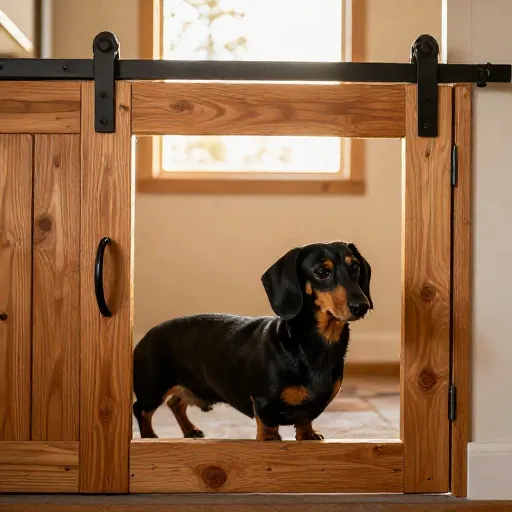
If you’ve got a narrow hallway (like 24 to 30 inches), this is a showstopper. You build a small barn door on a track that slides along the wall. When it’s open, it hugs the wall. When it’s closed, it covers the opening completely. It’s sleek, modern, and surprisingly easy to make.
You’ll need a basic sliding door hardware kit (the ones meant for cabinets work great for small openings), a piece of plywood, and some handles. Cut the wood to size, sand it down, and mount the track above the doorway.
I added a little window cutout in the middle of mine so I can still see Biscuit from the kitchen. It’s functional, but it also looks like a custom piece of furniture. Everyone thinks I hired someone to build it.
3. The Couch Gap Plug Gate
This one is for that infuriating gap between the back of your couch and the wall. It’s not a door, but it’s a gate—a pocket gate that slides into the gap when not in use. I built a thin wooden panel that fits exactly into that space, with a small lip on top so it’s easy to grab.
To make it, measure the gap and cut a piece of 1×4 lumber to size. Attach two small furniture feet to the bottom so it doesn’t scratch your floor. Slide it in when you need to block the area, and tuck it away when you don’t.
I painted mine to match my baseboards, so it just looks like part of the wall. It’s the smallest project here, but it solves the biggest annoyance in my living room.

4. The Under-Stairs Pocket Gate
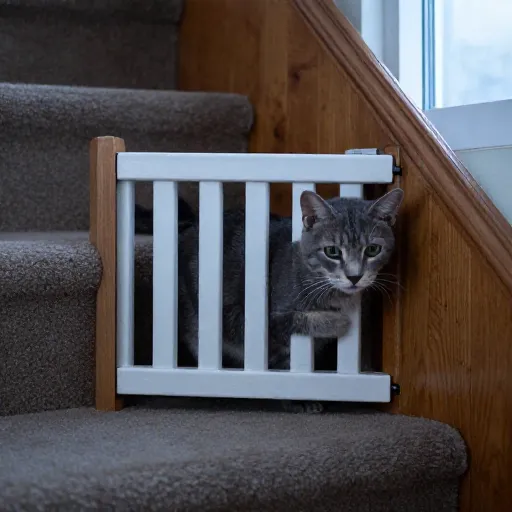
If you have an open stairway, you know the struggle. The gap under the stairs is like a dog magnet. I built a gate that slides into a custom-built pocket in the wall next to the stairs. It’s a bit more advanced, but the result is super clean.
First, you need to create a hollow space in the wall (or box out a frame if you have drywall). The gate panel slides into that pocket. When you pull it out, it covers the opening. I added a simple latch to keep it locked.
You’ll need a circular saw, some plywood, and a track system. It took me a weekend, but now the gate is completely invisible when open. It’s the most “pocket” of all the pocket gates.
5. The Magnetic Snap Pocket Screen
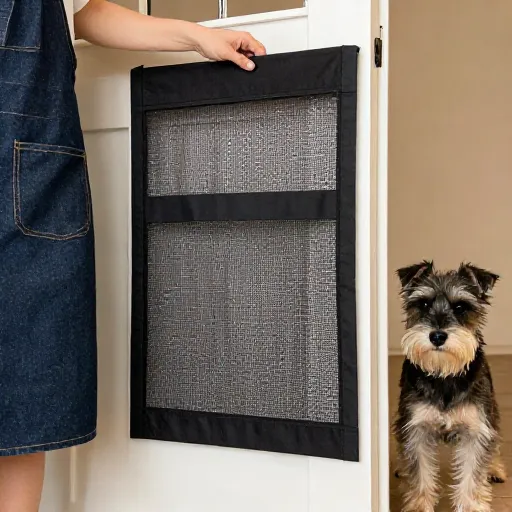
This is a hack that uses a magnetic screen door, the kind you see on patios. Instead of installing it on a door, you install it in a doorway inside your house. The magnets snap shut behind your dog, but you can walk through freely hands-free.
Cut the screen to fit your doorway and attach it with velcro strips (the heavy-duty outdoor kind). The mesh is see-through, so it doesn’t block light. It’s not a solid barrier, but it works great for keeping dogs out of certain rooms when you’re moving around.
The best part? It folds up into a tiny bundle when you need it out of the way. You can just roll it up and tuck it in a drawer.
6. The Bi-Fold Pocket Gate
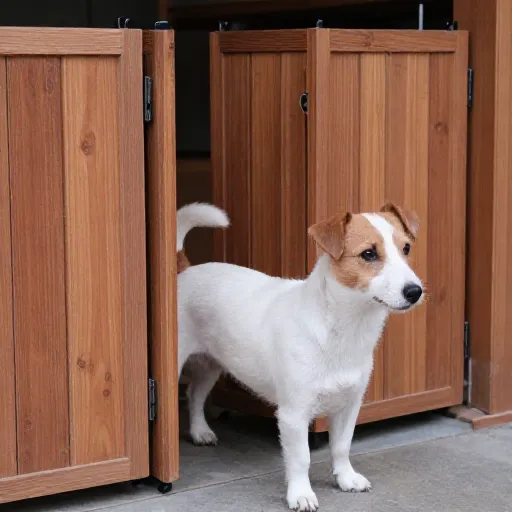
This one is like a mini version of those folding room dividers. I built two wooden panels that are hinged together. When not in use, they fold flat against the wall. When you need them, they swing out and lock into place with a small hook.
Use piano hinges to connect the panels. Add a small magnet to the wall to hold the folded gate in place when it’s open. It’s a great option for wider openings where a single panel would be too big.
I stained mine to match my hardwood floors. It’s a conversation starter, for sure.
7. The Drop-Down Counter Gate
This is perfect for the kitchen. I built a gate that tucks up under the countertop when not in use. It’s basically a wooden panel that slides out horizontally from a slot under the counter edge.
You need to build a simple box frame under the counter overhang. The panel slides in and out like a drawer. Add a small handle on the front edge. When it’s out, it blocks the kitchen entrance. When it’s in, you don’t even know it exists.
It’s a bit of woodworking, but if you have a kitchen island, this is the most seamless solution.
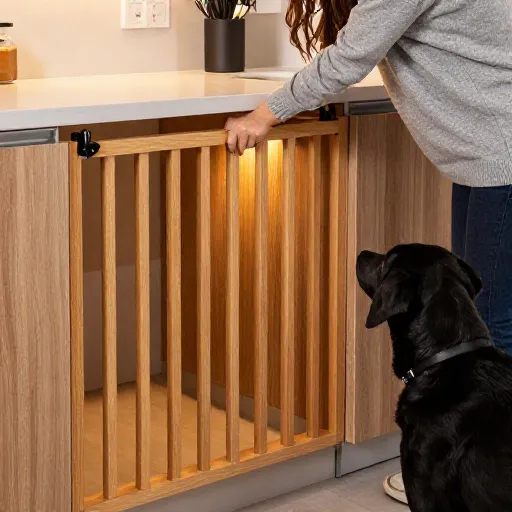
8. The Fabric Sleeve Pocket Gate
If you want something soft and quiet, this is your project. It’s like a big pillowcase that slides over a wooden dowel. The dowel is mounted horizontally across the doorway. The fabric sleeve hangs down as the gate.
To open it, you just roll the fabric up around the dowel and secure it with a strap. It’s lightweight and doesn’t bang against the frame. I used a fun patterned fabric that matches my decor, so it feels more like a curtain than a gate.
This is a great beginner project. No power tools needed—just a saw to cut the dowel and a sewing machine (or fabric glue).
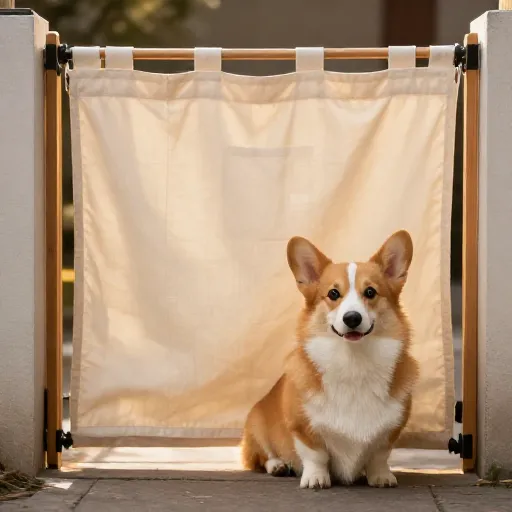
9. The Side-Pocket Slider (Recessed)
This is the advanced version of the under-stairs gate. It requires cutting into your wall to create a recessed pocket. The gate panel slides into the wall cavity. This is a permanent solution, but it’s also the most invisible.
You’ll need to frame out the inside of the wall. It’s a bigger job, so maybe call a friend for this one. But once it’s done, you have a gate that disappears completely into the drywall.
I did this in my hallway, and it’s honestly my favorite thing in the house. It’s so clean.

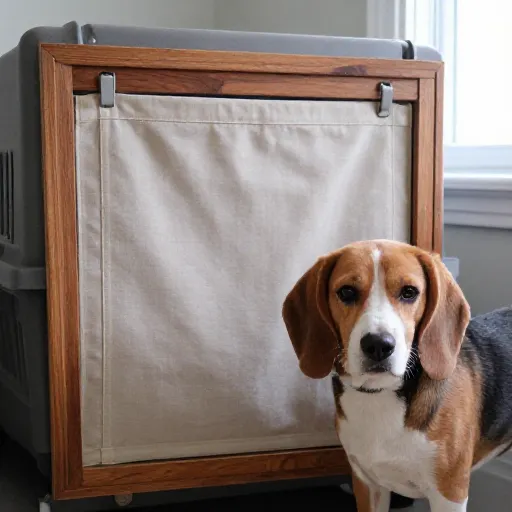
10. The Crate Door Pocket Panel
Instead of a traditional gate, I made a panel that fits over the front of my dog’s crate. It’s like a pocket door for the crate itself. The panel slides up and down in a track that I mounted to the sides of the crate.
When it’s up, my dog has full access. When it’s down, he’s contained. It’s great for times when you want him to have a quiet space without the visual clutter of a wire door.
I used a piece of acrylic so it’s see-through, but you could use wood for more privacy. It took me about 20 minutes to build.
11. The Two-Piece Telescoping Gate
For wider openings (like between a living room and dining room), a single panel is too wide. I built a telescoping gate with two panels that slide past each other. One panel is fixed, and the other slides behind it.
You can build this with a simple sliding track on the top and bottom. The panels overlap, so they can extend and retract. It’s like a mini sliding glass door but made of wood.
This one takes a bit of patience to get the measurements right, but it’s so satisfying to watch it slide smoothly.
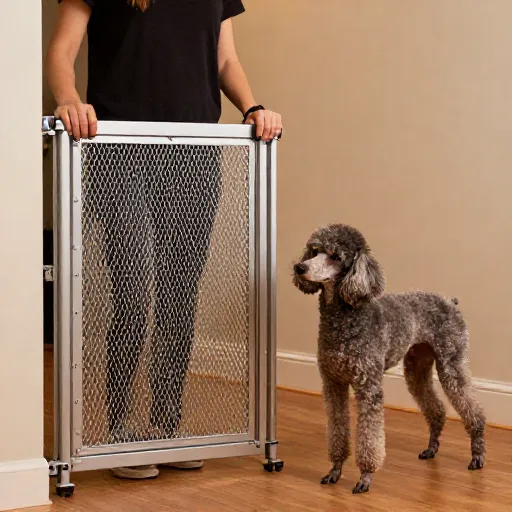
12. The PVC Pipe Frame Gate
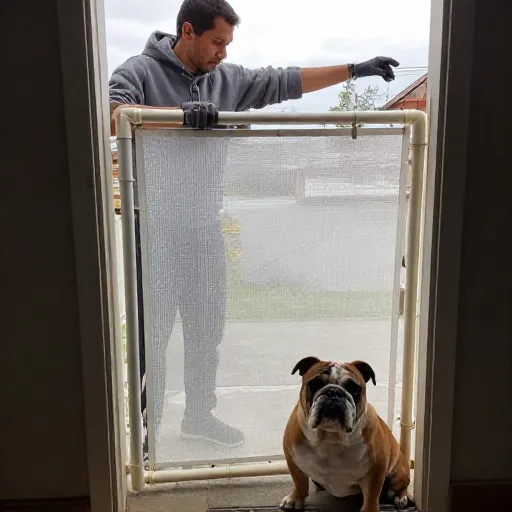
Let’s end with a budget-friendly one. I made a lightweight frame out of PVC pipes and connectors. It fits snugly into the doorway, and you can cover it with a thin sheet or leave it open.
Cut the PVC pipes to size and connect them with elbow joints. It’s like building with giant LEGOs. The frame is sturdy enough to block a dog but light enough to pick up and move in seconds.
I wrapped mine in black electrical tape to make it look less “plumbing” and more “modern industrial.” It cost me about $15 total.
Final Thoughts
If you’re like me, you don’t want to spend a fortune on baby gates that look like they belong in a daycare. These pocket-style gates are all about blending in with your home. Whether you go for a super simple tension rod or a full recessed wall slider, the goal is to keep your pup safe without sacrificing your style.
Start with the easiest one—maybe the fabric panel or the PVC frame—and build your confidence. Your dog (and your furniture) will thank you.
Frequently Asked Questions
1. What’s the easiest pocket gate for a beginner?
The tension rod and fabric panel is hands-down the easiest. You don’t need any tools, and it takes less than ten minutes to set up. It’s perfect for renters too.
2. Can I make these gates look nice, or will they look DIY?
Honestly, it depends on the materials. If you take the time to sand, paint, or stain your wood, they look professional. I’ve had guests ask if I hired a contractor for my barn door gate.
3. Are these gates safe for puppies?
Yes, but make sure there are no small parts they can chew on. For puppies, I’d stick to solid wood panels or fabric. Avoid anything with magnets that they could swallow.
4. What if my doorway is wider than 36 inches?
You’ll want to go with a telescoping gate or a bi-fold option. Single panels can get too heavy and sag in wide openings.
5. Do I need special tools?
For most of these, just a drill, a saw, and a measuring tape will do. The recessed wall pocket gate is the only one that might require a bit more, like a drywall saw.