13 Build 7 Luxury Cat Trees Without Breaking the Bank
Let me start by saying this: I love my cats more than anything, but I refuse to spend $300 on a cat tree that looks like a beige carpet monster. You know the ones. They sit in the corner, shedding fibers, and your cat uses them twice before deciding your couch is better.
The good news? You can build a luxury cat tree for a fraction of the store price. I’m talking floor-to-ceiling towers, cozy hideouts, and scratching posts that look like they belong in a design magazine. All you need is a little creativity, some basic tools, and maybe a trip to the hardware store.
So grab your measuring tape and let’s get building. I promise these projects are doable, even if you’ve never picked up a drill before.
1. The Cardboard Castle That Looks Like Wood
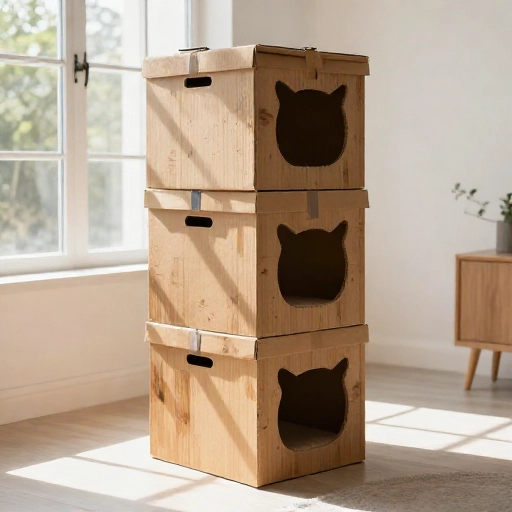
Cardboard gets a bad rap, but hear me out. You can stack sturdy shipping boxes, wrap them in faux wood contact paper, and create a multi-level castle that costs almost nothing. The secret is using heavy-duty boxes (think appliance boxes) and reinforcing the corners with duct tape.
Cut circular holes for entry points, add a ramp made from a flattened box, and cover everything in a wood-grain adhesive film. Your cat will love the hiding spots, and you’ll love how it looks like custom furniture from a boutique pet store.
Top it with a flat cushion or an old throw pillow for the observation deck. This is perfect for apartment dwellers who need something lightweight and movable.
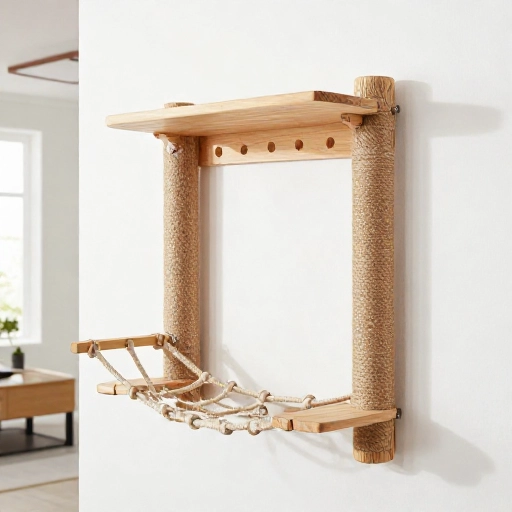
2. The Wall-Mounted Jungle Gym
Who says a cat tree has to touch the floor? Wall-mounted shelves and perches are the ultimate space-savers, and they look incredibly sleek. You’ll need a few floating shelves, some heavy-duty brackets, and a bit of sisal rope.
Wrap the edges of the shelves with sisal rope so your cat can scratch and climb. Space them at different heights, creating a zigzag path up the wall. Add a cozy bed on the top shelf, and you’ve got a vertical playground.
Just make sure you screw into wall studs. Nobody wants a shelf crashing down at 3 AM.
3. The Repurposed Ladder Tower
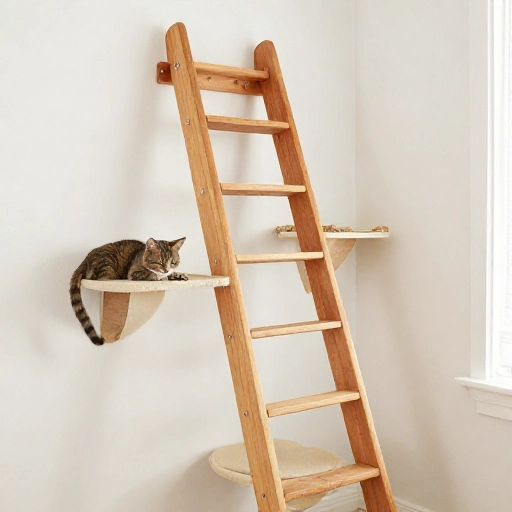
Old wooden ladders are gold. You can find them at garage sales or on the curb for free. Lean one against the wall at a slight angle, and you’ve instantly got a climbing structure. Add wooden planks across the rungs for flat platforms.
Wrap the legs with sisal rope for scratching, and place a basket or a wooden crate on one of the lower levels as a hideout. Paint the ladder a bold color or keep it rustic and natural.
This one takes about an hour to assemble and looks like something from an Anthropologie catalog.
4. The Minimalist Birch Branch Tree
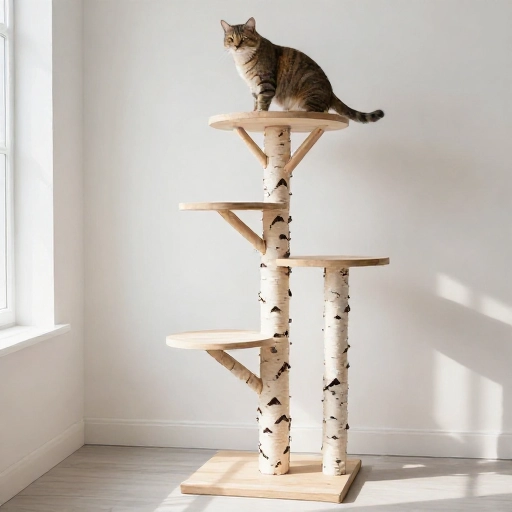
For a truly designer look, find a sturdy, thick birch branch with lots of offshoots. Clean it, sand it down, and mount it on a heavy wooden base. This is the kind of cat tree that makes people ask where you bought it.
Attach small wooden discs or planks to the branch tips as perches. You can also hang a small hammock or a faux fur pouch from one of the branches. Make sure the base is wide and heavy enough to prevent tipping.
This is more of a statement piece than a play fort, and your cat will feel like a leopard in the wild.
5. The Under-Bed Hideout Palace
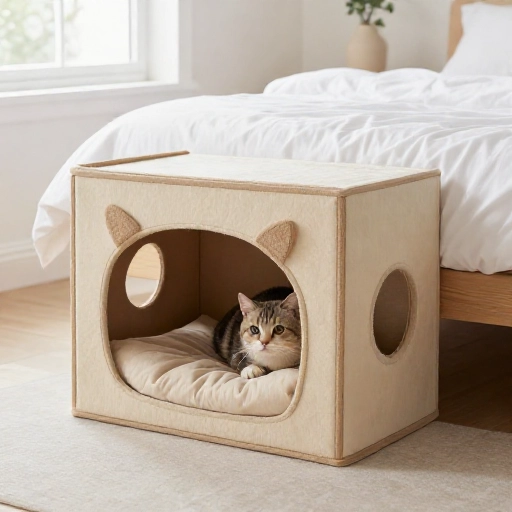
Don’t have floor space? Build underneath your bed. Measure the clearance under your bed frame, then build a low, wide structure that slides right in. Use plywood for the base and attach short legs with casters so it rolls.
Create a flat top with a plush cushion, and add a hidden compartment with a circular opening for your cat to crawl inside. Cover the whole thing in a soft, upholstery fabric that matches your room.
Your cat gets a private cave, and you get extra storage space on top for bins. It’s a win-win.
6. The Staircase Catwalk
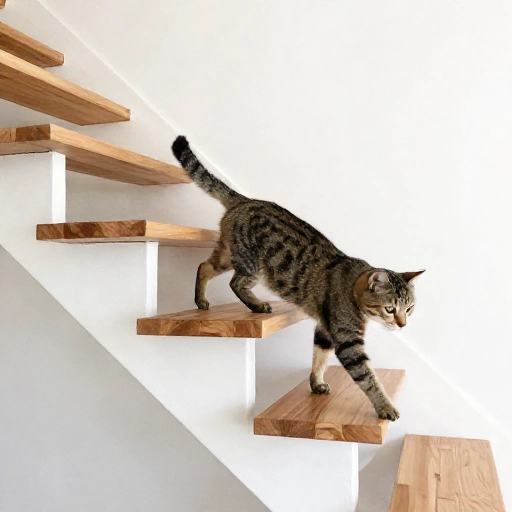
If you have an open staircase, you can turn the wall beside it into a cat superhighway. Install a series of floating shelves that run parallel to the stairs, increasing in height as they go up.
Add a thick sisal rope hanging from the top landing so your cat can climb up and down safely. Place small beds or cushions on each shelf. This creates a functional, space-saving pathway that encourages exercise.
It looks ultra-modern, and it’s a fun conversation starter when guests see your cat walking up the wall.
7. The Bookcase Transformation
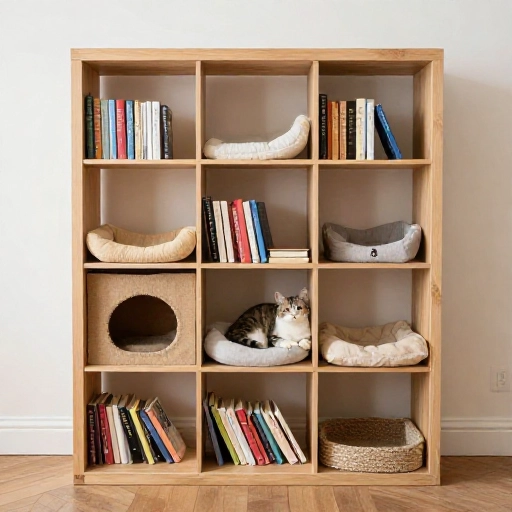
Got an old bookshelf that’s seen better days? Don’t toss it. Turn it into a luxury cat condo. Remove some of the shelves to create vertical space, and leave others for perching.
Wrap the posts with sisal rope, and add a curtain or a fabric flap over one of the openings for privacy. Paint the outside a fun color and line the inside with cozy fleece.
This gives you tons of storage on the lower shelves for cat toys and supplies, while the top becomes a private penthouse.
8. The Crate and Barrel Hack
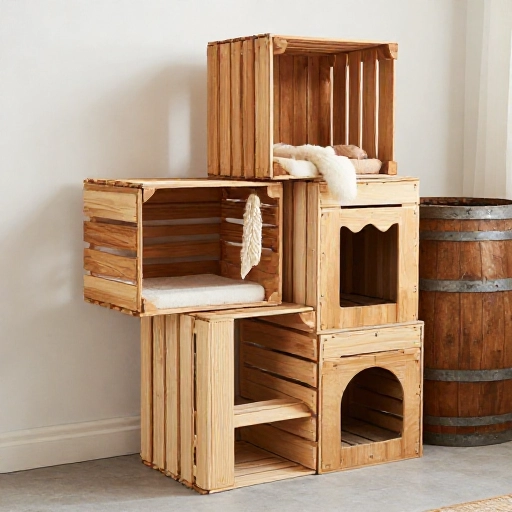
Those wooden wine crates or milk crates you can get for cheap are perfect building blocks. Stack them in a pyramid or a random formation, screwing them together for stability.
Line each crate with a soft cushion or a piece of carpet. Use the open side as a nook, or attach a piece of plywood to make a shelf. This is modular, so you can rearrange the layout whenever you want.
For a more polished look, sand and stain the wood. Your cat will love the rustic, earthy vibe.
9. The PVC Pipe Dream
PVC pipes are cheap, lightweight, and surprisingly sturdy. Build a geometric frame (like a cube or a zigzag) using PVC connectors. Wrap each pipe with sisal rope or thick yarn to provide a scratching surface.
Use zip ties or strong glue to attach wooden planks or plastic trays to the frame as platforms. This is a great outdoor option too, since PVC is weather-resistant.
It looks a little industrial, but if you choose the right color rope, it can be a modern art piece in your living room.
10. The Pallet Wood Villa
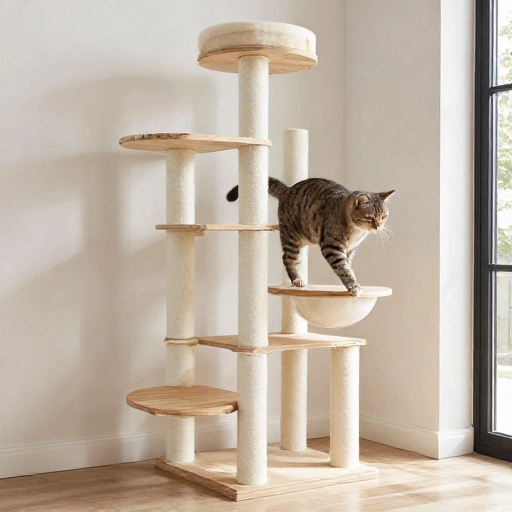
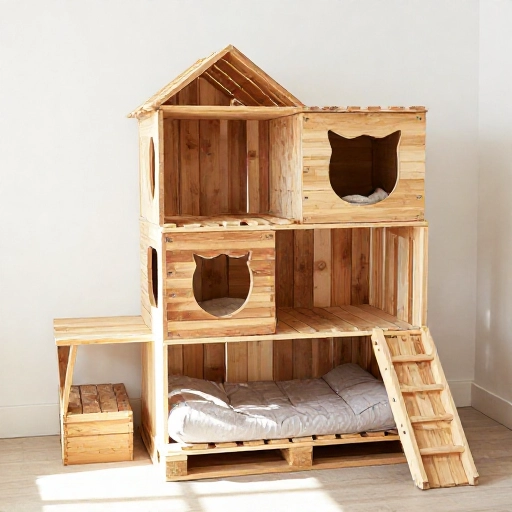
Pallets are free or nearly free, and they’re incredibly strong. Break down a pallet and use the slats to build a multi-level villa. You can make a simple three-story structure with a ramp and a lookout tower.
Sand everything down to avoid splinters, and paint it with non-toxic paint. Add carpet squares to the platforms and a hanging toy from the top. This is a bigger project, but the result is a substantial piece of furniture.
It’s perfect for a sunroom or a large living area where your cat needs room to roam.
11. The Tension Rod Tower
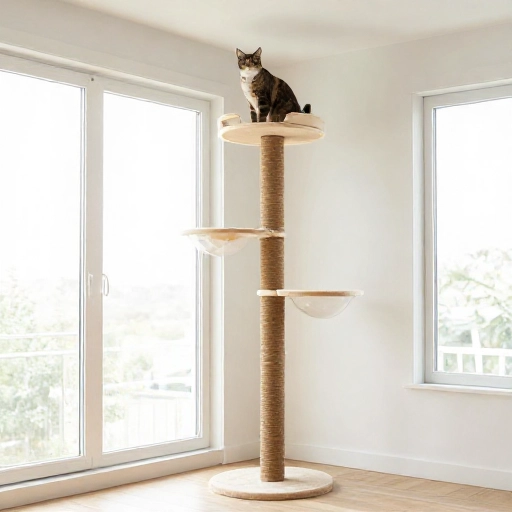
No screws, no drill, no damage to your walls. Use a heavy-duty tension rod that extends from floor to ceiling. Attach round wooden discs or flat baskets to the rod at different heights, securing them with clamps.
Wrap the rod with sisal rope so your cat can climb it. This is a rental-friendly option that takes only 15 minutes to set up and take down.
It’s not as stable as a wall-mounted option, so make sure you get a tension rod rated for high weight. But for a temporary setup, it’s a game-changer.
12. The Suitcase Surprise
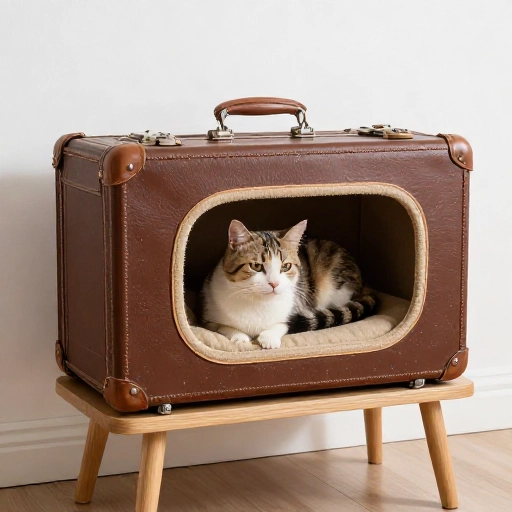
Vintage suitcases are everywhere at thrift stores, and they make the most charming cat beds and hideouts. Stack two or three suitcases on top of each other, opening them slightly to create tunnels.
Cut a hole in the side of the top suitcase so your cat can jump in and out. Line the inside with a soft blanket. Use the bottom suitcase as a base, filling it with something heavy for stability.
This is a vintage, eclectic look that adds character to any room. You can also attach them to a small wooden stand for extra height.
13. The Corner Condo
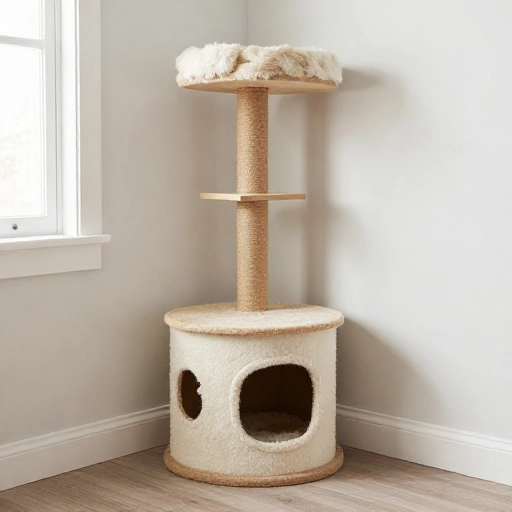
Don’t let that awkward empty corner go to waste. Build a tall, corner-fitting cat tree using two wooden posts and several triangular shelves. Anchor the posts to the ceiling and floor using adjustable tension feet.
Cover the shelves with carpet or faux fur. Add a sisal rope-wrapped post for scratching, and place a small hammock between the two posts. This fills the corner beautifully and gives your cat a secure, cozy spot.
It’s a bit more advanced, but the payoff is a custom piece that fits your space perfectly.
Conclusion
Building a luxury cat tree is about working smart, not spending big. I’ve made several of these projects myself, and my cats are obsessed. They don’t care if it’s from a store or from a repurposed ladder—they just want a place to scratch, climb, and nap.
Start with the easiest project that fits your space and skill level. You can always add more shelves, better fabric, or fancier rope later. The best part is, you’ll have a one-of-a-kind piece that you made with your own hands.
Happy building, and give your furry friends a scratch behind the ears for me.
FAQ
1. What’s the cheapest material to use for a DIY cat tree?
Cardboard and repurposed wood pallets are the cheapest. You can often get them for free. Just make sure they’re sturdy enough to hold your cat’s weight.
2. How do I make sure my DIY cat tree is safe?
Always secure wall-mounted pieces into studs. Sand down any rough wood to prevent splinters, and use non-toxic paint and glue. Check for stability before you let your cat jump on it.
3. How long does it take to build a simple cat tree?
A basic cardboard or ladder project can take under an hour. More complex builds like the pallet villa might take a weekend, depending on your skill level.
4. Can I use a DIY cat tree outdoors?
Yes, but use weather-resistant materials like PVC, treated wood, or outdoor paint. Bring cushions inside when it rains to keep them dry.
5. My cat ignores her tree. What should I do?
Rub some catnip on the platforms, or hang a favorite toy from it. Sometimes you need to place them on the tree yourself and give them treats so they associate it with positive things. Patience is key.