13 Clever Pet Barriers You Can Build This Weekend (Keep Fido Safe & Your Sanity Intact)
Let’s be real: sometimes our pets have terrible judgment. My dog thinks the laundry pile is a luxury bed, and my cat believes the Christmas tree is her personal jungle gym. After one too many “accidents” and “oops, I knocked that over” moments, I realized I needed some serious barriers.
The good news? You don’t need a contractor or a ton of cash. I’ve gathered 13 of the most clever, easy-to-build pet barriers that you can actually finish in a single weekend. These are practical, look decent, and most importantly, they work. Grab your tools—let’s get building.
1. The Under-the-Sofa Blockade (No More Lost Toys)
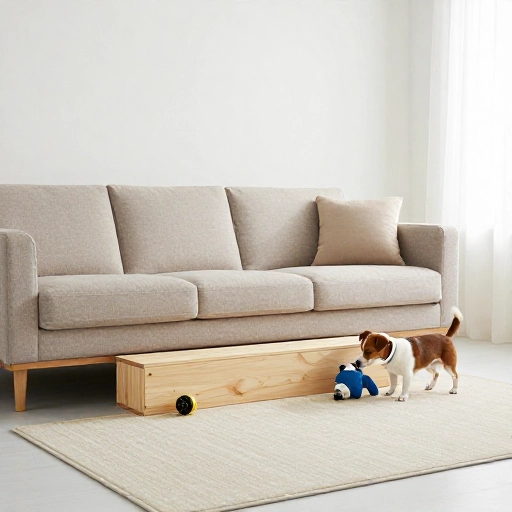
Does your dog shove every single ball and bone under the couch? Mine does. It’s a black hole down there. I made a simple wooden frame covered in fabric that slides right under the front edge. It blocks toys but lets the sofa sit flush against the wall.
You just need a piece of 1×4 wood, some foam, and fabric that matches your sofa. Measure the gap, cut the wood, wrap it, and slide it in place. It’s invisible and saves you from playing retrieval 10 times a day.
Another trick? Use a tension rod with a heavy fabric curtain underneath. It looks like a dust ruffle but stops everything from rolling into the abyss.
2. The Baby Gate Upgrade (But for Big Dogs)
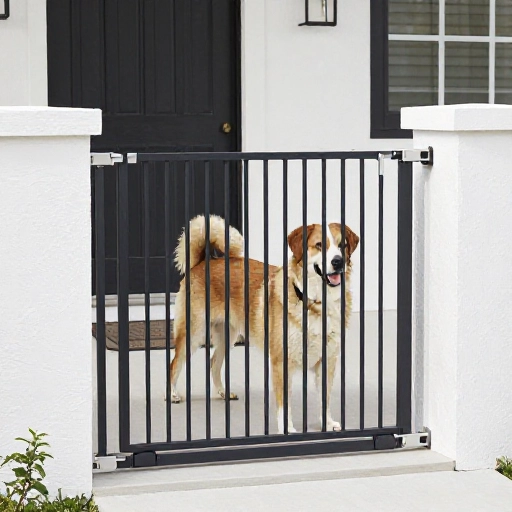
Standard baby gates are fine for toddlers, but my 80-pound Lab just leans on them until they pop open. I built a heavy-duty version using a 2×4 frame and plywood. It’s a swing gate that latches to the wall.
I cut the plywood to fit my doorway, added hinges on one side, and a simple slide bolt lock on the other. It took about two hours. The best part? I painted it to match my trim, so it doesn’t scream “dog prison.”
If you want it extra sturdy, screw the hinges into the wall studs. This gate isn’t going anywhere.
3. The Cat-Proof Plant Shelf (Save Your Monstera)
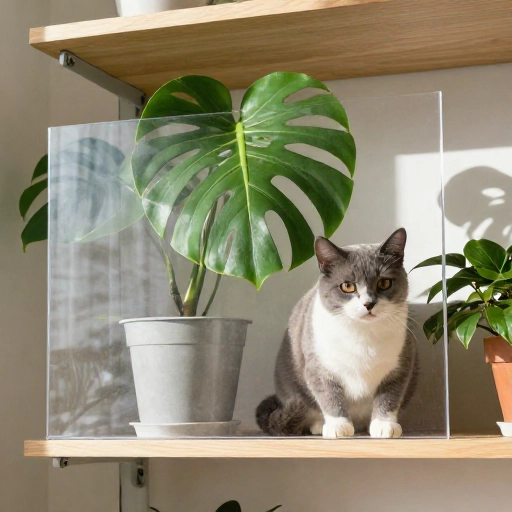
My cat thinks my fiddle leaf fig is a salad bar. I built a floating shelf that’s too narrow for her to land on, but wide enough for my pots. It’s mounted high on the wall, out of jumping range from any furniture.
The trick is the shelf depth. Keep it under 6 inches deep. Cats like to perch, but they need a stable platform. A narrow shelf feels precarious to them. I also added a small lip on the front so pots don’t get nudged off.
You can use a simple pine board, stain it, and mount it with heavy-duty brackets. Your plants stay alive, and your cat finds something else to annoy.
4. The Staircase Stoppers (No More Unsupervised Upstairs)
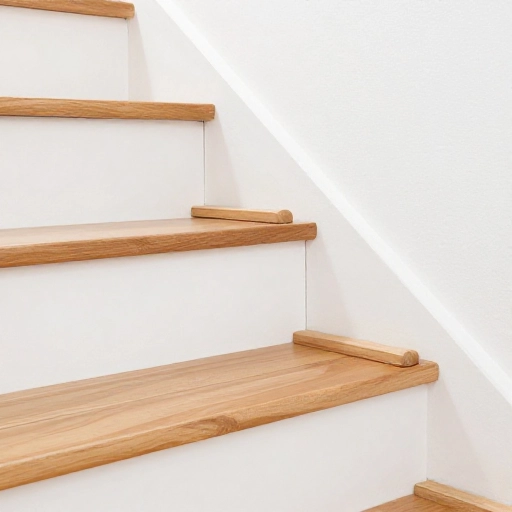
I needed a way to keep the dog downstairs without a bulky gate. I built a series of low, removable wooden panels that fit between the stair balusters. They look like a decorative lattice.
Each panel is just a rectangle of plywood with a simple frame. I cut them to fit exactly between the balusters and used a few small hooks to hold them in place. They’re easy to pop out when guests come over.
Painting them white made them blend into the trim. Now the stairs look intentional, not blocked off. And the dog stays put.
5. The Under-the-Desk Dog Cave (A Cozy, Unchewable Nook)
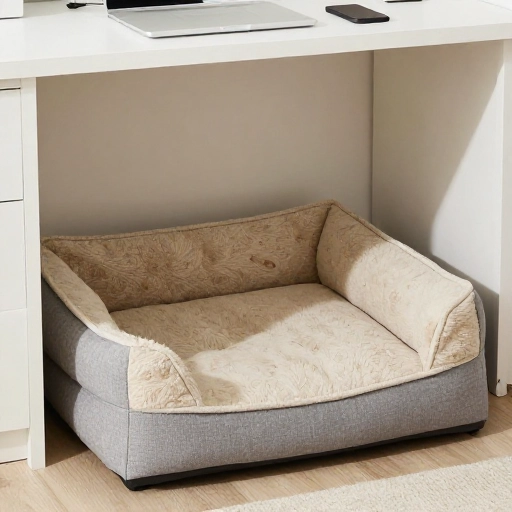
My dog loves to lie under my desk while I work, but he also chews on the power cords. I built a simple wooden enclosure that fits under the desk. It’s basically a three-sided box with a soft bed inside.
I used 1×6 pine boards for the sides and a piece of plywood for the bottom. I added a small opening on one side so he can crawl in. The top is open so he can see me. I lined it with a cheap rug from the thrift store.
Now he has his own spot, and all the cords are safely behind the enclosure. It’s his little office cave. He loves it.
6. The “No-Scratch” Door Protector (A Simple Panel)
Does your cat scratch at the bedroom door every morning at 5 AM? Mine does. I built a simple, smooth panel that attaches to the bottom half of the door. It’s made of a slippery material like acrylic or a smooth plastic sheet.
I cut a piece of acrylic to the width of the door and about 3 feet tall. I attached it using heavy-duty double-sided tape. The smooth surface means her claws can’t get any traction. She gives up after a few seconds.
It’s clear, so you barely notice it. And it stops the scratching without ruining your paint job.
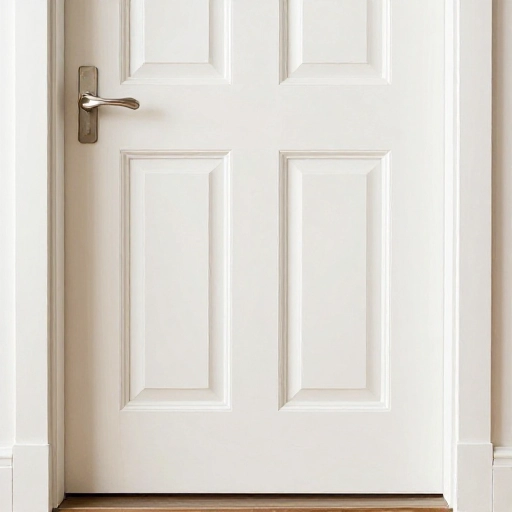
7. The Kitchen Island Barrier (A Detachable Gate)
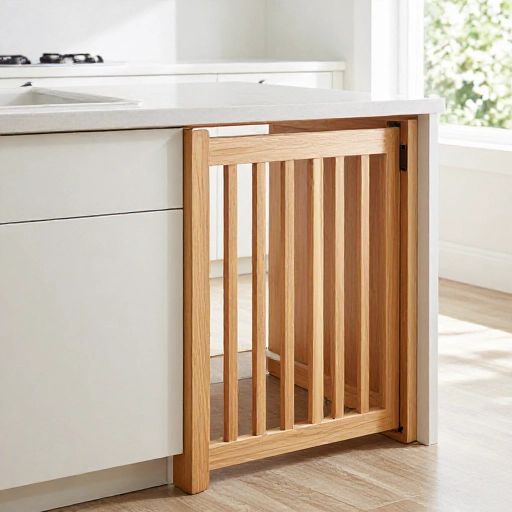
My dog is a counter surfer. He can rest his paws on the island and steal a whole loaf of bread. I built a removable wooden panel that attaches to the side of the island. It looks like an extension of the cabinetry.
I used a piece of 1/2-inch plywood cut to the height of the island. I added two small hinges on one side and a latch on the other. It swings open like a small gate. When not in use, it folds flat against the side.
I painted it the exact same color as the island. It’s practically invisible. And it stops the bread theft.
8. The Screen Door for the Patio (A DIY Dog Door Insert)
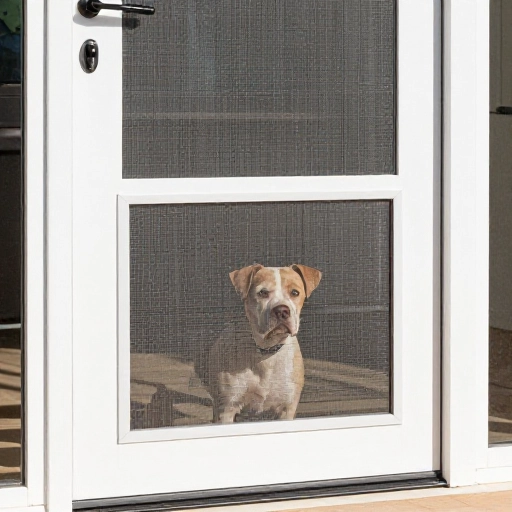
My dog loves to be outside, but I don’t want to leave the sliding door open all day. I built a simple wooden frame that fits into the sliding door track. It’s basically a screen door with a small dog door flap.
I used a 1×4 frame and stretched screen mesh over it. Then I cut a hole near the bottom and installed a pre-made dog door flap. The whole thing slides into the track just like a regular screen.
Now he can come and go as he pleases, and the bugs stay out. It took about three hours to build.
9. The Furniture Bumper (Protect Your Walls & Your Sofa)
My dog loves to lean his whole body against the sofa when he’s excited. He’s slowly pushed it into the wall, leaving dents. I built a small wooden bumper that attaches to the back of the sofa legs.
It’s just a 2×4 cut to the width of the sofa, with rubber feet glued to the bottom. I screwed it into the sofa’s back legs. It creates a small gap between the sofa and the wall.
No more wall dents. And the rubber feet mean it won’t scratch the floor. It’s a super simple fix.

10. The Radiator Guard (A Cool, Safe Barrier)
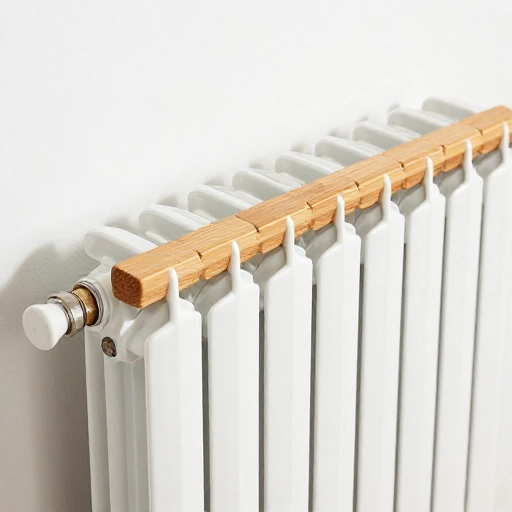
My cat loves to sit on the radiator in the winter. It’s dangerous. I built a simple wooden frame that sits over the radiator. It’s basically a box with a slatted top.
I used 1×2 boards for the frame and spaced the top slats about an inch apart. The cat can’t fit through the slats, and the wood stays cool to the touch. The heat still comes through the gaps.
I painted it white to match the wall. Now the radiator is safe, and the cat finds a different spot to bake.
11. The “No-Go” Zone Gate (A Room Divider You Can Walk Through)
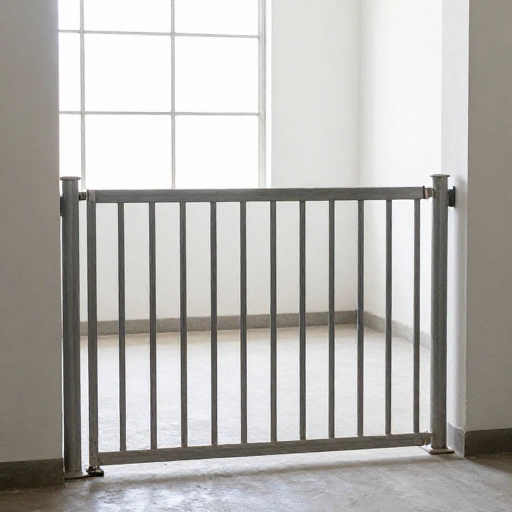
I wanted to keep the dog out of the dining room but still have an open feel. I built a simple wooden gate that acts like a half-wall. It’s about 3 feet tall and spans the doorway.
I used a 2×4 frame and filled it with vertical slats. It’s attached to the wall on one side with hinges, and it has a magnetic latch on the other. I can swing it open and walk through.
It’s tall enough that the dog can’t jump over it, but it doesn’t block the light or the view. It looks like intentional architecture.
12. The Crate Cover (A Cozy, Private Retreat)
My dog’s crate is ugly. It’s a big metal box in my living room. I built a wooden cover that fits over the top and sides. It looks like a piece of furniture.
I used a sheet of plywood for the top and sides, and I cut a large opening in the front. I added a simple curtain rod and a piece of fabric for privacy. The whole thing sits on top of the crate like a hat.
Now the crate looks like an end table. I put a plant on top. The dog goes in there willingly because it’s dark and cozy.

13. The Stair Railing Net (A Simple Safety Mesh)
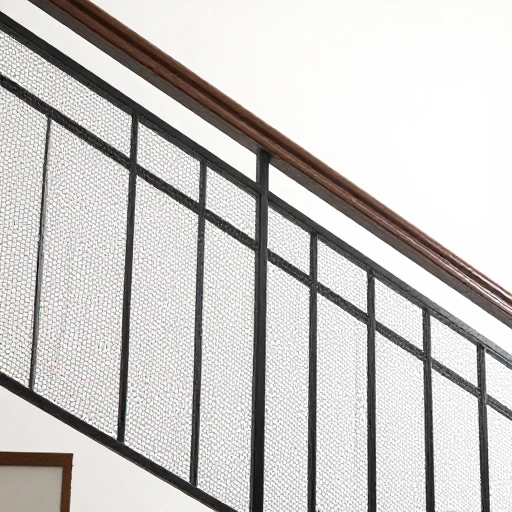
If you have a small dog or a puppy, they can slip through stair railings. I installed a simple mesh netting along the inside of the railing. It’s cheap and easy.
I bought a roll of black plastic mesh (the kind used for garden trellises). I cut it to the length of the railing and attached it using zip ties. The mesh is tight enough that the dog can’t push through.
It’s nearly invisible from a distance. And it’s removable if I ever want to take it down. Total cost: about $10.
Conclusion: Your Weekend Project Starts Now
You don’t need to be a master carpenter to make your home work better for you and your pet. These 13 projects are all about solving a specific problem with a simple, clever solution. Pick the one that bugs you the most. Grab some wood, some screws, and a few hours. You’ll be surprised at what you can build. And your pet? They’ll probably just be happy you’re spending time with them.
Frequently Asked Questions
What tools do I need for these projects?
Most of these projects just need a saw (hand saw or circular saw), a drill, a tape measure, and some sandpaper. A miter saw is helpful but not required.
Can I use these barriers for both cats and dogs?
Yes, but adjust the height and strength. Small dogs and cats need lower barriers. Big dogs need stronger materials like 2x4s instead of 1x2s.
How do I make sure my pet doesn’t just jump over the barrier?
Make the barrier at least as tall as your pet’s shoulder height. For jumpers, add an angled top piece or make it taller than they can reach.
Are these barriers safe for my pet?
Yes, as long as you sand any rough edges and use non-toxic paint or stain. Make sure there are no sharp corners or small parts they can chew off.
Can I paint these barriers to match my home?
Absolutely. Use a primer first, then any latex paint. For a more natural look, use a wood stain. Just let everything dry completely before letting your pet near it.