13 Easy DIY Cat Trees You Can Build Today
I love spoiling my cats, but have you seen the price of a good cat tree? It’s wild. A tall, sturdy one can easily cost a couple hundred dollars. And honestly, some of them look like they belong in a dark basement, not my living room. That’s when I decided to just build my own. It turns out, making a cat tree is way easier than you think, even if you are not super handy. You just need some wood, rope, and a little bit of time.
I’ve rounded up thirteen of my favorite DIY cat tree ideas. They range from super simple projects you can finish in an afternoon to bigger builds for a whole cat family. The best part? You can customize every single one to match your home decor. No more ugly carpet-covered towers. Let’s get building so your feline friend can start climbing!
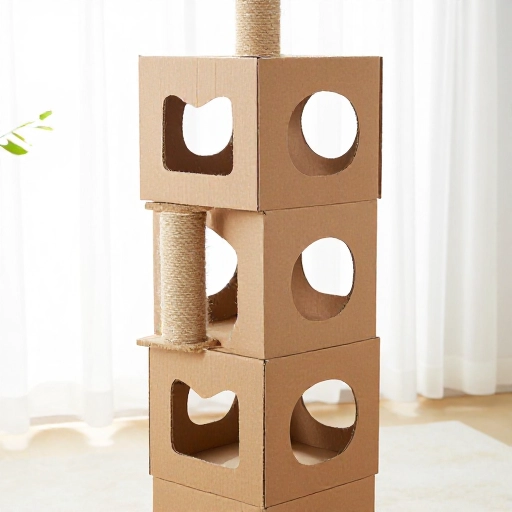
1. The Simple Cardboard Box Tower
This is the cheapest and easiest idea on the list. If you have Amazon boxes piling up, you have the materials. Just stack boxes of different sizes and tape them together securely. Cut holes in the sides so your cat can jump from one level to the next. It is basically a cat maze. Your cat will love the crinkly sounds and the hiding spots.
To make it look a little nicer, you can cover the boxes with brown craft paper or a pretty fabric. But honestly, my cat doesn’t care about that. She just loves the boxes. This is a great temporary tree or a fun project to do with kids. When it gets dirty or squished, just recycle it and build a new one.
2. The Classic Post and Platform
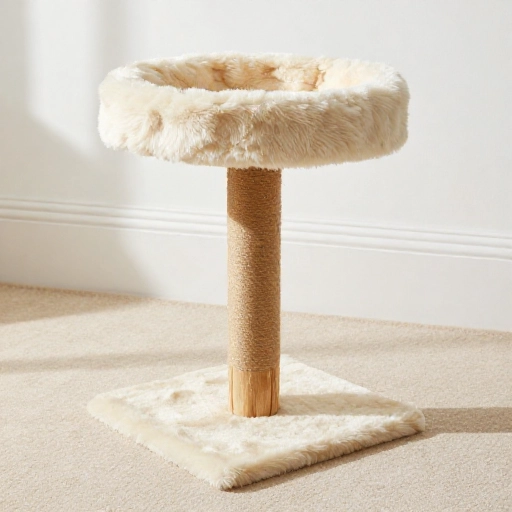
This is the most popular DIY cat tree design for a reason. All you need is a sturdy wooden base, a long piece of PVC pipe or a wooden post, and a round wooden board for the top. Wrap the post tightly with sisal rope. That is the scratching surface. Then screw the platform onto the top of the post. You can add a little cushion or a piece of carpet on top for comfort.
I used a thick pine board for the base so it doesn’t tip over. Make sure the base is wide and heavy enough. You can also make the post taller if you have a jumper. This tree is super stable and looks modern. Just paint the base and platform white or black for a clean look that blends into any room.
3. The Branch Tree (Free and Natural)
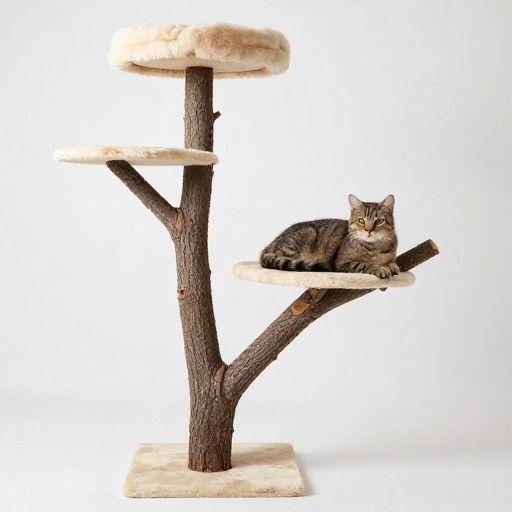
Go outside and find a sturdy, interestingly shaped branch. A big oak or maple branch works great. Make sure the bark is not peeling and it is completely dry. Clean it off and sand down any sharp points. Then, screw the branch into a thick wooden board or a heavy metal bucket filled with concrete. It looks like a piece of art.
The beauty of a branch tree is that it has natural perches. You can screw small wooden discs or boards onto the different forks of the branch to make more sitting spots. Cats love the natural texture. It feels like being outside. I even hung a little toy from one of the top branches. It’s my cat’s absolute favorite place to nap.
4. The Bookshelf Conversion
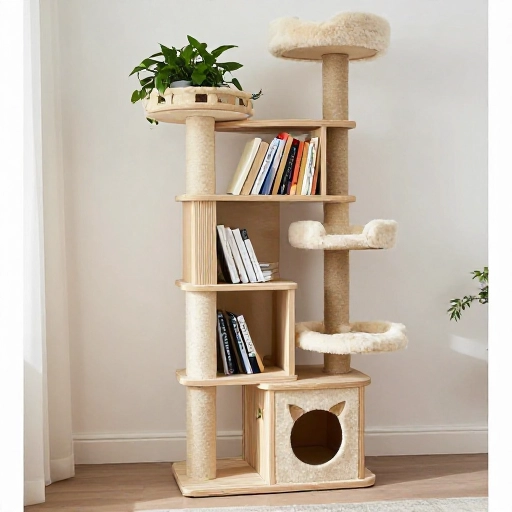
Do you have an old, cheap bookshelf sitting in your garage? You can turn it into a cat mansion in an hour. Just lay the bookshelf on its side. Now you have a series of cubbies. Add a soft bed or a folded blanket in each cubby. Your cat can hop from one cubby to the next.
You can also leave it standing up and just remove some shelves to create tall jumping spaces. Wrap the sides or the shelves with sisal rope for scratching. This is a fantastic option for multiple cats. It gives them vertical space and private rooms. I added a curtain to one cubby so my shy cat has a dark place to hide.
5. The Ladder Cat Walk
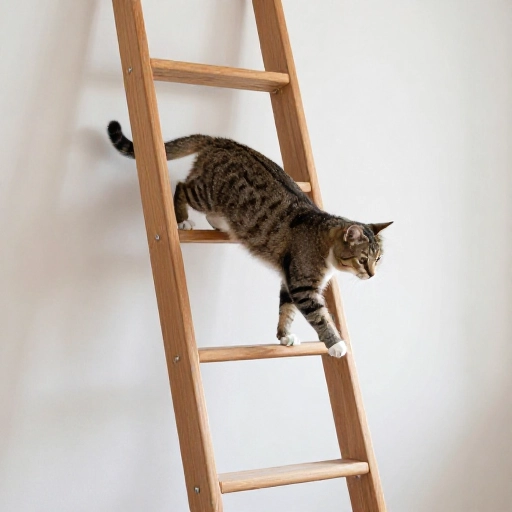
Find an old wooden ladder. You can get these cheap at flea markets or even for free on the curb. Lean it against the wall at an angle or mount it horizontally across a wall. If you lean it, just make sure it is very secure and won’t slide. Your cat will climb up the rungs like a little mountain climber.
You can attach small baskets or wooden boxes to the rungs to create little sitting platforms. I painted my ladder white and leaned it against a corner. My cat uses it to reach a high window shelf. It is rustic, charming, and takes up almost zero floor space. Plus, it is a great conversation starter when guests see your cat climbing it.
6. The Wall-Mounted Shelf Highway
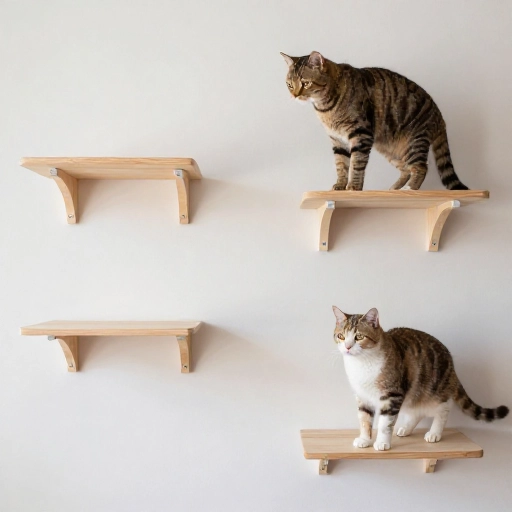
This is for the cat who loves to be up high. You just need a few floating shelves. Install them on your wall at different heights and in a zigzag pattern. Make sure they are anchored into the wall studs so they can hold your cat’s weight. A shelf that falls is dangerous. Use heavy-duty brackets.
This system is incredibly sleek and modern. It barely looks like a cat tree. You can use different size shelves. A long one for napping and a small one for a quick perch. My cats love running across the shelf highway from one room to another. You can also add a little bridge between two shelves for extra fun.
7. The Stump Scratcher
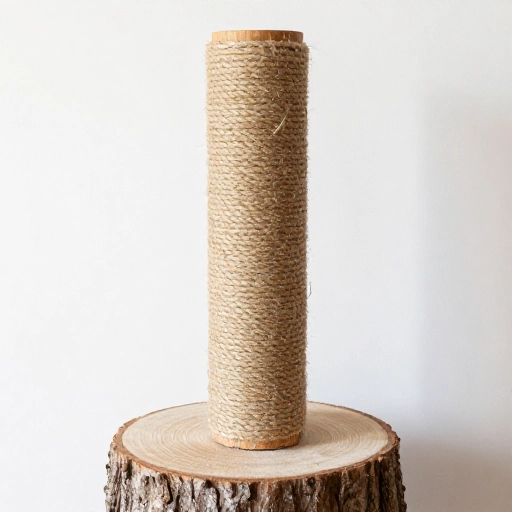
This is the easiest project on the list. Find a large, flat wooden stump. You can buy them at craft stores or find them in the woods. Make sure the bottom is completely flat so it doesn’t wobble. That is it. Seriously. Just place the stump on the floor. Your cat will immediately start scratching it.
If you want to make it a little fancier, you can screw a small piece of sheepskin or a soft cushion to the top. This gives your cat a place to scratch and a place to sit. The rough bark is perfect for their claws. It looks very organic and woodsy. I have one in my living room and it matches my plants perfectly.
8. The Cube and Post Combo
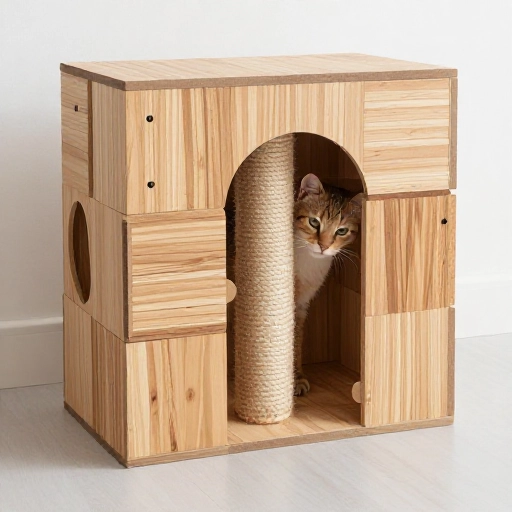
This is a step up from the simple box tower. You will need a few wooden cubes. You can buy cube storage units or build simple cubes from plywood. Stack them in a pyramid shape. Secure them together with screws or strong wood glue. Then, attach a sisal-wrapped post to the top cube. It becomes a scratching post with a built-in hideout.
You can also use fabric storage cubes that slide into the cube frames. This gives your cat a cozy, dark den to sleep in. The cube structure is very stable. You can make it two, three, or even four cubes tall. My cat likes to sit inside the bottom cube and bat at toys hanging from the top cube.
9. The Crate and Barrel Style Tree
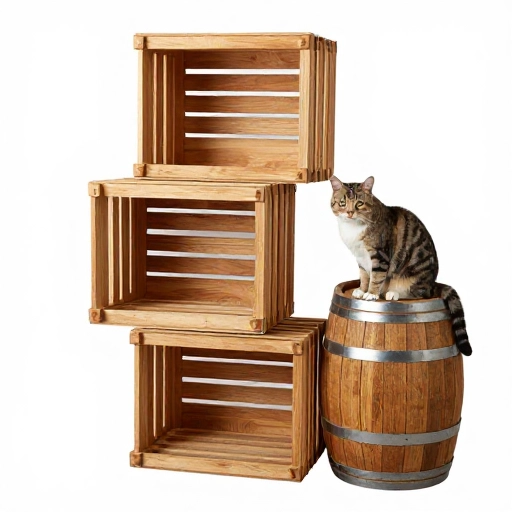
This modern cat tree looks like it belongs in a fancy furniture store. You need a few wooden crates. Paint them a nice color like charcoal or blush pink. Stack them in a cool, asymmetrical pattern. Screw them together from the inside so the screws are hidden. The open crates become perches and the closed sides can be wrapped with rope.
This tree is very sturdy because the crates are solid. You can also leave one crate on its side so it becomes a little cave. Add a soft cushion to the top crate for a nice lounging spot. This is a great way to make a cat tree that doesn’t look like a toy. It looks like functional furniture that happens to be for your cat.
10. The Hammock Chair
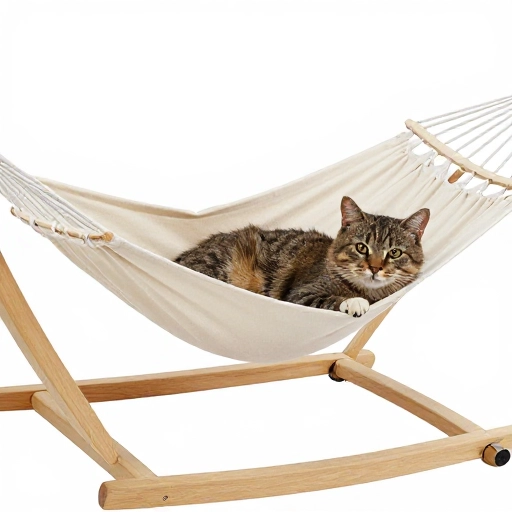
This is a simple addition to an existing tree or it can be a standalone project. Find a sturdy metal or wooden hoop. You can use an old embroidery hoop or a small hula hoop. Drill four holes around the hoop. Thread a strong rope through the holes and tie it to a ceiling hook. Then, sew a piece of fabric to the hoop to create a hammock.
I made a simple fleece hammock for this. My cat loves to curl up in it and swing gently. It is like a hanging bed. Make sure the ceiling hook is anchored into a joist. It needs to hold the weight of a jumping cat. This is a super cozy spot that uses vertical space without taking up any floor area.
11. The Rope Wrap Tree
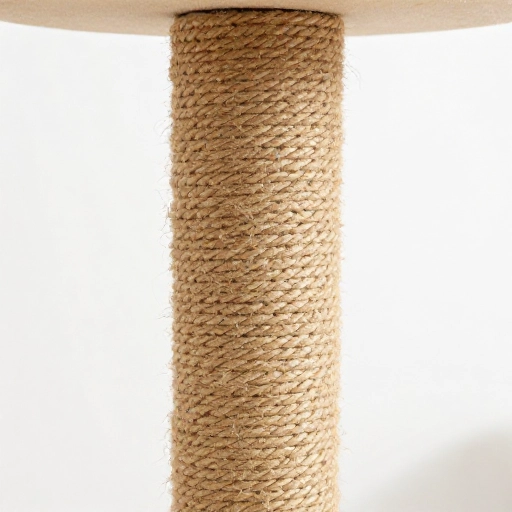
Do you have a random piece of wood or an old floor lamp? You can turn it into a scratching tree. Just wrap the entire thing with sisal rope. Start at the bottom and work your way up. Use hot glue to secure the rope every few wraps. This makes any vertical surface a cat scratching post.
If you use an old lamp, just remove the lampshade and wiring. Now you have a tall, slim scratching post. You can attach a small platform to the top. I did this with a thick piece of driftwood. It looks very rustic and my cat loves to stretch up and scratch it. It is a fantastic way to upcycle things you already have.
12. The Multi-Level Corner Tree
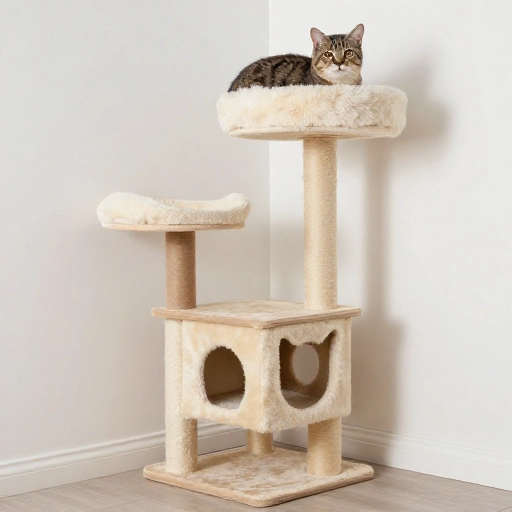
This is perfect for a corner that is not being used. You need a few boards and some corner brackets. Cut the boards to different lengths. Mount them in a corner at different heights. Stagger them so your cat can jump from one to the next. The corner gives the tree a lot of stability.
You can wrap the brackets or the edges of the boards with sisal rope for scratching. This tree uses dead space and turns it into a cat playground. I added a soft rug piece to the highest board. My cat sits there and watches the birds outside the window. It is her personal observation deck.
13. The Upcycled Table Tree
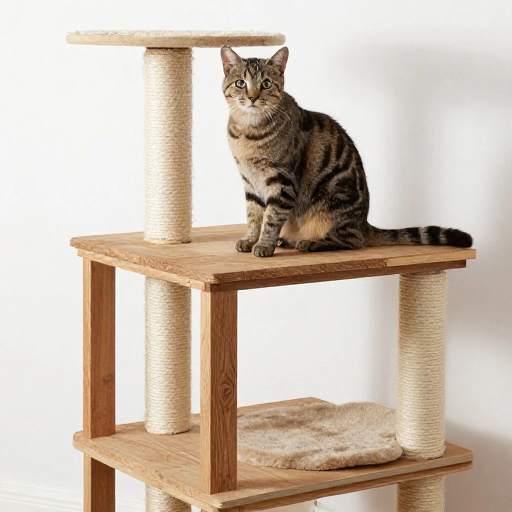
Find a small, sturdy end table at a thrift store. Turn it upside down. Now the legs are pointing up. Wrap the legs with sisal rope. The bottom of the table becomes a solid, flat base. You can leave the base as is or add a cushion on top. The upside-down legs become scratching posts.
You can also leave the table right side up and just add scratching posts to the legs. Then put a cat bed on top of the table. This is a very clever way to make a cat tree that looks like a normal piece of furniture. I found a cute mid-century modern table and it looks amazing in my living room.
Conclusion
Building a cat tree is one of the most rewarding DIY projects you can do. It saves you money, gives your cat a custom playground, and lets you get creative. You do not need to be a master carpenter. Even a simple cardboard box tower will make your cat happy. The key is to make it safe and sturdy. Always use strong screws and secure everything to the wall if it is tall. Your cat will thank you with purrs and endless playtime. I hope these ideas inspire you to pick up a drill and build something awesome for your furry friend.
Frequently Asked Questions
What is the best wood to use for a DIY cat tree?
Plywood is great for platforms and bases because it is strong and affordable. For posts, use a solid 2×4 or a thick wooden dowel. Pine is a good choice. Just make sure the wood is untreated and free of chemicals. Avoid particle board because it can get damaged if your cat scratches it.
How do I make sure my DIY cat tree is stable?
Always use a wide and heavy base. If the tree is tall, you should secure it to the wall with a simple bracket or a safety strap. Use strong screws, not just nails, to hold everything together. Test the tree by gently shaking it before you let your cat use it. Stability is the most important thing for safety.
What kind of rope should I use for the scratching posts?
Natural sisal rope is the best choice. It is rough and durable, perfect for cat claws. You can buy it in bulk online or at a craft store. Do not use synthetic ropes or jute. Jute can be too soft and might shed. Sisal rope will last a long time and your cat will love it.
Can I use carpet for the platforms?
You can, but it is not the best choice. Carpet can snag your cat’s claws and can be hard to clean. It also collects a lot of fur. I prefer using soft fleece or a wool blanket that you can wash or replace easily. Some people use outdoor carpet because it is more durable. Just avoid anything with loops that claws can get stuck in.
How do I get my cat to use the new tree?
Place the tree near a window or in a spot your cat already likes to hang out. Sprinkle some catnip on the platforms. You can also put treats or toys on the different levels. Be patient. Some cats are cautious. My shy cat took a few days to jump on her new tree, but now she never gets off it. Let them explore it at their own pace.