13 Raised Pet Bowl Ideas on a Budget That Actually Look Chic
If your dog or cat slouches over their bowl every meal, you’ve probably wondered about raised feeders. I know I did. The good news? You don’t need a $80 designer stand from a boutique pet store. Some of my favorite raised pet bowl setups cost less than a takeout pizza and took under an hour to put together.
Raised bowls can help improve posture during eating, reduce neck strain (especially for older pets or larger breeds), and keep the feeding area a little tidier. Of course, every pet is different, so if you have concerns about bloat or joint issues, a quick chat with your vet is always smart. But for most of us, a little height makes meal time more comfortable.
Below I’m sharing 13 budget-friendly raised pet bowl ideas I’ve either tried myself or spotted in thrift stores and DIY groups. Most use items you can find at garage sales, dollar stores, or even in your own closet. Get ready to give your pet a little lift without emptying your wallet.
1. DIY Wooden Crate Stand
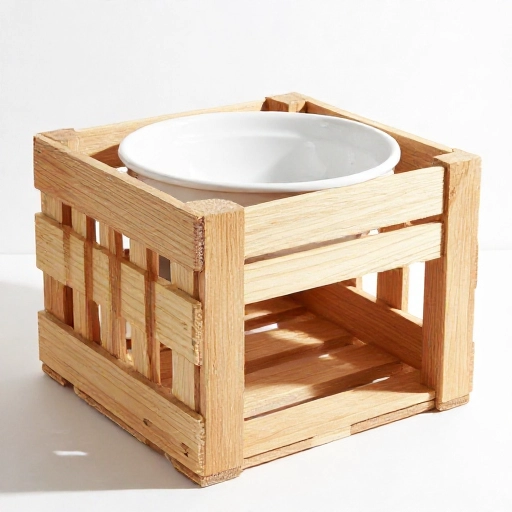
A simple wooden crate is the unsung hero of DIY pet projects. I picked up a small pine crate from a craft store for about $8, flipped it upside down, and traced the outline of my dog’s stainless steel bowls right onto the bottom.
Using a jigsaw, I cut out the circles slightly smaller than the bowl rims so the bowls rest securely without falling through. A quick sanding and a coat of pet-safe stain later, and I had a sturdy, rustic stand that looks like it came from a farmhouse catalog.
Budget tip: Check thrift stores for old wine crates or produce boxes — sometimes they’re free. Add four small rubber feet to keep it from sliding on tile or wood floors.
2. Upcycled Plant Stand
I never thought a plant stand would become my cat’s favorite dining spot, but here we are. Thrift stores are full of old metal or wooden plant stands for under $10, and many already have a flat top perfect for holding a bowl.
For a two-bowl setup, I simply placed a small wooden tray across the top of a round plant stand and set both food and water bowls on it. The height is usually right around 8–12 inches, which works great for medium dogs and most cats.
Spray paint is your friend here. A quick coat of matte black or sage green instantly updates the look. Just make sure the stand is stable and won’t tip if your pet leans on it.
3. PVC Pipe Bowl Holder
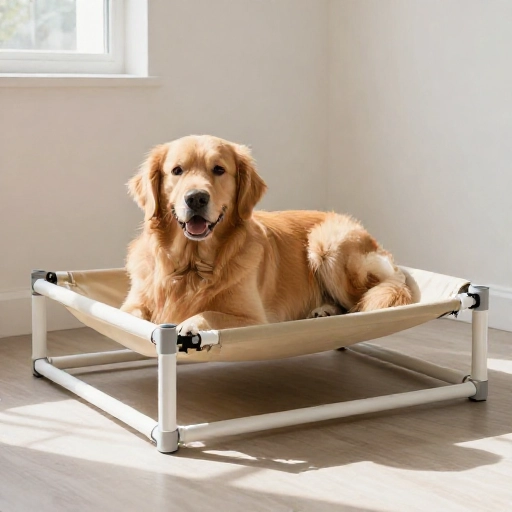
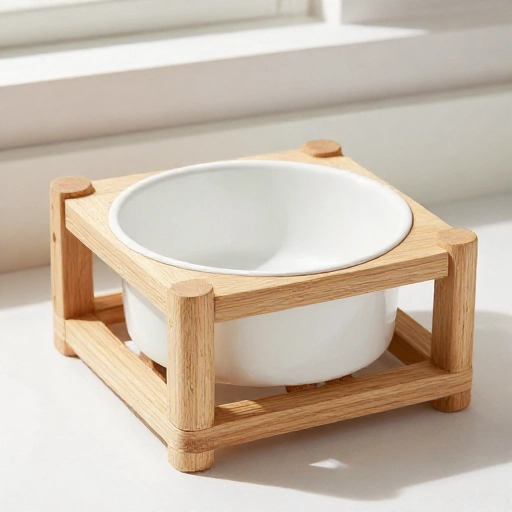
This one sounds complicated but it’s actually one of the easiest and cheapest raised stands I’ve made. You need a few pieces of 1-inch PVC pipe, four elbow joints, and a flat piece of plywood or a plastic cutting board.
Build a simple rectangle frame with legs: cut four PVC pipes to your desired height, attach elbow joints at the top corners, and connect them with cross pieces. Place the board on top and secure with pipe straps or strong glue. Then set the bowls on the board.
Why I love it: PVC is lightweight, waterproof, and super easy to clean. You can even spray paint the whole thing with pet-safe paint. Total cost runs about $6–$10 depending on what you already have at home.
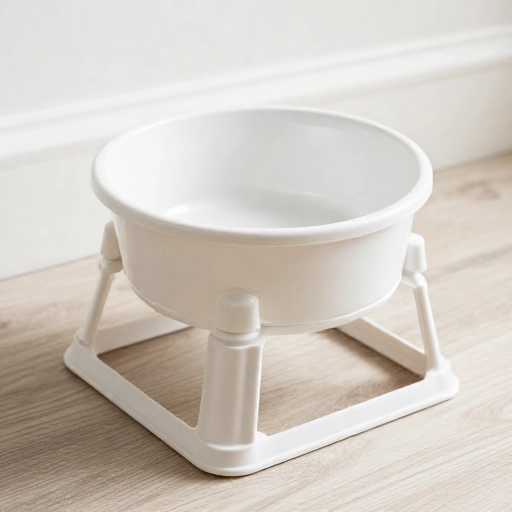
4. Stacked Books or Magazines
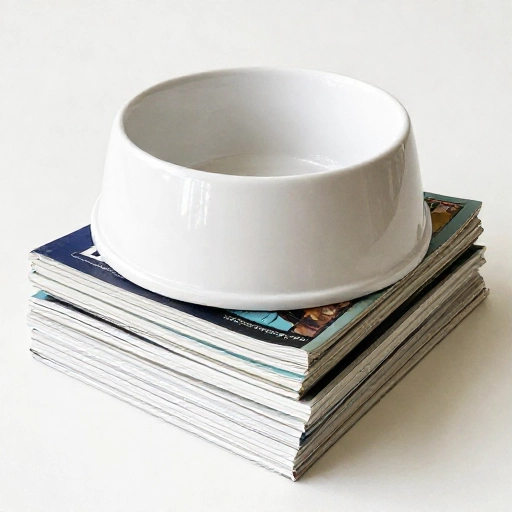
Yes, really. One of my most complimented DIY pet bowl stands was a stack of old hardcover books I bought for a dollar at a library sale. I stacked five thick books, tied them together with twine (keeps them from sliding), and placed a thrifted ceramic plate on top.
This works best for small dogs or cats and only if your pet isn’t a heavy chewer or water splasher. The plate catches spills, and the whole thing can be moved easily. It’s not permanent, but it’s adorable and practically free.
Use books with colorful spines or vintage covers to add personality. A little non-slip shelf liner between the plate and books helps keep everything steady during enthusiastic eating.
5. Thrifted Cake Stand
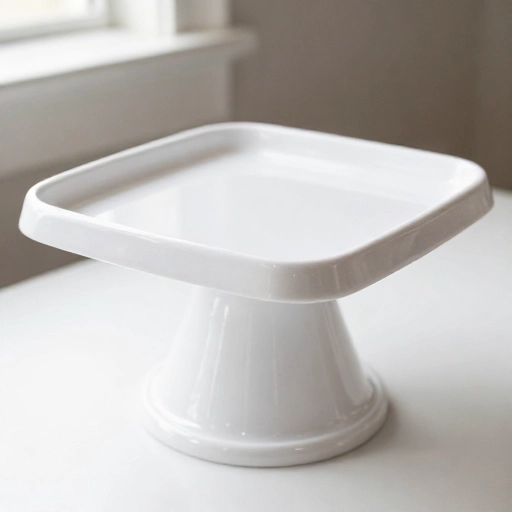
I have a mild obsession with vintage cake stands, and it turns out they make perfect raised pet bowls. A sturdy glass or metal cake stand with a wide base gives your pet 4–6 inches of lift, which is often all a small dog or cat needs.
Find one at a thrift store for $3–$8. Choose a flat, wide pedestal rather than a tall, narrow one so it won’t tip over. Place the bowl right on top — no cutting required. If the surface is slick, add a piece of shelf liner.
Many cake stands are also dishwasher safe, which is a huge bonus. This is one of those ideas that looks intentionally stylish, not like a pet hack.
6. Concrete Paver Stack
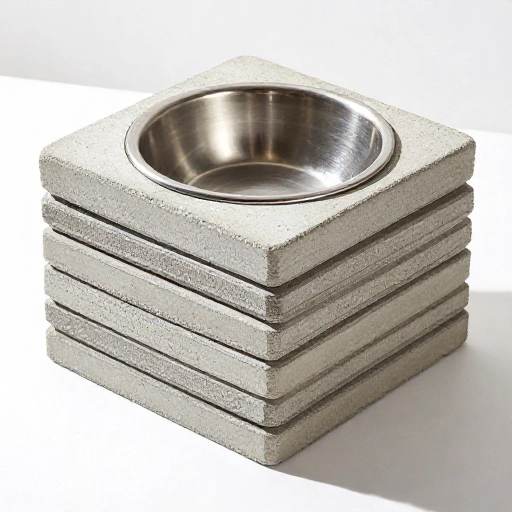
For large dogs or outdoor feeding stations, concrete pavers are about as sturdy as it gets. I stacked two 12×12-inch pavers on my back porch and placed a rubber mat on top. Instant raised bowl platform.
Each paver costs around $2–$5 at a home improvement store. They won’t blow over in the wind, they handle rain and sun, and you can easily adjust the height by adding or removing a paver. Just make sure the stack is level and heavy enough that your dog can’t knock it over.
If you want a more finished look, spray paint the pavers with concrete-safe paint or wrap them in a burlap ribbon for a softer edge. This one is zero tools, zero cutting, zero stress.
7. Repurposed Side Table (Cut Holes)
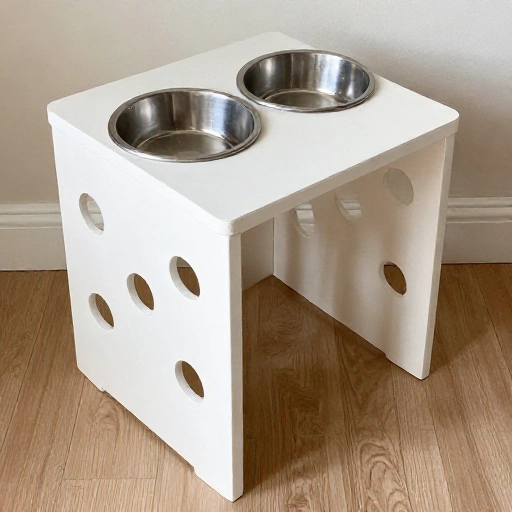
This is my favorite project for people who want storage plus a feeding station. I found a small wooden side table at a garage sale for $12. The top was scratched and ugly, but the legs were solid wood — perfect for a makeover.
I removed the top, traced two circles to match my pet’s bowls, cut the holes with a jigsaw, sanded everything smooth, and repainted the whole table in a soft cream. Then I set the bowls into the holes and used the lower shelf to store a small bin of kibble.
Total cost was under $20 including paint. The result looks like a custom piece of furniture, and the bowls sit flush so your pet doesn’t have to reach over a high rim.
8. Metal Bucket or Basket Flip
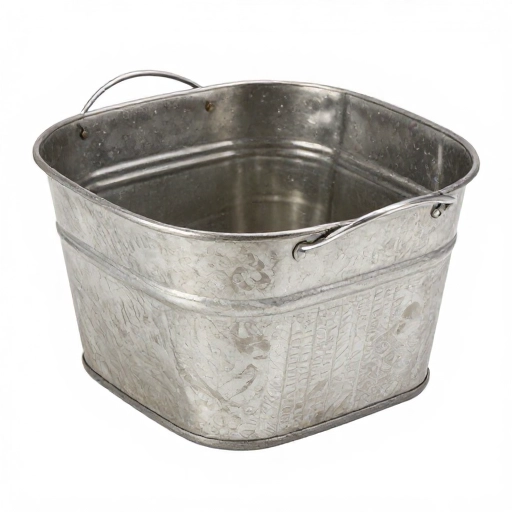
Sometimes the simplest ideas are the best. Take a sturdy metal bucket or a galvanized tub, flip it upside down, and you have an instant pedestal. I used a 5-gallon bucket with a flat lid and placed a round wooden serving tray on top.
For a more rustic look, try a wire basket flipped upside down with a cutting board on top. Use zip ties or heavy-duty glue to keep everything from sliding apart. The height is usually around 12–14 inches, which works for medium to large dogs.
Budget tip: Check your garage or basement first. Old buckets, paint cans (empty and clean!), or even a sturdy wastebasket flipped over can work. Just make sure it’s stable and won’t tip.
9. Wood Slice or Round
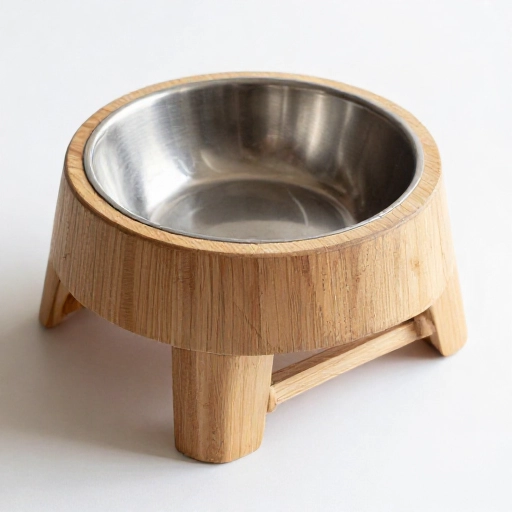
There’s something so warm and natural about a thick wood slice as a pet bowl stand. If you have access to fallen tree branches or logs, you can cut your own slices — just make sure the wood is dry and not treated with chemicals.
Sand the top and bottom smooth, seal with a food-safe wood finish (like beeswax or mineral oil), and let it cure. The slice should be at least 2–3 inches thick for stability. Place your bowls right on top.
If you don’t have a chainsaw, craft stores sell wood rounds for $10–$15. Add small felt pads underneath to protect your floors. This one doubles as decor when the bowls are in the dishwasher.
10. Adjustable Shelf Bracket Stand
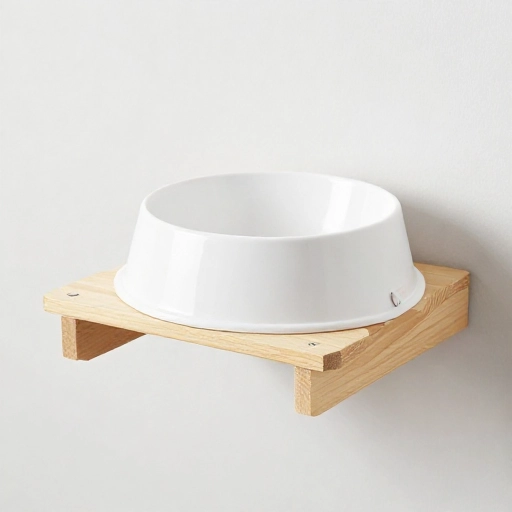
If you’re tight on floor space, a wall-mounted shelf bracket stand is a clever solution. I mounted two heavy-duty metal shelf brackets to a wall stud in my kitchen at the perfect height for my dog, then placed a small wooden shelf on top.
The brackets cost about $6 for a pair, and a piece of pine board from the hardware store was another $5. I added a non-slip mat and set the bowls on the shelf. The whole thing takes up zero floor space and can be wiped down easily.
This works best for small or medium pets. Make sure the brackets are rated for at least 50 pounds and that the shelf is secured with screws, not just adhesive. If you rent, check with your landlord first.
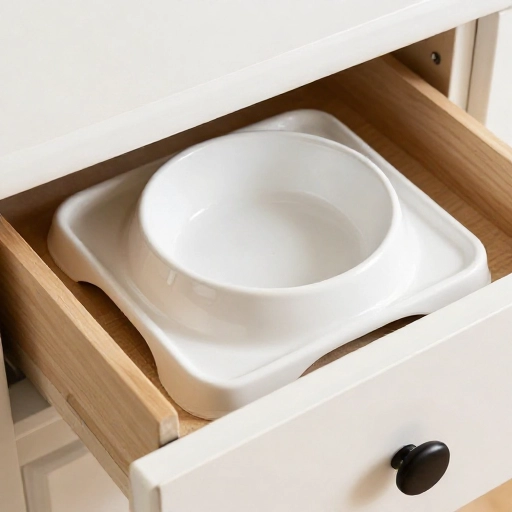
11. Old Drawer Turned Tray
I love rescuing old furniture parts, and an orphaned drawer from a broken dresser is like gold. Remove the hardware, sand the whole thing, and paint or stain it whatever color you like. Flip it upside down, and you have a raised tray with built-in sides.
To add height, I placed two short blocks of 2×4 lumber underneath the drawer (one at each end) and secured them with wood glue and screws. The drawer sides keep bowls from sliding off, and the built-in tray catches crumbs and water drips.
This project cost me $0 because I salvaged the drawer and already had scrap wood. Even if you buy an old drawer for a few dollars at a thrift store, you can finish it for under $10.
12. Cinder Block and Board
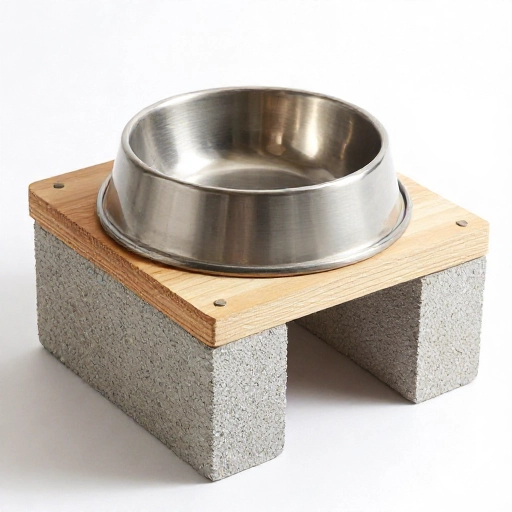
For outdoor feeding or large breed dogs, a cinder block and board stand is about as budget-friendly and durable as it gets. Stack two cinder blocks on their sides, place a wide wooden board or an old cabinet door on top, and set the bowls down.
This setup can easily hold 100+ pounds, so even the most enthusiastic eater won’t knock it over. I painted my cinder blocks a soft gray and sealed the board with outdoor polyurethane to withstand weather.
You can adjust the height by using one block instead of two, or add a second board for a wider surface. Total cost: under $10 if you buy everything new, but often free from leftover construction materials.
13. Basket with Legs
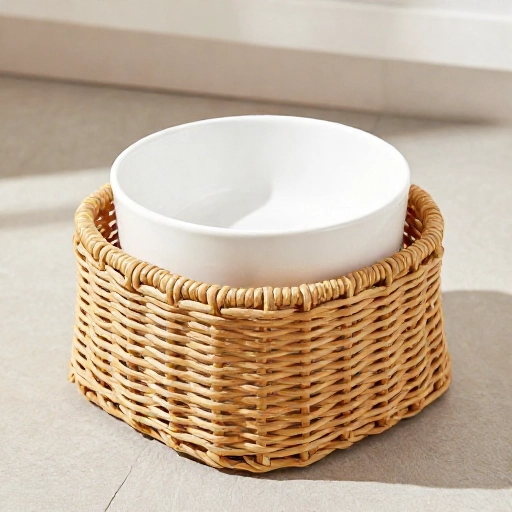
For a softer, boho look, I turned a flat-bottomed woven basket into a raised bowl holder. I found a shallow rattan basket at a thrift store for $4, then attached four short wooden furniture legs (about 6 inches tall) using small screws and washers on the inside.
The basket sits right side up, and the bowl goes inside. The raised edges of the basket naturally keep the bowl from sliding around, and the legs give it that perfect mealtime height. I added a clear plastic liner inside the basket to make cleaning spills easier.
If you don’t want to drill into a basket, you can also place the basket on top of a small wooden stool or an upside-down planter. This one’s all about flexibility and style.
Conclusion
Raised pet bowls don’t have to come with a designer price tag. With a little creativity and a quick trip to a thrift store or your own garage, you can build a feeding station that’s comfortable for your pet, easy to clean, and genuinely good-looking. My favorite part? Most of these ideas cost less than $20, and several are free.
Whichever idea you choose, make sure the stand is stable, the bowls can’t tip, and the materials are safe for your pet (no toxic paints or splinters). Measure your pet’s elbow height and aim for a bowl rim that sits 2–4 inches below that point for the most natural eating posture.
I hope these ideas inspire you to give your furry friend a little lift. Tag me in your DIY photos — I’d love to see what you come up with!
FAQ: Raised Pet Bowl Ideas on a Budget
Are raised pet bowls better for all dogs?
Raised bowls can help reduce neck strain and improve posture, especially for older dogs, large breeds, or pets with arthritis. However, some studies suggest a possible link between raised feeders and bloat in large, deep-chested breeds. Always check with your vet before switching, especially if your dog is a fast eater or a giant breed.
What height should a raised pet bowl be?
A good rule of thumb is to measure from the floor to your pet’s elbow. The rim of the bowl should sit about 2–4 inches below that elbow height. For small dogs, that’s usually 4–8 inches off the ground; for large dogs, 12–16 inches is common. When in doubt, start lower and adjust.
Can I use these DIY raised bowl ideas for cats?
Absolutely. Many cats prefer eating from a slightly elevated surface, especially as they age. Just make sure the stand isn’t too tall — most cats do well with 4–6 inches of lift. Avoid unstable stands or ones with gaps where whiskers or paws could get caught.
What materials are safe for DIY pet bowl stands?
Use untreated wood, food-safe finishes (like mineral oil or beeswax), stainless steel or ceramic bowls, and pet-safe paints that are low-VOC and non-toxic. Avoid pressure-treated lumber, old painted wood that might contain lead, and any materials that splinter easily. Seal all surfaces to prevent moisture damage.
How do I clean DIY raised pet bowl stands?
Most stands can be wiped down with a damp cloth and mild pet-safe soap. If you used wood, reseal it every few months with a food-safe finish to keep it water-resistant. For fabric baskets or drawers, use a removable liner or a plastic tray inside. Wash the bowls themselves daily, just as you would with any feeding setup.