13 Smart Dog Steps for Bed You Can Build (Even If You’re Not a Pro)
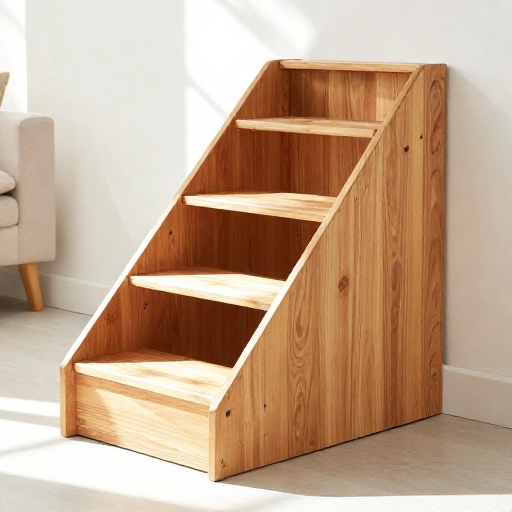
If you have a senior dog, a tiny pup, or a breed with a long back like a dachshund, you know the struggle. Watching them hesitate at the edge of the bed, or worse, jump off and yelp, is heartbreaking. Store-bought ramps are either flimsy, ugly, or crazy expensive. That’s why I started building my own dog steps. It’s honestly one of the most rewarding weekend projects I’ve done, and it saves your dog’s joints and your back.
I’ve gathered 13 of my favorite DIY designs that are not only functional but look great in a bedroom. Whether you have a tiny apartment or a big house, there’s a plan here for you. These are all projects I’ve tried or seen friends build, and I’m sharing the best bits with you. Let’s get your furry friend back on the bed safely.
1. The Classic Storage Staircase
This is the ultimate two-for-one. You build a set of three wide steps, but each step is actually a hinged lid that opens up. I use mine to store dog toys, leashes, and grooming supplies. It keeps the clutter off the floor and gives your dog a stable climb. It’s a bit more woodwork, but the payoff is huge.
Use plywood for the box structure and add a non-slip carpet runner on top. Make sure the hinges are recessed so they don’t pinch your dog’s paws. This is a heavier build, so it’s best for medium to large dogs who need a sturdy platform.
The best part? You can stain the wood to match your bed frame perfectly. It looks like a piece of furniture, not a pet accessory.
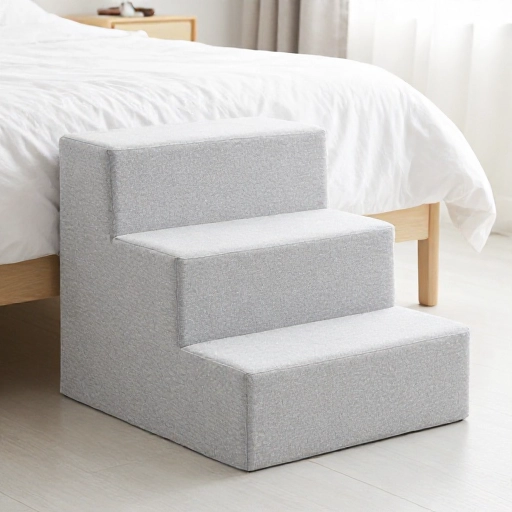
2. The Two-Step Foam Wedge (No Tools Needed)
This is the easiest project on the list. If you don’t own a saw, this is for you. You need high-density upholstery foam (the firm kind) and some fabric. You cut the foam into two wedge shapes or a single step configuration. It’s super lightweight, so you can move it around easily.
I made one of these for my parent’s senior cat, and it took me about thirty minutes. Just trace the profile onto the foam, cut with an electric knife (yes, the one from the kitchen—just wash it after!), and wrap it in a durable fabric.
- Pros: Silent, soft on joints, portable.
- Cons: Not ideal for dogs who like to launch themselves up.
This is perfect for smaller dogs or for getting on and off a low platform bed. You can even use a zippered cushion cover for easy washing.
3. The Crate-End Table Combo
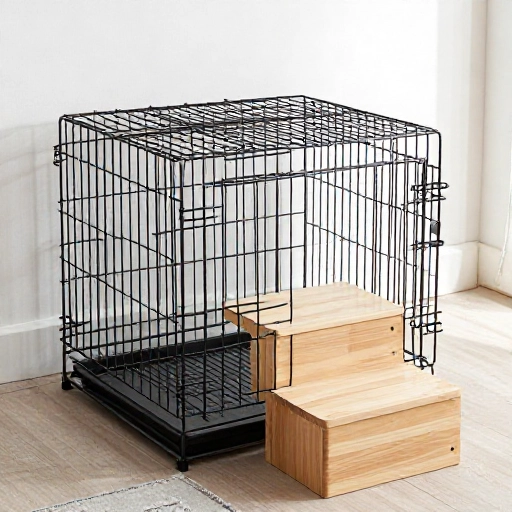
This one is genius for small spaces. You build a set of steps that double as a side table, and the bottom step is actually a dog crate. It gives your pup a cozy den right next to your bed. The steps lead up the side of the crate to the mattress height.
I built this with pine and used a metal crate door kit. The top step is flat, so I can put my coffee mug and phone on it. It’s a little more complex, but it’s a space saver that looks custom.
Make sure to sand everything very smooth since the crate area is their safe space. Add a nice cushion inside, and they’ll sleep better than you do.
4. The Floating Shelf Ladder
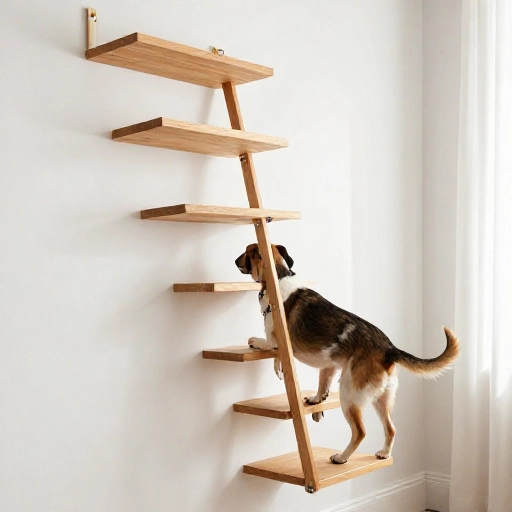
If you have a wall next to your bed, this is the sleekest option. Instead of a bulky staircase, you build three or four floating wooden steps that attach directly to the wall studs. They protrude out just enough for your dog to hop up.
This keeps the floor completely clear, which is amazing for cleaning. You need heavy-duty brackets and to make sure you hit the studs. This is not for wobbly dogs, as they need to jump slightly between steps.
I love this look because it’s minimal and modern. It’s more of a climbing wall than stairs, so it’s best for agile, healthy dogs who just need a little help getting that last foot up.
5. The Upholstered Ottoman Steps
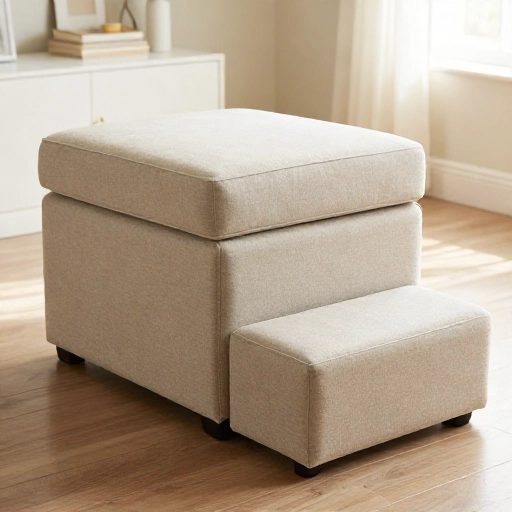
This is a soft, fabric-covered set of steps that looks like a plush ottoman. It’s perfect if you want a cozy, bedroom vibe. You build a simple wooden frame, then wrap it in foam and batting before stapling on your chosen fabric. It’s like a big piece of furniture that your dog can climb.
I used a tweed fabric that hides fur really well. The steps are wide and shallow, which makes it easy for older dogs to navigate. It’s a bit more labor-intensive because of the upholstery, but the result is a soft landing.
Just be aware that fabric can get dirty, so choose a removable cover or use a fabric protector spray. This is my favorite for a calm, quiet bedroom aesthetic.
6. The Pallet Wood Ramp
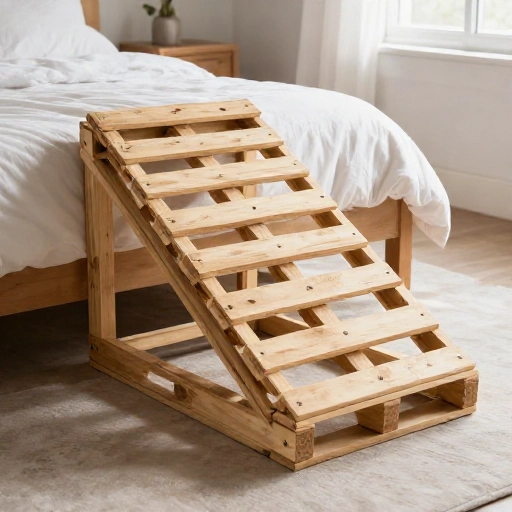
This is the budget-friendly champion. You can often get pallets for free. You disassemble them, sand the wood down, and build a simple ramp with side rails. It’s a rustic look that fits well in farmhouse-style homes.
I built one of these for a friend’s lab, and we just screwed the planks down with a slight gap between them for drainage (in case of muddy paws). It’s not the prettiest, but it’s incredibly sturdy.
Pro tip: Add a non-slip paint mixed with sand to the surface. You can stain the wood to make it look more polished. It’s a great way to upcycle and build something solid on a tight budget.
7. The Bench with Hidden Steps
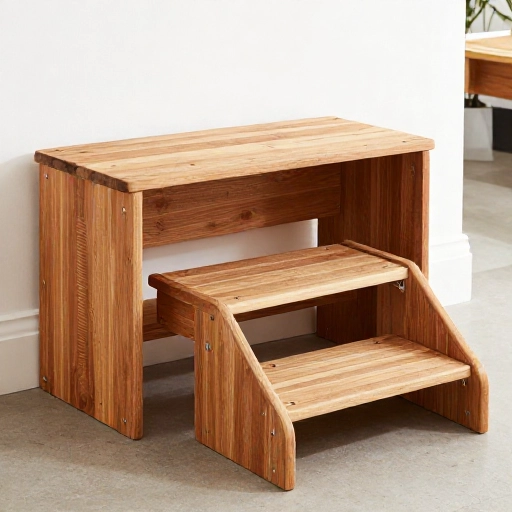
This is a multi-functional piece. You build a storage bench at the foot of your bed, and the side of the bench has pull-out steps or a fixed step system built into the design. It gives you a place to sit to put on socks and gives your dog a way up.
I like to make the bench top hinged for storage. The steps are on the side facing the bed. It’s a larger project, but it anchors the room. It’s perfect for dogs who like to walk along the side of the bed to get to the middle.
This build requires precise angles, so measure twice, cut once. It’s a statement piece that solves multiple problems at once.
8. The Fold-Away Steps
Do you hate having pet stuff out all the time? These steps fold flat against the side of the bed frame or slide underneath. The design usually involves a hinge mechanism that allows the steps to pivot down when needed. It’s a clever mechanical build.
I built a version that slides under the bed like a drawer. You pull it out, it clicks into place, and the dog walks up. When you’re done, you push it back under. It keeps the bedroom looking clean.
This is a bit more advanced due to the hardware involved, but it’s so worth it if you have limited floor space. You need strong drawer slides or heavy-duty hinges.
9. The Carpeted Box Steps
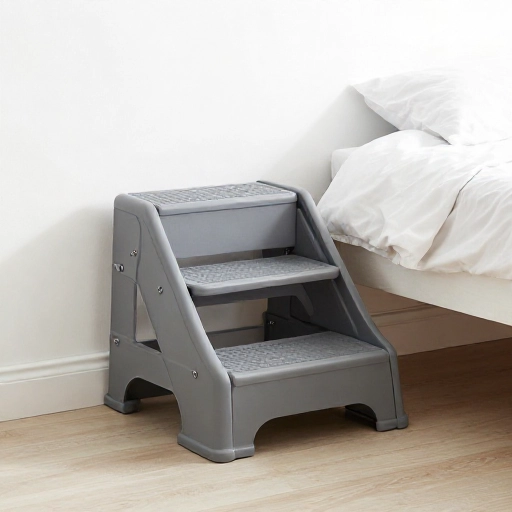
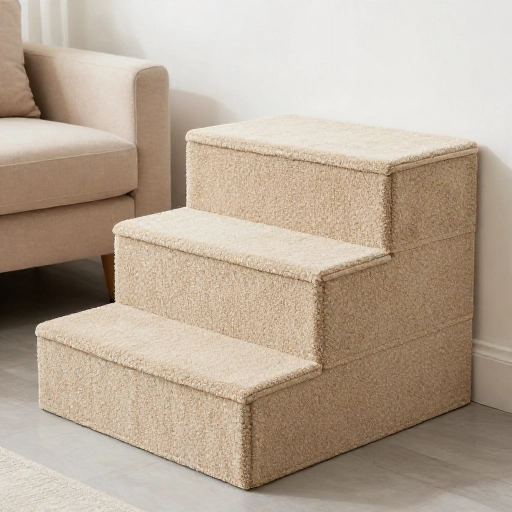
This is the classic DIY plan you see everywhere, and for good reason. You build simple wooden boxes in decreasing sizes (or the same size, stacked) and cover them in carpet. It’s cheap, easy, and effective. The carpet provides excellent grip for your dog’s nails.
I made my first set this way. I just used a staple gun and some leftover carpet from the hallway. It’s not glamorous, but it works. The key is to make sure the boxes are solid and won’t shift. I added some grip pads underneath.
You can get creative with the layout—straight up, around a corner, or L-shaped. It’s a forgiving project for beginners.
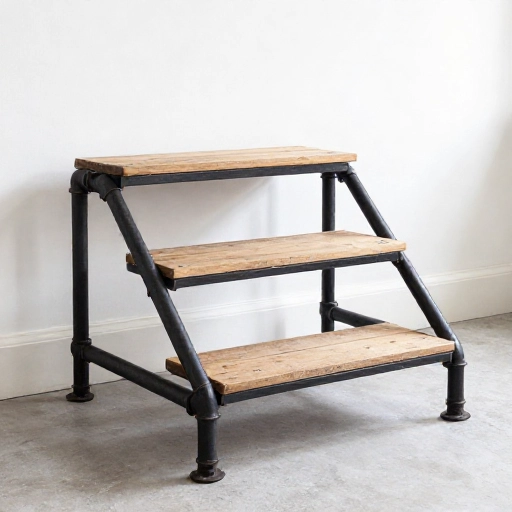
10. The Industrial Pipe and Wood Steps
If you love the steampunk or industrial look, this is for you. You use black iron pipes as the frame and supports, and solid wood planks as the steps. It’s incredibly sturdy and looks super cool. It’s a bit more expensive due to the pipe fittings, but it’s a showstopper.
I built a three-step set using 1/2-inch pipes. The pipes are the legs and the rails. It has a very open, airy feel compared to a solid box. It’s great for a modern loft or industrial-themed bedroom.
Make sure to tighten all fittings properly and add rubber caps to the bottom so it doesn’t scratch your floor. This one will last a lifetime.
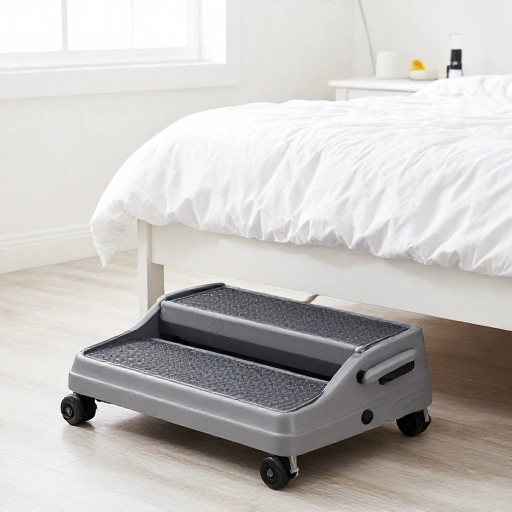
11. The “Low Rider” Mobile Steps
These are steps built on locking caster wheels. You can roll them out of the way during the day and lock them into place at night. This is perfect if your dog follows you from room to room. You can move the steps to the couch, the bed, or the window seat.
I added a rope handle to the top step for easy pulling. The locking casters are crucial so they don’t roll away when your dog is climbing. This is a simple modification to the box steps design.
It’s a great option for renters or people who like to rearrange furniture often. Just make sure the wheels are rated for the weight of the dog plus the wood.
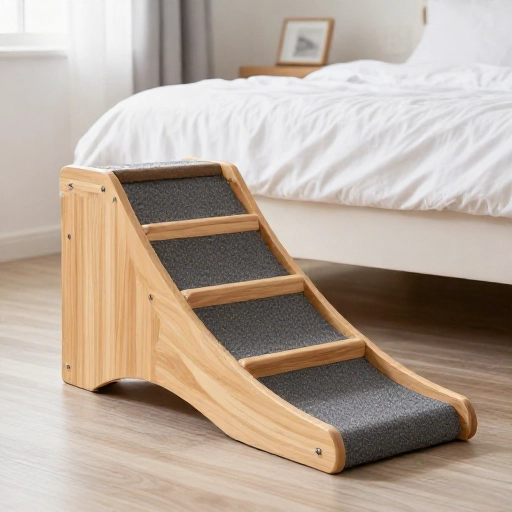
12. The Curved Ramp Steps
This is for the more advanced woodworker. Instead of straight lines, you create a curved path. It’s a beautiful, sculptural piece. You’ll need to cut curved side panels from plywood and attach steps that follow the curve. It’s visually stunning and saves space.
I attempted this once, and it’s tricky to get the angles right without a jigsaw and a steady hand. The curves mimic a natural walking path, which some dogs prefer over a sharp turn.
This is a project you’ll be proud of. It looks like something from a high-end furniture store. It’s a real labor of love.
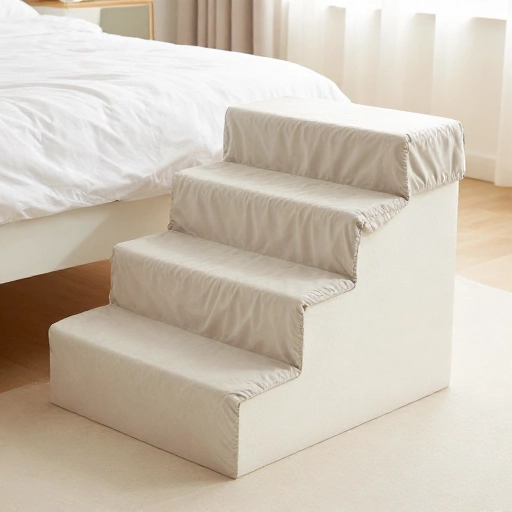
13. The Fabric Sleeve Steps
This is a hybrid between the foam wedge and the wooden box. You build a simple wooden skeleton (just the frame, no solid sides) and then slide a custom-made fabric sleeve over it. This makes it easy to remove the cover and wash it. It’s lightweight and modern.
I used a canvas drop cloth for the cover. The steps are open on the inside, so it’s less bulky. The fabric is taut, providing grip. It’s a great way to get a custom look without upholstering the whole thing.
Make sure to measure the frame precisely so the sleeve fits snugly. This is a great compromise between durability and comfort.
Final Thoughts: Pick the Right One for Your Pup
Building your own steps isn’t just about saving money—it’s about creating a custom solution that fits your dog’s specific size and your home’s style. Start with the easiest design you feel comfortable with. Even the simple foam wedge can change your dog’s life. The key is to measure the height of your bed and the size of your dog’s stride. A little bit of planning goes a long way.
Don’t be afraid to make mistakes. My first set of steps was slightly too steep, and I had to add a riser. It’s all part of the process. Your dog will thank you for the effort, and you’ll love having them snuggled up next to you without the worry.
Frequently Asked Questions
What is the best material for dog steps?
Plywood is the most popular choice because it’s affordable, strong, and easy to cut. For the surface, carpet or a non-slip paint is best to give your dog traction. If you want something lightweight, foam is great for small dogs.
How steep should dog steps be?
The ideal rise (height of each step) is between 6 and 8 inches for most dogs. The tread (depth) should be at least 12 inches so they can place their whole paw comfortably. If your dog is older or has joint issues, go for a shallower rise.
Will my dog actually use the steps?
Most dogs adapt quickly, especially if you use treats and positive reinforcement. Start by placing them on the first step and rewarding them. If your dog is hesitant, try a ramp first, as it’s easier for them to understand. Patience is key.
How do I make the steps non-slip?
You can staple carpet to the steps, use adhesive non-slip treads, or paint the wood with a mixture of paint and sand. This is crucial to prevent injuries, especially for senior dogs with weaker hind legs.
Can I build steps for a very large dog?
Absolutely. You just need to make the steps wider and use thicker plywood (like 3/4 inch) and add extra support braces underneath. I recommend building a solid box design rather than a floating shelf for big breeds, as it provides more stability.