14 Insulated DIY Cat Houses Perfect for Outdoor Pets
When winter rolls around, I always worry about the stray cats in my neighborhood. They have their little hiding spots, but a cardboard box or a pile of leaves isn’t going to cut it when the temperature drops below freezing. I started looking for ways to help, and honestly, the store-bought heated houses are either too pricey or just not built for harsh weather. That’s when I discovered the magic of building your own insulated cat house. It’s cheaper, you can customize it, and it’s super satisfying to see a cozy cat peeking out of something you made with your own hands.
I’ve rounded up 14 of my favorite DIY designs that actually work. These aren’t just pretty photo ops—they’re practical, weatherproof, and use materials you probably already have or can find cheaply at a hardware store. Whether you’re building for a feral colony or just a spoiled indoor cat who loves a patio nap, these ideas will keep those paws warm and toasty all season long.
Let’s get into the good stuff. Grab a hot coffee, maybe a power drill, and let’s build something that makes a real difference for a furry friend.
1. The Classic Foam Cooler Upgrade
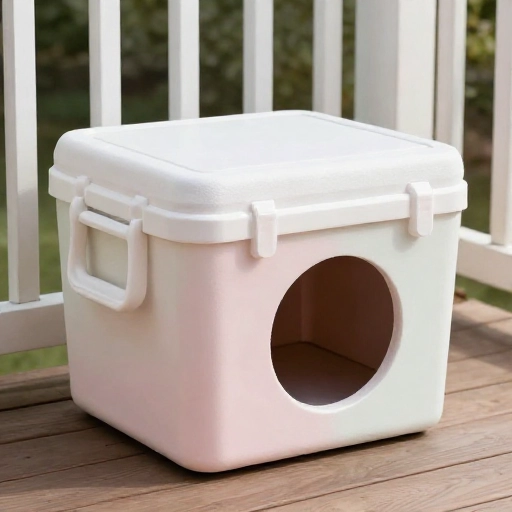
This is the easiest project on the list, and it’s perfect if you’re short on time. All you need is a large Styrofoam cooler, a box cutter, and some duct tape. Cut a small round door (about 6 inches wide) on one of the short sides. The thick foam walls are already amazing insulators.
To make it weatherproof, wrap the entire cooler in a heavy-duty trash bag or a vinyl tablecloth and tape it down. Then, place it inside a larger plastic storage bin for extra protection from rain and wind. Add a layer of straw (not hay) inside, and you’re done. It’s simple, cheap, and surprisingly effective.
I love this one because it takes less than an hour to build. It’s the perfect weekend afternoon project, and you can make several for different spots in your yard.
2. The Repurposed Plastic Storage Bin
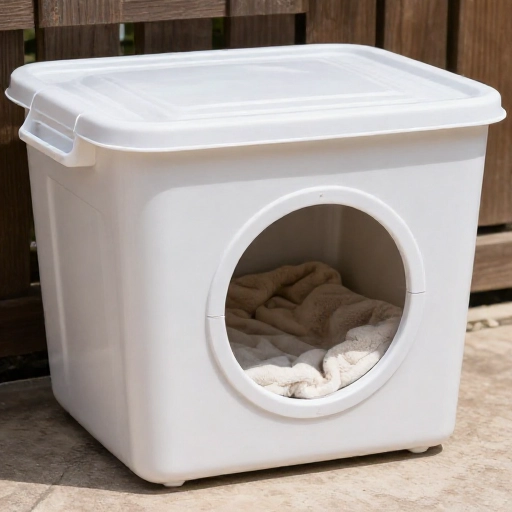
We all have that one plastic tote bin collecting dust in the garage. This design gives it a second life. The key is to create a “double-wall” effect. Line the inside of the bin with rigid foam insulation boards, cutting them to fit the sides and bottom perfectly.
Cut a door hole in both the plastic bin and the foam, making sure they align. The space between the plastic and the foam traps air, which is your best insulator. For the door, I like to add a small “flap” made from a piece of thick rubber or a heavy vinyl strip to block wind but still let the cat push through easily.
One tip I learned the hard way: use straw inside, not blankets. Blankets absorb moisture from the cat’s breath and freeze solid. Straw stays dry and fluffy, providing that perfect warm nest.
3. The Pallet Wood “Cabin”
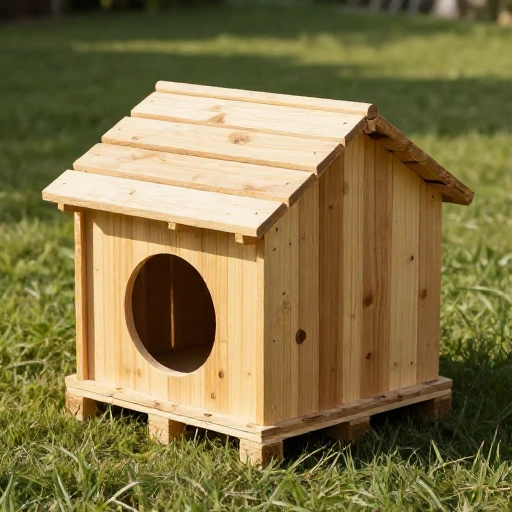
If you want something that looks a bit more rustic and permanent, this is for you. Pallets are free and super sturdy. You’ll need to disassemble a couple of them to get flat boards. Build a simple box frame, but leave a gap in the wall for the door.
The trick here is to fill the walls with insulation. You can use foam board, but I also love using leftover fiberglass insulation from a home project—just make sure you cover it completely with plywood on the inside so the cat can’t scratch it. The roof should be slightly sloped so rain runs off.
This house is heavy, so it won’t blow over in a storm. I added a small porch area to mine, and the neighborhood cats love sitting there in the sun before going inside for a nap.
4. The DIY Igloo with a Twist
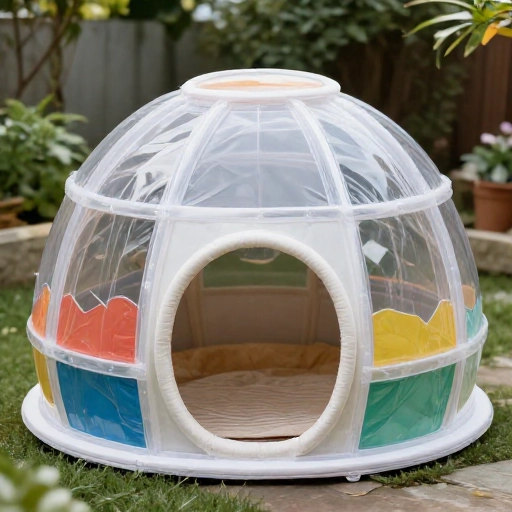
Those pre-made plastic igloo houses are common, but they’re not great at retaining heat. I found a way to supercharge them. You can buy one used for cheap, but the real upgrade is wrapping the outside with a reflective thermal blanket (the kind car windshield covers use).
Secure the blanket with zip ties or strong tape. Then, cut a piece of rigid foam to fit inside the bottom of the igloo, covering the floor. This stops the cold from coming up from the ground. I also cut a second piece of foam to fit under the removable roof, adding an extra layer of ceiling insulation.
Finally, fill the interior with straw. The reflective layer bounces the cat’s body heat back inside, making it feel much warmer than the plastic alone.
5. The Two-Bucket Method
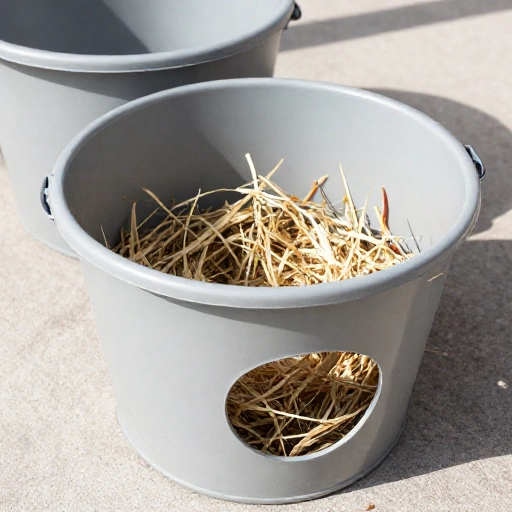
This is a genius hack that uses two plastic buckets (one large, one smaller) that nest inside each other. You’ll need a bucket that is about 5 gallons and another that is 3.5 gallons. Place the smaller bucket inside the larger one, leaving a gap of about an inch on all sides.
Fill that gap completely with spray foam insulation. Let it dry and expand. Once cured, you’ll have a solid, insulated block. Cut a door hole through both layers at the bottom. The foam is rigid, so it holds everything together, but you might want to add a bead of silicone caulk to seal the edges.
I love this design because it’s round, which means cats feel secure. It’s also incredibly durable and essentially waterproof. You can paint the outside plastic to make it look nicer, too.
6. The “Pillow Case” Insulated House
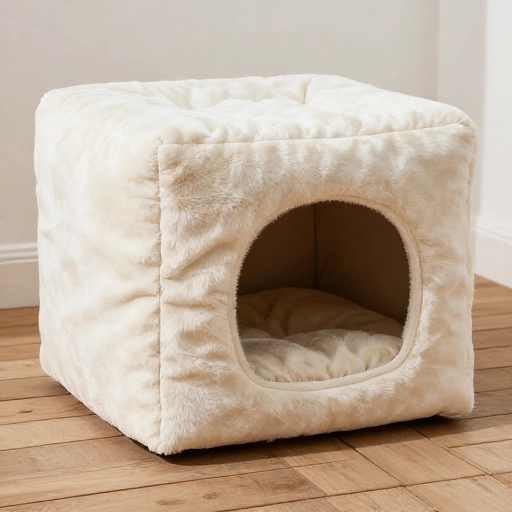
This one is super soft and cozy. You start with a basic wooden crate or a sturdy cardboard box. Wrap the entire box in a thick, old wool blanket or a sleeping bag. Then, slide the whole thing into a large, waterproof pillowcase or duvet cover.
This creates a soft, pliable insulation layer that’s great for trapping air. Cut the door hole through the pillowcase and the box. Tuck the material around the edges of the door to make sure there are no loose threads or fibers that a cat might ingest.
I made one of these last year, and it was the favorite spot for a senior cat who needed extra warmth. It’s not the most weatherproof option, so I placed it under a covered patio. It’s perfect for sheltered areas.
7. The Cedar Shingle Cottage
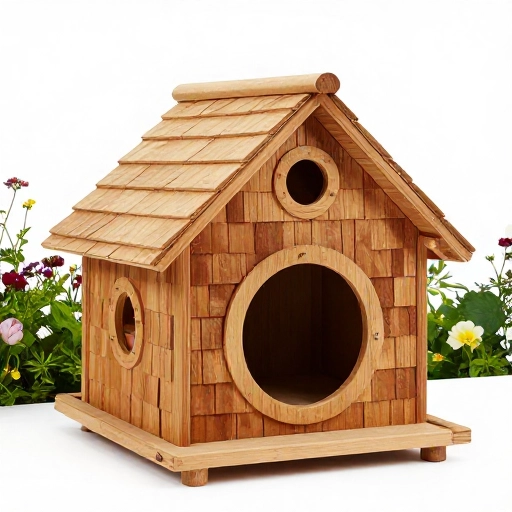
If you want a house that looks beautiful in your garden, you’ll love this one. You build a basic frame from plywood, but instead of siding, you use cedar shingles. Cedar is naturally rot-resistant and has some insulating properties on its own.
Inside, you’ll still want to line the walls with rigid foam. The shingles act as a rain shield, and the foam does the heavy lifting for warmth. I built a slightly pitched roof and covered it with more shingles to create that classic cottage look.
The best part is that this house is practically maintenance-free. It can handle snow, rain, and sun for years without needing a new coat of paint. It’s a bit more work, but the result is a showpiece for your yard.
8. The Cardboard + Reflectix Box
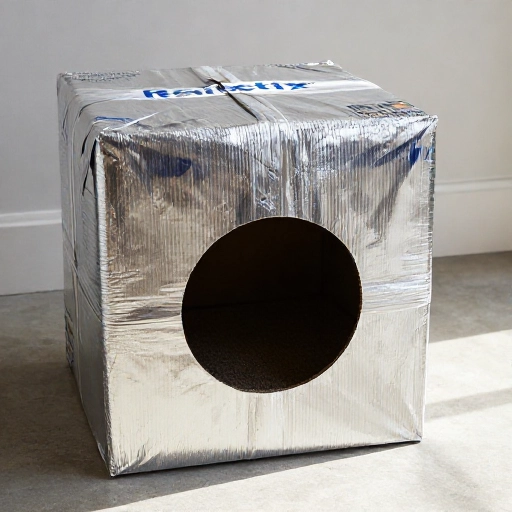
Don’t throw out that big cardboard box from your latest Amazon delivery just yet. This is the budget-friendly option that actually works. You’ll need Reflectix (that bubble-wrap looking foil insulation) and a heavy-duty contractor bag.
Cut the Reflectix to line the inside of the cardboard box, taping it in place with the foil facing inward. This reflects the cat’s body heat back. Then, place the whole box inside a larger plastic bag to protect it from moisture. You can double up the bags for extra protection.
This house won’t survive a hurricane, but it will absolutely handle a few weeks of freezing temps. It’s a great emergency shelter option. I keep a few of these pre-made in my garage to give out to neighbors who spot strays in the winter.
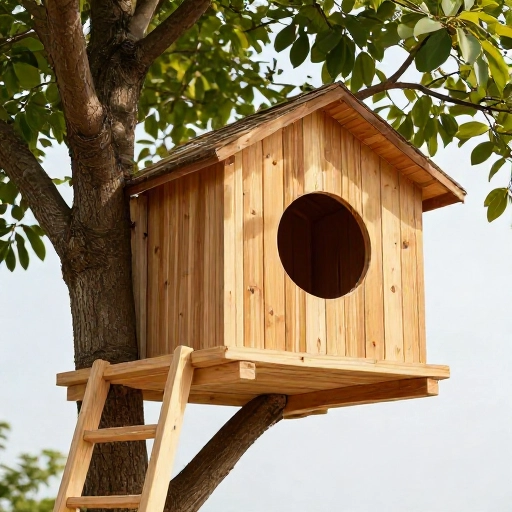
9. The Elevated “Treehouse”
Cats often feel safer off the ground. This design is a raised platform on legs with a house on top. The elevation keeps the house off the cold, damp ground and protects it from snow drifts. I built a simple 2×4 frame with a plywood floor.
For the house itself, I used a large plastic tote, but I added a layer of foam insulation around the outside before wrapping it in a tarp. The gap between the house and the ground creates a nice air pocket that also helps with insulation.
You can add a small ramp or just have them jump. The extra height also keeps them safe from other, less friendly ground predators. It’s a bit more construction, but it’s a fortress for a feral cat.
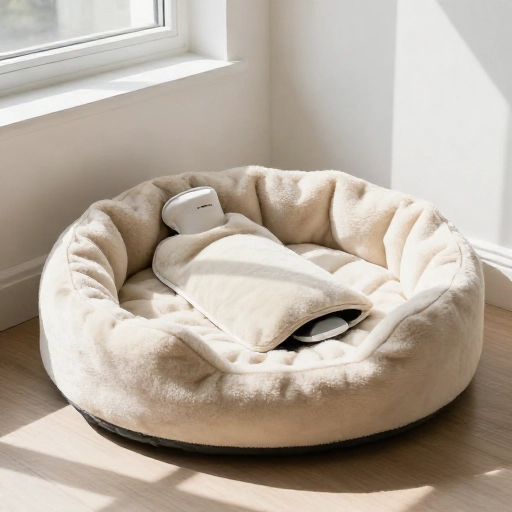
10. The “Hot Water Bottle” Heated Bed
This is a clever hack for extreme cold snaps. You build a standard insulated box (using any of the methods above), but you create a special pocket inside for a microwavable heat pack or an old-fashioned hot water bottle wrapped in a towel.
The key is to make sure the cat can’t directly touch the heat source to avoid burns. I sew a simple fleece pouch and secure it to the side of the box. You can swap the heat pack out a few times a day if you’re home.
This is more of a temporary solution, but it’s a lifesaver during a blizzard. It’s a hands-on way to provide a little extra comfort when the wind chill is brutal.
11. The Wine Crate Condo
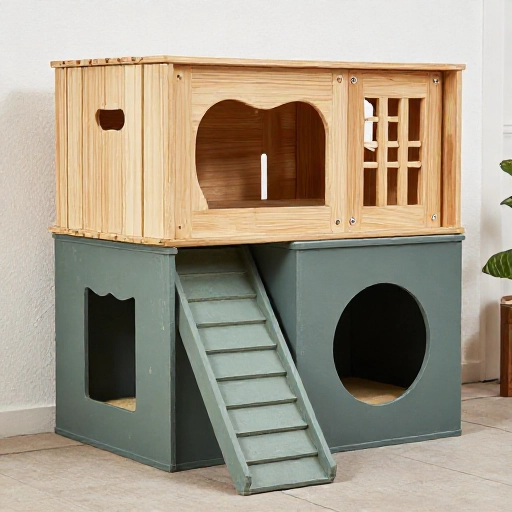
If you can find those sturdy wooden wine crates, you’re in luck. They are perfectly sized for a cat. You can stack two of them and cut a connecting hole between them to create a two-story condo. This gives the cat a place to hide on the bottom and a place to survey the world on top.
Wrap the outside of the crates with a heavy plastic tarp or a waterproof shower curtain liner. Line the inside with foam insulation panels. The wood is thick, so you don’t need much more.
I love this project because it’s so modular. You can add a third crate on top for a “sunroom” with a clear plastic window. It’s a fun build that feels a little more like a piece of furniture.
12. The Straw Bale Fortress
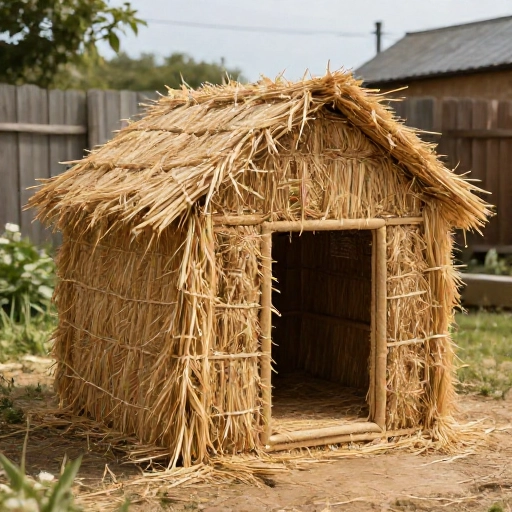
This is for the ultimate cold-weather warrior. You don’t even need a box for this one. Get a few bales of straw (not hay) and stack them in a square, leaving a small opening. Then, put a plywood roof on top, weighted down with more straw or a brick.
The straw bales are incredibly dense and provide excellent insulation against the wind and cold. The cats can burrow into the straw to make a nest. You can create a little tunnel entrance by leaving a gap between two bales.
This is the most natural-looking option. It blends right into a rural or farm setting. The downside is that straw can get messy, but it’s cheap to replace in the spring.
13. The Reflectix + PVC Pipe Dome
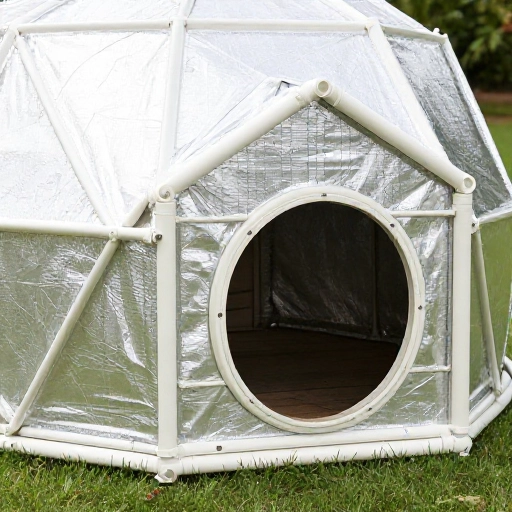
This is a more modern, engineering-style build. You use flexible PVC pipes to form a dome shape and then cover it with layers of Reflectix and a tarp. It’s a bit tricky to get the frame right, but the result is a very aerodynamic shelter that sheds wind perfectly.
The dome shape minimizes surface area, which means less heat loss. You can cut a simple round door at the base. I secured the whole thing to a wooden pallet base to keep it stable.
It’s not the prettiest house, but it is incredibly effective. The air gap between the PVC and the outer tarp acts as a natural thermal barrier. It’s a cool project if you like using unconventional materials.
14. The Simple Plywood “A-Frame”
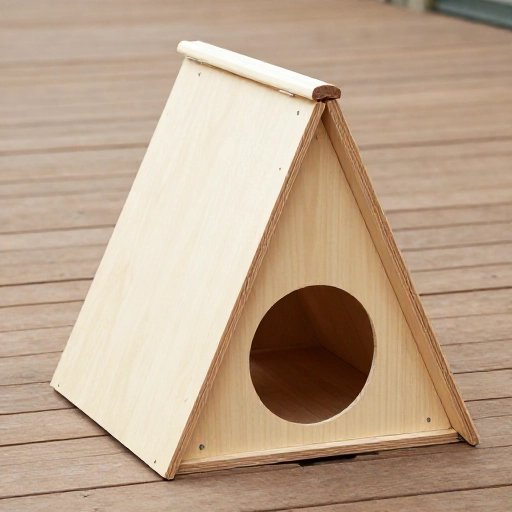
This is the classic DIY cat house shape. It’s simple to make with two pieces of plywood leaning against each other to form an A. You add a triangular piece to the back and a smaller one for the front with a door cut out.
To insulate it, I line the inside with rigid foam board, cutting it to fit the sloped walls. The space under the A-frame is great for filling with straw. The slanted roof means rain and snow just slide right off.
This is a great first-time woodworking project. It’s forgiving and doesn’t require perfect cuts. I painted mine with a dark, non-toxic exterior paint to absorb the sun’s heat during the day, which helps keep it warm at night.
Final Thoughts
Building an insulated cat house is one of the most rewarding weekend projects you can do. It’s a tangible way to make a difference in an animal’s life. You don’t need to be a master carpenter or spend a lot of money. A little bit of effort and some smart insulation choices go a long way.
Remember the golden rules: use straw, not blankets. Make sure the door is small to keep heat in. And always, always protect the house from wind and moisture. If you can do those three things, you’ve built a five-star hotel for a cat in need.
I hope you found a design that inspires you. Pick one, gather your materials, and build something warm today. Your furry neighbors will thank you for it.
Frequently Asked Questions
Why can’t I use blankets or towels inside an outdoor cat house?
Blankets and towels are a big no-no for winter shelters. They absorb the cat’s body heat and moisture from its breath, turning into a wet, frozen mess. Wet blankets actually suck heat away from the cat. Straw is the best choice because it stays dry, doesn’t absorb moisture, and allows the cat to burrow into it for warmth.
What is the best insulation material to use?
Rigid foam insulation boards (like XPS or EPS) are the best for DIY projects. They are easy to cut, waterproof, and have a high R-value (meaning they trap heat well). You can also use Reflectix (a radiant barrier) to reflect body heat back inside. Straw is best for the bedding floor.
How big should the entrance hole be?
You want the door to be just big enough for a cat to fit through easily, usually about 6 to 7 inches in diameter. A smaller door is crucial because it keeps the warm air inside and prevents cold wind from blasting in. If it’s too big, the house won’t stay warm.
Should I buy a heated pad or mat?
Heated pads are great, but they must be specifically made for outdoor pets, not people. They need to be chew-resistant and safe for continuous outdoor use. If you use one, always have a non-heated insulated shelter available too, so the cat has a choice to get away from the heat if it gets too warm.
Where is the best place to put the cat house?
Place the house in a quiet, sheltered spot away from the wind. Under a porch, deck, or a dense bush are good spots. Make sure the entrance is not facing the prevailing wind direction. Elevating the house slightly off the ground on bricks or a pallet also helps prevent cold from seeping up from the ground.