15 Simple Outdoor Cat Shelters Anyone Can Build (Cheap, Cozy & Weatherproof)
Every winter I see the same neighborhood cat curled up under my porch, and every winter I promise myself I’ll finally do something about it. A few years ago I stopped promising and started building. Turns out you don’t need fancy tools, a workshop, or a big budget — just a plastic bin, some straw, and an hour of your afternoon.
I’ve built all kinds of shelters since then, from a five-minute tote box to a full insulated wooden house. Some worked brilliantly. A couple were total flops that got soggy and had to be rebuilt.
So here are the 15 designs I actually recommend, ranked loosely from easiest to most involved. Every single one keeps cats dry, blocks the wind, and gives them a warm, safe place to sleep.
1. The Classic Rubbermaid Tote Shelter
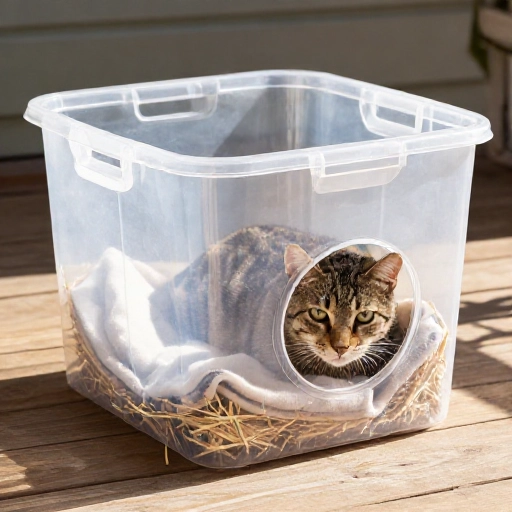
This is the one I tell everyone to start with. Grab a 30-gallon plastic storage tote with a lid, cut a 6-inch round hole in one short side, and line the inside with straw.
The trick is to make the entrance hole slightly above the floor so water can’t run in during a storm. I use a sharp utility knife or a hole saw, then run a lighter around the cut edge to smooth it so no cat snags a paw.
Stuff it with straw — not blankets. Blankets soak up moisture from the cat’s breath and body heat, then freeze solid. Straw repels damp and keeps them toasty.
2. The Insulated Cooler Cat House
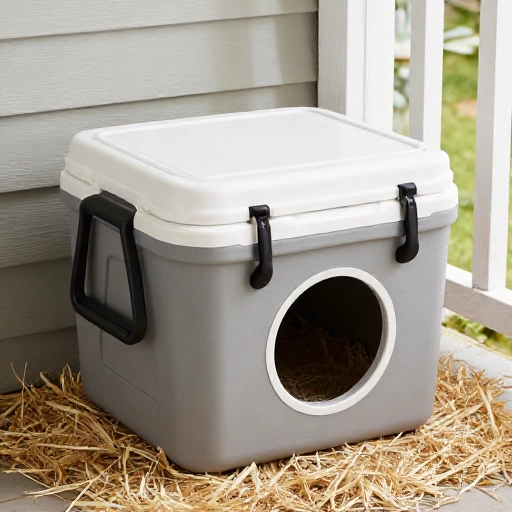
Old camping coolers are basically cat apartments waiting to happen. They’re already insulated, they have a lid that seals, and they’re tough enough to survive a whole winter outdoors.
Cut a 6-inch doorway in the side, drill a couple of small ventilation holes near the top, and add a thick layer of straw inside. That’s it.
I like to set mine on two bricks so it’s off the cold ground. If you don’t have a cooler, check thrift stores — people practically give them away after summer.
3. Styrofoam Cooler Inside a Storage Bin
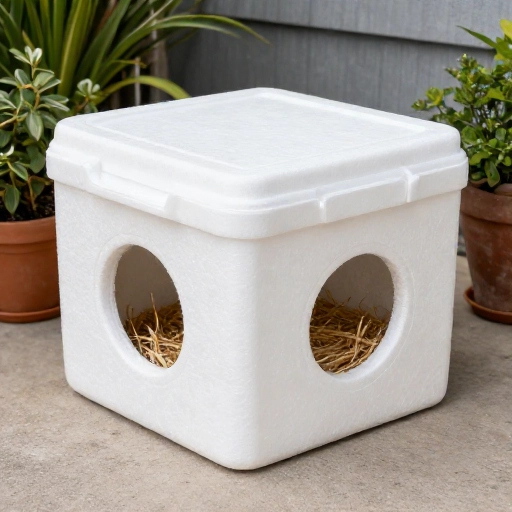
This is the double-insulation version of idea #1, and honestly it’s the warmest cheap shelter I’ve ever made. You nest a Styrofoam cooler inside a bigger plastic tub, and the gap between them traps air.
Cut matching holes in both layers, line them up, and seal the rim with duct tape or spray foam. Fill the inner cooler with straw.
The air gap makes a huge difference on really cold nights. My cats started using this one before the wooden house, which kind of hurt my feelings.
4. A Simple Wooden Cat House
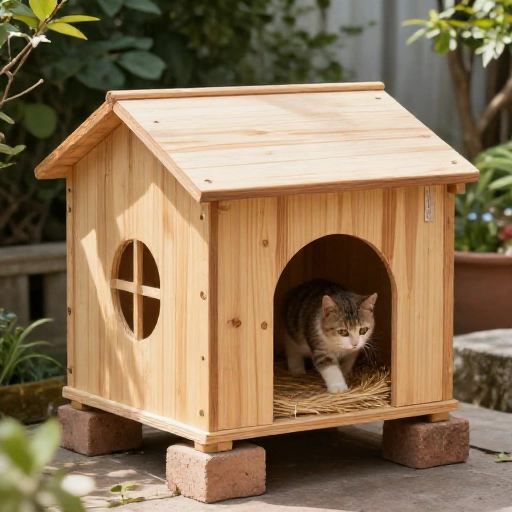
If you’re comfortable with a saw, this is the shelter that lasts a decade. I built mine from scrap plywood and 2x4s, roughly 20 inches wide, 24 inches deep, and 18 inches tall.
Two things matter most: an offset doorway (so wind can’t blow straight in) and a raised floor. I also added a hinged roof so I can swap the straw out without crawling on the ground.
Paint the outside, leave the inside raw wood, and skip any chemical sealants where the cat will be sleeping. Straw bedding, and you’re done for years.
5. The Pallet Lean-To
Free pallets, a tarp, and an hour of your time. Lean two pallets against a wall in a V shape, cover the top and back with a heavy tarp, and stuff the floor with straw.
This isn’t the prettiest option, but it works surprisingly well for a colony of cats that need somewhere to huddle. The pallet slats let air move without letting rain in sideways.
Weigh the tarp down with bricks or bungee cords. A flapping tarp in a windstorm will scare cats off faster than anything.
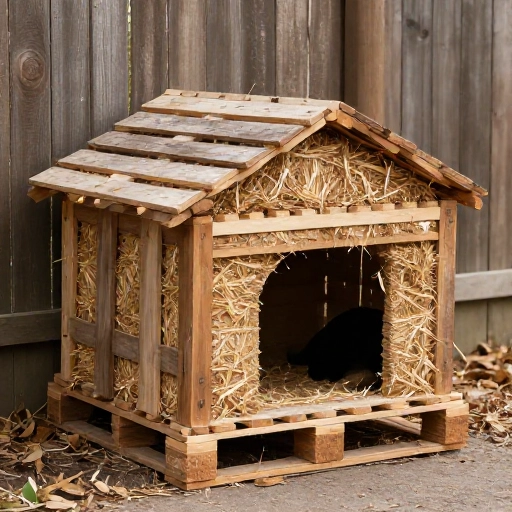
6. The Straw Bale Hideaway
Straw bales are cheap, and you can build a shelter out of them in about ten minutes. Stack four bales in a square, leave a gap in the middle, and lay a fifth bale across the top as a roof.
Tuck a smaller box or a plastic bin into the center cavity and fill it with loose straw. The bales themselves insulate from every side.
One warning: use straw, not hay. Hay holds moisture and gets moldy, which is bad for cat lungs. Straw stays dry and drains well.
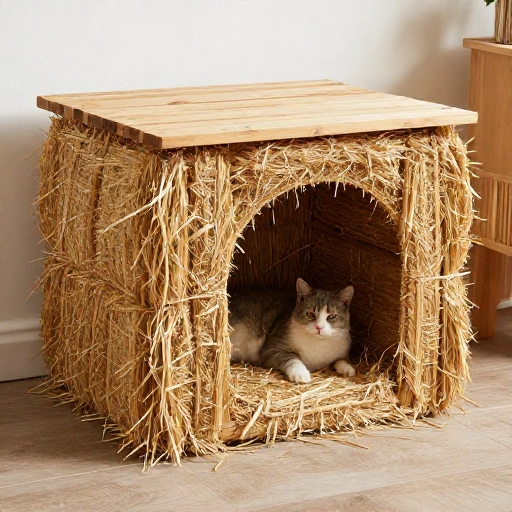
7. The Under-the-Deck Cave
If you have a deck or porch, you may already have a shelter — you just need to tidy it up. Cats love that sheltered, low-ceiling space.
Block the windward sides with plywood or lattice, leave one side open for an entrance, and put a waterproof bin with straw underneath.
Check that the space stays dry during heavy rain before you get too attached to the idea. If water pools under there, pick a different spot.
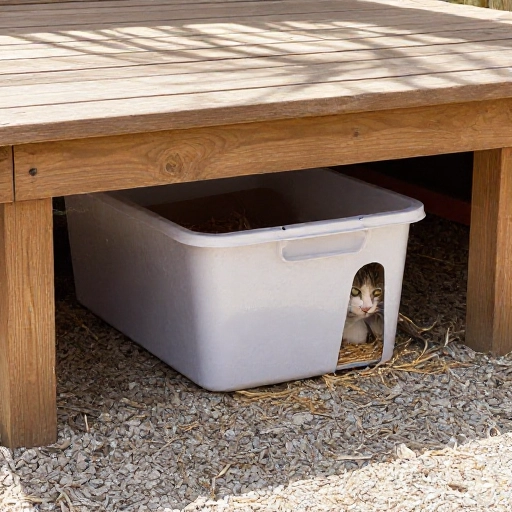
8. Deck Storage Bench Shelter
Those plastic deck boxes meant for cushions make great cat shelters with almost no work. Cut a 6-inch hole in the side, add straw, and close the lid.
They’re weatherproof, they blend in on a porch, and nobody looks twice at one. Mine sits right next to my back door and my neighbor still has no idea what it’s for.
Just make sure the lid isn’t so heavy that a cat can get trapped. Most boxes have a soft-close or vented design, but give it a wiggle test before you commit.
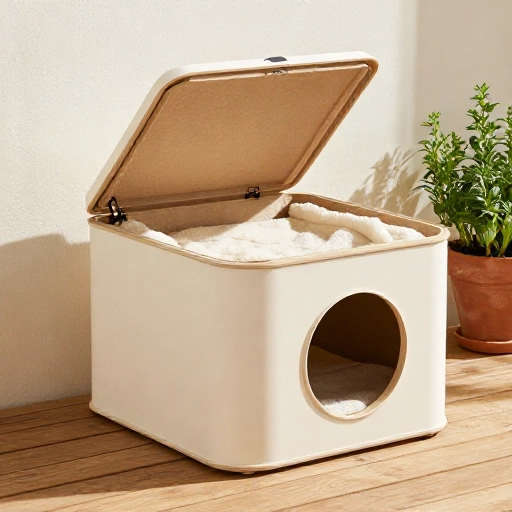
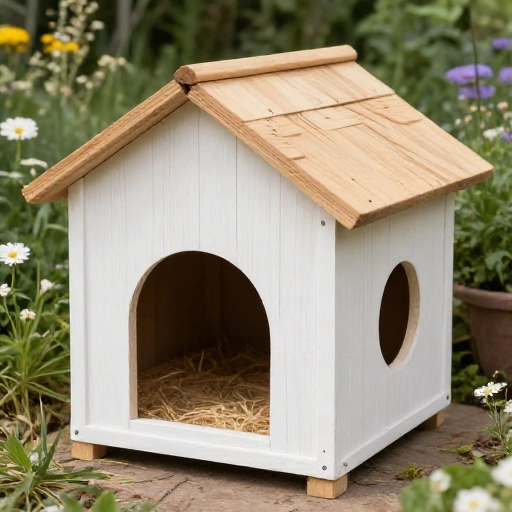
9. Refresh an Old Doghouse
Somebody on your street has a disused doghouse in their yard. Ask for it, and you’ve got a cat shelter for free.
Clean it out thoroughly, check for gaps and leaks, and repair any soft spots in the floor. Then seal the wide dog entrance down to a 6-inch opening — cats want a snug doorway, not a garage door.
Add a wind baffle just inside the entrance, stuff it with straw, and raise the whole thing on bricks.
10. The Five-Minute Cardboard and Bin Shelter
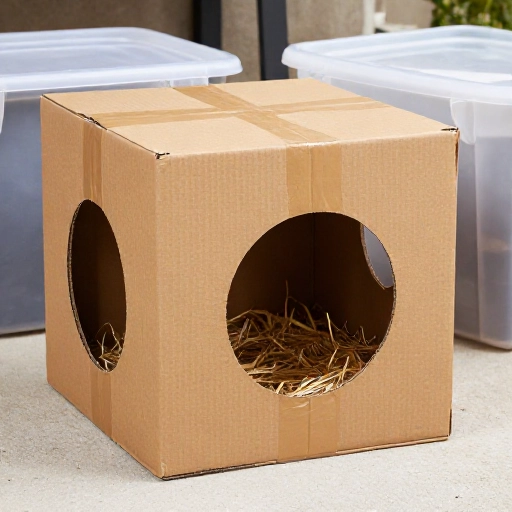
For an emergency cold snap, this is my go-to. Line a plastic bin with a cardboard box for extra insulation, cut the doorway through both layers, and add straw.
Cardboard alone will fall apart in the rain, which is exactly why it goes inside the bin. The bin stays dry, and the cardboard traps extra warmth.
It’s a temporary fix, not a forever shelter, but it can genuinely save a cat’s life during a sudden freeze.
11. PVC Pipe Bunker
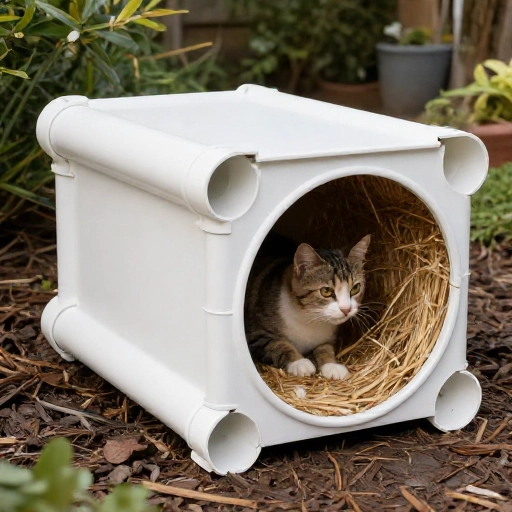
Take a wide piece of PVC pipe — 8 inches or larger — and cap one end. Bury or wedge it against a wall at a slight upward tilt so water drains out the front.
Line the inside with straw and you’ve got a snug, chew-proof tunnel that cats adore. It’s narrow enough that they feel completely hidden.
This one works best as a summer-to-fall shelter, or in a covered area where rain can’t reach the opening.
12. Wheelbarrow or Garden Cart Shelter
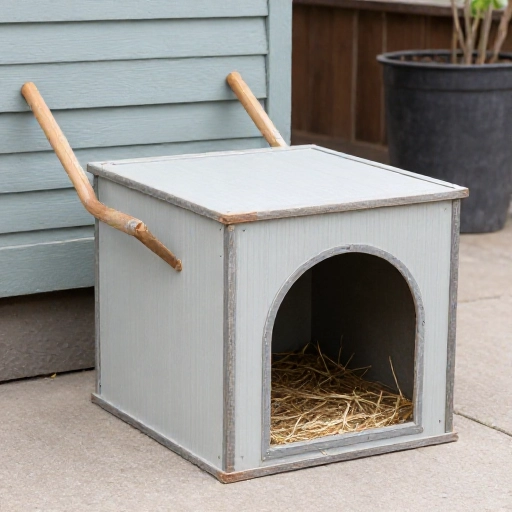
An old wheelbarrow tipped on its side against a shed wall creates a perfect little windbreak. Add a bin with straw underneath, and you’re done.
It’s not elegant, but it works, especially if you’ve got a cat that refuses to use anything that looks “official.” Some cats are suspicious like that.
I keep one behind my garage all winter, and it gets used every single night.
13. The Double-Wall Two-Tub Shelter
Buy two nesting storage bins — one slightly smaller than the other. Cut matching doorways, then fill the gap between the walls with foam insulation, crumpled newspaper, or even more straw.
You get the insulation of a wooden house with the price tag of two plastic bins. This is probably the best value shelter on this entire list.
Seal the rim with tape so rain can’t seep into the wall cavity, and give the doorway a slight lip so water runs away from the opening.
14. Raised Platform Shelter with a Roof
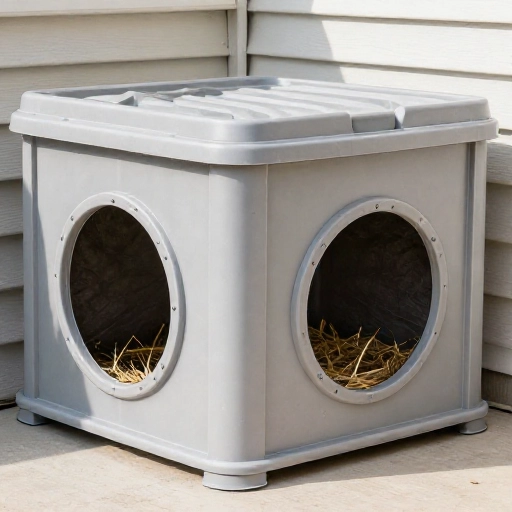
If your ground gets soggy or snowy, elevate the whole thing. I built a simple platform from scrap lumber and set a tote shelter on top, angled slightly back so rain runs off the roof.
The height keeps the floor dry and gives cats a clear view of their surroundings, which makes them feel safer. Cats hate being cornered at ground level.
Add a small ramp or a stack of bricks as a step if the platform is more than a foot tall.
15. The Two-Story Shelter and Feeding Station
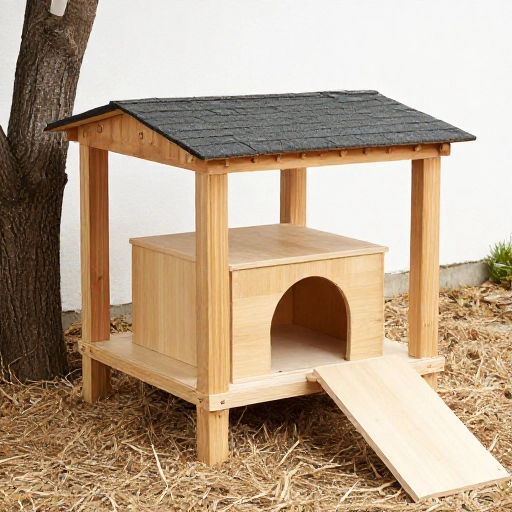
My favorite build. A plastic bin with straw goes on the bottom level, and a smaller covered container of dry food sits on top, sheltered by a lid or overhang.
Keeping food and shelter in one spot means cats don’t have to cross open ground in bad weather. It also keeps the food dry, which matters more than most people realize — wet kibble goes bad fast.
Clean the food area every few days and never leave wet food out overnight. It attracts raccoons and possums, and nobody wants that.

A Few Things That Make Every Shelter Work Better
No matter which design you pick, a handful of details decide whether a cat actually uses it. Point the doorway away from the prevailing wind. Elevate the shelter a couple of inches off the ground so moisture doesn’t wick up. And always use straw instead of blankets or towels.
Check your shelter after the first big storm. If it’s damp inside, fix it or move it. Cats will abandon a soggy box immediately, and they won’t give you a second chance.
Also, give it time. A new shelter might sit empty for a week before a cat trusts it. Sprinkle a little catnip near the entrance or leave a few treats inside — that usually speeds things up.
Frequently Asked Questions
What’s the best bedding for an outdoor cat shelter?
Straw, always. It repels moisture, insulates well, and doesn’t freeze into a solid block. Blankets and towels absorb damp from the cat’s breath and body, then turn into an ice brick overnight.
How big should the entrance hole be?
About 6 inches in diameter. Big enough for a cat to slip through comfortably, small enough to keep out dogs, raccoons, and cold drafts. If you have larger cats, 7 inches is fine.
Will a heated pad make the shelter too warm?
No, but only use one designed for outdoor pets and pair it with straw. A small outdoor heating pad on low is great for extreme cold, but it should never be the only heat source if the power could go out.
Where should I put the shelter?
Against a wall or fence, facing away from the wind, ideally under an overhang or evergreen. Elevate it off the ground and keep it away from busy foot traffic so cats feel safe coming and going.
How do I keep other animals out?
Keep the doorway small, never leave food inside the sleeping area, and secure the lid with a bungee cord or weight. If raccoons are a problem, feed at a set time and pick the bowls up afterward.
Final Thoughts
You genuinely don’t need to be handy to do this. Start with a tote and some straw tonight, and you’ll have a shelter up before the next cold front rolls through.
If you build any of these, snap a photo — these little shelters quietly save a lot of lives every winter, and they look pretty great on a porch too.