15 Step-by-Step Dog Drawing Tutorials That Actually Make You Better (Yes, Really!)
Let’s be honest—drawing a dog that actually looks like a dog (and not a fuzzy potato with legs) takes a little practice. I’ve been there, staring at my sketchbook, wondering why my golden retriever looked like a grumpy cloud. But here’s the thing: once you break it down into simple shapes and steps, it gets so much easier. And honestly, it’s one of the most relaxing things you can do with a pencil in your hand.
Whether you’re a total beginner or someone who’s been doodling for years, these 15 step-by-step tutorials will walk you through everything from cute cartoon pups to more realistic portraits. Grab a pencil, find a comfy spot, and let’s draw some dogs! I promise, by the end, you’ll have a whole pack of new favorite sketches.
1. Start with the Basics: The Simple Circle Dog Head
Every great dog drawing starts with a circle. Seriously. This is the easiest way to get proportions right before you add any details. It’s my go-to trick when I’m sketching quickly or just warming up.
Draw a big circle for the head, then add a smaller oval underneath for the muzzle. It sounds too simple, but this is the foundation for almost every dog face you’ll ever draw.
- Keep your pencil light so you can erase any guide lines later.
- Don’t worry about making the circle perfect—dogs aren’t perfect circles anyway!
Once you have those two shapes, you can start placing the eyes right where the circle and oval overlap. That’s the magic spot!
2. The Floppy-Eared Puppy: Adding Character with Ears
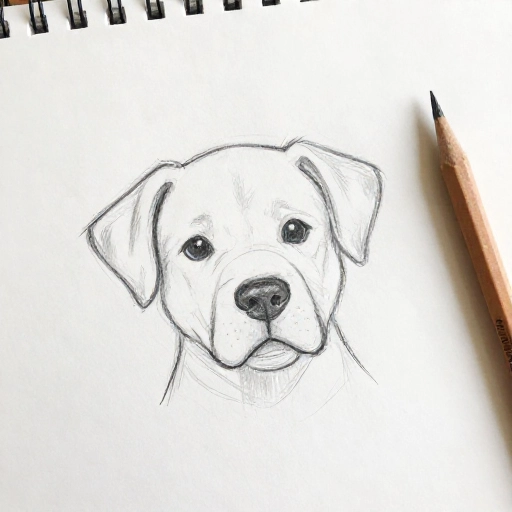
Ears are where the personality really comes in. A floppy-eared pup, like a lab or a beagle, instantly looks friendlier and more approachable. This tutorial focuses on getting those soft, droopy shapes right.
Start with your basic circle head, then draw two long, rounded teardrop shapes hanging down from the sides. Don’t make them too stiff—let them curve inward slightly toward the cheeks.
- Think of the ears as soft fabric, not solid blocks.
- Add a slight shadow line under the ear to make it look like it’s resting on the head.
Finish with a sweet, gentle expression and you’ve got a puppy that looks like it’s about to ask for a treat.
3. Pointy Ears for Alert Dogs: German Shepherd Style
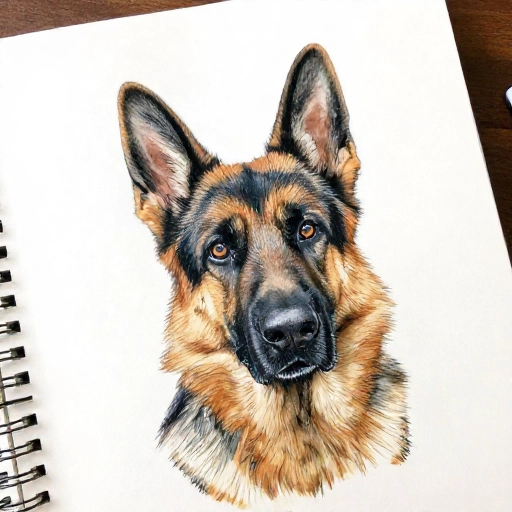
Now let’s flip the script. Pointy ears give a dog a completely different vibe—alert, smart, and ready for adventure. This tutorial is perfect for drawing German Shepherds, huskies, or even corgis (with their adorable big triangles).
Instead of drooping down, these ears shoot straight up. Draw two triangles on top of your circle, but make sure they lean slightly outward. If they’re too straight up and down, your dog will look like a startled cat.
- Soften the tips of the triangles just a little.
- Add a small inner ear line to give it depth without overcomplicating it.
This is one of my favorite styles to draw because it’s so clean and graphic. It looks impressive, but it’s honestly just triangles and circles!
4. The Side Profile: Drawing a Dog Facing Left
Side profiles are a great next step because they force you to think about the snout and the back of the head in a new way. It’s less symmetrical, which means you have to be a little more intentional.
Start with a circle, but then add a long, sloping rectangle or oval coming off the front for the snout. The back of the head is a gentle curve, while the front is a sharper angle down to the nose.
- Don’t forget the little bump where the nose meets the snout—it’s a key detail.
- Place the eye right in the middle of the head circle, slightly forward.
Practice this a few times, and you’ll start to see how much expression you can get from just a simple outline.
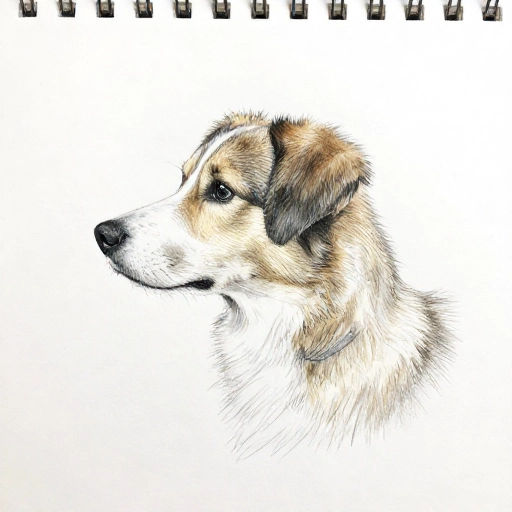
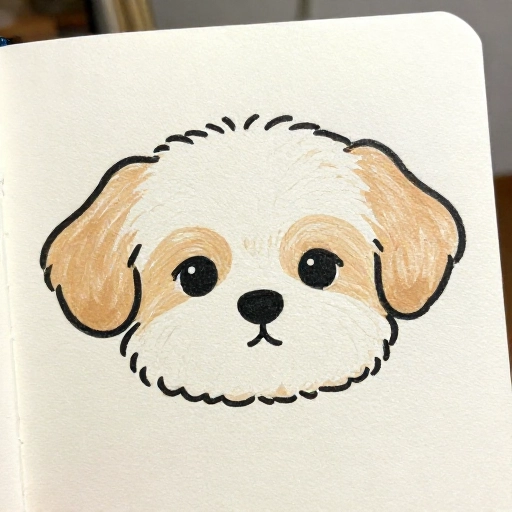
5. The Cute Cartoon Dog: Big Eyes and Tiny Nose
Who doesn’t love a cartoon dog? This tutorial is all about exaggerating the features to make everything cuter. Big, shiny eyes, a tiny button nose, and a wobbly little smile.
The trick here is to make the head much bigger in proportion to the body, and the eyes much bigger in proportion to the head. It’s the classic “baby” look that just melts your heart.
- Leave a little white highlight dot in each eye—it makes them look alive.
- Keep the nose small and round, almost like a little heart.
This is the perfect tutorial for doodling on notes or making your own stickers. It’s forgiving, fun, and always brings a smile.
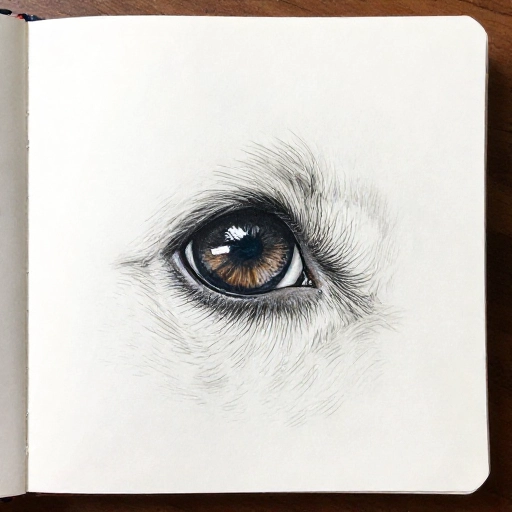
6. Realistic Eyes: The Window to the Soul
Getting realistic dog eyes right is a game-changer. It’s what separates a basic sketch from a portrait that feels alive. This tutorial focuses entirely on the eye—no ears, no nose, just this one feature.
Dog eyes aren’t perfectly round like ours. They’re more almond-shaped, with a slightly heavier lid on top. Start by sketching the almond shape, then add a large, dark pupil that takes up most of the space.
- Always leave a highlight (or two) for the reflection of light.
- Add a soft shadow under the upper lid—this gives the eye depth.
Once you master this, you can apply it to any dog drawing you do, and it will instantly look more professional.
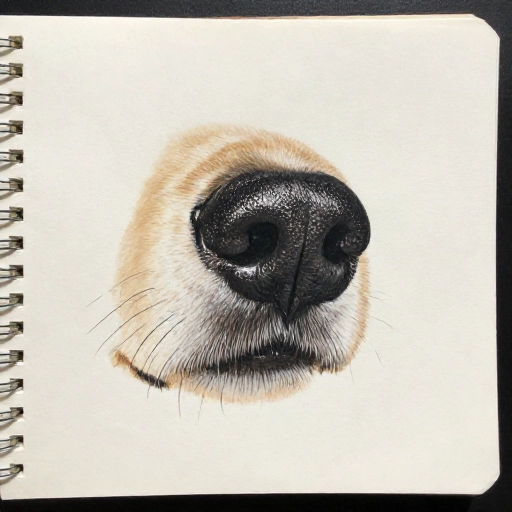
7. Drawing the Perfect Dog Nose: Textures and Shadows
The nose is probably the most iconic part of a dog’s face. It’s also surprisingly tricky to draw if you don’t know the trick. It’s not just a black oval—it has texture and shape!
Start with a rounded triangle or oval. Then, instead of coloring it in solid black, leave some tiny white spots or lines to suggest the wet, bumpy texture.
- Use a soft pencil (like a 2B) for the darker areas.
- Add a highlight at the top of the nose where the light hits.
Drawing the nose correctly will make your dog look way more realistic, even if the rest of the face is simple.
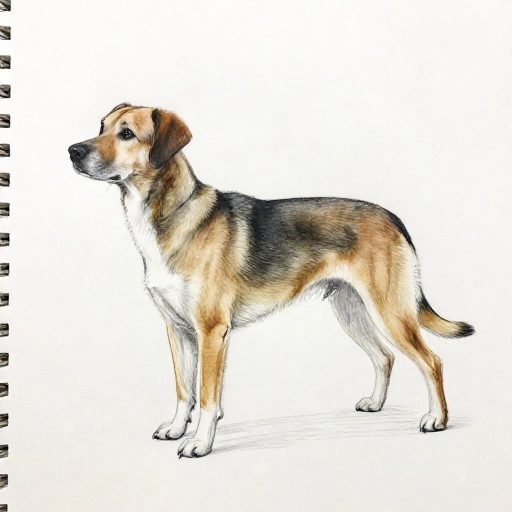
8. The Full Body Dog: Standing Pose
Ready to move past the face? Let’s draw the whole dog! This standing pose is classic and shows off the dog’s natural proportions. It’s all about breaking the body down into simple shapes.
Think of the body as a big oval, the chest as a smaller circle in front, and the head as another circle on top. Connect them with smooth, sweeping lines.
- Don’t forget the tail—it balances the whole composition.
- Pay attention to where the legs meet the body; they shouldn’t just stick out at weird angles.
Start with a rough skeleton of shapes, and then flesh it out. You’ll be surprised how quickly it starts to look like a real dog.
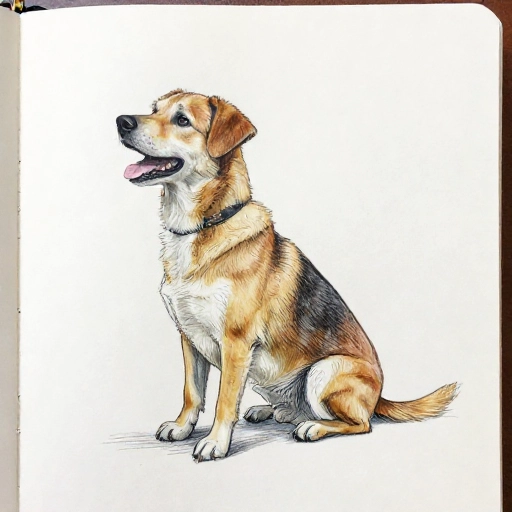
9. The Playful Sitting Pose: Drawing from the Side
Sitting dogs are adorable because they have that upright, attentive posture. This side-view tutorial is great for capturing that “waiting for a treat” look.
The key here is the angle of the back. It should slope down from the head to the ground, with the front legs straight down and the back legs tucked underneath.
- The chest should puff out slightly.
- Keep the back legs as simple bent shapes—don’t overdo the details.
This is a great pose to practice because it’s so common in photos, so you’ll have plenty of reference material.
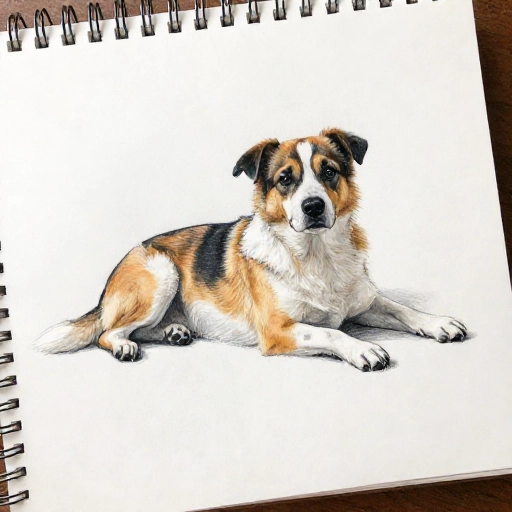
10. The Lying Down Dog: The Classic Sploot
There’s something so peaceful about a dog lying down. This tutorial covers the relaxed, belly-on-the-ground pose that’s perfect for sleepy puppies.
Draw a long, low rectangle for the body, with the head resting on the front paws. The back legs are usually stretched out behind, which adds to the cuteness.
- Keep the lines soft and curved—nothing should look stiff.
- Focus on the line of the spine; it should be a gentle slope.
This is a fantastic tutorial for practicing smooth, flowing lines rather than sharp angles.
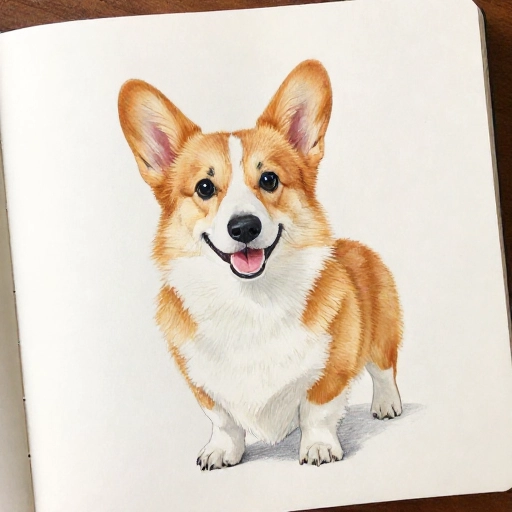
11. The Corgi: Short Legs and a Big Smile
Corgis are basically all head, ears, and fluff, which makes them perfect for drawing. They have such a distinct silhouette that they’re instantly recognizable.
Start with a large oval for the body (they’re long!), and a big round head with those huge pointy ears. The legs are short and stubby, so keep them simple.
- Don’t forget the white blaze on the forehead—it’s a classic corgi feature.
- Add a happy, open-mouth smile for maximum charm.
Drawing a corgi is like drawing a cartoon even when you’re going for realism. They’re just built for fun.
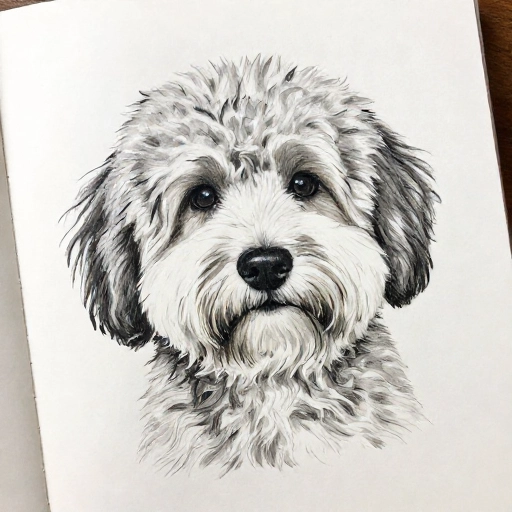
12. The Fluffy Dog: Drawing Fur Textures
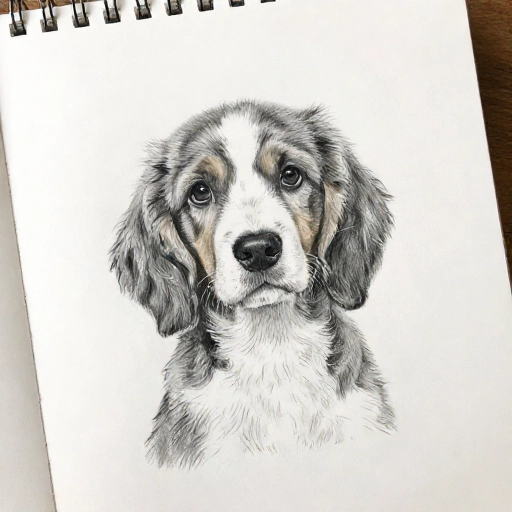
Fluffy dogs can be intimidating to draw because of all the hair. But here’s the secret: you don’t draw every hair. You draw the *suggestion* of hair with jagged, broken lines.
Instead of one smooth outline, use a series of small, angled strokes that point outward. This creates the illusion of fur without the need for excessive detail.
- Use quick, short strokes with your pencil.
- Build up the fluff in layers, starting light and adding darker strokes for depth.
Practice this on a simple head shape first, and you’ll see how much texture you can add with just a few strokes.
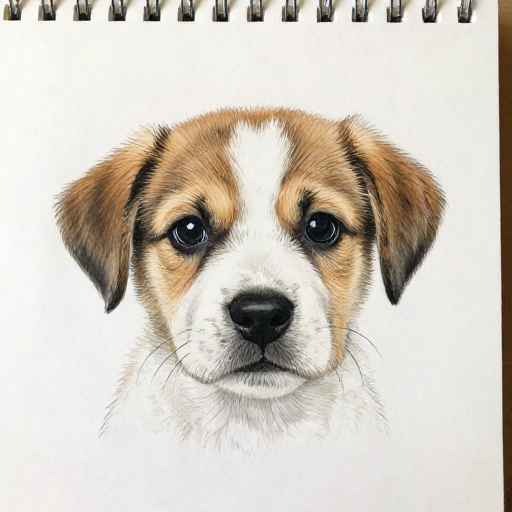
13. The Puppy Face: Proportions for Baby Dogs
Puppies have different proportions than adult dogs. Their heads are bigger, their eyes are larger, and their noses are smaller and rounder. This tutorial shows you exactly how to nail that cute puppy look.
The key is to make the head circle huge and the muzzle very small. The eyes should be placed lower on the face and spread wider apart.
- Keep the nose tiny and soft.
- Add a little wrinkle on the forehead for extra cuteness.
Once you know these proportion tweaks, you can turn any adult dog drawing into a puppy version easily.
14. Adding Shading: Making Your Dog Pop
A drawing can look flat if there’s no shading. This tutorial is all about adding depth with simple pencil strokes. You don’t need fancy tools—just your pencil and a good eraser.
Pick a light source (like from the top left) and darken the areas opposite to it. Under the chin, under the ears, and under the belly are great places to start.
- Use the side of your pencil for soft, broad shading.
- Blend with your finger or a tissue for a smoother look.
Shading is what makes your dog look like it exists in the world, rather than just floating on the page.
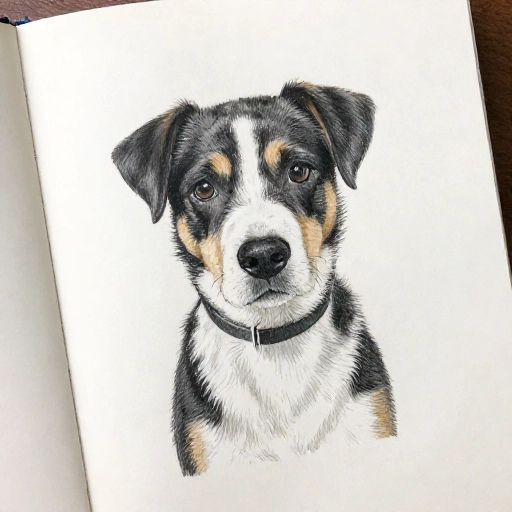
15. Putting It All Together: A Simple Full Portrait
This is the final boss! This tutorial combines everything you’ve learned: the head shape, the ears, the eyes, the nose, and the shading, all in one complete portrait.
Take your time with this one. Start with light construction lines, then refine them. Don’t rush to the details until the basic shapes are solid.
- Work from general to specific—big shapes first, then small details.
- Trust the process and keep your lines clean.
When you finish this, you’ll have a beautiful dog portrait that you can be genuinely proud of. This is the tutorial I recommend to anyone who wants to feel like a “real” artist.
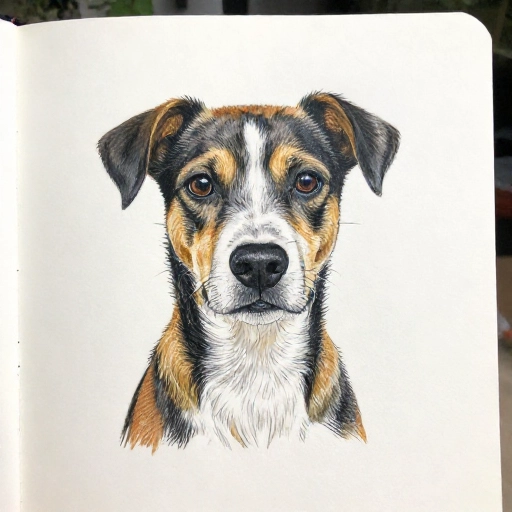
Conclusion: Keep Drawing, Keep Learning
And there you have it—15 different ways to draw a dog, from simple cartoons to more realistic portraits. The best part about drawing is that every single sketch makes you a little bit better than the last one. Don’t be afraid to mess up; that’s just part of the process.
My biggest tip? Keep a small sketchbook just for dogs. Doodle them during your coffee break, on the bus, or while you’re watching TV. The more you draw, the more natural it becomes. You’ll look back at your first attempts and be amazed at how far you’ve come.
So, which tutorial are you going to try first? Grab your pencil and let’s get started!
FAQ: Your Dog Drawing Questions Answered
1. What is the easiest dog to draw for a complete beginner?
The cartoon dog style is definitely the easiest. It’s very forgiving and doesn’t require perfect proportions. You can have a lot of fun and get a great result quickly.
2. What pencils should I use for drawing dogs?
I recommend a simple HB pencil for sketching and a 2B or 4B pencil for darker lines and shading. A good eraser, like a kneaded eraser, is also super helpful for cleaning up guide lines.
3. How do I get the proportions of a dog’s face right?
Always start with basic shapes like circles and ovals. They help you map out the placement of the eyes, nose, and ears before you commit to any details. It’s all about the foundation!
4. Should I use a photo reference when drawing?
Absolutely! Using a photo reference is one of the best ways to learn. It helps you understand the real shapes and shadows without having to hold a dog still. I always use references for new poses.
5. How can I make my dog drawing look more realistic?
Focus on shading and the details of the eyes and nose. Those are the features that make a drawing feel alive. Also, pay close attention to the edges of your drawing—adding fur texture with short strokes makes a huge difference.