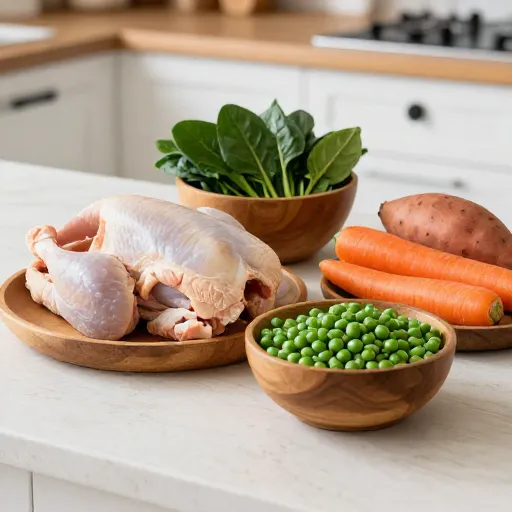
5 Long-Lasting Homemade Dog Treat Recipes Your Pup Will Beg For (And You’ll Love Making)
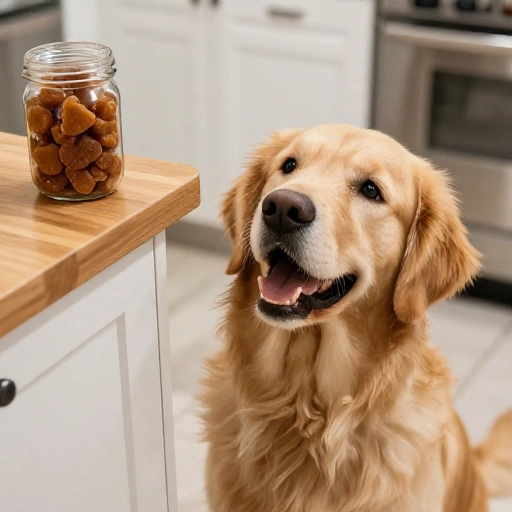
Let’s be honest—nothing makes a dog happier than a tasty treat. But store-bought bags are pricey, and I never really know what’s inside them. That’s why I started making my own long-lasting homemade dog treats. They’re packed with simple, healthy ingredients, and my pup absolutely loses his mind every time I pull out a batch.
These aren’t just any recipes. I tested them for texture, taste, and staying power. You want treats that don’t crumble into dust after one bite? You want something that keeps them busy for more than thirty seconds? These five recipes deliver. They’re easy to make, require basic kitchen tools, and use ingredients you probably already have in your pantry.
Ready to become your dog’s new favorite chef? Let’s jump right in.
Why Make These Long-Lasting Treats at Home?
Honestly, the biggest reason is control. When you make treats yourself, you know exactly what goes into them. No weird preservatives, no fillers, no mystery meat by-products. Just real food your dog deserves.
These recipes are also designed to be durable. They’re baked low and slow to remove moisture, which gives them a crunchy, jerky-like texture that lasts. That means less mess on your floor and more chewing time for your pup. Plus, making a big batch saves money—way cheaper than those fancy boutique bags at the pet store.
Kitchen Equipment & Tools You’ll Need
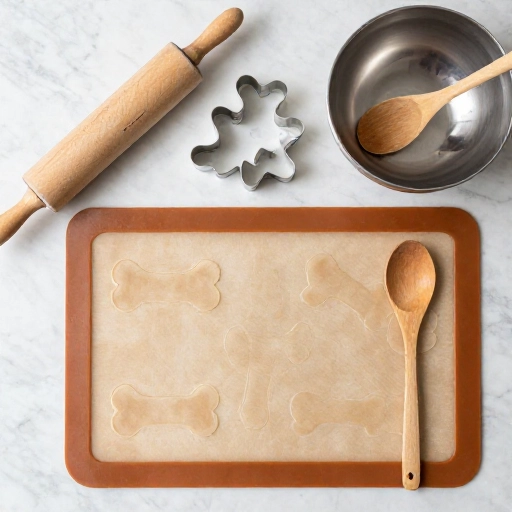
Don’t worry, you don’t need any fancy gadgets. Most of these recipes come together with basic stuff you already own. Here’s what I use every time:
- Mixing bowls (medium and large)
- Measuring cups and spoons
- Baking sheet or cookie tray
- Parchment paper or silicone baking mat
- Rolling pin (a wine bottle works in a pinch)
- Cookie cutters (bone shapes are cute, but any shape works)
- Sharp knife or pizza cutter for simple cuts
- Cooling rack
- Airtight container for storage
That’s it. Nothing too wild. If you have these, you’re ready to go.
Ingredients List & Safe Substitutions
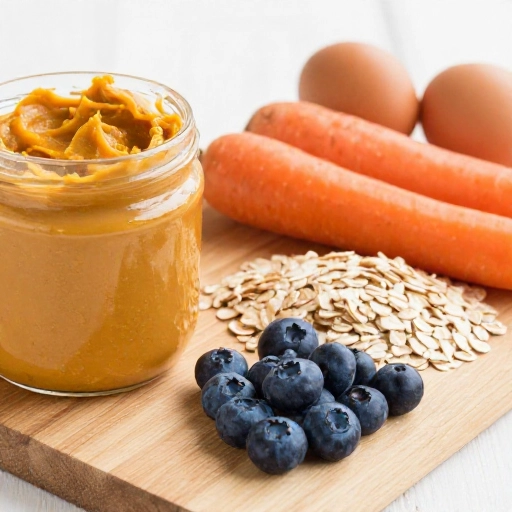
Every recipe here sticks to dog-safe ingredients. No onions, garlic, chocolate, or xylitol—ever. Here’s the core list you’ll see across these five recipes:
- Whole wheat flour (or oat flour for sensitive tummies)
- Peanut butter (xylitol-free, unsalted)
- Pumpkin puree (plain, not pie filling)
- Sweet potatoes
- Eggs
- Chicken or beef broth (low-sodium)
- Rolled oats
- Coconut oil (unrefined)
Safe swaps: Use oat flour or brown rice flour if your dog is sensitive to wheat. Swap peanut butter for sunflower seed butter if there are allergies. No pumpkin? Mashed banana or unsweetened applesauce works great too. Just keep an eye on sugar content—dogs don’t need extra sweetness.
Step-by-Step Instructions & Preparation Guide
I’ll walk you through the basic method that works for most long-lasting treats. Once you get the hang of it, you can mix and match flavors.
- Preheat your oven to 250°F (120°C). Low heat is key for drying them out without burning.
- Mix wet ingredients first in a large bowl: pumpkin puree, peanut butter, eggs, and broth. Stir until smooth.
- Add dry ingredients gradually: flour and oats. Mix into a stiff dough. If it’s too sticky, add a little more flour.
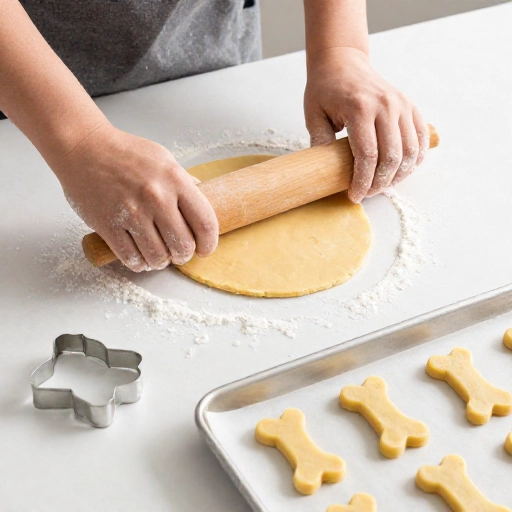
- Roll out the dough on a floured surface to about ¼-inch thickness. Thinner treats dry faster and last longer.
- Cut into shapes using cookie cutters or a knife. Place them on a parchment-lined baking sheet.
- Bake for 2 to 3 hours, flipping halfway through. They should be hard and dry to the touch, not soft or bendy.
- Cool completely on a wire rack before storing. Any residual heat will create moisture and ruin the crunch.
That’s your foundation. For softer treats, bake for less time. For jerky-style chews, go the full three hours.
Feeding Guidelines, Serving Size & Storage Tips
These treats are dense and nutrient-packed, so a little goes a long way. For small dogs (under 20 lbs), one treat per day is plenty. Medium dogs can have two, and large breeds can enjoy up to three. Always adjust based on your dog’s size, activity level, and overall diet.
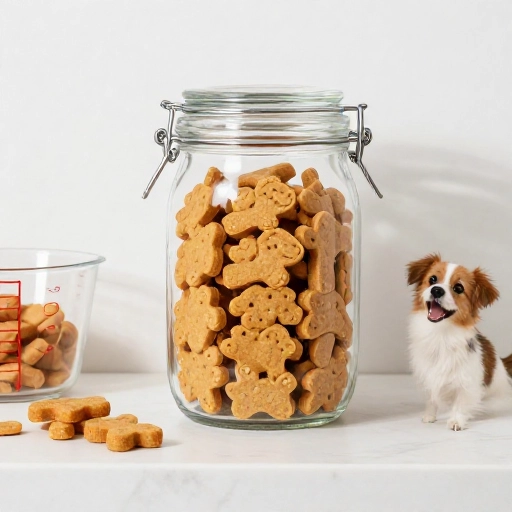
Storage: Keep them in an airtight container at room temperature for up to two weeks. For longer storage, pop them in the fridge—they’ll stay fresh for a month. Want them to last even longer? Freeze them in a zip-top bag for up to three months. Just thaw a few at a time.
One tip: always check for mold if you’re storing at room temperature, especially in humid weather. If in doubt, toss them out and bake a fresh batch.
Final Verdict & Summary
Honestly, these homemade treats are a game-changer. They’re healthier than anything you’ll find on a store shelf, they save you money, and they make your dog ridiculously happy. The long-lasting texture means fewer crumbs and more chewing satisfaction—a win for both of you.
I rotate between sweet potato, pumpkin peanut butter, and chicken oat flavors depending on what I have on hand. Every single one gets four paws up. Give them a try, and watch your pup’s tail go into overdrive. You’ll never go back to store-bought again.
FAQ – Frequently Asked Questions
Can I use almond butter instead of peanut butter?
Yes, as long as it’s unsalted and xylitol-free. Almond butter is a great alternative and many dogs love it. Just check the label carefully.
How do I know when the treats are fully baked?
They should feel hard and dry, not soft or chewy. Tap one gently—if it sounds hollow, it’s done. Let them cool completely; they’ll firm up more as they sit.
My dog has a sensitive stomach. Which recipe is safest?
Start with the pumpkin and oat version. Pumpkin is gentle on digestion, and oats are easy on the tummy. Avoid rich ingredients like peanut butter at first.
Can I make these treats without an oven?
You can use a dehydrator if you have one. Set it to 135°F and dry for 6 to 8 hours. The texture will be more jerky-like but just as long-lasting.
How long do these treats stay fresh in the freezer?
Up to three months in an airtight freezer bag. Label them with the date so you don’t forget. Thaw in the fridge overnight before serving.