7 Cooler Cat Shelters – Weatherproof DIY Builds
Feral and stray cats need a safe, dry spot when the weather turns nasty. Store-bought shelters can be pricey and flimsy. I’ve gathered seven easy DIY builds that are tough, waterproof, and actually look good in your yard.
These projects use common materials, basic tools, and a little creativity. The best part? Your local outdoor cats will have a warm, dry home through rain, snow, or scorching heat. Let’s dive into these practical builds.
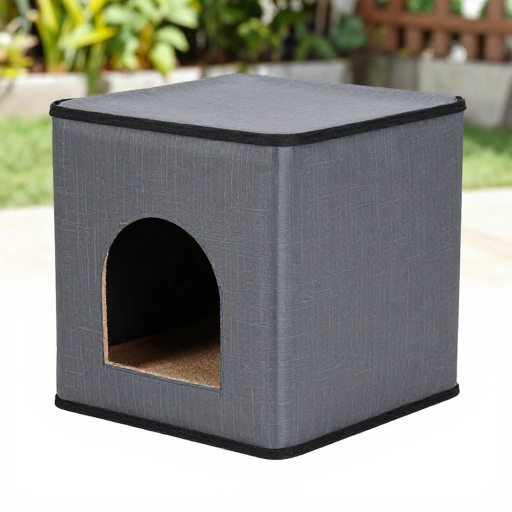
1. The Insulated Storage Bin Cat House
This is the easiest and most popular build. Grab a large plastic storage bin with a lid. Cut a 6-inch hole in one short side for an entrance. Line the inside with rigid foam insulation boards on all four walls and the floor.
Add a layer of straw (not hay!) for bedding. The lid snaps shut, keeping out rain and wind. For extra weatherproofing, seal the lid edges with duct tape. This shelter is affordable, portable, and super cozy.
Place it on a wooden pallet to keep it off cold ground. Cats will find it within days.
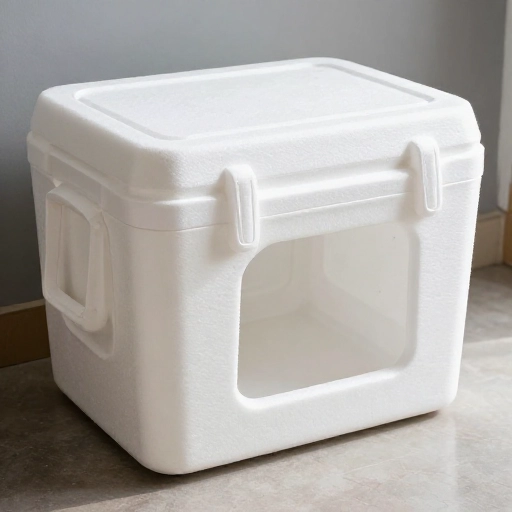
2. The Cooler Converted Cat Den
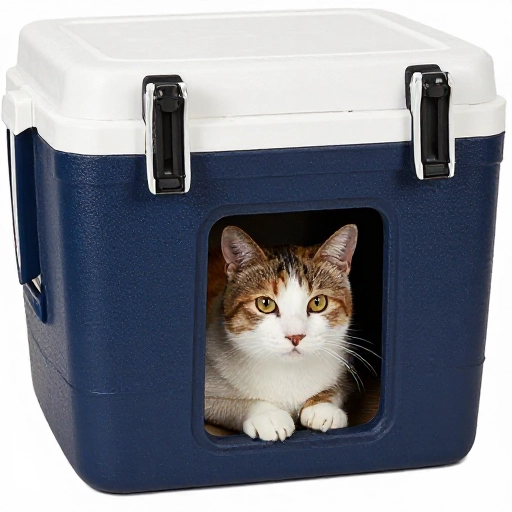
An old hard-sided cooler makes an incredible shelter. The thick walls are already insulated. Simply cut a cat-sized door in one side using a jigsaw or utility knife. Sand the edges smooth.
Fill the bottom with straw. The cooler’s lid seals perfectly, locking out moisture and drafts. You can even add a small flap made from a rubber mat to cover the entrance. This build is virtually indestructible and keeps cats toasty in freezing temps.
I love how the lid stays put even in high winds.
3. The Pallet and Plywood Cabin
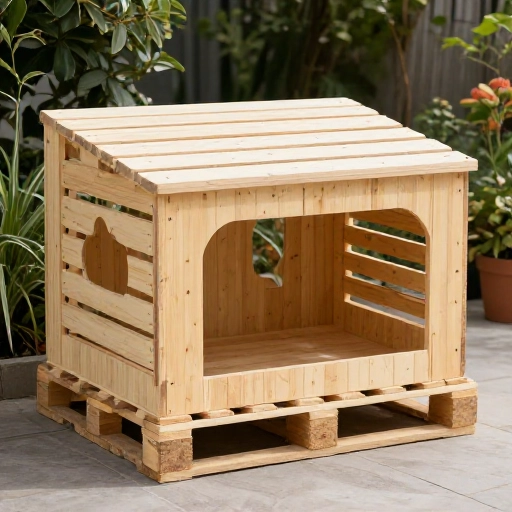
For a more permanent structure, use wooden pallets as a base. Disassemble one pallet for planks, or build a simple frame from 2x4s. Attach plywood sheets for walls and a slanted roof. Leave a small overhang on the roof to shed rain.
Line the interior with foam board or old carpet for insulation. Cut a small door, about 6×6 inches, to keep heat in. Cover the roof with roofing felt or corrugated plastic panels. This cabin blends into gardens and lasts for years.
Stain or paint it to match your outdoor decor.
4. The Under-Deck Hideaway
If you have a deck, you already have half a shelter. Create a weatherproof box under the deck stairs or against the house wall. Use scrap wood or a large plastic crate. Cut an entrance facing away from prevailing winds.
Line the inside with straw and top with a waterproof lid. Elevate it slightly on bricks so rainwater drains away. The deck above provides extra shade and rain protection. This hideaway feels secure and hidden from predators.
It’s a clever use of wasted space.
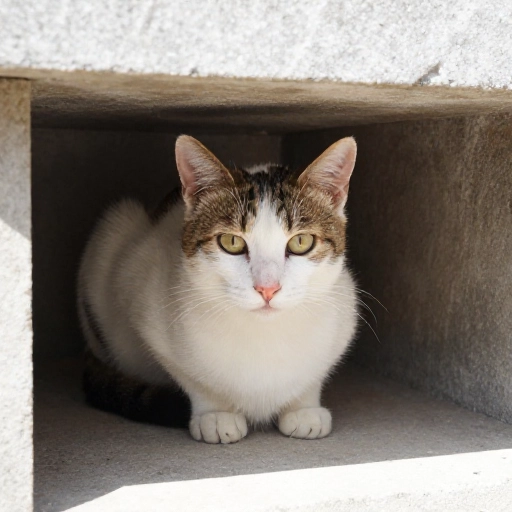
5. The Styrofoam Cooler with a Plastic Shell
This is a two-layer shelter. Get a large Styrofoam cooler and a slightly bigger plastic storage bin. Place the Styrofoam cooler inside the plastic bin. Cut matching entrance holes in both containers. The gap between them adds an air pocket for insulation.
Fill the Styrofoam cooler with straw. The plastic outer bin protects the Styrofoam from cracking and keeps water out. This build is incredibly warm and lightweight. You can move it around easily to follow the sun.
Just tape the plastic bin lid loosely for ventilation.
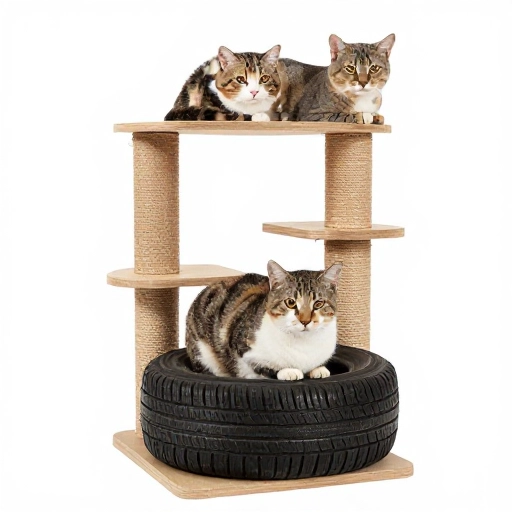
6. The Tire Tower Shelter
Stack two or three old tires (clean, no steel belts) on top of each other. Secure them with zip ties or rope. Fill the inside cavity with straw or foam peanuts. Cover the top with a circle of plywood and a weighted-down tarp.
Cut a small entrance in the bottom tire. The rubber walls are naturally insulating and waterproof. This quirky shelter is virtually free if you have old tires lying around. It’s heavy enough to stay put in storms.
Paint the tires to make them look intentional.
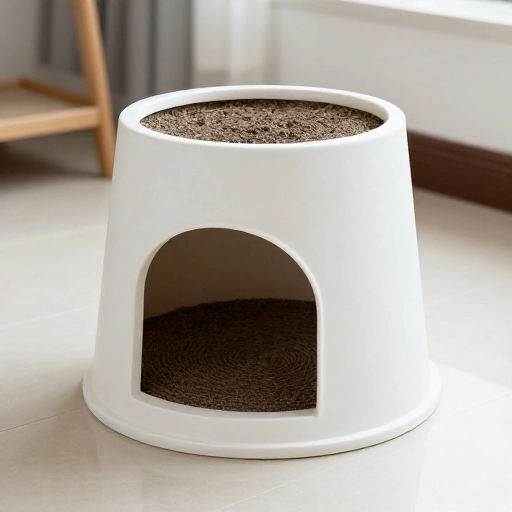
7. The Upside-Down Planter Pot House
Use a large, wide terracotta or plastic planter pot. Flip it upside down. Prop one edge up with a brick or stone to create an entrance gap. Place the pot on a flat surface like a patio stone or wooden board.
Line the inside with straw. The pot’s curved shape sheds water naturally. For colder weather, wrap the outside with an old blanket and cover with a trash bag. This is the simplest shelter of all—no cutting or tools needed.
It works best for a single cat seeking quick refuge.
Conclusion
Building a weatherproof cat shelter doesn’t require fancy skills or expensive materials. With just a bit of effort and what you already have around the house, you can give outdoor cats a lifeline during harsh weather. Each of these seven designs is tested, practical, and cat-approved. Pick the one that fits your space and tools, and make a real difference today.
FAQ
1. Should I use hay or straw in a cat shelter?
Always use straw. Hay absorbs moisture and molds quickly, which can make cats sick. Straw stays dry and provides better insulation.
2. How big should the entrance hole be?
A 6-inch diameter is ideal. It keeps a cat’s body heat inside and prevents larger animals like raccoons from entering easily.
3. Can I heat a DIY cat shelter?
It’s not recommended. Heating can cause fires or overheat the cat. Straw and insulation are enough to keep a cat warm, as their own body heat does the job.
4. Where should I place the shelter?
Put it in a quiet, sheltered spot away from wind and rain. Facing the entrance away from prevailing weather is key. Elevate it off the ground slightly to avoid flooding.
5. How do I clean the shelter?
Replace the straw every few weeks or when it gets damp. Wipe down the interior with a mild bleach solution once a month. Keeping it clean prevents fleas and illness.