7 Dog Neuter Recovery Shirt DIY Ideas to Keep Your Pup Comfy and Cone-Free
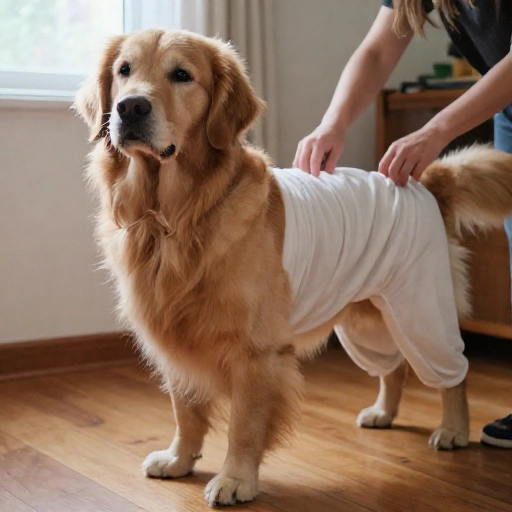
When my dog got neutered, the vet handed me a plastic cone and a list of rules. The cone worked, but my pup was miserable. He bumped into furniture, refused to eat, and gave me the saddest look.
That’s when I started looking into dog neuter recovery shirts. A soft, snug layer can keep your dog from licking the incision without the cone drama. You can buy one, but making your own is cheaper and often fits better.
Below are 7 DIY dog neuter recovery shirt ideas I’ve tried or seen work wonders. They use stuff you probably already have: old T-shirts, baby onesies, fleece, and a little creativity. Always check with your vet first, and keep the fit snug but never tight.
1. The Classic Baby Onesie Hack
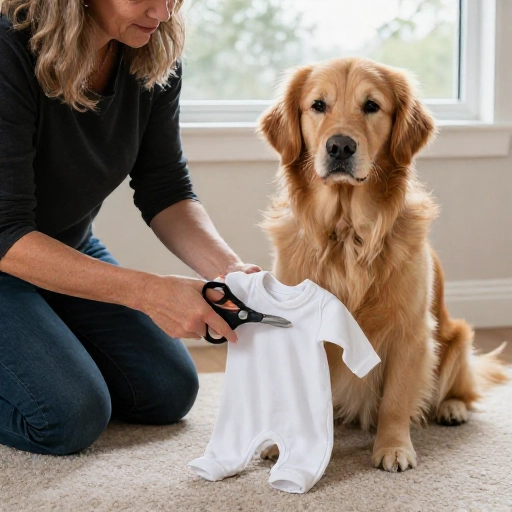
A human baby onesie is one of the easiest DIY dog neuter recovery shirts. The snaps make potty breaks quick, and the cotton feels gentle on stitches.
Pick a onesie that covers your dog’s belly without squeezing their chest. Cut a small tail opening at the back, then adjust the snaps so they sit comfortably around the hind legs.
Pro tip: For male dogs, leave a little room at the belly so urine doesn’t soak the fabric. If the onesie is too long, roll the neck or cut the leg holes a bit bigger.
2. Old T-Shirt + Safety Pins (No-Sew)
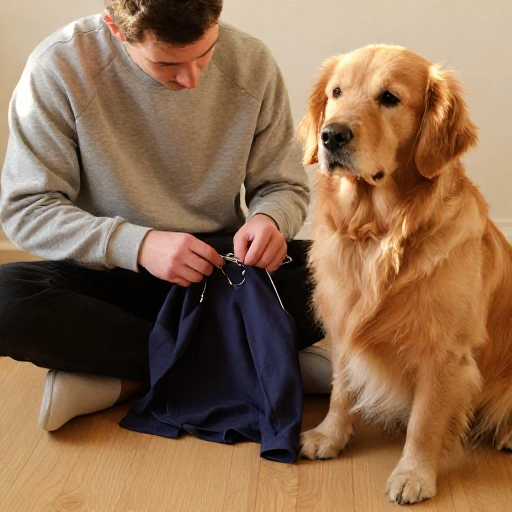
My go-to emergency option is an old fitted T-shirt. Slide it over your dog’s head, front paws through the sleeves, and let the shirt cover the incision area.
Gather the extra fabric along the back and secure it with safety pins. Make sure every pin is on the outside, away from skin, so it can’t scratch or poke.
This DIY dog surgery recovery shirt works best for dogs who don’t mind wearing clothes. If your dog is a Houdini, add a soft elastic band or switch to a snugger shirt.
3. Tank Top with Snaps for Easy Potty Breaks
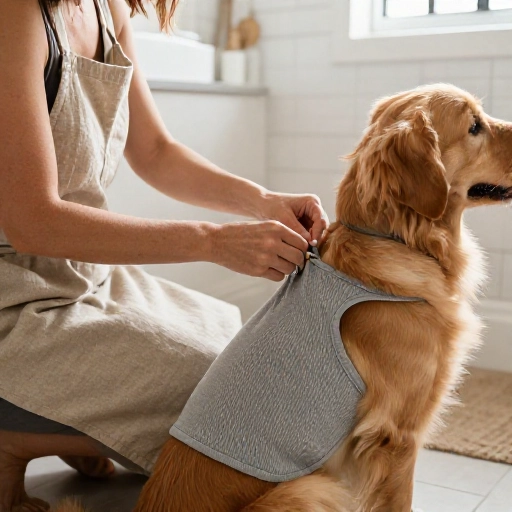
A basic tank top can become a custom recovery shirt with just a few snaps or pieces of Velcro. I like this because it’s breathable and easy to take on and off.
Cut the tank top to fit your dog’s torso, leaving the belly covered. Add snaps along the back or side so you can open it for potty breaks without wrestling the whole shirt off.
Soft cotton tank tops are great for warmer days. For colder weather, layer a thin fleece underneath or choose a thicker fabric.
4. Dog Recovery Suit from a Kids’ Zip-Up Pajama
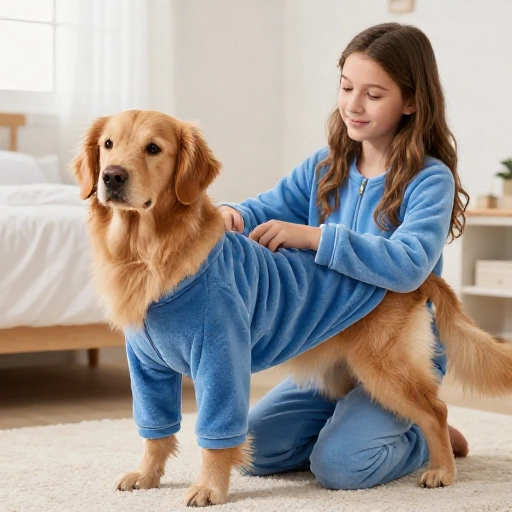
Kids’ zip-up pajamas are a hidden gem for DIY dog neuter recovery suits. The zipper makes dressing simple, and the footed legs can be trimmed to fit.
Measure your dog from neck to tail, then cut the pajama legs and arms to the right length. Cut a tail hole, and make sure the zipper doesn’t rub against the incision.
I love this idea for dogs who need full belly coverage. Just check the zipper area often for moisture or irritation, and keep the fabric clean.
5. The “Belly Band” Shirt for Incision Coverage
Sometimes you only need to cover the belly, not the whole body. A simple belly band shirt is a wide strip of soft fabric that wraps around your dog’s middle.
Cut a piece of fleece or cotton jersey to fit around your dog’s belly, then secure it with Velcro or snaps along the back. It should stay in place without being tight.
This is a good option for male dogs because you can adjust the band to cover the incision while still allowing easy potty breaks. Just check it after every walk.
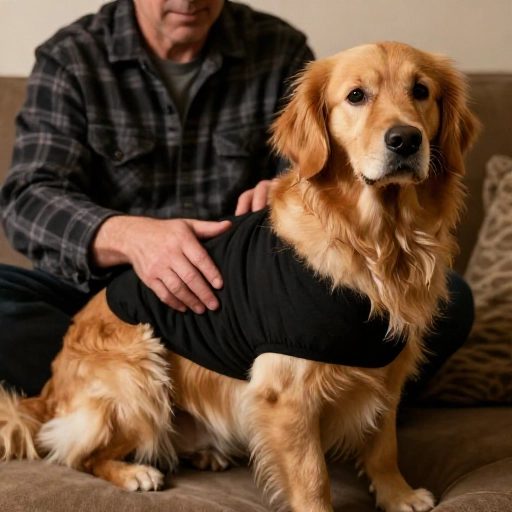
6. Upcycled Fleece Pullover with Adjustable Straps
An old fleece pullover can become a cozy dog neuter recovery shirt in about 20 minutes. Fleece is soft, stretchy, and doesn’t fray much when cut.
Cut the sleeves off, slide the body over your dog, and trim the bottom to fit. Add adjustable straps or a soft belt around the waist to keep it from riding up.
This one is perfect for chilly days or anxious dogs who like a little pressure. Make sure the straps don’t cross the incision, and check for overheating.
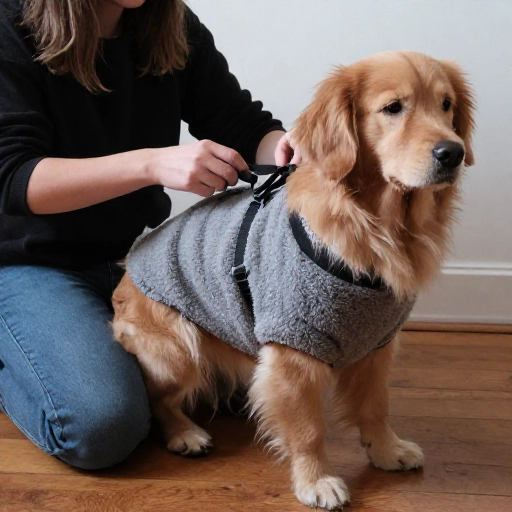
7. No-Sew Wrap Shirt with Velcro and a Tail Opening
If you want a truly no-sew option, try a wrap shirt. Use a stretchy fabric piece that wraps around your dog’s torso and closes with Velcro.
Cut a tail opening first, then position the wrap so it covers the belly and sides. Press the Velcro closed, but leave enough room for your dog to breathe and move.
This DIY dog recovery shirt is great for quick changes and vet checks. I keep one in the car for emergency potty stops during recovery.
Final Thoughts
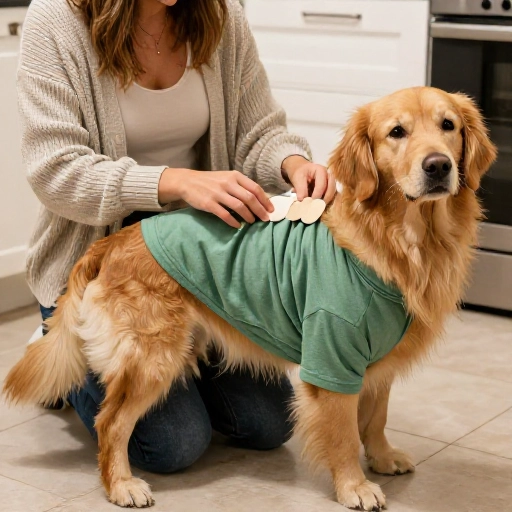
DIY dog neuter recovery shirts can make the healing weeks so much easier. They’re soft, affordable, and way less scary than a plastic cone. The key is a snug fit, clean fabric, and daily checks.
Try one idea or mix them together. Every dog is different, so watch your pup’s comfort and call your vet if anything looks off.
FAQ
How tight should a DIY dog neuter recovery shirt be?
It should feel snug like a gentle hug, but you should still fit two fingers under the fabric. If it leaves red marks or your dog struggles to move, it’s too tight.
Can I use a regular dog shirt after neutering?
Yes, if it covers the incision and stays in place. Many regular dog shirts are too loose around the belly, so you may need to adjust them with snaps, Velcro, or a few stitches.
What if my dog chews the recovery shirt?
Try a bitter-tasting pet-safe spray, or switch to a thicker fabric. If your dog is determined to chew, a vet-approved cone or recovery suit may be safer.
How long should my dog wear a recovery shirt?
Most vets recommend 7 to 14 days, or until the incision is fully healed. Always follow your vet’s specific instructions for your dog.
Do I still need a cone if my dog wears a recovery shirt?
Not always. If the shirt fully stops licking and stays in place, many vets are fine with it. But if your dog can still reach the incision, use the cone too.