7 Simple Pet Ramp Hacks That Will Save Your Back (And Your Pup’s Joints!)
Let’s be real—lifting a 70-pound labrador into the car multiple times a day is basically an unplanned workout I never signed up for. And when my senior cat started giving me the *side-eye* before jumping onto the couch, I knew something had to change.
Pet ramps are lifesavers, but the store-bought ones can cost a small fortune. Over the years, I’ve turned my garage into a pet-ramp laboratory, finding sneaky, budget-friendly ways to give my furry friends a leg up (literally). Whether you have a tiny chihuahua or a giant mastiff, these hacks are all about safety, comfort, and making your life easier.
Here are my seven favorite DIY pet ramp hacks that are simple enough for a weekend project but sturdy enough for daily use.
1. The Pool Noodle Edge Protector Hack
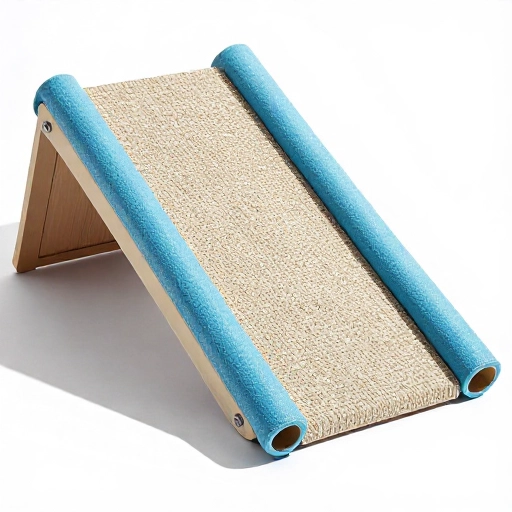
Sharp edges on a wooden ramp are a recipe for bruised hips and splinters. Before my dog even steps paw on a new ramp, I grab a couple of cheap pool noodles from the dollar store.
Simply slice the noodle down the middle lengthwise, and slip it over the edges of the ramp. This creates a soft, cushioned bumper that guides your pet and prevents them from stepping off the side.
It also adds a little visual contrast, which helps pets with depth perception issues see where the ramp ends. It’s a five-minute upgrade that makes a world of difference.
For extra grip, you can also cut the noodle into rings and glue them onto the walking surface as traction bumps.
2. The Yoga Mat Traction Upgrade
One of my biggest worries with a DIY ramp is slipping. If the surface is too smooth, my dog’s paws slide right out from under him, which defeats the whole purpose. Instead of buying expensive rubber treads, I raided my closet for an old yoga mat.
Cut the mat to fit the ramp’s width, then use strong spray adhesive or a staple gun to secure it to the wood. The sticky, textured surface gives your pet incredible grip, even when they are jumping in and out of the car in the rain.
The best part? Yoga mats are super easy to wipe clean, so muddy paw prints aren’t a huge deal. If you don’t have a yoga mat, a rubber shelf liner works just as well!
3. The Couch Cushion Stack (Zero DIY Needed)
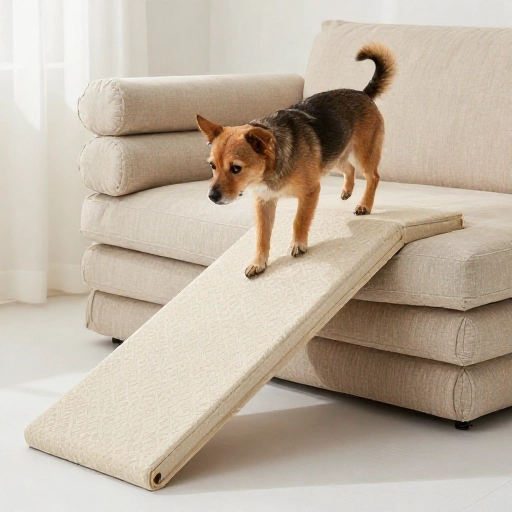
Not every ramp needs to be a carpentry project. For getting onto the bed or sofa, I use a “stair step” method that involves no tools at all. This hack is perfect for small dogs or senior cats who just need a little boost.
Take firm couch cushions or thick pillows and stack them in a pyramid shape next to the furniture. Start with a low stack, then add a slightly higher one, and finally the highest one right next to the bed.
Make sure each cushion is placed flush against the next so there are no gaps for little paws to get caught. It’s not the prettiest solution, but it is incredibly effective and adjustable. I can easily remove a layer as my pup gets stronger or add one if he’s having a sore day.
4. The Carabiner Strap Hook Hack
Ramps that slide around in the back of the SUV are dangerous. I learned this the hard way when my ramp shot out from under my dog’s feet like a skateboard. The fix? A simple carabiner clip.
Attach a heavy-duty carabiner to the end of your ramp that goes inside the car. Then, hook it onto the cargo tie-down anchors that are usually built into the floor of your vehicle.
This anchors the top of the ramp securely, preventing any forward or sideways movement. You can also wrap the strap around the headrest of the back seat if you don’t have cargo loops. It takes two seconds to clip and unclip, which is a total game-changer for daily car rides.
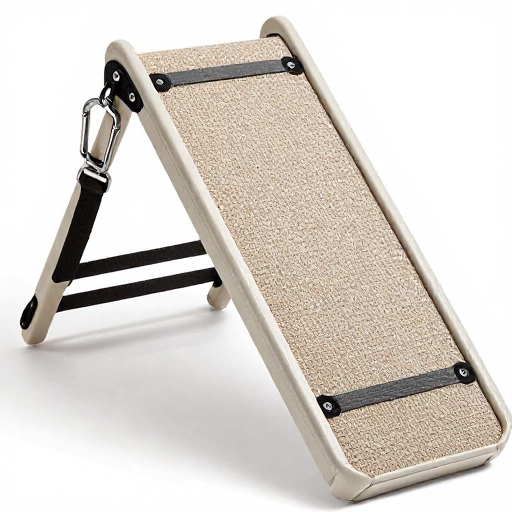
5. The Carpet Runner Anti-Slip Base
If you have a wooden or hard plastic ramp, you know that dreaded “shuffle” sound it makes on tile or hardwood floors. More importantly, that movement means the bottom of the ramp is unstable.
I solved this by cutting a piece of non-slip carpet runner (the kind you use for stairs) and attaching it to the bottom edge of the ramp. This creates a rubberized grip against the floor that holds the ramp in place.
Make sure the carpet runner extends a few inches past the ramp’s base to create a little “landing pad” for your pet. This gives them a stable place to step off before hitting the slippery floor. It’s a simple addition that adds a ton of safety and stability.
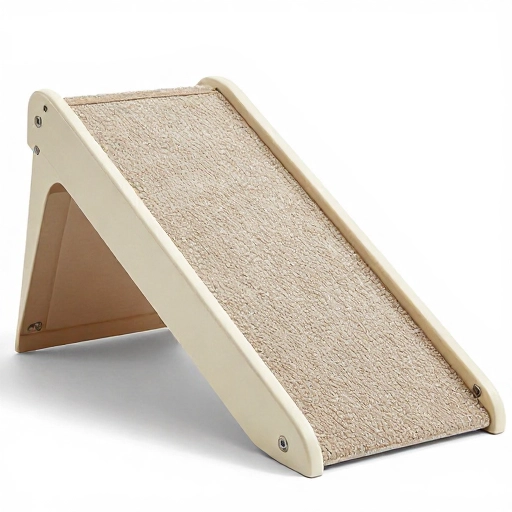
6. The Closet Rod Support System
Long ramps can bow in the middle under the weight of a heavy dog. That sagging feeling is scary for them and bad for the ramp’s structure. To fix this, I use a telescoping closet rod or a sturdy piece of PVC pipe.
Simply place the rod horizontally under the center of the ramp, propping it up from the ground. This acts as a central support beam, distributing the weight evenly and eliminating the bounce.
This hack is a lifesaver if you are using a long ramp to get onto a high deck or truck bed. Just make sure the rod is tall enough to touch the underside of the ramp without moving it, but short enough to stay wedged in place securely.
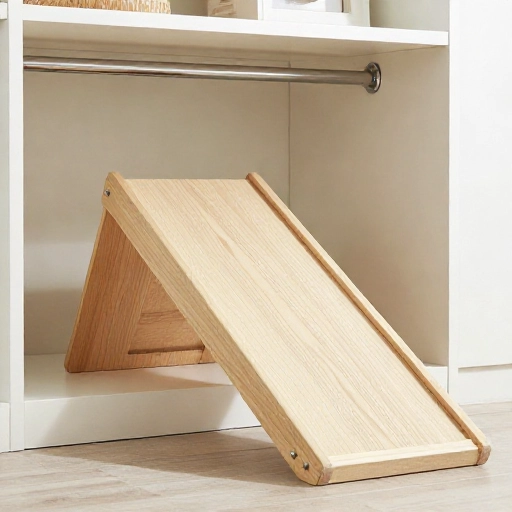
7. The Towel Wrap for Narrow Ramps
For cats or small dogs, a wide ramp can feel confusing and dangerous. They want to feel secure, and sometimes that means having walls. Instead of buying a fancy enclosed ramp, I hang a thick towel or a fleece blanket over the sides of the ramp.
This instantly creates soft, makeshift walls that block their peripheral vision and make them feel like they are walking through a cozy tunnel. It also prevents them from accidentally stepping off the edge.
Use binder clips or clothespins to secure the towel to the sides. This is also a fantastic hack for the winter months, as it adds a layer of insulation to a cold metal or plastic ramp.
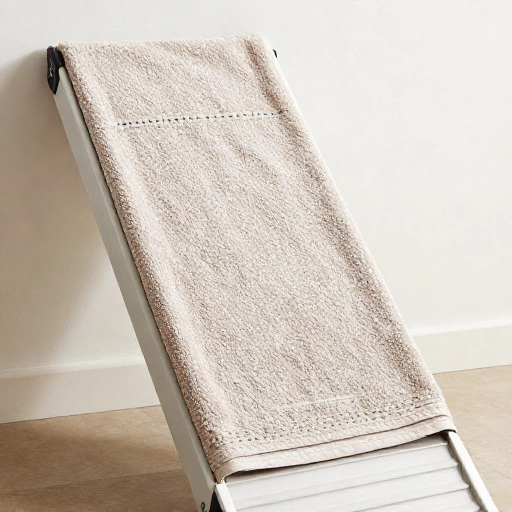
Wrapping It Up
Building the perfect pet ramp doesn’t have to involve expensive materials or complicated power tools. Sometimes, the best solutions are the ones you can whip up with things you already have lying around the house.
Remember, the goal is to make life easier for your pet, encouraging them to stay active and independent without stressing their joints. Always test any hack out with your pet before letting them go full speed, and watch their body language to see if they feel confident.
With a little creativity and a few of these simple hacks, you can give your furry best friend the freedom to get wherever they want to go—without you having to bend over backward (literally).
Frequently Asked Questions
1. What is the best material for a DIY pet ramp?
Plywood is usually the best choice because it’s sturdy, affordable, and easy to customize. Just make sure to sand down any rough edges and seal it with a non-toxic paint or varnish to protect it from moisture and accidents.
2. How steep is too steep for a pet ramp?
Aim for a slope of around 18 to 25 degrees. If the ramp is too steep, it’s basically a ladder, which defeats the purpose. For every foot of height you need to reach, the ramp should be about 2 to 3 feet long.
3. Will my senior cat really use a ramp?
Yes, but it might take some time. Start by placing treats or their favorite blanket at the top of the ramp. You can also gently guide them with your hand under their belly. Patience is key—never force them, or they will associate the ramp with stress.
4. My dog is scared of the ramp. How do I train him?
Start by rewarding them for just sniffing the ramp. Then, reward them for placing one paw on it. Gradually work your way up to having them walk fully across a flat ramp on the ground before you raise it up. Positive reinforcement and high-value treats work wonders.
5. Can I use a ramp for a puppy?
Absolutely! In fact, teaching a puppy to use a ramp early is a great way to protect their growing joints. It’s much easier to train a curious puppy than an anxious senior dog. Just make sure the traction is excellent so they build confidence early on.