Apple Cider Vinegar for Dog Yeast Infections: How I Calm Itchy Skin Fast
If your dog’s paws smell like corn chips and they won’t stop licking, you’re probably dealing with yeast. I’ve been there — pacing the kitchen at midnight, searching for something that would stop the chewing before my dog’s skin got raw.
Apple cider vinegar became my go-to. Not because it’s magic, but because it changes the environment yeast needs to grow. Yeast loves warm, damp, slightly alkaline skin. ACV pushes things back toward acidic, and that alone can slow the spread.
Below is everything I’ve learned using it safely — the exact dilutions, the spots it works best on, and the moments when you should put the bottle down and call your vet instead.
Why Yeast Takes Over Your Dog’s Skin in the First Place
Yeast is already on your dog. Malassezia lives on healthy skin without causing problems. It only becomes a bully when something tips the scales.
Common triggers I’ve run into: allergies, humidity, swimming, antibiotics, a weak immune system, or skin folds that trap moisture. Once the barrier breaks down, yeast multiplies fast.
Signs I watch for:
- Corn chip or musty smell, especially on paws and ears
- Brownish-red staining around the toes
- Constant licking, chewing, or head shaking
- Thick, greasy, or darkened skin
If two or more of those are happening, yeast is a strong suspect.
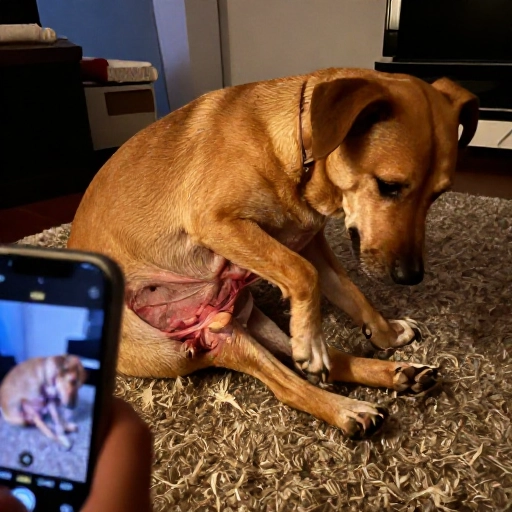
What Apple Cider Vinegar Actually Does to Yeast
ACV contains acetic acid, which lowers the pH of the skin’s surface. Yeast thrives in a neutral-to-alkaline zone. Make things acidic and it struggles to keep growing.
It’s also mildly antibacterial and antifungal on contact. That means it can help with the surface layer while you work on the deeper cause — usually diet or allergies.
Here’s my honest take: ACV is a support tool, not a cure. It manages the surface. If your dog’s immune system or diet is still feeding the yeast, the infection comes back.
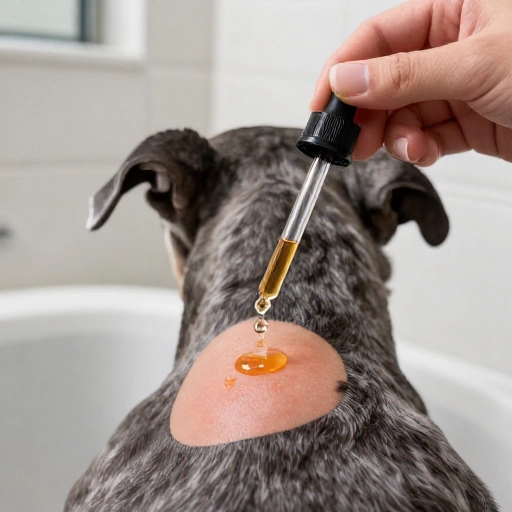
The Dilution Ratio You Should Never Skip
Never put straight ACV on your dog. It burns. I learned that the hard way with a tiny patch on my dog’s belly — she yelped and I felt terrible.
My standard mix is 1 part apple cider vinegar to 3 parts water for skin, and 1 part to 1 part water for tougher areas like paw pads. For ears, go even weaker: 1 part ACV to 4 parts water.
Always use raw, unfiltered ACV with the “mother.” And always test on a small patch first, then wait 24 hours to check for redness.
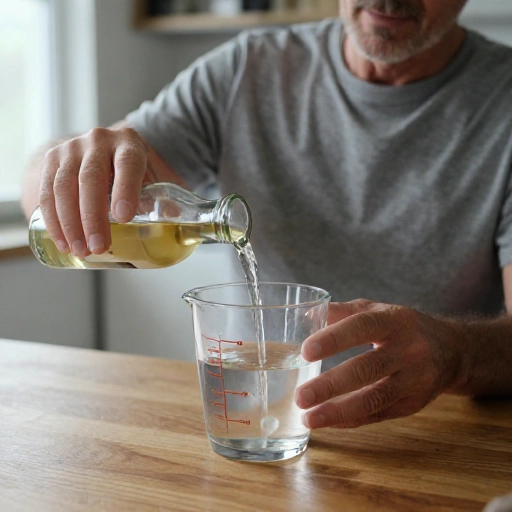
My Simple ACV Rinse Recipe
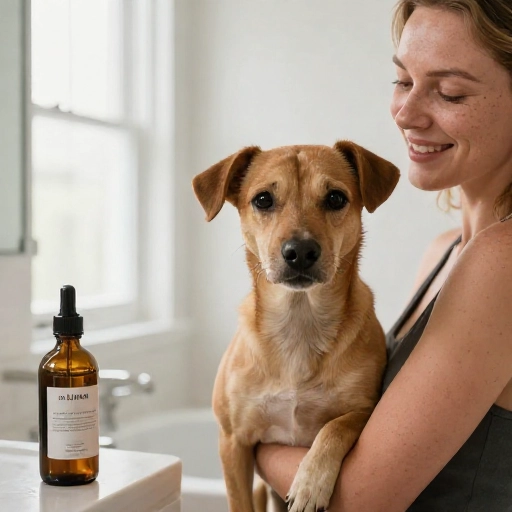
This is the rinse I keep in a spray bottle in the bathroom. It takes two minutes to make.
Mix half a cup of raw apple cider vinegar with one and a half cups of filtered water. Add a few drops of pet-safe colloidal silver if you have it, though plain works fine.
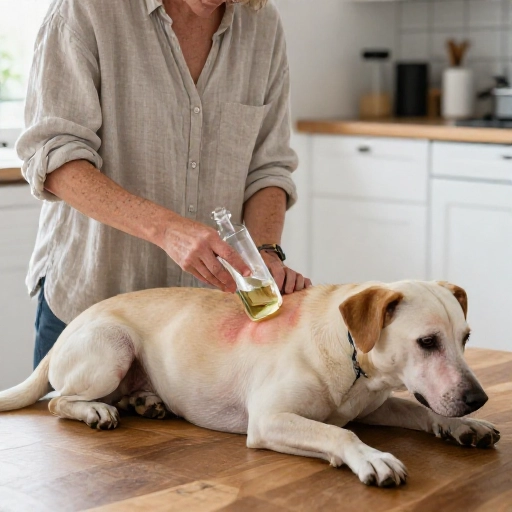
Shake it up, spray it onto a cotton pad, and dab it on the affected areas. Don’t soak the skin — you want it damp, not dripping. Let it air dry completely.
I do this once daily for the first week, then every other day once things calm down.
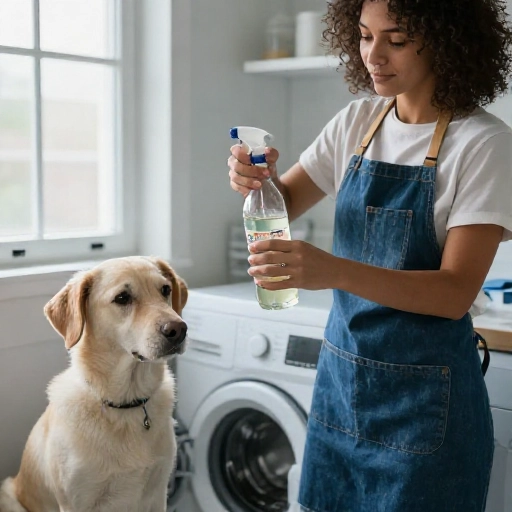
Spot-Treating Paws, Ears, and Skin Folds
Different areas need different handling. Paws are the easiest — they’re tough and yeast loves the spaces between toes.
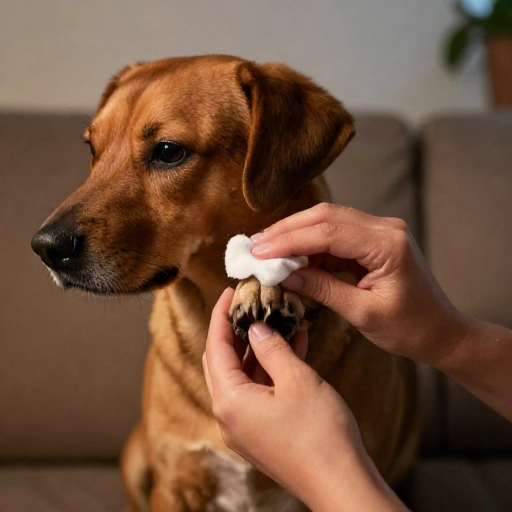
For paws, I soak a cotton ball in the 1:1 mix and wipe between each toe, then dry carefully. Moisture left behind undoes all your work.
Ears need the gentlest touch. Never pour anything into the ear canal. Use a cotton pad on the outer flap only, and stop if your dog flinches in pain — that’s a sign of a deeper infection.
Skin folds on bulldogs, pugs, and shar-peis trap heat. Wipe the fold with diluted ACV, then dry it with a soft cloth. Dry is the goal.
Should You Add ACV to Your Dog’s Water Bowl?
I’ve seen this recommended everywhere, and I’ll be honest: I’m cautious.
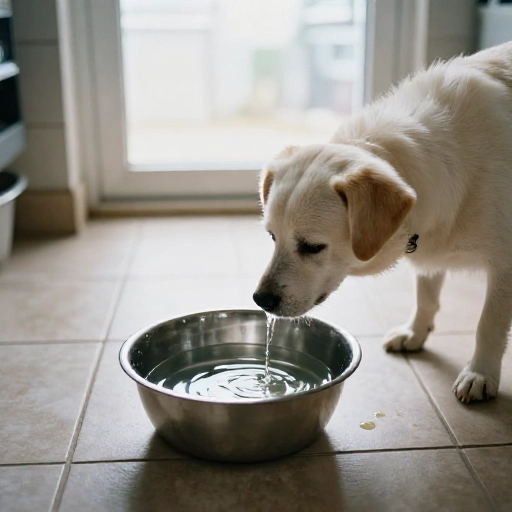
A few drops in a large bowl of water is generally considered safe for most healthy dogs, and some owners report shinier coats and less itching. But it can upset the stomach, and it’s not great for dogs with kidney issues or certain medications.
My rule: ask your vet first, start with a tiny amount, and never force a dog to drink water they’re avoiding. If they turn their nose up, they’re telling you something.
The ACV Bath That Calms a Bad Flare-Up
When the itching is everywhere, a bath works better than spot treatments. Here’s how I do it.
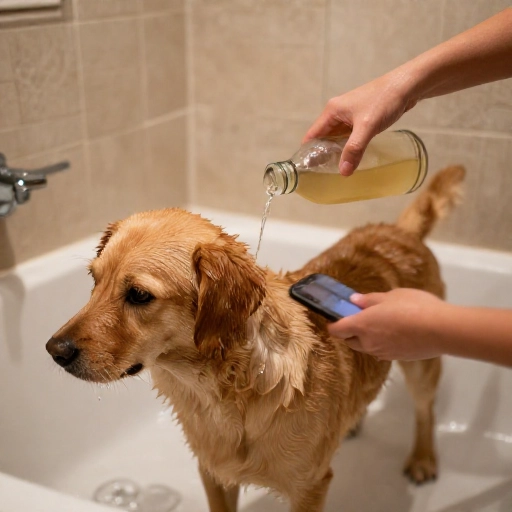
Fill the tub with lukewarm water and add one cup of raw ACV per 40 pounds of dog. Soak them for five to ten minutes, pouring the water over their back and paws.
Skip the shampoo during this bath — you want the ACV working on bare skin, not fighting shampoo residue. Rinse thoroughly afterward and dry them completely, especially between the toes.
I do this once a week during flare-ups, and it visibly cuts the itching for a day or two.
Pairing ACV With Diet and Probiotics for Real Results
This is the part most people skip, and it’s why their dog’s yeast keeps coming back.
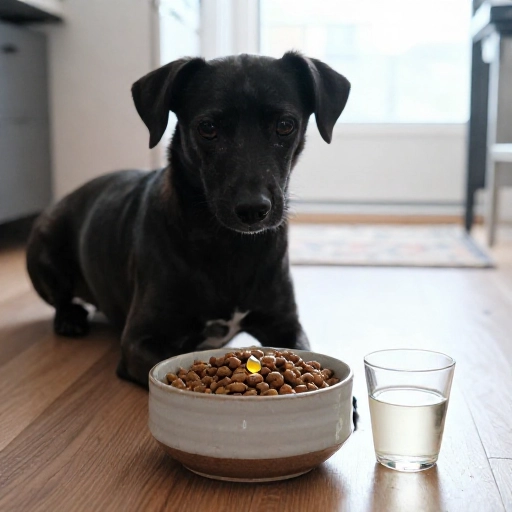
Yeast feeds on sugar and carbs. If your dog is on a high-carb kibble, you’re basically refilling the yeast’s plate every meal. I switched mine to a lower-carb, higher-protein food and saw a difference within three weeks.
Adding a quality probiotic helps rebuild the good bacteria that keep yeast in check. Omega-3s help too — they calm the inflammation that makes the itching unbearable.
ACV handles the surface. Food and probiotics handle the inside. You need both.
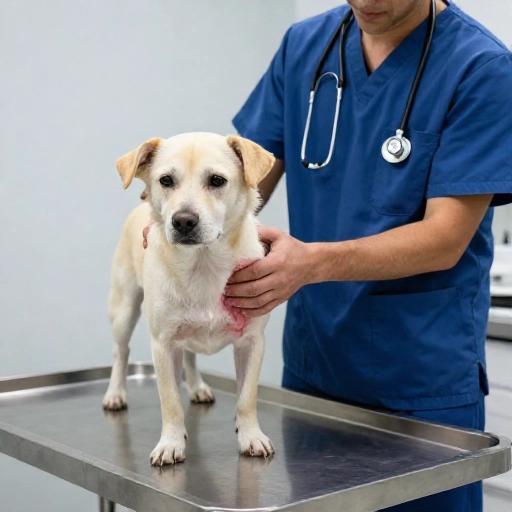
When ACV Isn’t Enough and You Need a Vet
I’m a big fan of home care, but I know its limits. Some situations need prescription help.
Call your vet if you see:
- Skin that’s raw, bleeding, or oozing
- A yeasty smell coming from the ears with head tilting
- No improvement after two weeks of consistent ACV care
- Your dog seems lethargic, feverish, or stops eating
Yeast infections are often a symptom of something bigger — allergies, thyroid issues, or a compromised immune system. Treating the surface without finding the root cause just buys you time.
How Fast You’ll Actually See Results
Let me set realistic expectations, because “fast” means different things to different people.
Most owners notice less licking and chewing within three to five days of consistent ACV use. The smell usually fades within a week.
The skin itself takes longer. Redness and thickening can take three to four weeks to fully resolve, and the fur may take a full growth cycle to come back in the affected spots.
If you’re not seeing any change at all by day ten, something else is going on. Don’t keep pouring vinegar on it — get it checked.
Final Thoughts
Apple cider vinegar won’t cure a yeast infection on its own, but it’s one of the cheapest, most effective tools I keep on hand. Diluted properly, used consistently, and paired with the right diet, it can calm your dog’s skin faster than most over-the-counter sprays.
Start slow. Test a small patch. Keep the skin dry. And don’t be afraid to call your vet when your gut says something’s off.
Frequently Asked Questions
Can I use apple cider vinegar on my dog every day?
Diluted, yes — once daily during a flare-up is fine for most dogs. Once the skin calms down, drop back to two or three times a week to avoid drying out the skin.
Is white vinegar just as good as apple cider vinegar?
It can work, but I prefer ACV because it’s slightly less harsh and has the “mother,” which contains beneficial compounds. If white vinegar is all you have, dilute it a bit more.
What if my dog licks the ACV off?
A small amount of diluted ACV won’t hurt them, though it may cause a little drooling or an upset stomach. Try applying it right before a meal or a walk to give it time to absorb.
Can ACV make a yeast infection worse?
Yes, if you use it undiluted or on broken skin. It can burn, dry out the skin, and create a worse environment for healing. Always dilute and always patch test.
How do I know if it’s yeast or a bacterial infection?
Yeast usually smells musty or like corn chips and looks greasy with darkened skin. Bacterial infections tend to be redder, weepy, and smell more sharp or rotten. Your vet can tell for sure with a quick skin swab.