DIY 2-Ingredient Dog Treats Your Pup Will Love
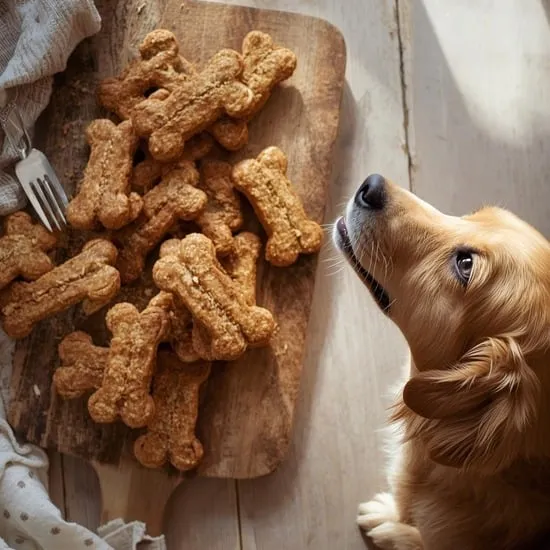
I love spoiling my dog, but let’s be honest—store-bought treats can get expensive and the ingredient lists are sometimes a little scary. That’s why I started making my own. It’s easier than you think, and you probably already have everything you need in your pantry right now.
These two-ingredient wonders are my go-to. They’re simple, wholesome, and my pup goes absolutely crazy for them. There’s something so satisfying about watching him enjoy a snack I made with my own two hands, knowing exactly what’s in it. Trust me, once you try this, you’ll never look at a treat bag the same way again.
Why You’ll Love This Recipe
This recipe is the definition of easy. With just two simple ingredients, you can whip up a batch of healthy, tail-wagging treats in no time. There are no preservatives, no artificial flavors, and no mystery ingredients. It’s also incredibly budget-friendly, and you can easily customize the shapes with cookie cutters for a fun touch. Perfect for training rewards or just a little “good boy” surprise.

What You’ll Need: The Ingredients
Yes, really—just two things! The beauty is in the simplicity. I always recommend checking with your vet if your dog has specific dietary needs, but these are generally safe and gentle.
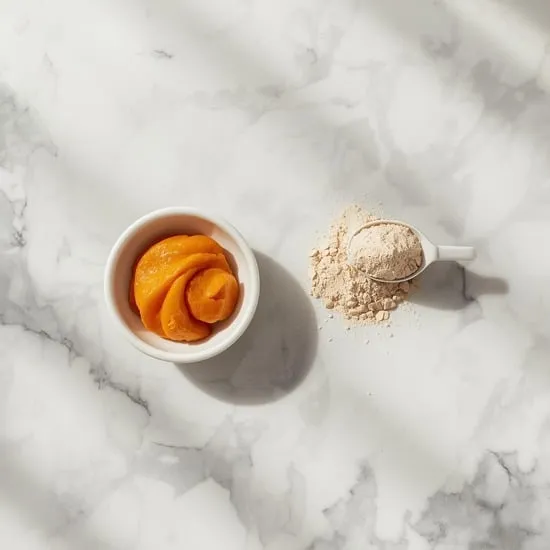
- Pumpkin Puree (100% pure): Not pumpkin pie filling! Pure pumpkin is a fantastic source of fiber and great for digestion. It’s a superfood for pups.
- Whole Wheat Flour (or Oat Flour): This binds everything together. If your dog is sensitive to wheat, oat flour is a perfect, gentle substitute. You can make your own by blending rolled oats until fine.
Simple Equipment List
You don’t need any fancy gadgets. Just a few basic kitchen tools will do the trick.
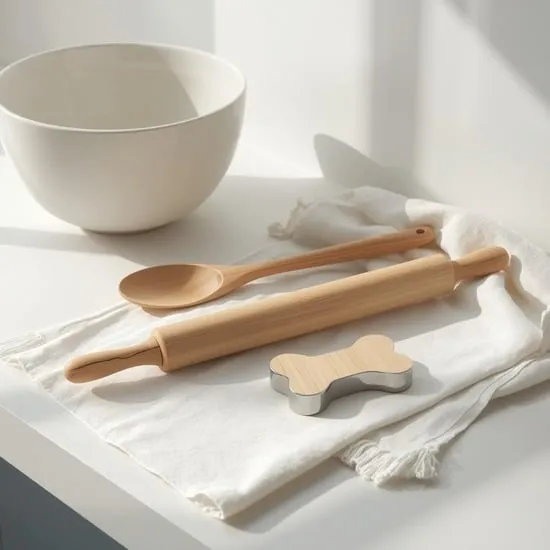
- Mixing Bowl
- Wooden Spoon or Spatula
- Rolling Pin
- Cookie Cutters (fun shapes or a simple knife to cut squares)
- Baking Sheet
- Parchment Paper (for easy cleanup!)
How to Make Your Pup’s Treats
Let’s get baking! The process is as straightforward as the ingredient list.
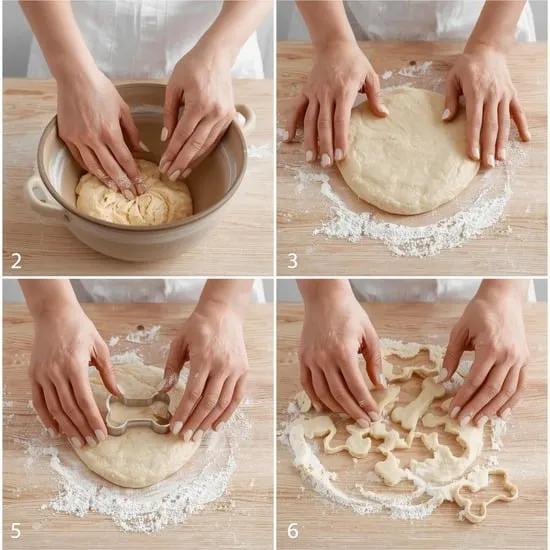
- Mix: In your bowl, combine 2 cups of whole wheat flour with 1 can (15 oz) of pure pumpkin puree. Stir until it forms a thick, slightly sticky dough. If it’s too wet, add a touch more flour.
- Roll: Preheat your oven to 350°F (175°C). Place the dough on a lightly floured surface and roll it out to about 1/4-inch thickness.
- Cut: Use your cookie cutters to cut out fun shapes. Re-roll the scraps until all the dough is used.
- Bake: Place the treats on a parchment-lined baking sheet. Bake for 25-30 minutes, or until they are completely dry and hard. Let them cool completely before treating your pup!
Storing Your Homemade Treats
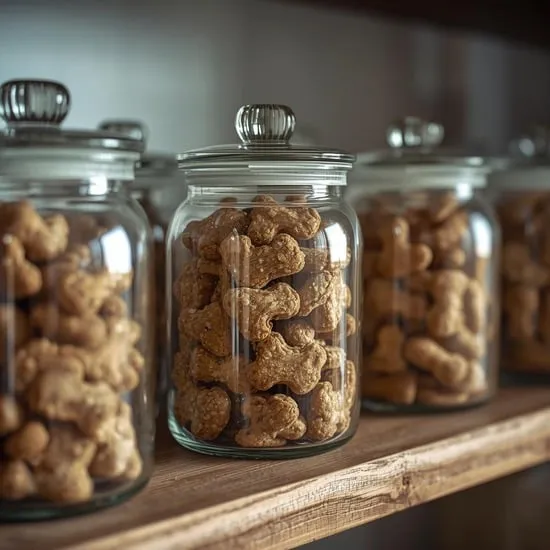
Because these treats have no preservatives, storage is key. Once completely cooled, store them in an airtight container at room temperature for up to 2 weeks. For longer storage, I keep a batch in the freezer for up to 3 months. They make a perfect icy treat straight from the freezer on a hot day!
Wrapping It Up
Making these treats has become one of my favorite little rituals. The joy on my dog’s face is worth every minute. It’s a small act of love that’s healthy, affordable, and incredibly simple. I hope your furry best friend loves them as much as mine does. Happy baking!
Quick FAQ
Q: Can I use a different flour?
A: Absolutely! Oat flour, coconut flour, or even chickpea flour are great alternatives. You may need to adjust the amount of pumpkin slightly to get the right dough consistency.
Q: My dog has a sensitive stomach. Is pumpkin okay?
A: Plain pumpkin is often recommended for dogs with digestive issues. It’s full of fiber. Always start with a small piece to see how they react.
Q: Why are my treats chewy, not crunchy?
A: They might need a little more baking time. Bake them until they are hard and dry to the touch. You can also turn the oven off and let them sit inside as it cools to dry out further.
Q: Can I add other ingredients?
A: For this super simple recipe, I’d keep it to the two ingredients. But once you’re comfortable, you can experiment with a spoonful of peanut butter (xylitol-free!) or a sprinkle of cinnamon.
Q: How many treats does this recipe make?
A: It depends on the size of your cookie cutter! I usually get about 30-40 medium-sized treats from one batch.