DIY Dog Wash Station Ideas for Your Yard
Let’s be honest—washing a muddy dog in your bathtub is a recipe for disaster. I’ve been there, scrubbing fur off the shower curtain and finding clumps of dirt in the drain for days. That’s why I finally gave in and built a dedicated dog wash station right in my backyard. It was one of the best decisions I’ve ever made for my sanity and my pup’s happiness.
The best part? You don’t need a contractor or a huge budget. Whether you have a sprawling lawn or a tiny patio, there’s a DIY dog wash idea that will work for you. I’m going to walk you through ten of my favorite setups, from super simple to a little more elaborate. Grab your tools and get ready to make bath time a breeze.
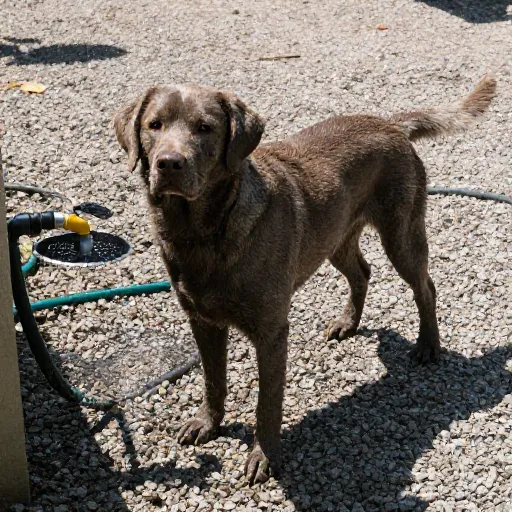
1. The Simple Hose Station on a Gravel Pad
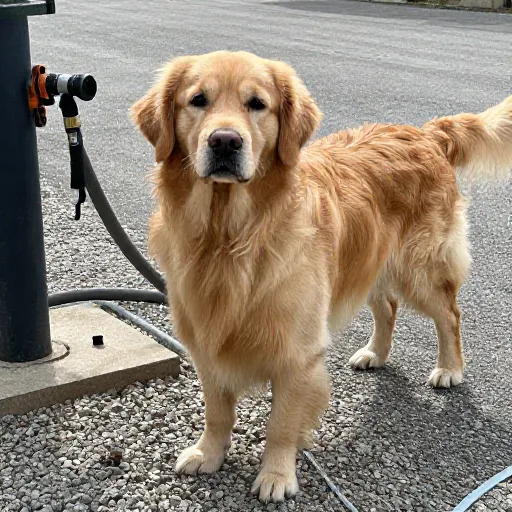
If you just want a place to spray down your dog without creating a mud pit, this is your project. I chose a corner of my yard that already had poor grass and laid down a thick layer of pea gravel. It drains perfectly and never gets sloppy.
All you need is a hose hookup nearby and a spray nozzle with a gentle setting. I added a small metal ring bolted to a fence post to clip the leash while I wash. It’s not fancy, but it works like a charm for a quick rinse after a muddy walk.
For extra comfort, I keep a cheap rubber mat on the gravel so my dog isn’t standing on sharp stones. It rolls up and stores easily when not in use.
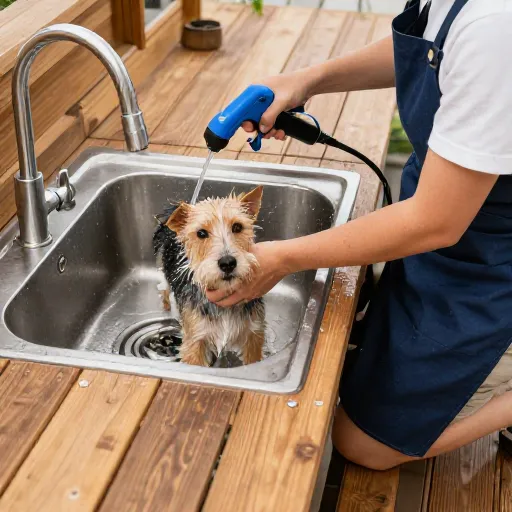
2. The Upcycled Utility Sink on a Deck
I found an old stainless steel utility sink at a garage sale for twenty bucks. It sits right on my deck next to the outdoor spigot. I ran a simple Y-splitter on the faucet so I can attach a sprayer hose directly to the sink.
The sink catches all the water and suds, which I drain into a bucket (or a nearby bush if I’m using gentle shampoo). It keeps my deck clean and gives my dog a raised surface to stand on, which is much easier on my back.
I drilled a hole in the side of the sink to thread a carabiner through for the leash. It keeps my wiggly golden retriever right where I need him. Just make sure the sink is securely anchored so it doesn’t tip.
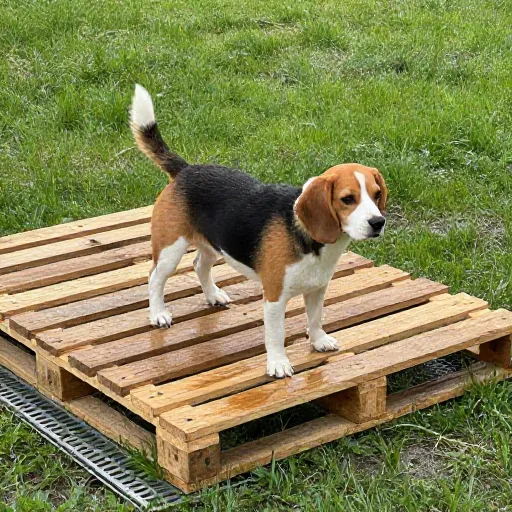
3. The Pallet Wood Platform with a Drain
This was my first real build, and it cost me almost nothing. I used scrap pallet wood to create a raised platform, about two feet high and four feet long. I left small gaps between the boards so water falls straight through to the grass below.
I built a simple frame and added a non-slip outdoor rug on top for grip. The whole thing sits on concrete blocks to keep it off the wet ground. It’s lightweight enough to move around the yard, but sturdy enough for my seventy-pound lab.
The best part is that muddy water never pools. It just drains away, leaving the platform dry within minutes. I keep a hose with a sprayer clipped to the side for instant access.
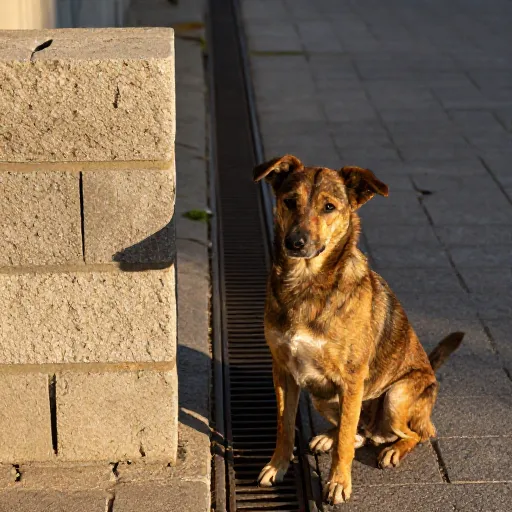
4. The Cinder Block and Paver Station
For a no-build option that still looks great, try this one. I arranged cinder blocks in a U-shape on a flat patch of ground, then laid large concrete pavers on top to make a solid floor. It creates a contained wash area that drains through the cracks.
I added a tall wooden post at one end (set in a bucket of concrete) with a hook for the hose and a loop for the leash. The cinder blocks double as a place to sit while I scrub. It feels solid and permanent, but I can take it apart in an hour if needed.
I painted the blocks a dark charcoal to match my patio furniture. It looks intentional and tidy, not like a construction site. My dog actually walks right onto it now without any hesitation.
5. The Portable Bucket Shower System
This one is perfect for small yards or renters. I took a five-gallon bucket, drilled small holes in the bottom, and attached a hose adapter to the lid. When I turn on the water, it creates a gentle rain shower right over my dog.
I hang the bucket from a sturdy tree branch or a shepherd’s hook in the yard. My dog stands on a plastic kiddie pool to catch the runoff. It’s incredibly simple, and the whole thing stores in my shed when I’m done.
I use a warm water hose adapter so the water isn’t freezing cold. It makes bath time feel like a spa day for my pup, and I don’t have to haul buckets of water from the house.
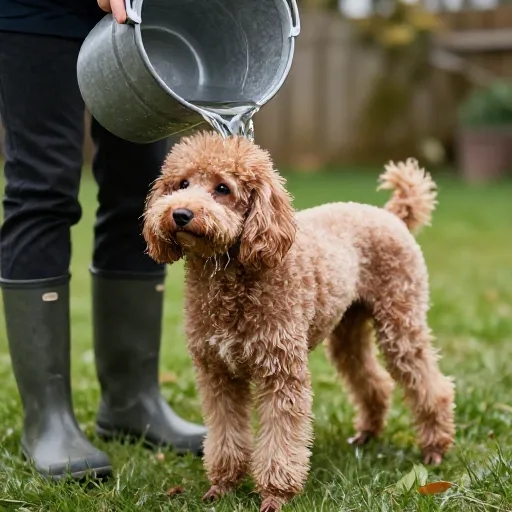
6. The Tiled Wash Table with Storage
I built a low table out of pressure-treated lumber, then covered the top with inexpensive ceramic tile. I used a rubber membrane underneath to keep the wood dry. The tile is smooth, easy to clean, and gives my dog good footing.
Underneath the table, I added a shelf for shampoo bottles, towels, and a brush. Everything I need is right there, so I’m not running back into the house mid-wash. I also installed a small shower valve right into the table leg.
The tile gets slippery when wet, so I put a rubber bath mat on top. It’s a simple fix that makes a huge difference. This station feels like a professional grooming setup, but I built it in a weekend.
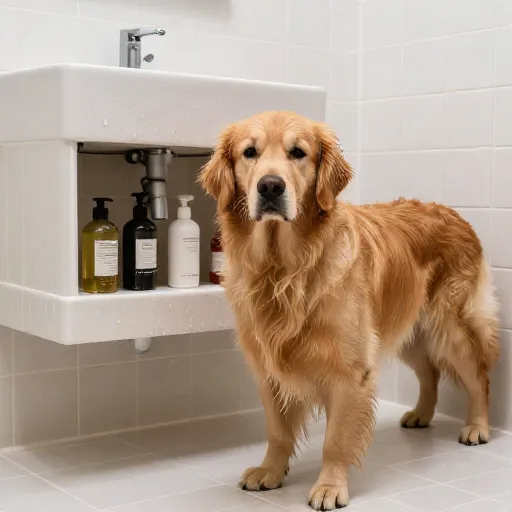
7. The Rain Barrel Catchment Station
I wanted a more eco-friendly option, so I set up my dog wash next to my rain barrel. The barrel collects water from my downspout, and I use a small pump to send it through a hose with a spray nozzle. It saves on my water bill and uses rainwater.
I built a simple gravel pad right next to the barrel, with a slight slope so the soapy water runs into a nearby flower bed (I use only biodegradable shampoo). The whole setup is quiet, sustainable, and surprisingly effective.
Just be sure to use a pump that can handle a little bit of pressure. A simple bilge pump from the hardware store works perfectly. My dog doesn’t care where the water comes from, and I feel good about conserving resources.
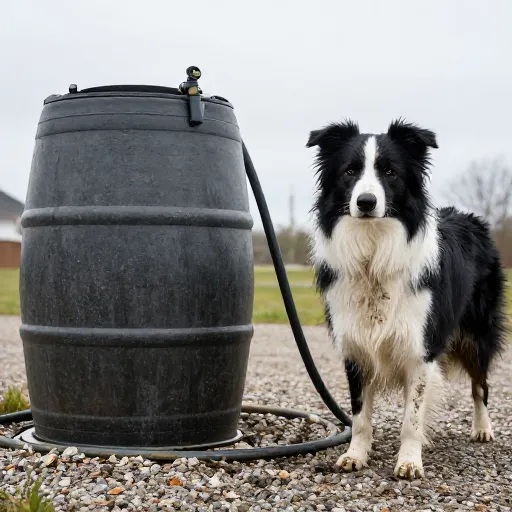
8. The Repurposed Kiddie Pool with a Drain
This is the easiest idea on the list. I drilled a small hole near the bottom edge of a hard plastic kiddie pool and inserted a threaded drain plug. When I’m done washing, I just pull the plug and the water drains into the grass.
I set the pool on a level spot in the yard and fill it with a few inches of warm water. My dog loves splashing around while I scrub. It’s basically a tiny doggy bathtub that costs less than twenty dollars to make.
To keep the pool from sliding around, I set it on an old rubber welcome mat. I also put a towel down inside for grip. When it’s not in use, I flip it over and it looks like a giant turtle shell in the corner of the yard.
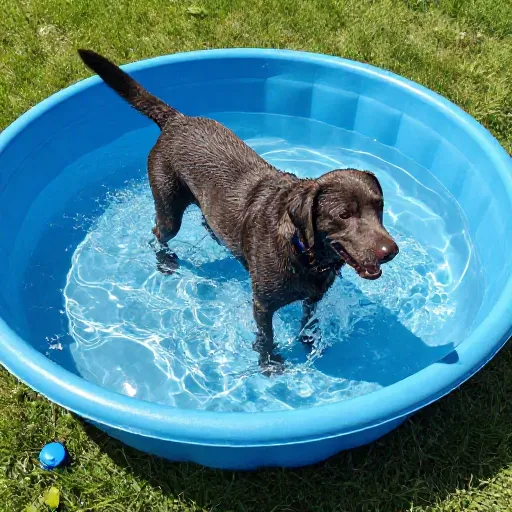
9. The Fence-Mounted Fold-Down Station
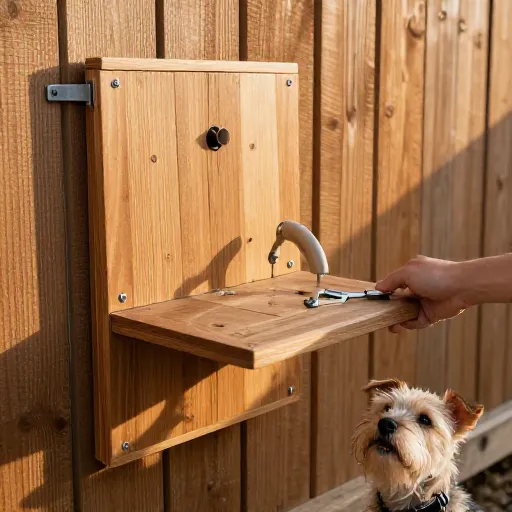
If you’re short on space, this is a game-changer. I built a wooden panel that hinges down from my fence, creating a flat wash surface. When I’m done, it folds up and latches flush against the fence, taking up zero ground space.
The panel is about two feet wide and three feet long, with a lip on the edges to keep water from running off. I coated it with marine-grade sealant so it holds up to the weather. A hose hook and a towel bar are mounted right on the fence above it.
I use a small plastic tub on top of the panel for the actual washing. It’s compact, clever, and keeps my yard looking clean. My neighbors always ask where I bought it, and they’re shocked when I say I built it myself.
10. The Heated Station for Cold Climates
Living where winters get chilly, I needed a station I could use year-round. I built a small enclosure with a roof and three walls against the side of my garage. Inside, I installed a heated water bowl base (the kind for livestock) to keep the water from freezing.
The floor is a concrete slab with a floor drain, and I added a radiant heater on a timer for those really cold mornings. The walls block the wind, and the roof keeps snow off. My dog actually seems warmer and more comfortable than bathing indoors.
I keep a space heater nearby (safely away from water) to warm the towels. It makes winter baths bearable for both of us. If you deal with freezing temps, this setup is a total lifesaver.
Conclusion
Building a dog wash station in your yard doesn’t have to be complicated or expensive. I’ve tried several of these setups over the years, and each one has made bath time easier, cleaner, and honestly, more fun. Your dog gets a designated spot to get messy, and you get to keep your bathroom spotless.
Pick the idea that fits your space, your budget, and your dog’s personality. Start small if you need to. You can always upgrade later. Trust me, the first time you wash a muddy pup outside without a single clump of hair in your drain, you’ll wonder why you didn’t do this years ago.
Frequently Asked Questions
1. What’s the best surface for a dog wash station?
I prefer pea gravel or concrete pavers because they drain well and don’t get slippery. Avoid smooth surfaces like tile without a mat, as wet paws can slide. A rubber mat on top of anything is always a safe bet.
2. How do I keep my dog calm during outdoor baths?
Start by letting them explore the station without water. Use warm water (not cold) and talk in a calm voice. I always keep a jar of peanut butter nearby to distract my dog while I scrub. Positive reinforcement works wonders.
3. Can I use regular shampoo in an outdoor station?
Yes, but I recommend using a biodegradable dog shampoo, especially if the runoff goes into your lawn or garden. Regular human shampoo can irritate your dog’s skin and harm plants. It’s worth the few extra dollars.
4. How do I prevent mud from forming around the station?
Lay down gravel, mulch, or a drainage mat around the area. I used a thick layer of river rock around my station, and it stopped the mud issue completely. Also, make sure the water runs away from your house’s foundation.
5. Do I need a permit to build a permanent station?
It depends on where you live. Check with your local building department if you’re pouring concrete or adding plumbing. Simple portable setups usually don’t need permits. It’s always better to ask than to have to tear it down later.