Easy Cheesy Dog Treats Your Pup Will Absolutely Devour (3-Ingredient Recipe!)

Let’s be honest—our dogs deserve the very best. But sometimes “the best” means spending half your paycheck on boutique treats they barely sniff at. I’ve been there. That’s why I started making these easy cheesy dog treats at home. They’re simple, affordable, and the second the cheese hits the oven, your pup will be doing their happy dance by your feet.
This recipe is my go-to for rainy afternoons, last-minute training session bribes, or just seeing that tail wag like a helicopter. Made with just three safe, simple ingredients, these little bites are crunchy, cheesy, and packed with love. No weird preservatives, no plastic packaging—just pure, homemade goodness.
Trust me, once you see how fast they disappear, you’ll never go back to store-bought. Ready to become your dog’s new favorite person? Let’s bake.
Why Make These Cheesy Dog Treats?
These aren’t just any treats. They’re a healthier, happier alternative to most store-bought options. You control what goes in, so you know exactly what your pup is eating. No hidden salt, no artificial flavors, just real food.
Cheese is a great source of protein and calcium for most dogs (in moderation, of course). When paired with whole wheat flour and a little oil, these treats become a crunchy, satisfying snack that’s perfect for training or just spoiling your best friend rotten. Plus, the smell is irresistible—to dogs and humans alike!
Honestly, the best part? The joy on their face. It’s pure, uncomplicated love in a treat form.
Kitchen Equipment & Tools You’ll Need
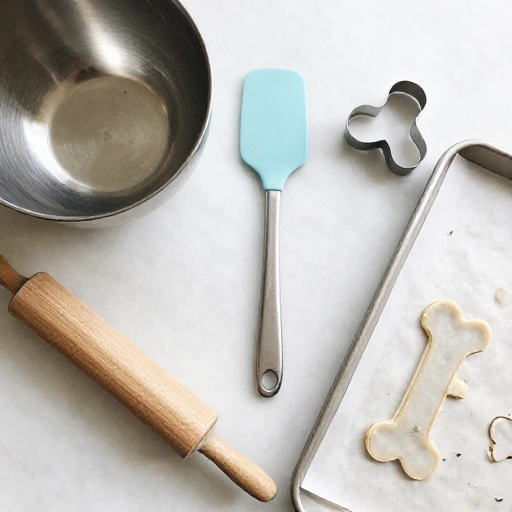
You don’t need fancy gear to make these treats. Most of these items are already sitting in your kitchen drawers. I love a recipe that doesn’t require a huge cleanup, and this one is exactly that.
Here’s what you’ll need:
- One medium mixing bowl
- A rolling pin (a wine bottle works in a pinch!)
- Cookie cutters (bone shapes are adorable, but any small shape works)
- A baking sheet
- Parchment paper or a silicone baking mat
- A fork (for poking holes and mixing)
That’s it. No stand mixer, no food processor. Just your hands and a little patience while they bake.
Ingredients List & Safe Substitutions
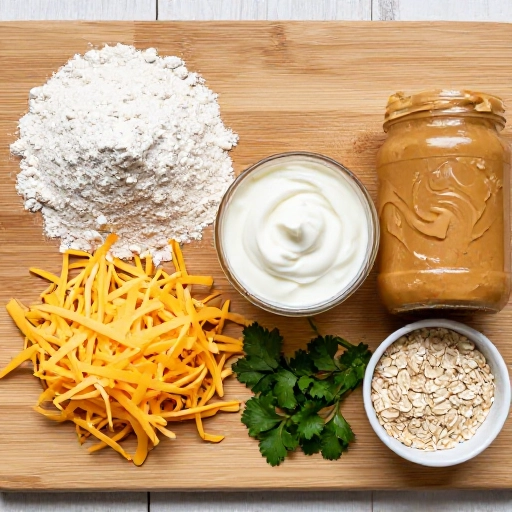
The magic of this recipe is its simplicity. You only need three main ingredients, and most of them are pantry staples. Always double-check that what you’re using is safe for dogs—no garlic or onion powder!
Here’s what you need:
- 1 cup whole wheat flour (or oat flour for a grain-free option)
- 1/2 cup shredded cheddar cheese (sharp cheddar gives the best flavor)
- 1/4 cup unsweetened applesauce (or plain pumpkin puree for a different twist)
- 1 tablespoon coconut oil, melted (optional, but adds a nice sheen)
Safe Substitutions: If your dog has a sensitive tummy, swap whole wheat for oat flour or brown rice flour. You can also use mozzarella or parmesan for a different cheesy kick. Just avoid any cheese with added spices or herbs.
Step-by-Step Instructions: How to Make Them
This is where the magic happens. The whole process takes about 25 minutes from start to finish, and your kitchen will smell like a cheesy bakery. Your dog will likely be underfoot the entire time—consider it part of the fun.
- Preheat your oven to 350°F (175°C). Line a baking sheet with parchment paper.
- Mix the dry ingredients. In your bowl, combine the flour and shredded cheese. Toss them together with your fingers so the cheese is evenly distributed.
- Add the wet ingredients. Pour in the applesauce and melted coconut oil. Stir with a fork until a shaggy dough forms. If it’s too dry, add a teaspoon of water at a time.
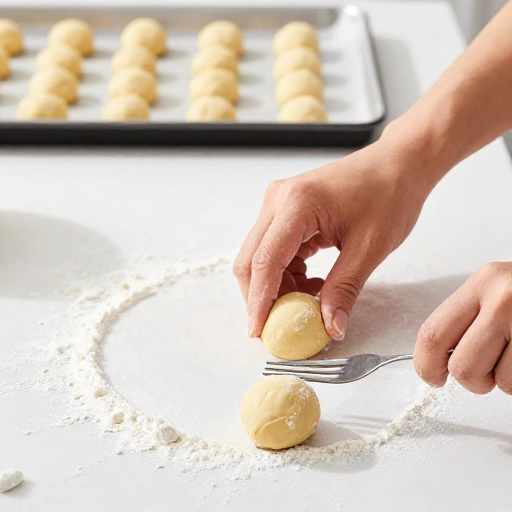
- Knead and roll. Lightly flour your counter, then knead the dough a few times. Roll it out to about 1/4-inch thickness.
- Cut into shapes. Use your cookie cutters to press out the treats. Place them on the baking sheet about an inch apart.
- Poke holes. Use a fork to poke a few holes in each treat. This helps them bake evenly and gives them that classic cracker look.
- Bake. Pop them in the oven for 12–15 minutes, or until golden brown and firm to the touch. Let them cool completely before serving.
Feeding Guidelines, Serving Size & Storage Tips
These treats are meant to be a special snack, not a meal replacement. I recommend giving no more than 2–3 small treats per day for a medium-sized dog, depending on their size and activity level. Always monitor your pup when introducing a new treat.
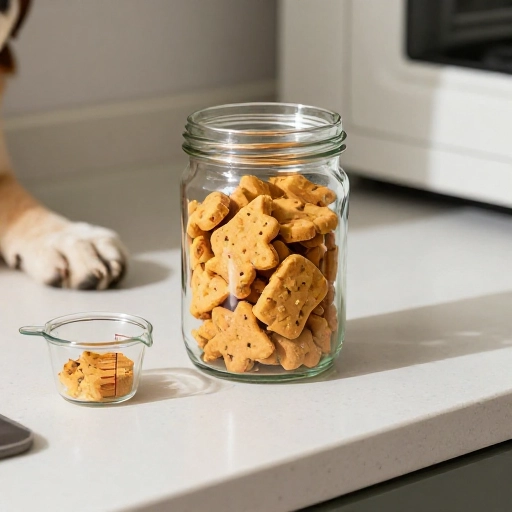
Storage tips: Once cooled, store the treats in an airtight container at room temperature for up to a week. For longer storage, pop them in the fridge—they’ll last up to three weeks. You can also freeze them for up to three months! Just thaw a few at a time for fresh-tasting treats whenever you need them.
If they start to soften, you can re-crisp them in a low oven for a few minutes. Your dog won’t mind one bit.
Final Verdict & Summary
These easy cheesy dog treats have become a staple in my home. They’re ridiculously simple, made with honest ingredients, and the payoff is huge—a happy, tail-wagging pup who thinks you’re a kitchen wizard. The best part? I feel good about what I’m giving my dog. No guilt, just love.
If you’ve been on the fence about making homemade dog treats, start here. This recipe is forgiving, flexible, and nearly impossible to mess up. Plus, it’s way more fun than opening a bag from the store. Your dog will thank you with sloppy kisses and eager eyes every time you head to the kitchen.
Go on, make a batch today. Your pup is waiting.

Frequently Asked Questions
Can I use a different type of cheese?
Absolutely! Cheddar is classic, but mozzarella, colby jack, or even a little parmesan work great. Just avoid blue cheese or any cheese with strong molds or added seasonings.
My dough is too dry. What should I do?
No worries! Just add a tablespoon of water (or unsalted chicken broth) at a time until the dough comes together. Humidity and flour types vary, so a little adjustment is totally normal.
Are these treats safe for puppies?
Yes, but give them in very small pieces and supervise your puppy while they chew. Always introduce new foods gradually to avoid tummy upset.
Can I make these treats grain-free?
Definitely. Swap the whole wheat flour for oat flour, coconut flour, or a grain-free all-purpose blend. Keep in mind that coconut flour absorbs more liquid, so you may need to add a little extra applesauce or water.
How do I know when they’re fully baked?
They should be golden brown around the edges and feel firm to the touch. Let them cool completely—they will continue to harden as they cool. If they’re still soft after cooling, pop them back in the oven for a few more minutes.