Easy Cheesy Dog Treats Your Pup Will Devour

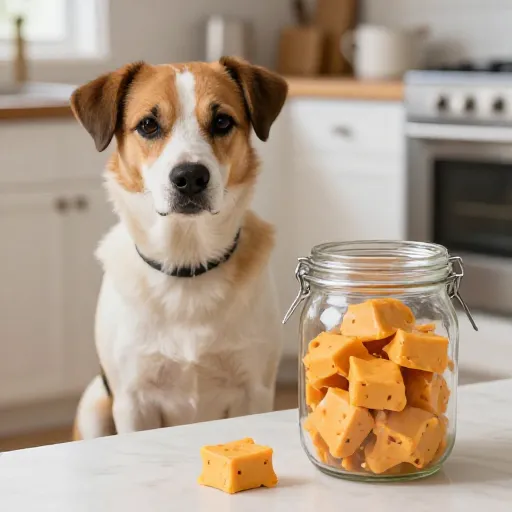
Let me tell you, nothing makes me happier than seeing my dog’s tail go into full helicopter mode for a homemade treat. I’ve tried plenty of store-bought options, but nothing beats the joy of pulling a tray of warm, cheesy dog biscuits out of the oven. These treats are so simple to make, and your pup will absolutely lose it for them.
This recipe is my go-to for a reason. It uses just a few ingredients you probably already have in your kitchen, and you can whip up a batch in under 30 minutes. Plus, you get total control over what goes into your dog’s snacks. No weird preservatives, no mystery ingredients—just pure, cheesy goodness.
Trust me, once you see the happy dance your dog does when you bring these out, you’ll be making them every single week. Let’s get baking!
Equipment You’ll Need
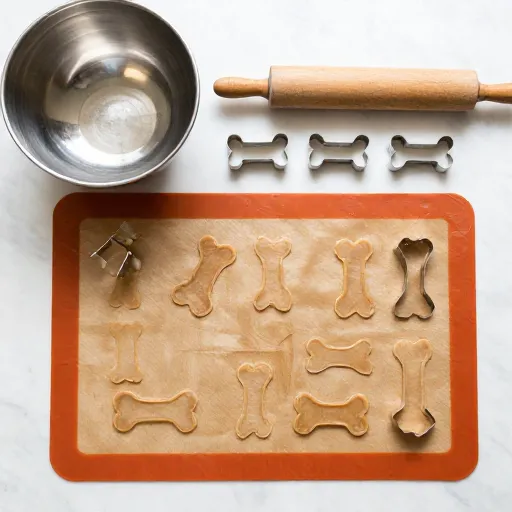
Before we dive in, let’s grab a few simple tools. You don’t need anything fancy—just the basics you probably already have.
- Large mixing bowl
- Rolling pin (a clean bottle works too!)
- Cookie cutters (bone shapes are fun, but any small shape is perfect)
- Parchment paper or a silicone baking mat
- Baking sheet
That’s it! Now let’s move on to the good stuff.
Ingredients You’ll Need
This recipe is built around simple, dog-safe ingredients. I always double-check with my vet before introducing new treats, and I recommend you do the same.
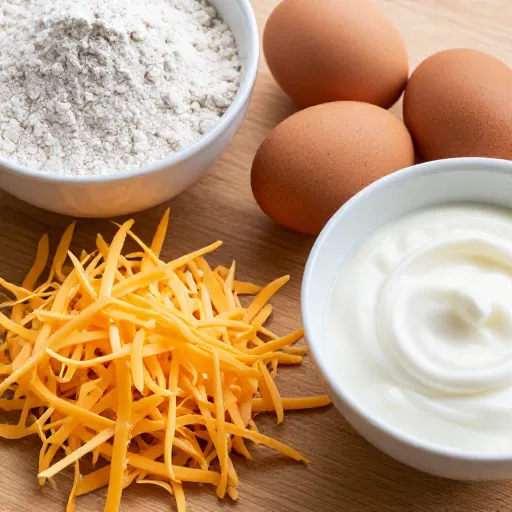
- 1 cup whole wheat flour (or oat flour for sensitive tummies)
- 1/2 cup shredded cheddar cheese (sharp cheddar works best)
- 1/4 cup plain unsweetened applesauce
- 2 tablespoons coconut oil (melted) or olive oil
- 1/4 cup water (add more if dough feels too dry)
Shredding the cheese yourself is key—pre-shredded cheese has anti-caking agents that can change the texture. Trust me, your pup will taste the difference.
How to Make These Cheesy Dog Treats
Let’s get our hands a little messy—it’s worth it!
Step 1: Preheat and prep. Set your oven to 350°F (175°C). Line your baking sheet with parchment paper so nothing sticks.
Step 2: Mix dry ingredients. In your large bowl, combine the flour and shredded cheese. Use your fingers or a fork to mix it well so the cheese is evenly distributed.
Step 3: Add wet ingredients. Pour in the applesauce, melted coconut oil, and water. Stir until a dough forms. It should be firm but not crumbly. If it’s too dry, add a tablespoon of water at a time. If it’s too sticky, sprinkle in a little more flour.
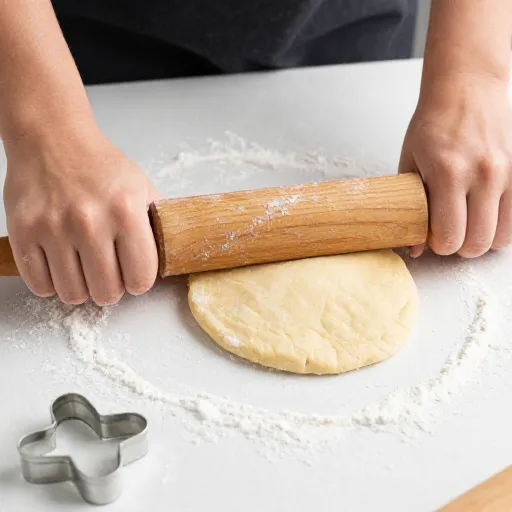
Step 4: Roll and cut. Lightly flour your countertop (or use parchment paper) and roll the dough out to about 1/4-inch thickness. Use your cookie cutters to press out fun shapes. Re-roll scraps and keep cutting until you’ve used all the dough.
Step 5: Bake. Place the shapes on your baking sheet, leaving a little space between each. Bake for 12–15 minutes, or until the edges are lightly golden. They’ll firm up as they cool.
Step 6: Cool completely. Let the treats sit on the baking sheet for 5 minutes, then transfer them to a wire rack. Make sure they’re fully cool before you let your pup try one. Patience is hard, I know!
Why This Recipe Works So Well
I’ve tested a lot of dog treat recipes, and this one is consistently a hit. The cheese gives a strong, irresistible aroma that dogs go nuts for. The applesauce adds a touch of natural sweetness and helps keep the treats moist without needing extra sugar. Coconut oil is great for your dog’s coat and skin, plus it adds a subtle richness.
These treats are also super versatile. You can swap the cheddar for mozzarella or parmesan (just use less since it’s saltier). If your dog has a wheat sensitivity, oat flour works beautifully. I’ve even added a pinch of turmeric for anti-inflammatory benefits—my vet gave that the thumbs up.
Best of all? They freeze beautifully. Just pop them in a zip-top bag and pull one out whenever you need a quick training reward or just want to make your pup’s day.
Conclusion
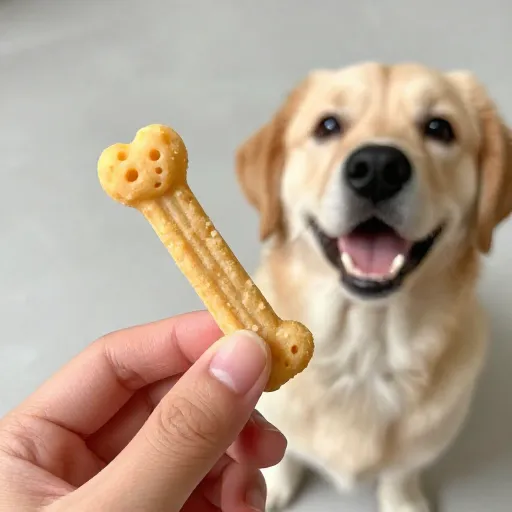
Homemade dog treats are one of the easiest ways to show your furry friend some extra love. This cheesy recipe is quick, uses simple ingredients, and always gets a wagging tail. Once you see how happy your pup is, you’ll never want to go back to store-bought. Give them a try—I promise you’ll both love it!
Frequently Asked Questions
1. Can I use a different flour?
Absolutely! Oat flour or brown rice flour are great alternatives for sensitive stomachs. Just avoid all-purpose white flour—it has less nutritional value for dogs.
2. How long do these treats stay fresh?
Store them in an airtight container at room temperature for up to a week. For longer storage, keep them in the fridge for 2–3 weeks or freeze for up to 3 months.
3. Are these treats safe for puppies?
Yes, but always supervise any puppy when giving treats. Break them into smaller pieces to prevent choking, and check with your vet first if your puppy is very young.
4. Can I add other flavors?
Definitely! Try adding a tablespoon of peanut butter (make sure it’s xylitol-free) or a little shredded carrot for extra crunch. Just adjust the water slightly if the dough gets too wet.
5. My dog has a dairy allergy—what can I do?
No problem! Skip the cheese and add an extra 1/4 cup of applesauce or a mashed banana. You can also use nutritional yeast for a cheesy flavor without any dairy.