Easy Coconut Oil Carrot Dental Dog Treats (Your Pup Will Love These)
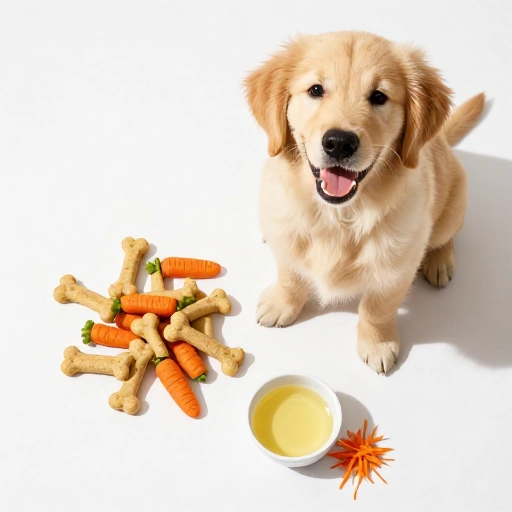
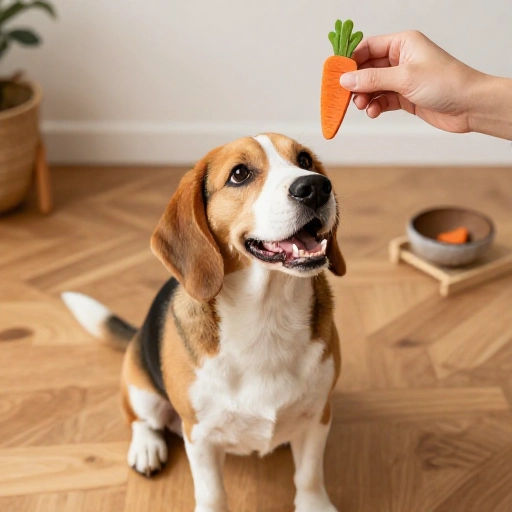
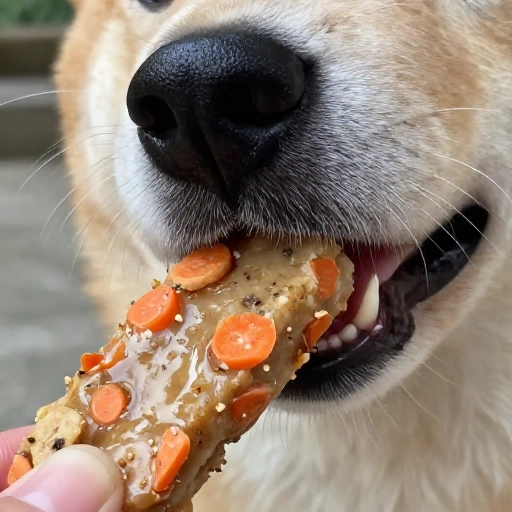
I don’t know about you, but I’m always on the lookout for treats that are good for my dog’s teeth AND made from simple ingredients. My pup, Charlie, is a total chewer, and store-bought dental sticks can be pricey and full of stuff I can’t pronounce. That’s why I started making these coconut oil carrot dental dog treats at home.
These little crunchy bites are a game-changer. They help scrape away plaque, freshen breath, and my dog goes absolutely bonkers for them. Plus, they only take about 20 minutes from start to finish. Let me show you how easy it is to whip up a batch for your furry best friend.
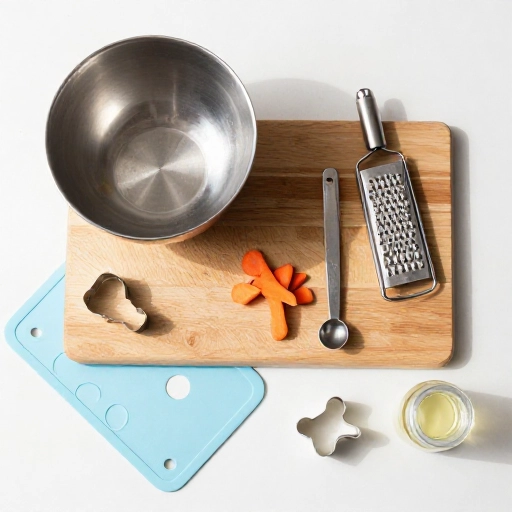
What You’ll Need (Simple Equipment)
You probably already have everything in your kitchen. No fancy gadgets required. Here’s what I use:
- A medium mixing bowl
- A fork or whisk for mixing
- Measuring spoons
- A baking sheet lined with parchment paper
- A small cookie scoop (or just use a teaspoon)
That’s it! If you have these, you’re all set to start baking.
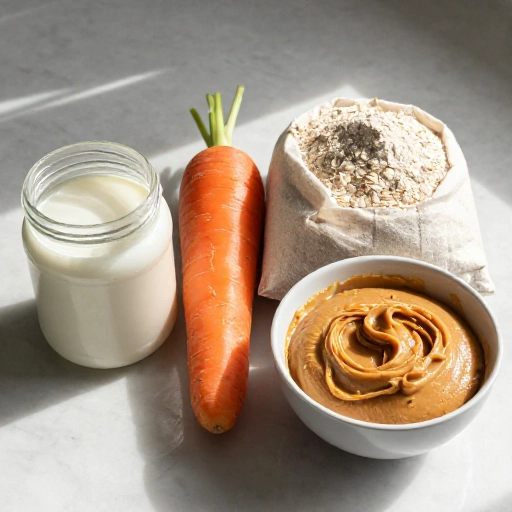
Ingredients (Just 4 Simple Things)
The beauty of this recipe is its simplicity. You only need four ingredients, and they’re all dog-safe and healthy. Here’s my go-to list:
- 1 cup finely grated carrot (about 2 medium carrots)
- 1/4 cup melted coconut oil (make sure it’s virgin and unrefined)
- 1 cup whole wheat flour (or oat flour for sensitive tummies)
- 1 large egg
I like to grate the carrots myself rather than buying pre-shredded. They release more moisture and flavor that way. Trust me, your dog will notice the difference.
How to Make These Dental Treats (Step by Step)
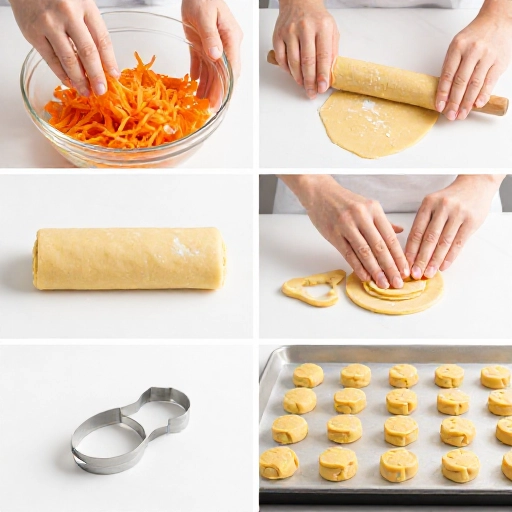
Alright, let’s get to the fun part. This is so easy, you’ll wonder why you ever bought treats at the store. Follow along with me:
- Preheat your oven to 350°F (175°C). Line your baking sheet with parchment paper so nothing sticks.
- Mix the wet stuff first. In your bowl, combine the melted coconut oil and the egg. Whisk them together until they’re well blended.
- Add the carrot. Toss in the grated carrot and stir it all up. The mixture should look a bit like a thick, orangey paste.
- Fold in the flour. Gradually add the flour, mixing with a fork until a dough forms. It will be slightly sticky but should come together in a ball. If it’s too wet, add a tablespoon more flour.
- Shape the treats. Scoop out small teaspoon-sized balls and place them on the baking sheet. Gently flatten each one with the back of a fork. This gives them that nice, crunchy texture.
- Bake for 12-15 minutes. Keep an eye on them. You want them golden brown around the edges, not burnt. They will firm up as they cool.
- Cool completely. Let them sit on the baking sheet for 5 minutes, then transfer to a wire rack. They need to be fully cool before you let your dog have one.
That’s it. Seriously, it’s that simple. Your kitchen will smell amazing, and your dog will be doing happy circles around your feet.
Why This Recipe Works for Dental Health
I did a little digging to understand why these treats are so good for dog teeth. It’s not just random luck. Here’s the real deal:
The coconut oil has natural antibacterial properties. It helps fight the bacteria that cause bad breath and plaque buildup. Plus, it makes the treats tasty and gives your dog a healthy dose of good fats.
The carrots are the real superhero here. When your dog bites down on these treats, the tiny pieces of grated carrot act like little scrubbers. They gently scrape against the teeth, helping to remove soft plaque and food particles. It’s like a tiny toothbrush in every bite.
And the baking process creates a firm, crunchy texture that encourages chewing. More chewing means more saliva production, which naturally cleans the mouth. It’s a win-win for your pup’s pearly whites.
Conclusion: A Simple Treat for a Happy, Healthy Dog
Making your own dog treats doesn’t have to be complicated or time-consuming. These coconut oil carrot dental treats are proof of that. They’re made with real ingredients, they support your dog’s dental health, and they’re absolutely delicious (according to Charlie, anyway).
Give them a try this weekend. Your dog will thank you with extra tail wags and fresh, clean breath. And you’ll feel great knowing exactly what’s going into their bowl. Happy baking!
Frequently Asked Questions
Can I use coconut flour instead of whole wheat flour?
Yes, you can! Coconut flour is more absorbent, so start with about 2/3 cup and add more if the dough feels too wet. The texture will be slightly different, but still tasty for your dog.
How should I store these treats?
Keep them in an airtight container at room temperature for up to one week. For longer storage, pop them in the fridge for up to three weeks, or freeze them for up to three months. They thaw quickly.
Are these treats safe for puppies?
Absolutely, as long as your puppy is old enough to handle crunchy treats (usually around 8-10 weeks). Just break them into smaller pieces first to avoid any choking hazards.
My dog has a sensitive stomach. Will these be okay?
Most dogs do great with these ingredients. If your dog has known allergies, try using oat flour instead of wheat. Also, introduce any new treat slowly—start with just one to see how your dog reacts.
Can I add other ingredients for extra flavor?
Sure! A tablespoon of unsweetened peanut butter (make sure it’s xylitol-free) or a sprinkle of dried parsley for fresh breath are both great additions. Just don’t go overboard or the dough might get too wet.