Healthy Long-Lasting Dog Treats: 5 Homemade Recipes
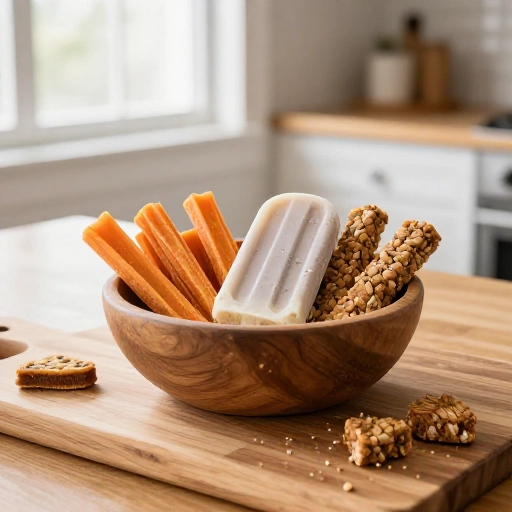
We all know the struggle—you give your pup a treat, and it’s gone in three seconds flat. That’s why I started making these healthy, long-lasting dog treats at home. Not only do they keep my golden retriever busy for a good while, but I also know exactly what’s going into her belly. No weird preservatives, no mystery ingredients, just real food that makes her tail wag.
These five recipes are designed to be both nutritious and durable. Think sweet potato chews that take time to gnaw through, frozen yogurt pupsicles for hot days, and dehydrated liver bites that are packed with protein. Each one is simple to make with pantry staples, and your dog will thank you with happy zoomies. Let’s get baking!
Why Your Dog Will Love This Recipe
Homemade treats aren’t just about saving money—though that’s a nice bonus. They’re about giving your dog whole, unprocessed ingredients that support their health from nose to tail. These long-lasting recipes are especially great for:
- Dental health: Chewing on firm treats helps scrape away plaque and massages gums.
- Mental stimulation: A treat that takes time to eat keeps your dog engaged and satisfied.
- Digestive wellness: No artificial fillers means less risk of upset tummies.
- Allergy control: You choose the ingredients, so you can avoid triggers like wheat, corn, or soy.
Plus, the flavor combinations are irresistible to dogs. Peanut butter, pumpkin, sweet potato, and beef liver are natural favorites. Your pup won’t even miss the store-bought stuff.
Equipment & Tools Needed
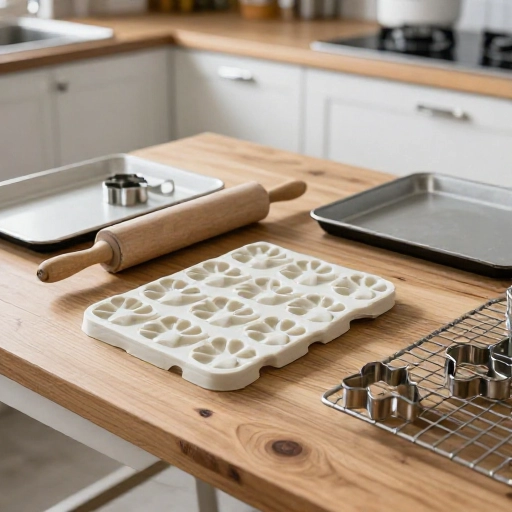
Before we dive into the recipes, let’s make sure your kitchen is ready. Most of these tools are probably already in your cabinets. Here’s what you’ll need:
- Baking sheets – Two large rimmed baking sheets work best for dehydrating treats.
- Parchment paper or silicone baking mats – Keeps treats from sticking and makes cleanup easy.
- Mixing bowls – A set of small, medium, and large bowls for combining ingredients.
- Food processor or blender – Essential for pureeing pumpkin, liver, or sweet potato.
- Sharp knife or mandoline slicer – For cutting uniform slices of sweet potato or apple.
- Cookie cutters – Fun shapes like bones or paws make treats extra special (optional but cute!).
- Silicone molds – Perfect for frozen treats like yogurt pupsicles.
- Cooling rack – Helps treats dry evenly after baking.
- Airtight containers or freezer bags – For storing your finished treats.
Ingredients You’ll Need
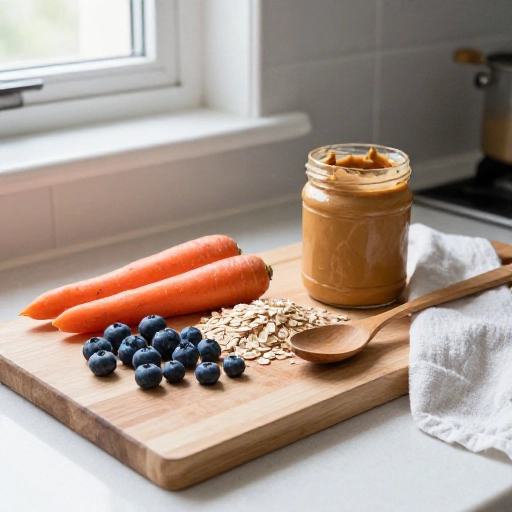
These five recipes share many common ingredients, so you can buy in bulk and mix and match. Here’s a master list with notes on why each ingredient is good for your dog:
- Sweet potatoes (2 large): Rich in fiber, vitamin A, and antioxidants. Supports eye health and digestion.
- Pumpkin puree (1 cup, unsweetened): A tummy-soothing superstar. Great for dogs with sensitive stomachs.
- Natural peanut butter (½ cup, no xylitol): Packed with healthy fats and protein. Always check the label—xylitol is toxic to dogs.
- Rolled oats (2 cups): A gentle grain that provides energy and fiber. Gluten-free oats are an option.
- Beef liver (½ pound): An iron-rich superfood. Use sparingly—too much can cause loose stools.
- Plain Greek yogurt (1 cup): Probiotics for gut health. Choose full-fat for extra richness.
- Apples (2 medium, cored): Crunchy and sweet, with vitamin C and fiber. Remove seeds.
- Eggs (2 large): A binding agent full of protein and healthy fats.
- Coconut oil (2 tablespoons): Supports skin and coat health. Adds a subtle sweetness.
Substitution ideas: Swap sweet potato for butternut squash, use oat flour instead of rolled oats, or replace beef liver with chicken liver. Always introduce new ingredients slowly.
Recipe 1: Classic Sweet Potato Chews
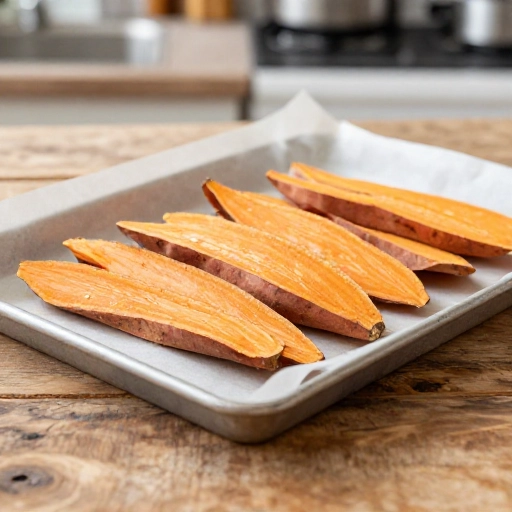
These are the ultimate long-lasting treat. My dog will gnaw on a single slice for 20 minutes, which is a miracle in our house. They’re chewy, not hard, so they’re safe for most dogs.
Ingredients:
- 2 large sweet potatoes, washed and unpeeled
- 1 tablespoon coconut oil, melted
- A pinch of cinnamon (optional, for flavor)
Instructions:
- Preheat your oven to 250°F (120°C). Line a baking sheet with parchment paper.
- Slice sweet potatoes into ¼-inch thick rounds or strips. Uniform thickness ensures even drying.
- In a large bowl, toss slices with melted coconut oil and cinnamon until coated.
- Arrange slices in a single layer on the baking sheet, not touching.
- Bake for 2.5 to 3 hours, flipping halfway through. The edges should be dry and slightly curled, but the center should still have a bit of chew.
- Let cool completely on a wire rack. They’ll firm up more as they cool.
Why they work: Low and slow baking dehydrates the sweet potato, creating a dense, chewy texture that takes time to eat. The natural sugars caramelize slightly, making them irresistible.
Recipe 2: Frozen Yogurt & Pumpkin Pupsicles
Perfect for hot days or as a soothing treat after a long walk. These pupsicles are creamy, cool, and packed with probiotics. My dog will lick and chew on one for a good 15 minutes.
Ingredients:
- 1 cup plain Greek yogurt
- ½ cup pumpkin puree (unsweetened)
- 2 tablespoons peanut butter (xylitol-free)
- 1 tablespoon honey (optional, for sweetness)
Instructions:
- In a medium bowl, whisk together yogurt, pumpkin puree, peanut butter, and honey until smooth.
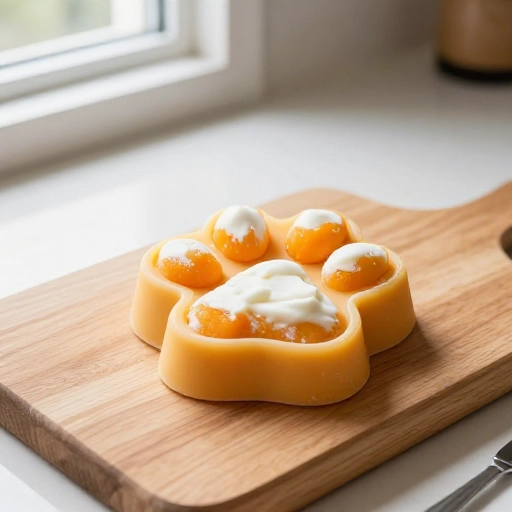
- Spoon the mixture into silicone molds or an ice cube tray. For extra fun, press a small dog biscuit into the center of each mold.
- Freeze for at least 4 hours, or overnight.
- Pop the pupsicles out of the molds and store in a freezer bag.
Pro tip: Use silicone molds shaped like bones or paws for an extra cute presentation. These also work great as a puzzle toy filler—just stuff a Kong and freeze.
Recipe 3: Dehydrated Beef Liver Bites
Beef liver is a powerhouse of nutrients, but it’s strong-smelling. These dehydrated bites concentrate the flavor into a potent, long-lasting treat that dogs go crazy for. A little goes a long way.
Ingredients:
- ½ pound beef liver, sliced into ¼-inch strips
- 1 tablespoon coconut oil (for coating, optional)
Instructions:
- Rinse the liver and pat dry with paper towels. Slice into thin strips, removing any visible membranes or tubes.
- Arrange strips in a single layer on a baking sheet lined with parchment paper.
- Bake at 200°F (95°C) for 3 to 4 hours, flipping once, until the liver is completely dry and brittle. It should snap when bent.
- Let cool completely. Break into smaller pieces if desired.
Storage note: These keep for up to 2 weeks in an airtight container at room temperature, or up to 3 months in the freezer. Because they’re so concentrated, I limit my dog to 2-3 small pieces per day.
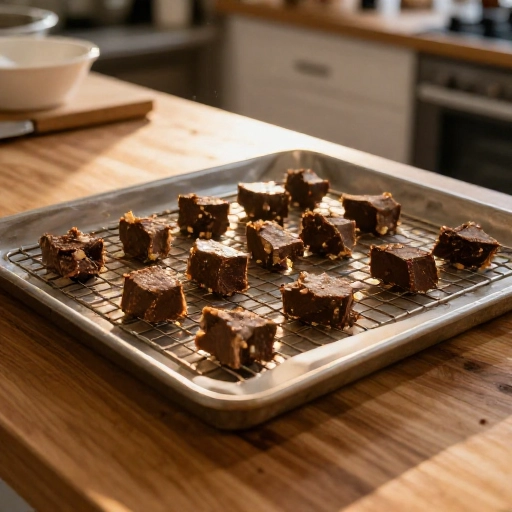
Recipe 4: Oat & Apple Crunch Sticks
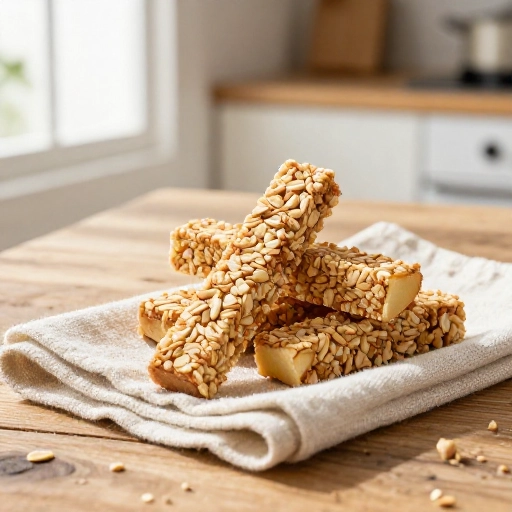
These crunchy, biscuit-like sticks are perfect for dogs who love to crunch. The oats and apples give them a satisfying texture, and they’re gentle on sensitive tummies.
Ingredients:
- 1 cup rolled oats (or oat flour)
- 1 medium apple, cored and finely grated
- 1 egg, beaten
- 2 tablespoons coconut oil, melted
Instructions:
- Preheat oven to 350°F (175°C). Line a baking sheet with parchment paper.
- In a large bowl, combine oats, grated apple, egg, and coconut oil. Mix until a stiff dough forms. If too sticky, add a tablespoon more oats.
- Turn the dough onto a floured surface (use oat flour) and roll out to ¼-inch thickness.
- Cut into stick shapes using a knife or pizza cutter. Prick each stick with a fork to prevent puffing.
- Bake for 20–25 minutes, or until golden brown and firm. Let cool on a wire rack.
Why they’re long-lasting: The low moisture content from baking and the dense oat structure make these sticks harder than typical biscuits. They’re great for dogs who like to crunch slowly.
Recipe 5: Peanut Butter & Pumpkin Training Bites (Soft Chew)
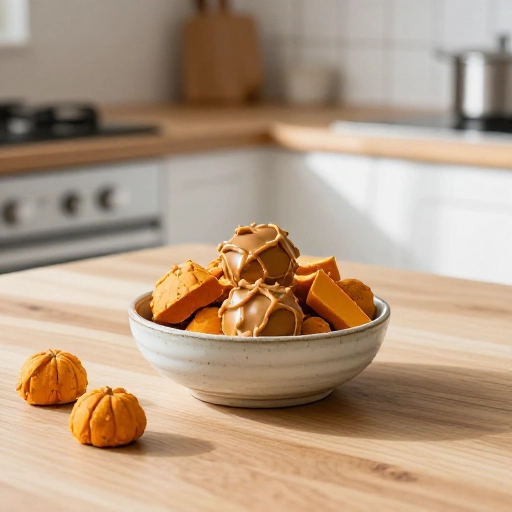
While not as hard as the others, these soft chews are still long-lasting because they’re dense and packed with flavor. Perfect for training sessions or as a high-value reward. My dog will work for these all day.
Ingredients:
- 1 cup pumpkin puree
- ½ cup peanut butter (xylitol-free)
- 1 egg
- 1½ cups oat flour (or ground rolled oats)
Instructions:
- Preheat oven to 350°F (175°C). Line a baking sheet with parchment paper.
- In a medium bowl, mix pumpkin, peanut butter, and egg until smooth.
- Gradually add oat flour, stirring until a soft, slightly sticky dough forms.
- Drop tablespoon-sized scoops onto the baking sheet, spacing them 2 inches apart. Flatten slightly with a fork.
- Bake for 15–18 minutes, until set and lightly browned. They should be soft but not gooey.
- Cool completely before serving. Store in the refrigerator.
Texture tip: For even longer-lasting treats, bake for an additional 5–10 minutes to dry them out more. Just watch that they don’t burn.
Feeding Guidelines & Serving Sizes
Homemade treats are nutrient-dense, so portion control matters. Here’s a general guide based on your dog’s weight. Adjust based on your dog’s activity level and dietary needs.
- Small dogs (under 20 lbs): 1–2 small treats per day. For chews, offer one piece no larger than a quarter.
- Medium dogs (20–50 lbs): 2–3 medium treats per day. A sweet potato chew or one pupsicle is perfect.
- Large dogs (50+ lbs): 3–4 treats per day. They can handle larger chews, but still limit to avoid overfeeding.
Important: Treats should make up no more than 10% of your dog’s daily calorie intake. If your dog is on a special diet or has health issues, consult your vet before introducing new treats. Always supervise your dog while they’re eating chews or frozen treats to prevent choking.
Storage & Freezing Tips
Proper storage keeps your treats fresh and safe. Here’s how to handle each type:
- Sweet Potato Chews: Store in an airtight container at room temperature for up to 2 weeks. For longer storage, freeze for up to 3 months. Thaw at room temperature for 10 minutes before serving.
- Frozen Pupsicles: Keep in a freezer bag for up to 3 months. Serve straight from the freezer. They soften slightly after a few minutes.
- Dehydrated Liver Bites: Store in an airtight container in a cool, dark place for up to 2 weeks. Freeze for up to 3 months. They’re shelf-stable if completely dry.
- Oat & Apple Crunch Sticks: Keep in an airtight container at room temperature for up to 1 week. Refrigerate for up to 3 weeks, or freeze for 3 months.
- Peanut Butter & Pumpkin Bites: These are soft, so refrigerate in an airtight container for up to 1 week. Freeze in a single layer, then transfer to a bag for up to 3 months. Thaw in the fridge overnight.
Pro tip: Label your containers with the recipe name and date. I use masking tape and a permanent marker—saves me from guessing later.
Final Verdict
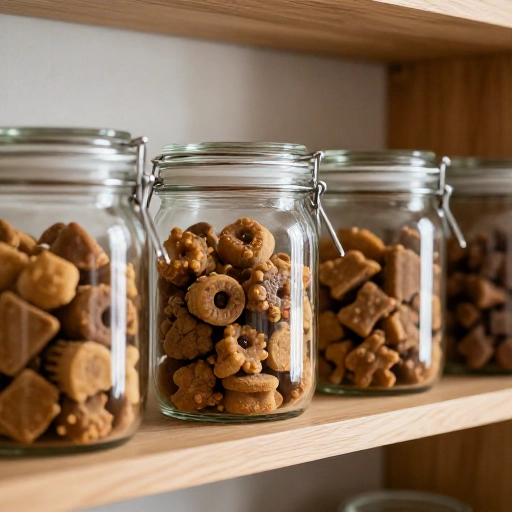
Making your own healthy, long-lasting dog treats is one of the most rewarding things you can do for your pup. You control the ingredients, save money, and get to see that happy, tail-wagging face every time you pull out a treat jar. These five recipes cover all the bases—chewy, crunchy, frozen, and soft—so there’s something for every dog’s preference.
Start with the sweet potato chews if you’re new to homemade treats—they’re almost foolproof. Once you get comfortable, experiment with flavors your dog loves. Maybe add a little blueberry to the pupsicles or swap apple for pear in the crunch sticks. The possibilities are endless, and your dog will be your biggest fan.
Happy baking, and give your pup an extra treat from me!
FAQ: Healthy Homemade Dog Treats
Can I use regular flour instead of oat flour?
Yes, whole wheat flour or all-purpose flour works, but oat flour is gentler on digestion and naturally gluten-free if you use certified gluten-free oats. If your dog has wheat allergies, stick with oat flour or try coconut flour (use less, as it absorbs more liquid).
How do I know if a treat is safe for my dog’s teeth?
Generally, if you can easily indent the treat with your fingernail, it’s safe. Avoid treats that are rock-hard—they can crack teeth. Sweet potato chews and oat sticks should have a little give. When in doubt, offer a small piece first and watch your dog chew.
Can I use these treats for training?
Absolutely! The peanut butter & pumpkin bites are perfect for training because they’re soft and easy to break into tiny pieces. The liver bites are also great but break them into pea-sized bits since they’re very rich. Sweet potato chews work for longer training sessions.
How long do these treats last compared to store-bought?
Properly stored, most of these treats last 1–3 weeks at room temperature (or in the fridge) and up to 3 months in the freezer. They don’t have preservatives, so they won’t last as long as commercial treats, but that’s a good thing—you know they’re fresh.
My dog is a picky eater. Will they like these?
Dogs are usually drawn to the smell of real ingredients like peanut butter, liver, and pumpkin. If your dog is extra picky, start with the dehydrated liver bites—the intense aroma is hard to resist. You can also warm treats slightly in the microwave (5 seconds) to boost the smell. Most picky dogs come around quickly!