How to Clean a Cat’s Ear Safely (Without Stress)
Cleaning your cat’s ears might sound scary, but it’s one of those little routines that can make a big difference. Cats are experts at hiding discomfort, and a dirty ear can quickly turn into an infection. I have been there myself—wrestling with a wiggly cat and a cotton ball, wondering if I was doing more harm than good.
The good news? With a few simple steps and a calm approach, you can keep those adorable ears clean and healthy. No wrestling matches required. Let me walk you through exactly how to do it the right way.
Know When Cleaning Is Actually Needed
Not every cat needs regular ear cleaning. In fact, over-cleaning can irritate the delicate skin inside the ear. Look for signs like visible dirt, dark wax, or a mild odor. If your cat is scratching a lot or shaking their head, that is a clue too.
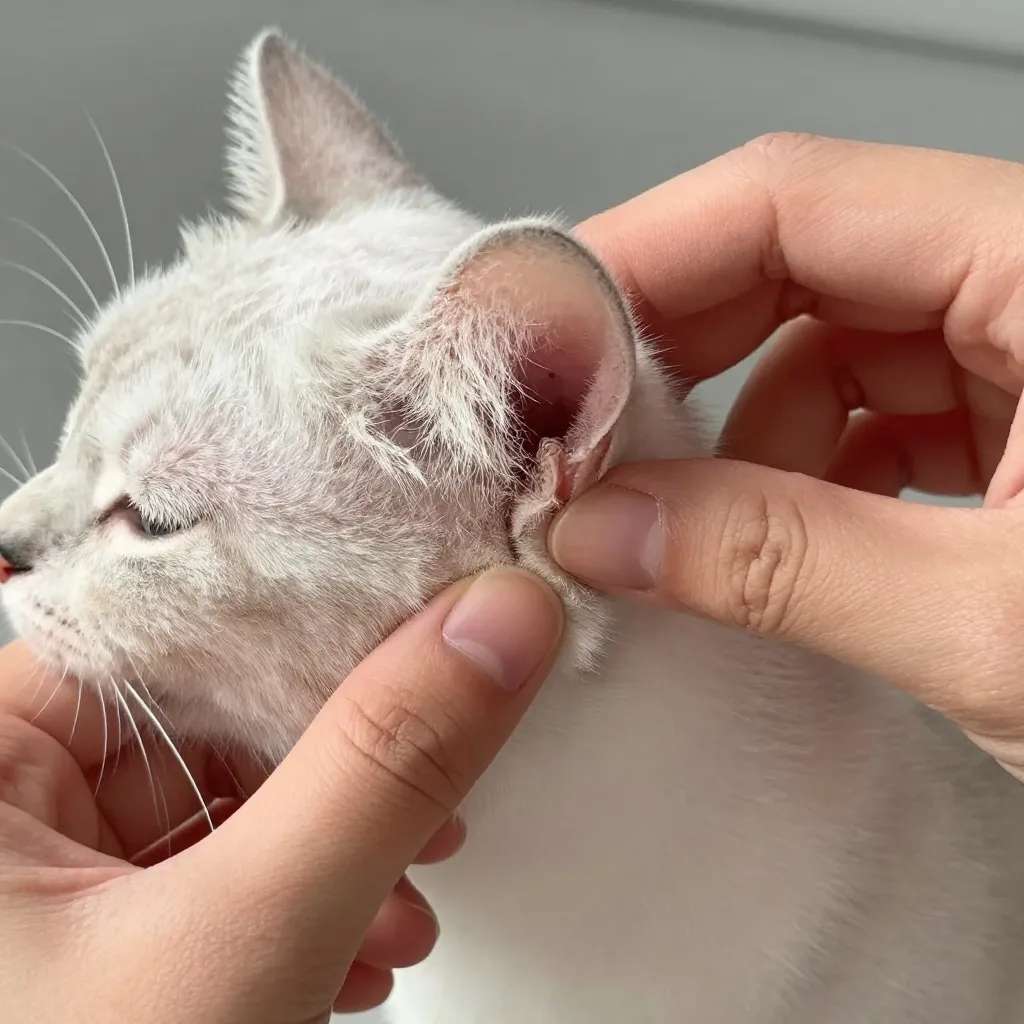
Healthy cat ears are pale pink and mostly clean. If you see redness, swelling, or a strong smell, skip the cleaning and call your vet. Some issues need medicine, not a cotton ball.
Gather Your Supplies Before You Start
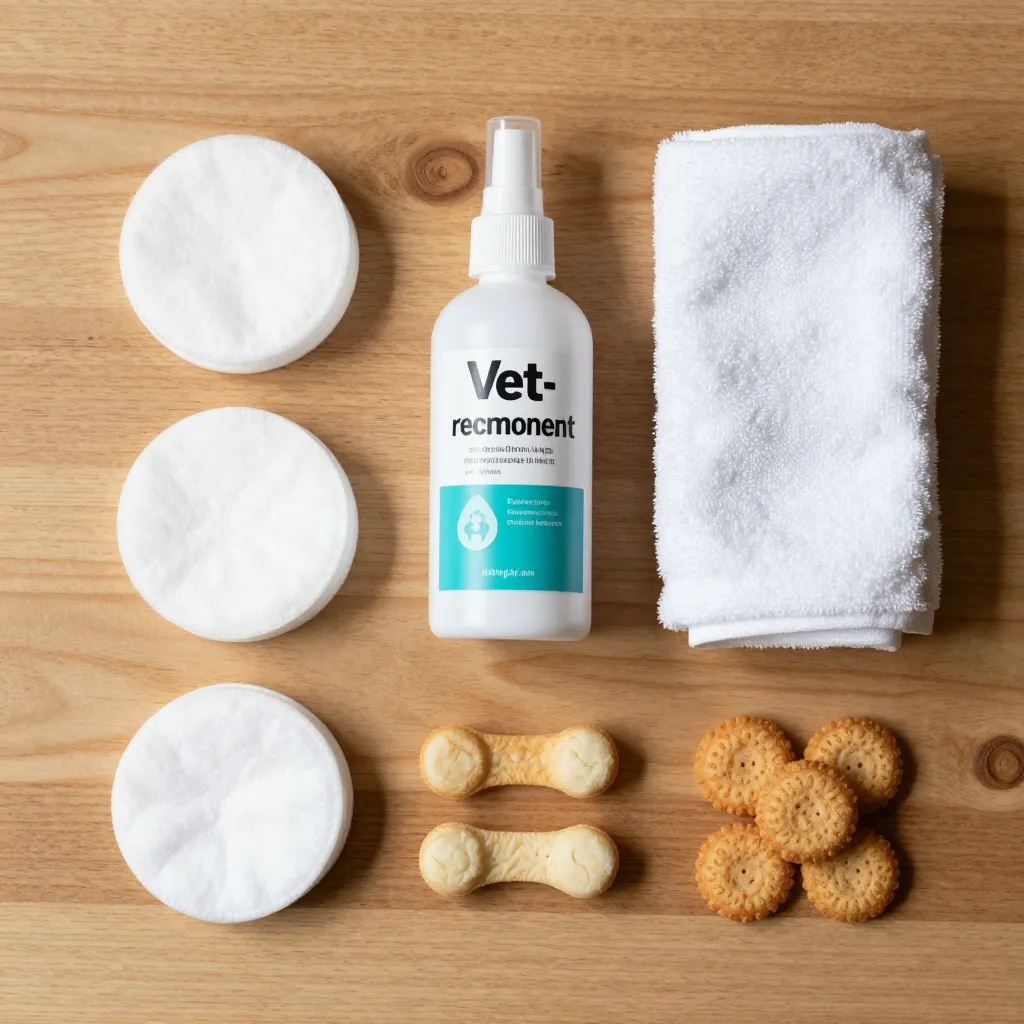
You do not need fancy tools. Grab a vet-approved ear cleaner (no alcohol or hydrogen peroxide), some cotton balls or gauze pads, and a towel. Keep treats nearby. Q-tips are a hard no—they can push debris deeper or damage the ear drum.
Having everything within arm’s reach makes the process smooth. Trust me, once your cat is on your lap, you do not want to be hunting for supplies.
Pick the Right Time and Place
Choose a quiet moment when your cat is already relaxed. After a meal or a nap is perfect. Sit on the floor or a soft surface so your cat feels secure. A towel on your lap gives them grip and absorbs any spills.
Keep the session short. Even if you only get one ear done, that is okay. You can always do the other ear later. Forcing it will only make them hate the process.
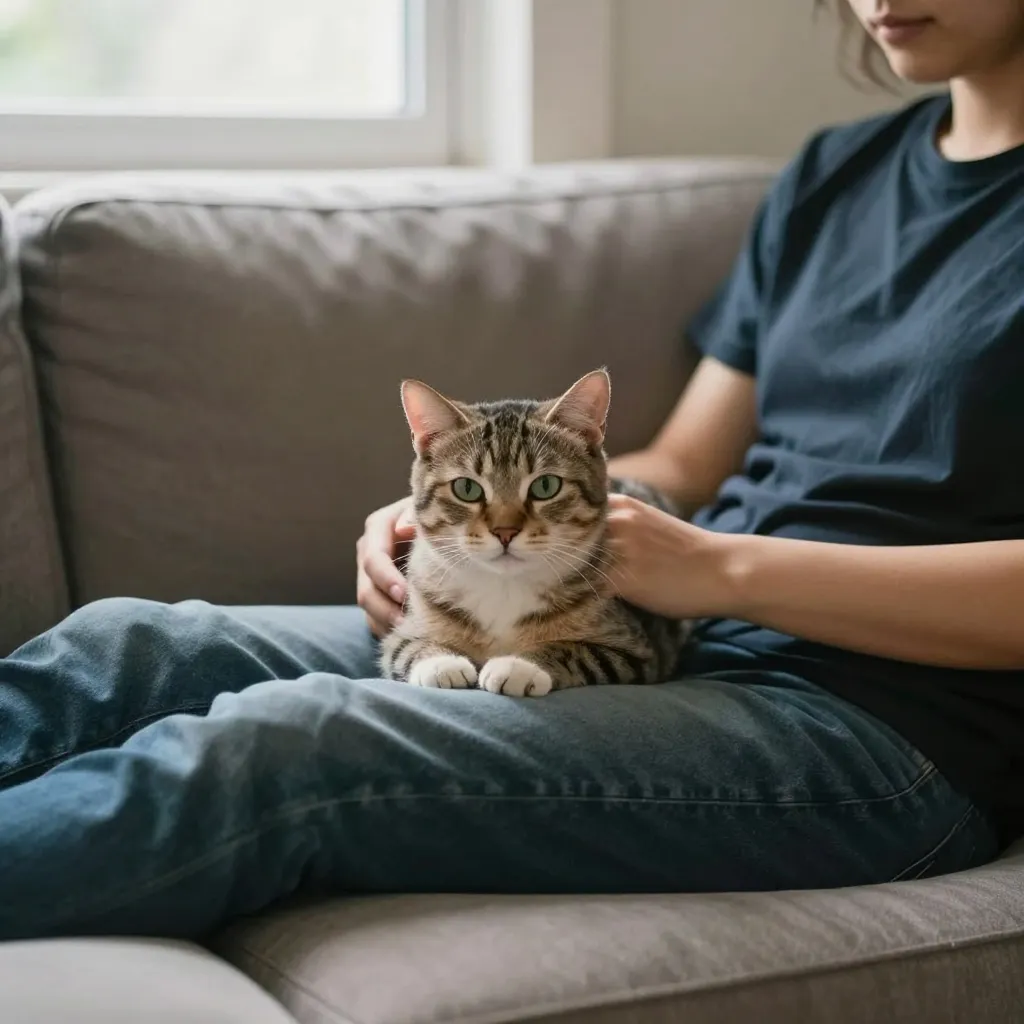
Use the Towel Trick for Nervous Cats
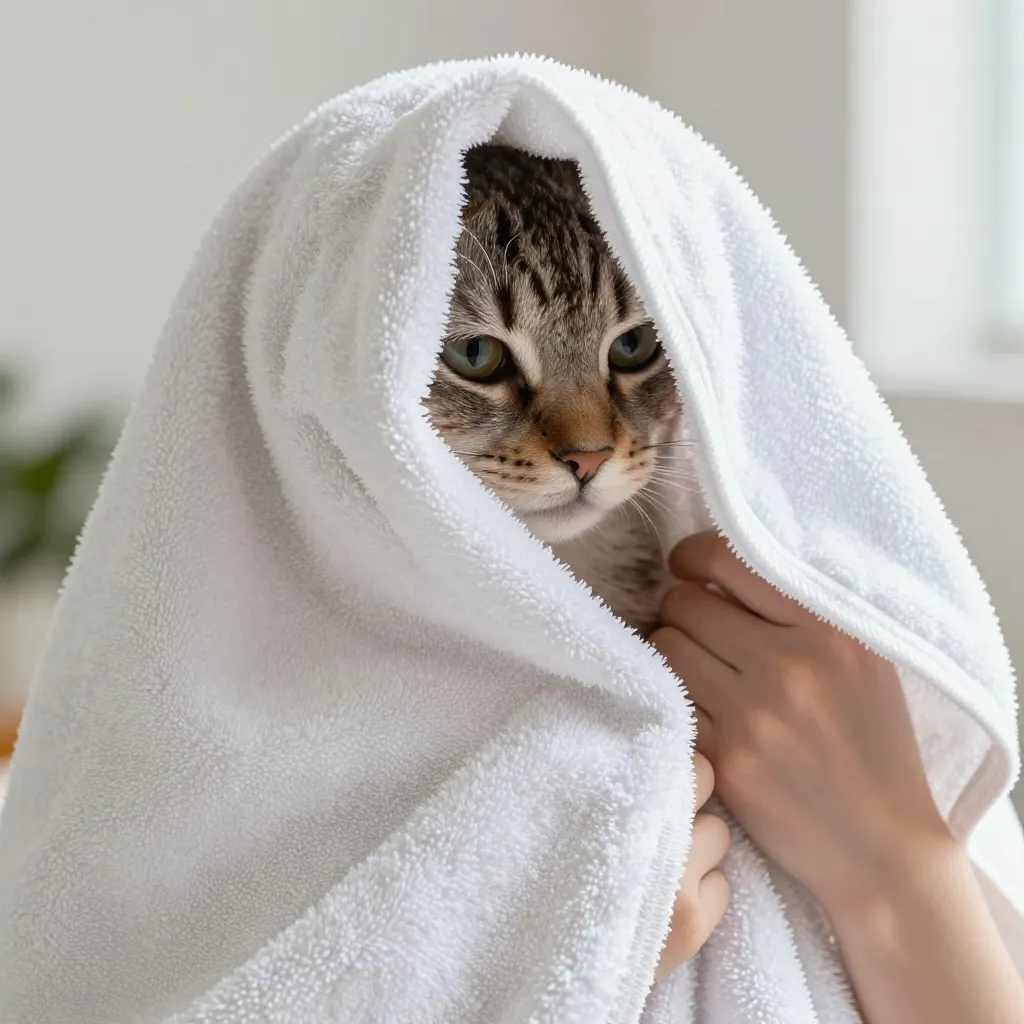
If your cat squirms, wrap them gently in a towel like a little burrito. Leave only the head out. This calms many cats and gives you a steady hand. Do not wrap too tight—they need to breathe comfortably.
Some cats actually relax more when they feel snug. If your cat hates it, try a different approach: let them sit on your lap facing away from you. That way they cannot see what you are doing.
Apply the Cleaner the Right Way
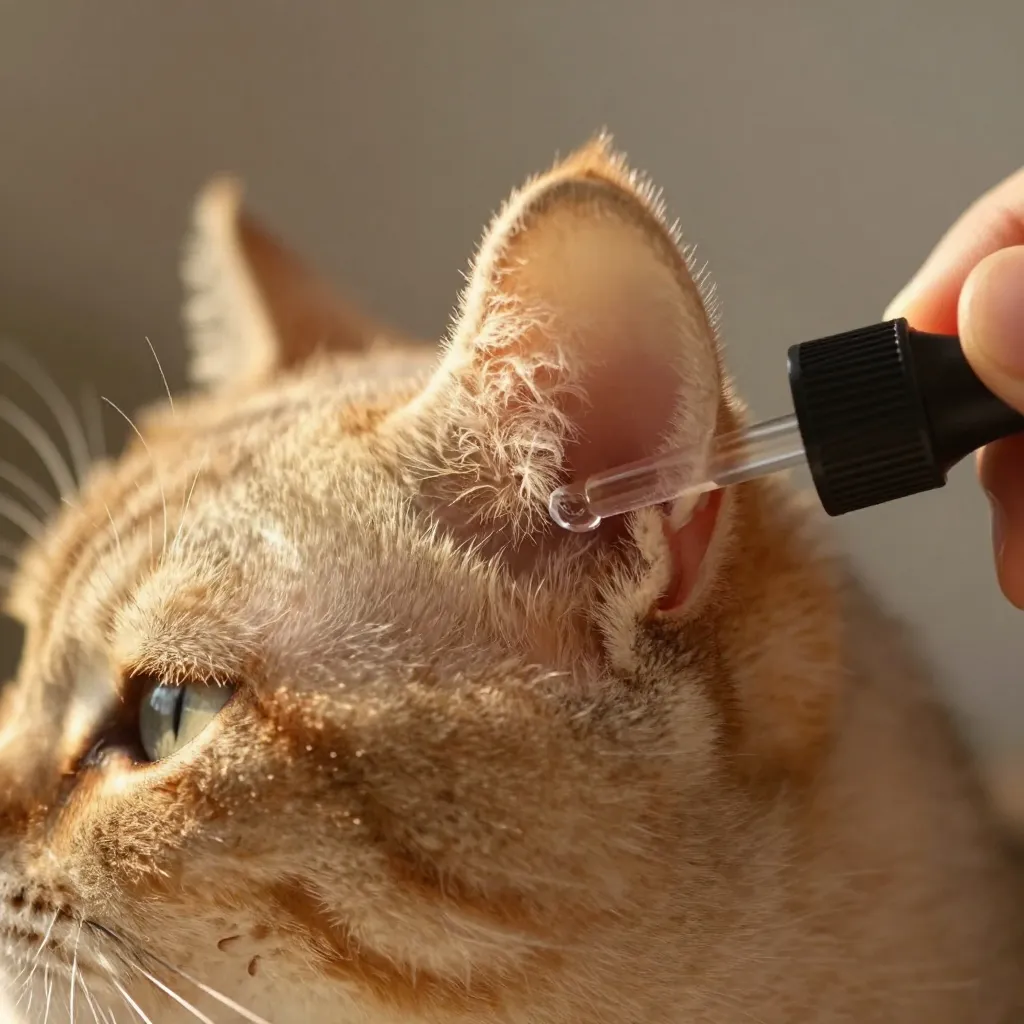
Fill the ear canal with the cleaner according to the bottle instructions. Usually that is a few drops or a small squirt. Do not stick the tip inside the ear—just aim it at the opening. The cleaner will do the work.
Your cat will probably shake their head. That is good! The shaking helps loosen dirt and wax from deep inside. Just be ready for some flying drops. Hold the ear flap gently to keep the liquid in for a few seconds before letting go.
Massage the Base of the Ear
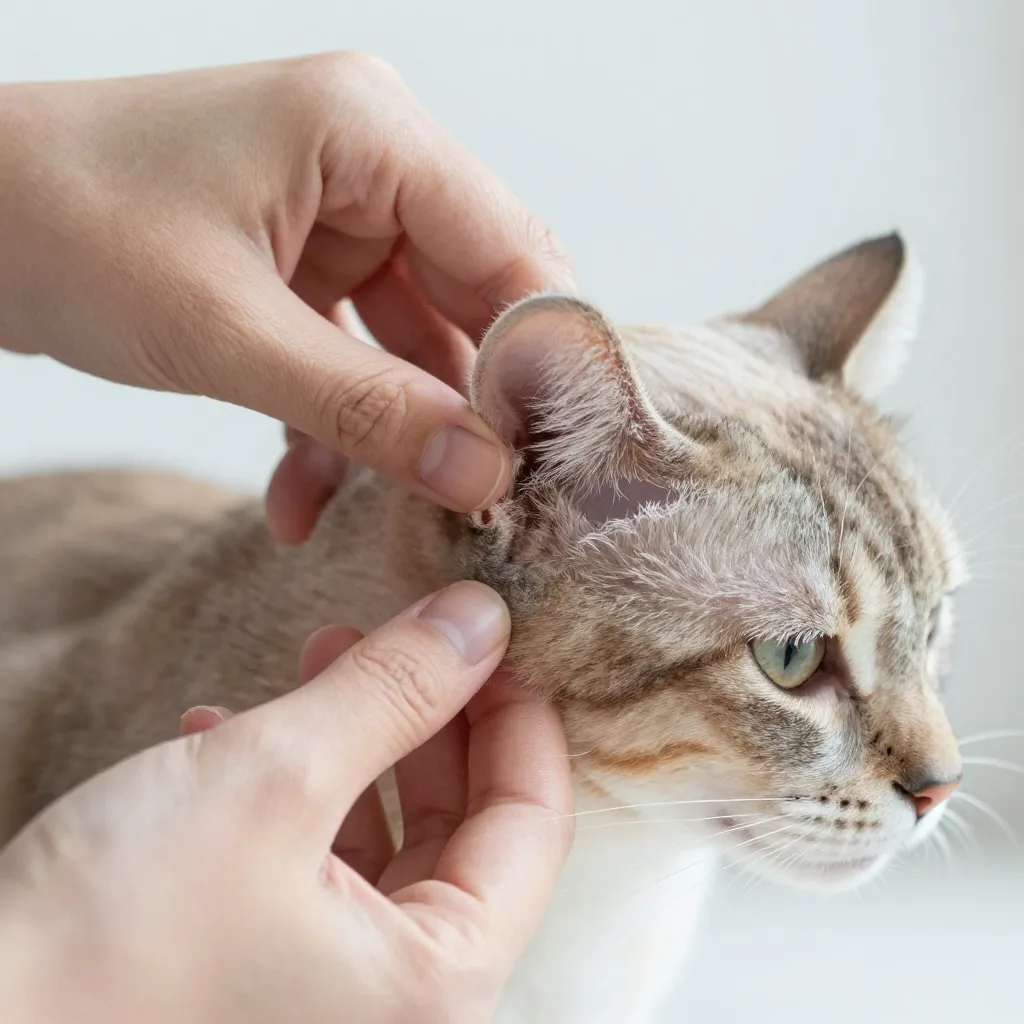
After applying the cleaner, gently massage the base of the ear for about 20 seconds. You should hear a soft squishy sound. That is the liquid working its magic. Massaging helps break up wax and soothes your cat.
Use your thumb and index finger, and keep it gentle. If your cat pulls away, you might be pressing too hard. Slow and steady wins this game.
Let Your Cat Shake Out the Excess
Step back and let your cat shake their head. This natural movement pushes loosened debris out of the ear canal. It is much safer than you digging around with a cotton swab. Do not try to stop them.
You might see bits of wax or dirt fly out. That is exactly what you want. Once they are done shaking, you can move on to the gentle wipe-down.
Wipe Only What You Can See
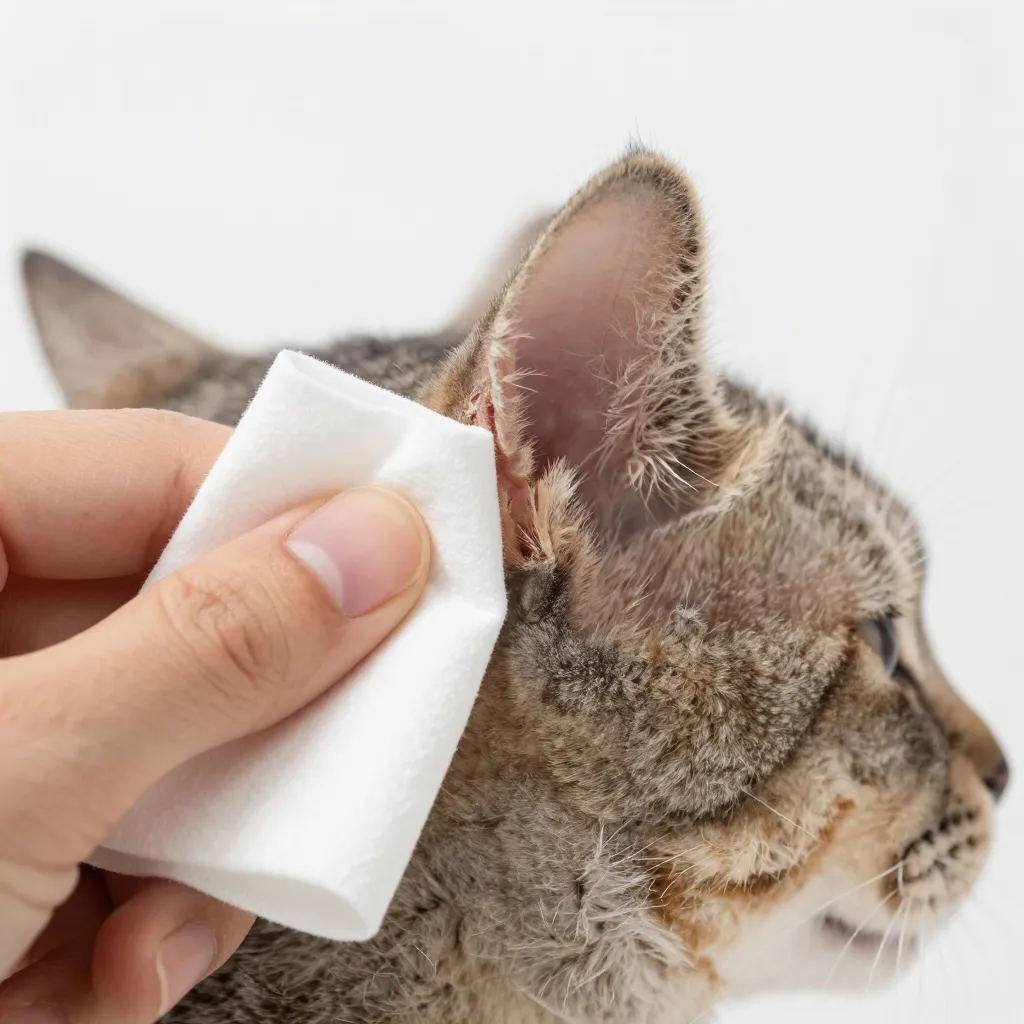
Use a cotton ball or gauze pad to wipe the outer ear and the folds you can see. Never go deep into the ear canal. Just clean the visible area. A gentle outward motion works best.
If you see dark wax, switch to a fresh cotton ball for each ear. This prevents spreading any gunk. Do not scrub—just dab and wipe. The ear skin is very sensitive.
Reward Your Cat Every Single Time
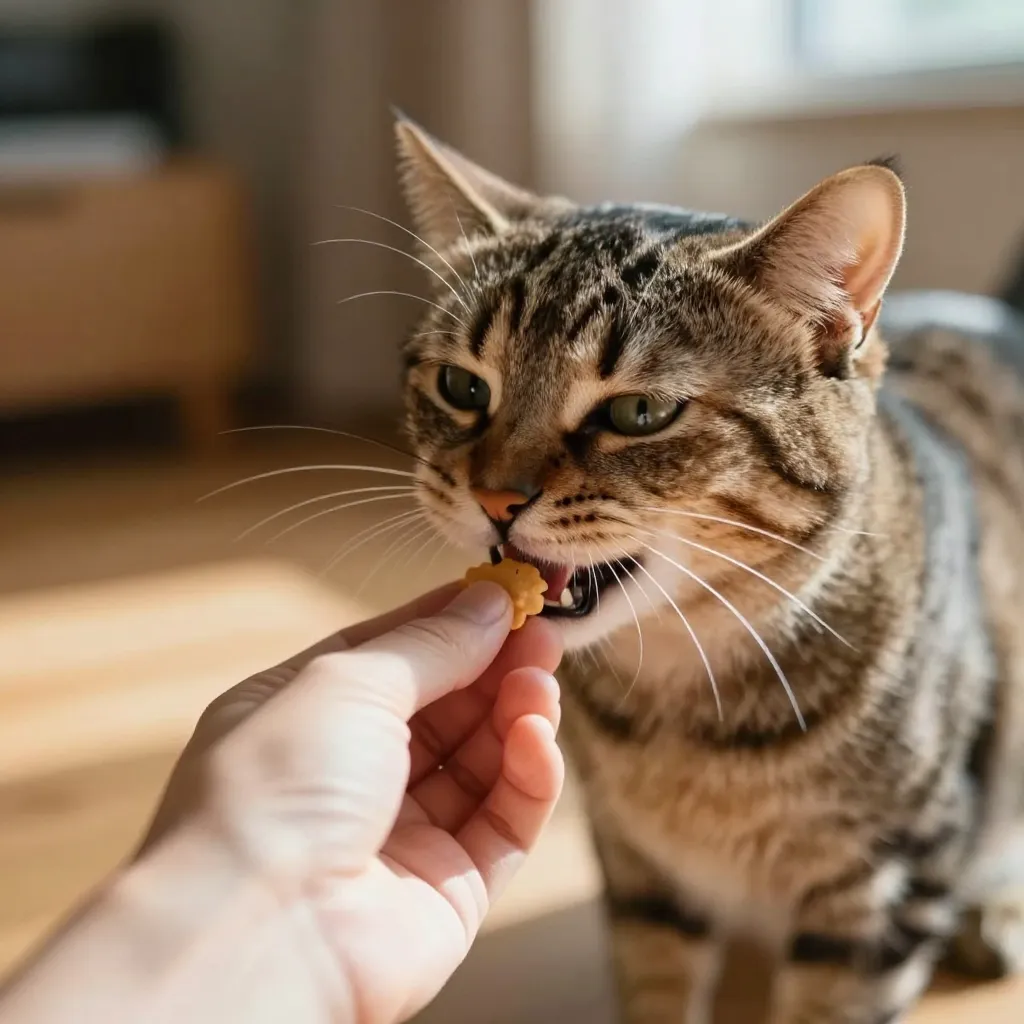
After the cleaning, give your cat a treat and some praise. This builds a positive association. Even if they wiggled or complained, reward them for letting you finish. Over time, they will learn that ear cleaning means a tasty snack.
I keep a special treat that my cat only gets during ear care. It works like magic. You can also use a favorite toy or extra chin scratches. Whatever makes your cat happy.
Know When to Stop and Call the Vet
If you see blood, pus, or a lot of swelling, stop immediately. Do not try to clean an infected ear. Your vet needs to see it first. Also stop if your cat seems in pain or if the ear smells really bad.
Regular cleaning should not hurt. If it does, there might be an underlying issue. Better to be safe than sorry. A quick vet visit can save your cat from a lot of discomfort.
Conclusion
Cleaning your cat’s ears does not have to be a battle. With patience, the right supplies, and a gentle touch, you can keep those ears healthy and happy. Remember: less is more. Only clean when needed, and always stop if something looks wrong. Your cat will thank you with purrs and head bumps.
Frequently Asked Questions
How often should I clean my cat’s ears?
Most cats only need cleaning once a month or less. Some cats with floppy ears or allergies may need it more often. Check weekly and clean only when you see visible dirt or wax.
Can I use olive oil or coconut oil to clean my cat’s ears?
No. Stick to vet-approved ear cleaners. Oils can trap moisture and lead to infections. They also do not break down wax properly.
My cat hates ear cleaning. What can I do?
Go slow. Use the towel trick, offer treats, and only do one ear at a time. Some cats do better if you just wipe the outer ear without using liquid. If they really fight it, ask your vet for tips.
Is it safe to use cotton swabs on cat ears?
No. Cotton swabs can push debris deeper into the ear canal and damage the eardrum. Only use cotton balls or gauze on the parts you can see.
What if I see dark, crumbly stuff in my cat’s ear?
That could be ear mites or an infection. Do not try to clean it yourself. Take your cat to the vet for a proper diagnosis and treatment.