How to Ferment Vegetables for Dogs: Easy 5-Minute Method for a Probiotic Boost
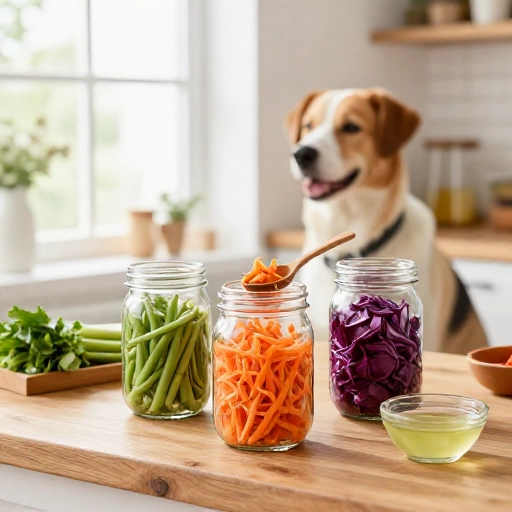
I started fermenting vegetables for my dog about a year ago, and honestly, I wish I had done it sooner. Store-bought probiotic powders are pricey and often full of fillers, but a simple jar of fermented veggie toppers gives my pup the same gut-loving bacteria for pennies a day.
Fermenting might sound intimidating if you’ve never tried it, but this easy method is just chop, salt, pack, and wait. No fancy crocks, no airlocks, no stress. If you can toss together a salad, you can absolutely ferment vegetables for your dog.
In this guide, I’ll walk you through the exact simple process I use every single week. You’ll learn which vegetables are safe, how to make the perfect brine, how long to wait, and how to serve it without upsetting your dog’s tummy.
Why Fermented Vegetables Are a Game Changer for Dogs
Fermented vegetables are packed with natural probiotics—those good bacteria that keep your dog’s gut balanced. A healthy gut supports digestion, nutrient absorption, and a strong immune system. If your dog struggles with loose stools, gas, or seasonal allergies, this easy addition can make a noticeable difference.
Unlike many commercial probiotic supplements, fermented vegetables contain live, active cultures that are naturally bioavailable. That means your dog’s body can actually use them right away. Plus, the fermentation process breaks down some of the plant fibers, making the nutrients in veggies easier to absorb.
I’ve noticed my dog has less itching, firmer poops, and way more energy since I started adding a spoonful to his meals. Even picky eaters often love the tangy, savory flavor.
Best Vegetables to Ferment for Dogs (And Which to Avoid)
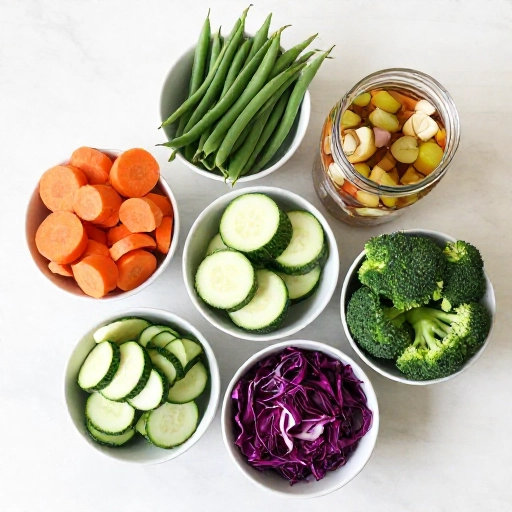
You want to stick with dog-safe vegetables that ferment well and have a pleasant texture. My favorites are crunchy veggies that soften nicely in the brine without turning to mush.
- Carrots – sweet, crunchy, and full of beta-carotene
- Green beans – easy to slice and ferments quickly
- Cucumber – mild and hydrating, perfect for beginners
- Zucchini – softens nicely and is very gentle on digestion
- Beet – adds a gorgeous color and supports liver health
- Pumpkin or winter squash – naturally soothing for the gut
- Celery – adds a salty, crunchy bite
- Broccoli stems – great way to use up scraps
Avoid fermenting anything from the allium family—onions, garlic, chives, and leeks—because those are toxic to dogs even in small amounts. Also skip raw white potatoes and tomatoes, which don’t ferment well and can cause digestive upset.
Simple Equipment You Already Have at Home
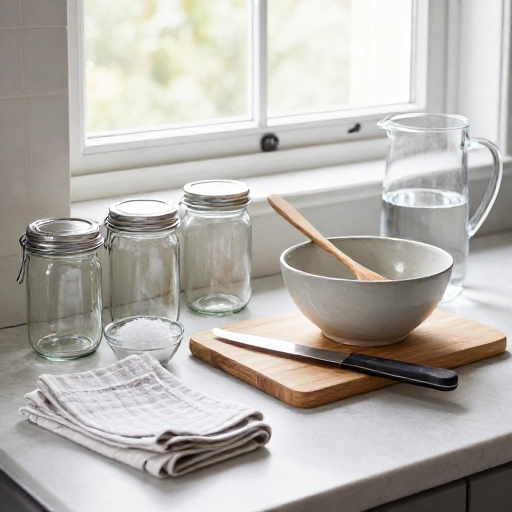
You do not need any special fermentation kit to get started. I use a wide-mouth mason jar, a small glass ramekin that fits inside as a weight, and a clean kitchen towel secured with a rubber band. That’s it.
If you have a glass fermentation weight, great, but a small zip-top bag filled with extra brine also works as a weight. Just make sure everything is clean—wash your jar and tools with hot, soapy water and rinse well before you begin.
The only other thing you need is a large mixing bowl for massaging the salt into the veggies. Wooden spoons or clean hands work fine.
The Perfect Salt-to-Water Brine Ratio
Getting the salt right is the most important part of fermenting. Too little salt can allow bad bacteria to grow, and too much salt will make the ferment too salty for your dog. I use a simple 2% brine, which is 1 ½ teaspoons of fine sea salt per 2 cups of filtered water.
If you prefer a dry-salt method, sprinkle about ½ teaspoon of fine sea salt per cup of chopped vegetables, then massage it in until the veggies release their own liquid. This works great for juicy vegetables like cucumber and zucchini.
Always use non-iodized salt—sea salt, kosher salt, or pickling salt. Iodized table salt can inhibit fermentation and give the brine a metallic taste.
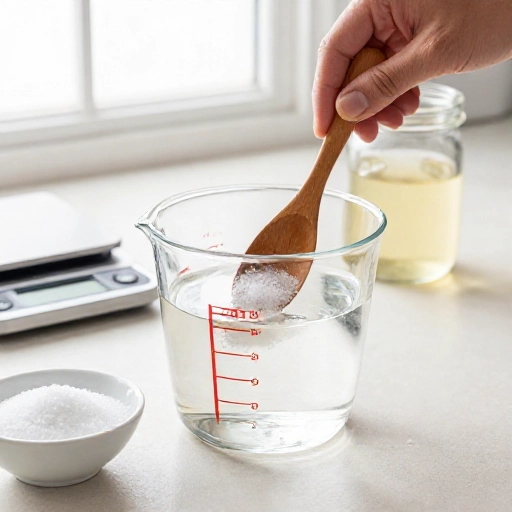
Step-by-Step Fermenting Method (The Easy Way)
This is the exact method I use every week. It takes about five minutes of hands-on time before the jar does all the work.
- Chop your chosen vegetables into small, uniform pieces—think bite-sized for your dog.
- Place the chopped veggies in a large bowl and sprinkle with salt (about ½ teaspoon per cup). Massage for 2–3 minutes until the vegetables start to release liquid.
- Pack the veggies tightly into a clean mason jar, pressing down firmly so the liquid rises above the vegetables.
- If the veggies aren’t fully submerged, top off with the 2% brine solution until everything is covered by at least 1 inch of liquid.
- Place a clean weight on top to keep the vegetables under the brine, then cover loosely with a cloth or airlock lid.
Set the jar on your counter at room temperature, away from direct sunlight. Check it daily and press down if any veggies float above the brine. That’s the whole process—no complicated steps, no stress.
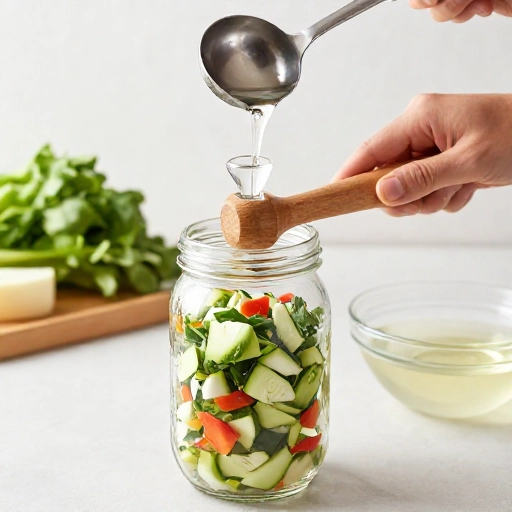
How Long to Ferment for Maximum Probiotics
Fermentation time depends on your kitchen temperature, but 3 to 7 days is the sweet spot for most vegetable ferments. In warmer kitchens, things move faster; in cooler rooms, it takes a little longer. You’ll start to see tiny bubbles rising after day two or three, which is a great sign that the good bacteria are doing their job.
I usually taste a tiny piece around day 4. It should be tangy, slightly sour, and still have a pleasant crunch. Once you like the flavor, move the jar to the fridge to slow down the fermentation process. The probiotics are already alive and ready to benefit your dog.
Don’t let it go too long, or the vegetables can become overly sour and mushy. Your dog will still eat it, but the texture might not be as appealing.
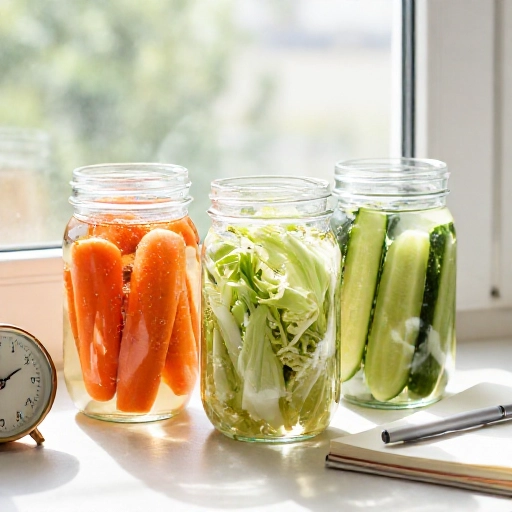
How to Serve Fermented Vegetables to Your Dog
Start slow—this is key to avoiding any tummy upset. For the first week, serve just a tiny amount on top of your dog’s regular food. The goal is to gently introduce those new probiotics without overwhelming the digestive system.
- Small dogs (under 20 lbs): ½ teaspoon to 1 teaspoon per day
- Medium dogs (20–50 lbs): 1 teaspoon to 1 tablespoon per day
- Large dogs (over 50 lbs): 1 to 2 tablespoons per day
Mix the fermented veggies into wet food, raw food, or sprinkle over kibble with a little of the brine. Always use a clean spoon and never double-dip. Some dogs prefer the juice only at first, so you can start with a teaspoon of brine and work up to the vegetables.
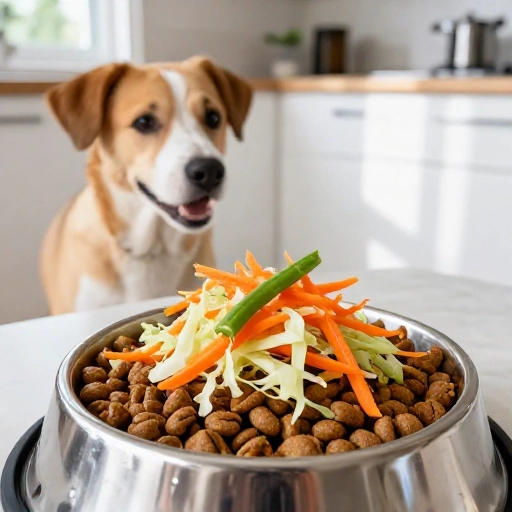
Proper Storage and Shelf Life Tips
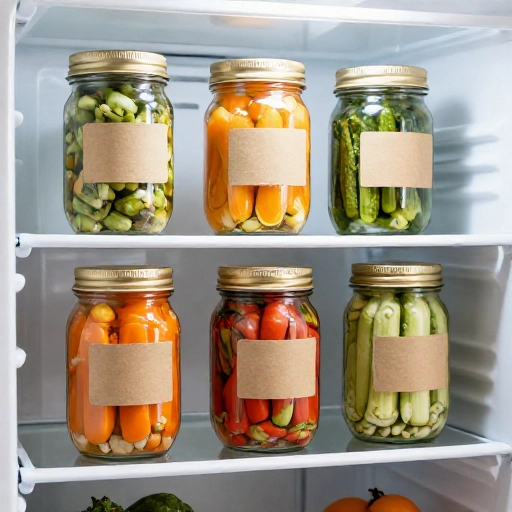
Once your ferment tastes the way you want it, transfer the jar to the refrigerator. The cold temperature slows down the fermentation dramatically, so the vegetables stay at a stable tangy flavor for 2 to 3 months. I’ve kept mine even longer, but the texture does soften over time.
Always keep the vegetables submerged under the brine. If some veggies poke above the liquid, press them back down or add a little fresh brine. Use clean utensils every time you scoop out a serving, and never drink directly from the jar—your dog’s mouth bacteria will contaminate the batch.
I like to make a fresh batch every couple of weeks so I always have a mature jar in the fridge and a new one bubbling on the counter.
Signs Your Ferment Is Ready (And When to Toss It)
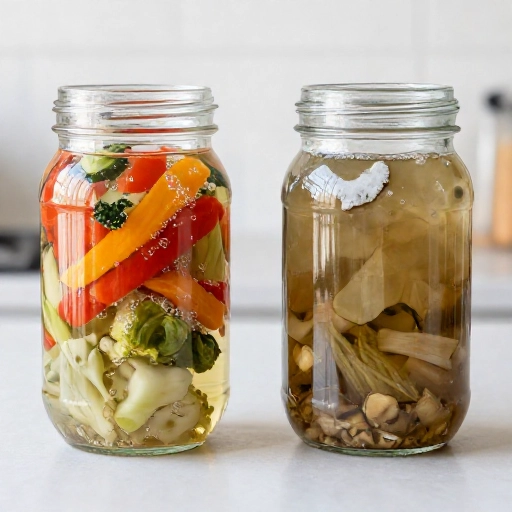
A healthy ferment should smell pleasantly sour, slightly vinegary, and a little earthy. You’ll see tiny bubbles trapped between the vegetables, and the brine will look slightly cloudy—that’s totally normal and actually a sign of live cultures.
If you notice any pink, black, or fuzzy mold growing on top, throw the whole batch away. A thin layer of white film on the surface is usually harmless kahm yeast and can be skimmed off, but if it smells rotten or the vegetables are slimy and mushy, don’t risk it. Trust your nose—if it smells bad, it is bad.
When in doubt, compost it and start over. Fermenting is very forgiving, but bad bacteria can make your dog sick, so it’s better to be safe.
Flavor and Herb Add-Ins Dogs Love
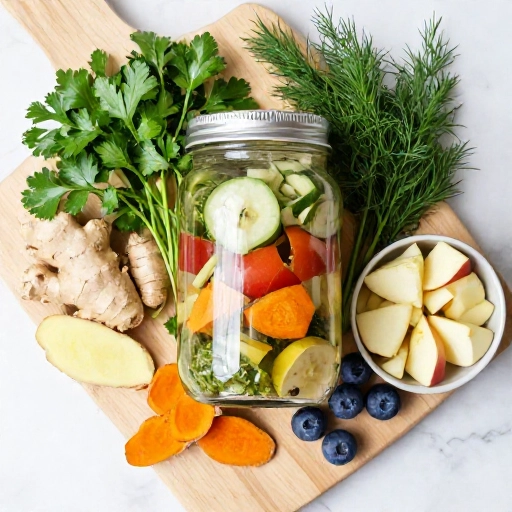
Once you’ve mastered the basic ferment, you can get creative with dog-safe herbs and spices. A little fresh parsley or dill adds a bright, fresh flavor and extra antioxidants. Turmeric is another favorite—use a small pinch of dried turmeric or a few thin slices of fresh turmeric root for an anti-inflammatory boost.
You can also add a splash of raw apple cider vinegar to the brine (1 tablespoon per cup of water) for an extra tangy kick and a little more probiotic variety. Fresh ginger, peeled and grated, is wonderful for dogs with sensitive stomachs.
Just remember to keep the total salt and brine ratio the same, and never add onions, garlic, or anything from the allium family. Simple is usually best, especially when you’re first starting out.
Conclusion
Fermenting vegetables for your dog is one of the easiest, most affordable ways to support their gut health naturally. With just a jar, some veggies, salt, and a little patience, you can create a live probiotic supplement that rivals anything you’d buy at the pet store. Start slow, keep it simple, and let your dog’s body tell you how much they need. Once you see the difference in their digestion and energy, you’ll never want to go back to store-bought powders.
FAQ
Can I use frozen vegetables to ferment for my dog?
Fresh vegetables work best because freezing damages the cell structure and can lead to a mushy ferment. If you only have frozen, use them in a pinch but expect a softer texture and slightly less crunch.
Is it safe to give fermented vegetables to puppies?
Yes, but in very small amounts. Puppies have developing digestive systems, so start with just a few drops of brine on their food and gradually work up to a tiny spoonful as they grow. Always check with your vet if you’re unsure.
My dog won’t eat the vegetables. What can I do?
Try pouring a little of the brine over their food first. The liquid is packed with probiotics and often more appealing than the vegetables themselves. You can also finely chop or puree the fermented veggies and mix them into something stinky like canned fish or warm bone broth.
How do I know if the ferment has gone bad?
Look for colorful mold (pink, black, green fuzzy spots), a rotten or sulfurous smell, and vegetables that have turned mushy and slimy. If you see any of those signs, toss the whole jar and start fresh. A cloudy brine and sour smell are normal.
Can I ferment vegetables without salt?
Salt is essential for safe fermentation because it inhibits harmful bacteria while allowing the good lactobacillus to thrive. You can reduce the salt slightly, but don’t skip it entirely. If your dog needs a very low-sodium diet, talk to your vet before adding fermented vegetables.