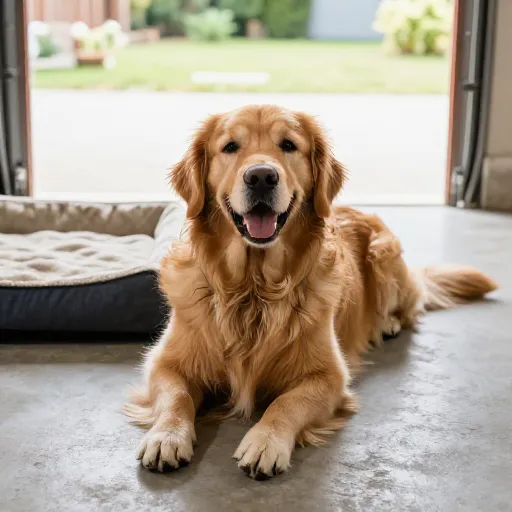
How to Sew a Dog Bow Tie with Elastics
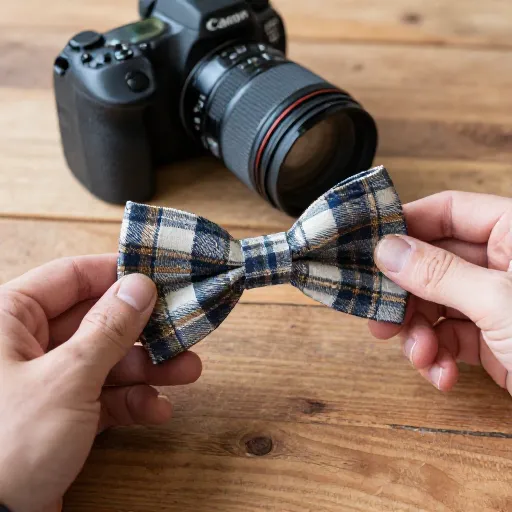
I love dressing up my pup for special occasions—or just for a fun walk around the block. But buying bow ties can get expensive, and they never seem to fit quite right. That’s why I started making my own dog bow ties with elastics. They stay put, they’re gentle on fur, and they come together in under an hour.
Whether you’re a beginner with a sewing machine or you prefer hand stitching, this guide will walk you through every step. You’ll end up with a cute, comfortable bow tie that your dog can wear proudly. Let’s dive in!
Gather Your Supplies
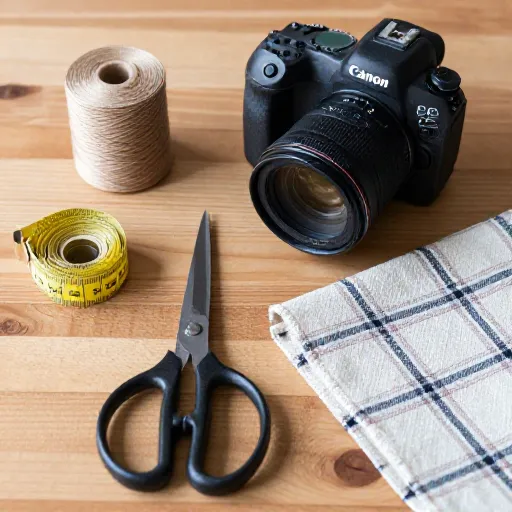
First, you need the right materials. For one bow tie, grab a piece of cotton fabric (about 6×10 inches), a smaller rectangle for the center knot (2×4 inches), and a strip of elastic (about 10 inches long and ½ inch wide). You’ll also need matching thread, scissors, a sewing needle or machine, and a measuring tape.
Choose a fabric that’s soft and breathable. Cotton is my favorite because it’s easy to sew and washes well. Avoid anything too thick or stiff—it won’t fold nicely into a bow shape.
For the elastic, make sure it’s flat and not too tight. You want it to hold the bow tie snugly around your dog’s collar, not squeeze their neck.
Measure Your Dog’s Collar
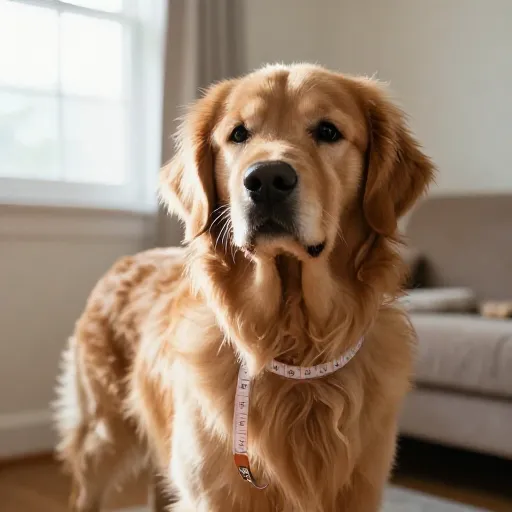
Before you cut anything, check the width of your dog’s collar. The elastic will loop around it, so you need to know how much space you’re working with. Measure the collar’s width and add half an inch for seam allowance.
If your dog’s collar is 1 inch wide, your elastic strip should be about 1½ inches wide. This ensures the elastic covers the collar completely without twisting. Don’t skip this step—it makes the final fit so much better.
Remember, every collar is different. A thin collar needs narrower elastic, while a thick one needs more coverage. Measure twice, cut once.
Cut Your Fabric Pieces
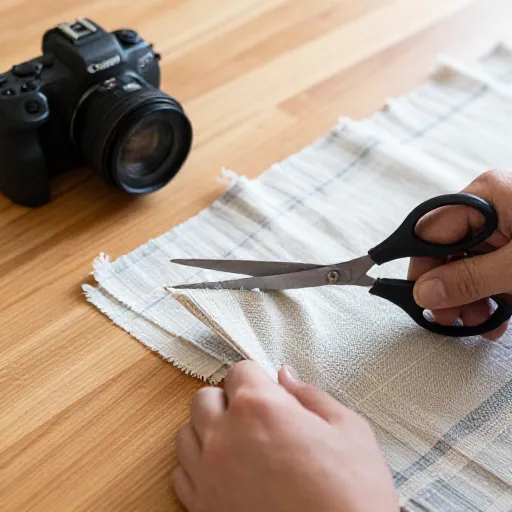
Now it’s time to cut. For the main bow, cut a rectangle that’s 6 inches wide and 10 inches long. For the center knot, cut a smaller rectangle—2 inches wide and 4 inches long. And for the elastic, cut a strip that’s the same width as your dog’s collar plus half an inch, and about 10 inches long.
Don’t worry if your edges aren’t perfectly straight. You can trim them later. The key is to have enough fabric to fold and sew comfortably.
If you want a bigger or smaller bow, adjust the main rectangle size. A 6×10 inch piece makes a medium-sized bow that works for most small to medium dogs.
Sew the Main Bow Shape
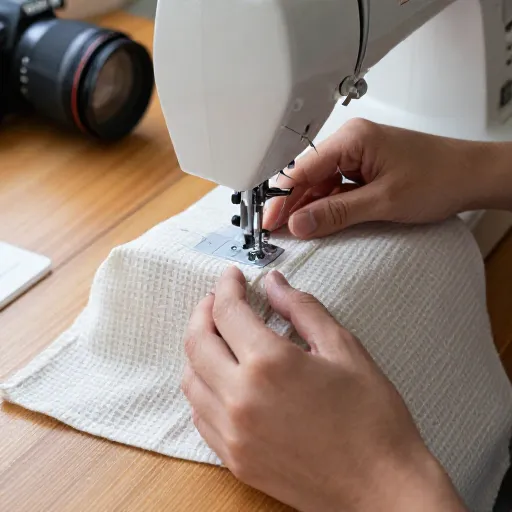
Fold your main fabric rectangle in half lengthwise, right sides together. Sew along the long edge, leaving the short ends open. This creates a tube. Turn it right side out and press it flat with an iron.
Next, fold the tube so the seam runs down the center back. This gives you a flat, even piece. Now fold the ends toward the center, overlapping them slightly. Pin in place.
Hand sew or machine stitch a straight line across the middle to gather the fabric. Pull the thread tight to create the bow’s center pinch. Knot securely. You’ve just made the basic bow shape!
Prepare the Elastic Band
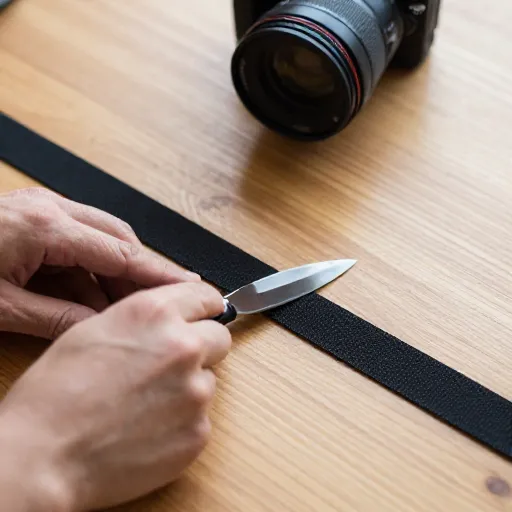
Take your elastic strip and fold it in half, right sides together. Sew along the long edge, leaving the ends open. Turn it right side out and press flat. This creates a tube just wide enough to slide over your dog’s collar.
Make sure the elastic is not twisted inside the tube. A twisted elastic will make the bow tie sit crooked. Use a safety pin to help pull it through if needed.
Test the elastic tube on your dog’s collar before moving on. It should slide on and off easily but stay in place once positioned.
Attach the Bow to the Elastic
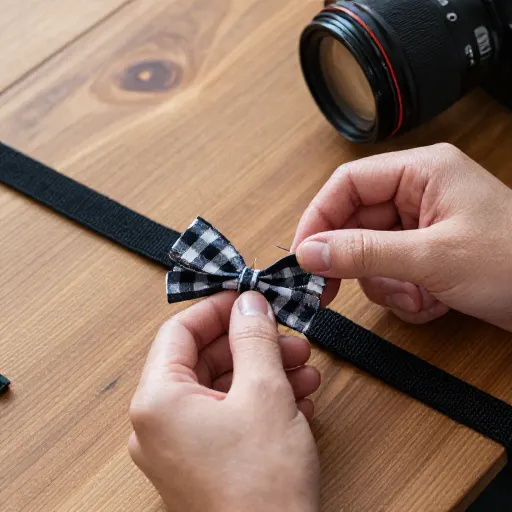
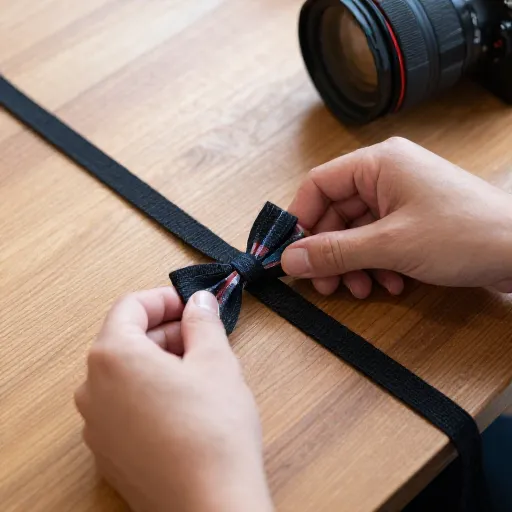
Now comes the fun part—putting it all together. Place the elastic tube flat on your work surface. Position the sewn bow on top, centered over the elastic. Make sure the bow’s center pinch aligns with the middle of the elastic.
Using a needle and thread, hand stitch the bow securely to the elastic. Go through all layers a few times to make it strong. Don’t worry about neatness—this part will be covered by the center knot.
Double-check that the bow sits straight. If it tilts, adjust before you finish stitching. A crooked bow tie is still cute, but a straight one looks more polished.
Make and Attach the Center Knot
Take your small center knot rectangle (2×4 inches). Fold it in half lengthwise, right sides together, and sew along the long edge. Turn it right side out and press flat. Now fold the ends under by ¼ inch and press again.
Wrap this small tube around the center of your bow, covering the stitches and elastic. Pull it snug but not too tight. Hand stitch the ends together on the back side of the bow tie.
This little knot gives the bow tie that classic, finished look. It also hides all your hard work underneath!
Test the Fit on Your Dog’s Collar
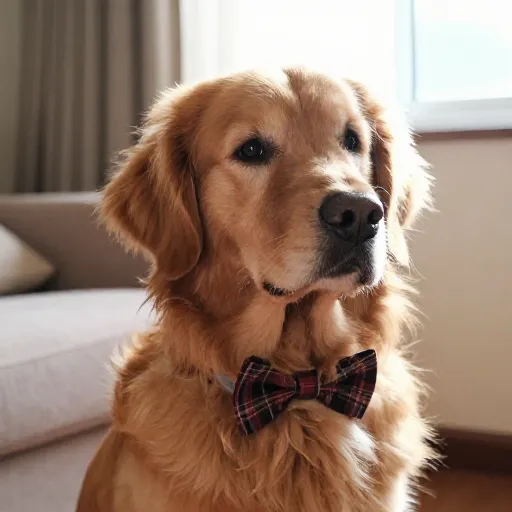
Slide the elastic tube onto your dog’s collar. Position it wherever you want the bow tie to sit—usually centered on the chest or slightly to the side. Adjust the bow so it faces forward nicely.
Check that the elastic isn’t too tight. It should slide easily along the collar without bunching. If it’s too loose, you can add a small stitch to shorten the elastic tube.
Let your dog wear it for a few minutes to see how they react. Some pups love the extra attention, while others need time to get used to it. Be patient!
Add Personal Touches
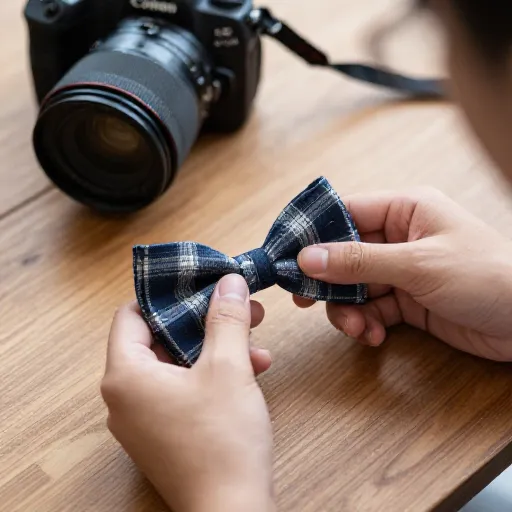
Once you’ve mastered the basic bow tie, get creative. Use patterned fabrics like plaids, florals, or even holiday prints. You can also add a small button or patch to the center knot for extra flair.
Try different sizes. A smaller bow works great for tiny dogs like Chihuahuas, while a larger one suits Golden Retrievers. Experiment with contrasting fabrics—like a bright elastic with a neutral bow.
These bow ties also make wonderful gifts. Sew a few in your friend’s dog’s favorite colors. They’re quick, affordable, and always appreciated.
Care Tips for Your Dog Bow Tie
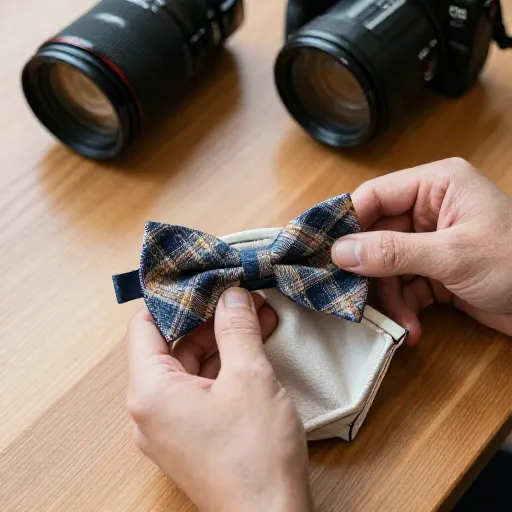
To keep your bow tie looking fresh, hand wash it in cold water with mild soap. Gently squeeze out excess water and lay it flat to dry. Avoid wringing or twisting, which can ruin the shape.
If the fabric wrinkles, a quick press with a cool iron will fix it. But never iron the elastic directly—heat can damage it. Just iron the bow part carefully.
Store bow ties flat or hanging. Don’t stuff them in a drawer, or they’ll lose their shape. A small hook by the door makes it easy to grab one for daily walks.
Conclusion
Sewing a dog bow tie with elastics is one of the most rewarding little projects I’ve tried. It’s simple, fast, and lets you create something truly custom for your furry friend. Plus, every time your dog wears it, you’ll feel proud knowing you made it yourself.
Don’t be afraid to make mistakes. My first few bow ties were a little lopsided, but my dog didn’t care—and neither did I. The more you practice, the better they’ll look. So grab some fabric and start sewing. Your pup deserves a bow tie that’s as special as they are.
Frequently Asked Questions
Can I use a sewing machine for this project?
Yes, a sewing machine makes it faster, but hand sewing works just fine. The steps are simple enough for beginners with either method.
What type of elastic is best?
Flat, non-roll elastic is ideal. It stays flat against the collar and doesn’t twist easily. Avoid round elastic—it’s harder to sew and less comfortable.
How do I know the right size for my dog?
Measure your dog’s collar width and adjust the elastic tube accordingly. For the bow itself, a 6×10 inch rectangle works for most small to medium dogs. Larger dogs may need a bigger piece.
Can I wash the bow tie in a washing machine?
Hand washing is safer, especially for the elastic. Machine washing can stretch or damage the elastic over time. If you must machine wash, use a delicate bag and cold water.
How do I keep the bow tie from sliding off the collar?
Make sure the elastic tube fits snugly around the collar. If it’s too loose, add a small stitch to tighten it. You can also use a drop of fabric glue on the inside for extra grip.