DIY Beaded Dog Collars: A Complete Guide
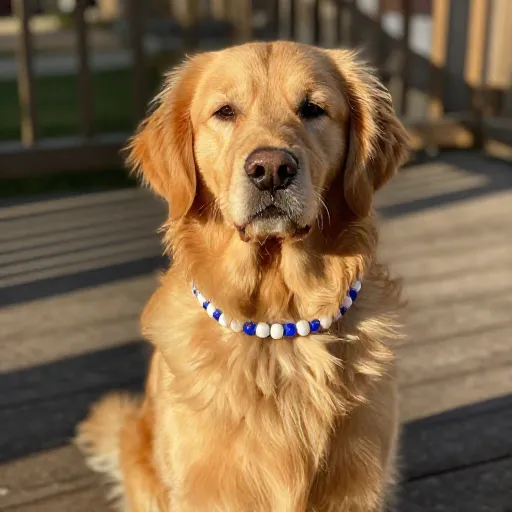
There’s something special about making something with your own hands for your furry best friend. A DIY beaded dog collar isn’t just a fashion statement—it’s a little piece of your heart wrapped around their neck. I’ve made quite a few of these over the years, and each one seems to carry a bit of my personality and my dog’s energy.
Beaded collars are surprisingly simple to create. You don’t need expensive tools or years of craft experience. Just some patience, a bit of creativity, and the right materials will get you there. Whether you want something bold and colorful or simple and elegant, this guide covers everything you need to know.
Let me walk you through ten different ways to approach your own beaded dog collar. Each idea has its own charm, and you can mix and match as you please. Your pup deserves something unique—and you deserve the joy of making it.
1. Start with the Right Base Materials
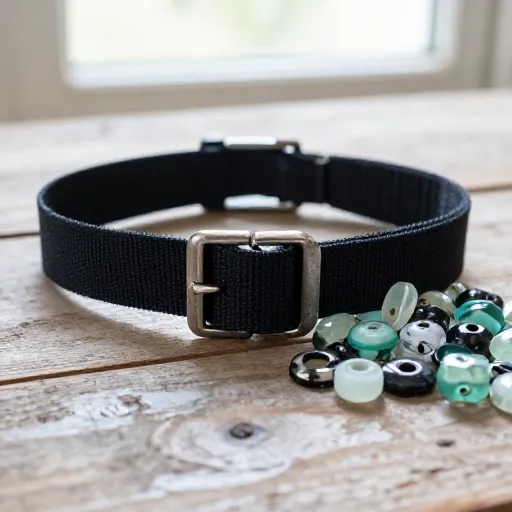
Before you string a single bead, you need a solid foundation. I always use nylon cord or paracord for the base. It’s strong, washable, and comfortable against your dog’s fur. Paracord, in particular, holds up well to pulling and outdoor adventures.
For the beads, choose ones with smooth edges and large enough holes to thread the cord through twice. Wooden, acrylic, or even ceramic beads work beautifully. Avoid anything sharp or heavy that might irritate your dog’s skin.
You will also need a buckle, a D-ring for the leash, and a slide to adjust the collar size. Nylon webbing is another great option if you want a softer feel against the neck.
Remember, safety comes first. Make sure everything is securely fastened. Test the collar on your hand before putting it on your dog.
2. Measure for a Perfect Fit
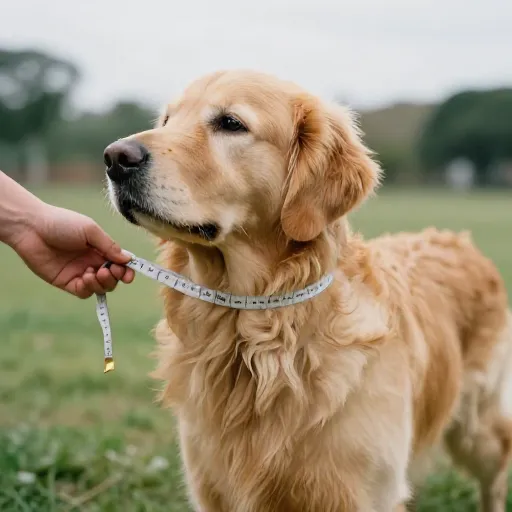
A collar that’s too tight is uncomfortable. One that’s too loose can slip off. I always measure my dog’s neck with a soft tape measure, then add two inches for the buckle overlap. That extra room gives you the adjustability you need.
For a small dog, aim for a finished length of 10 to 12 inches. Medium dogs usually need 14 to 16 inches. Large breeds often require 18 to 22 inches. Every dog is different, so trust your measurements.
Write your measurement down before you start cutting. It’s frustrating to realize you’ve cut too short halfway through your beading session.
If you’re making the collar as a gift, ask for the dog’s neck size. Guessing rarely works out well.
3. Choose a Color Palette That Pops
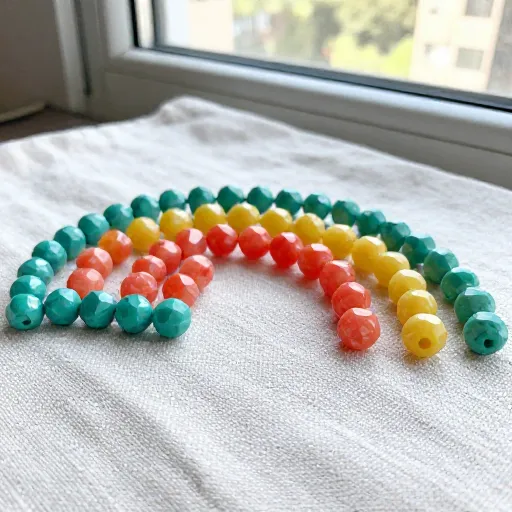
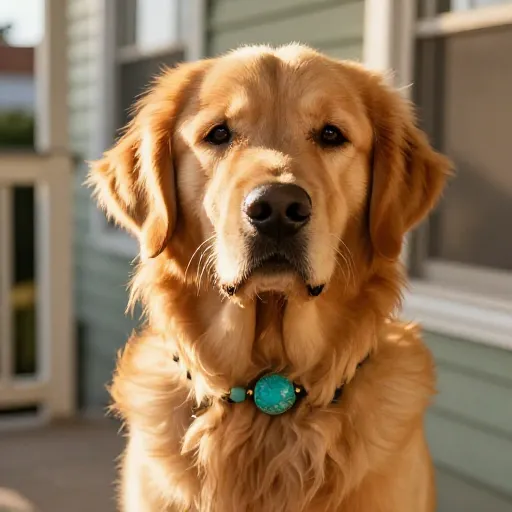
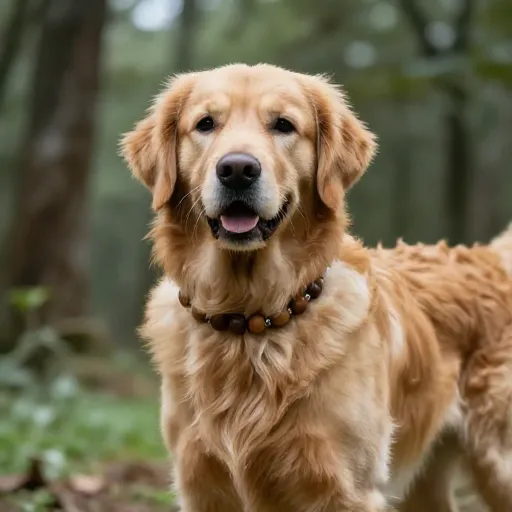
Color is where your creativity really shines. I like to pick two or three colors that complement each other. Think about your dog’s fur. A golden retriever looks stunning with earthy greens and warm browns. A black lab pops against bright turquoise or sunny yellow.
Don’t be afraid to go bold. Neon beads against a neutral cord create a playful look. Pastel shades give off a soft, sweet vibe. Metallics like gold or silver add a touch of elegance.
You can also match the collar to your own style. If you love boho, go for earth tones and wooden beads. If you’re preppy, try navy and white stripes with pearl accents.
Lay out your beads before you start stringing. This helps you see the pattern and adjust colors as you go.
4. Simple Alternating Pattern for Beginners
If this is your first time making a beaded collar, keep it simple. An alternating pattern is foolproof and still looks beautiful. String one bead of color A, then one bead of color B, and repeat. That’s it.
You can vary the sizes too. Alternate a large bead with two small beads for a different rhythm. The pattern stays easy, but the result feels deliberate and polished.
This style works well with round beads, but you can also use faceted ones for a bit of sparkle. Just make sure the holes are big enough for your cord.
I love this approach because it’s quick and meditative. You can finish a collar in one evening while watching your favorite show.
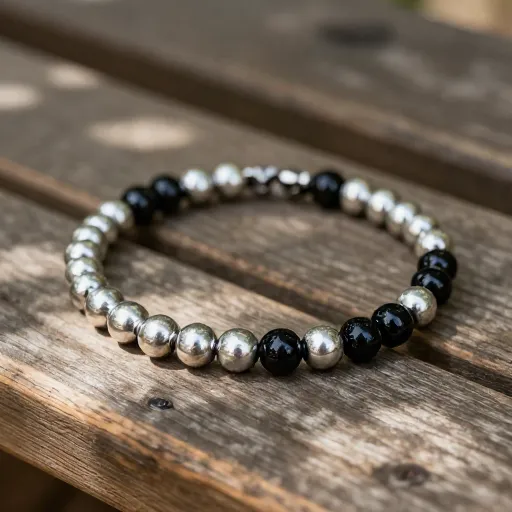
5. Create a Centerpiece with a Statement Bead
Sometimes one special bead deserves to be the star. Choose a larger, more decorative bead for the center of the collar. It could be a flower-shaped bead, a heart, or something with a natural stone look.
Flank it with smaller beads in complementary colors on both sides. This draws the eye to the center and gives the collar a focal point. It feels like a piece of jewelry rather than just a functional item.
Make sure the statement bead is securely placed. You don’t want it sliding around. I like to tie a knot on either side to keep it in position.
This style is perfect for special occasions like birthdays or holiday photos. Your dog will look absolutely regal.
6. Add a Personalized Name Tag Section
Why not incorporate your dog’s name right into the collar? Use letter beads to spell out their name in the center or off to one side. It’s both decorative and practical.
I usually place the name between two small spacer beads on each side. This makes it stand out without being overwhelming. Choose a contrasting color for the letters so they are easy to read.
Keep the name short. If your dog has a long name, consider using a nickname. Too many letter beads can make the collar stiff and uncomfortable.
This is also a great way to add your phone number if you use tiny number beads. It’s subtle but could be a lifesaver if your pup ever gets lost.
7. Use a Braided Cord for Extra Strength
For active dogs who love to run and play, a braided cord adds durability. You can braid three strands of paracord together, then weave beads into the braid as you go. It takes a bit more patience, but the result is incredibly strong.
Braided collars distribute pressure evenly, which is great for dogs who pull on the leash. The beads stay securely nestled between the cords and don’t shift around.
Start by braiding a few inches without beads to create the end loop. Then add beads one at a time, sliding them onto one strand before continuing the braid. It’s a bit like making a friendship bracelet for your dog.
This technique works best with larger beads that have wide holes. Small beads can get lost in the braid.
8. Mix in Natural Elements for a Rustic Look
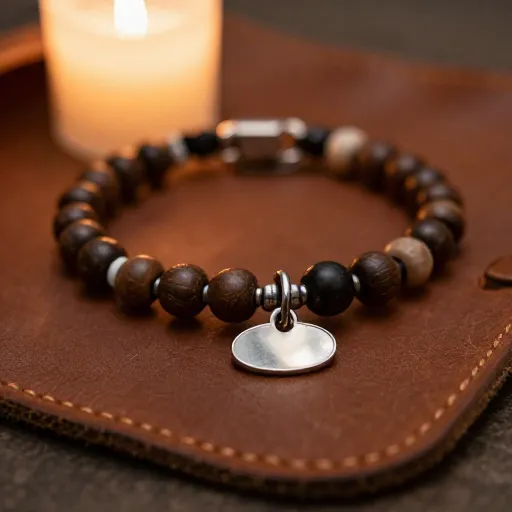
Natural materials give a collar an earthy, handmade feel. Wooden beads are my go-to for this style. They are lightweight, warm to the touch, and come in many shades from light bamboo to dark walnut.
Combine wooden beads with leather cord or hemp for a truly rustic vibe. Add a few stone beads like turquoise or jasper for a pop of color. The contrast between smooth stone and textured wood is gorgeous.
Keep in mind that natural beads may need a bit of care. Avoid soaking them in water for long periods. A quick wipe with a damp cloth is enough to clean them.
This style suits dogs who love nature walks and outdoor adventures. It feels organic and timeless.
9. Try a Gradient or Ombre Effect
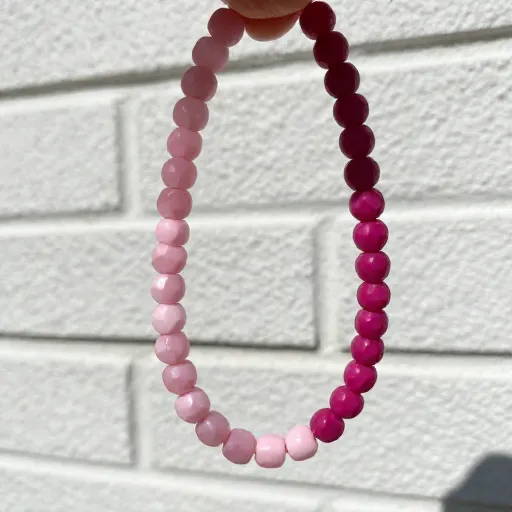
Ombre collars are trendy and surprisingly easy to make. Start with dark beads at one end and gradually transition to lighter shades. You can do this with a single color family, like navy to sky blue, or go from deep purple to soft pink.
To achieve a smooth gradient, lay out all your beads in order before you start stringing. Adjust the sequence until the color shift looks natural. Then string them exactly as arranged.
This technique works beautifully with seed beads or small round beads. The gradual change creates a visual flow that feels artistic and intentional.
Your dog doesn’t know they’re wearing a fashion statement, but you will feel proud every time you see that perfect fade.
10. Finish with a Secure, Comfortable Closure
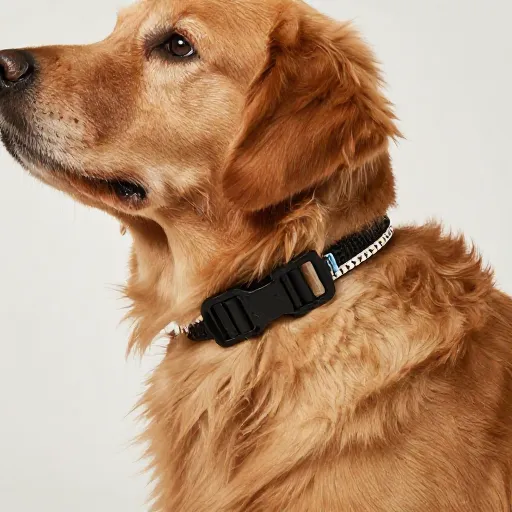
The buckle is the unsung hero of any collar. I always use a plastic side-release buckle. It’s lightweight, easy to snap, and won’t rust. Metal buckles can be heavy and may irritate some dogs.
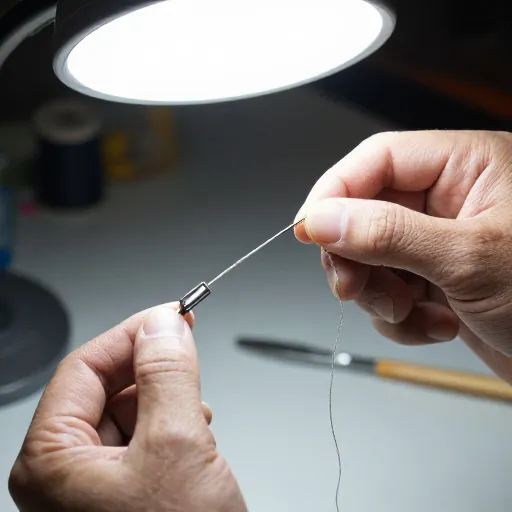
Before you attach the buckle, make sure your cord ends are sealed. You can melt nylon cord slightly with a lighter to prevent fraying. Let it cool before threading through the buckle.
Add a D-ring for the leash between the buckle and the beads. This keeps the leash attachment separate from the adjustability of the collar. It’s a small detail that makes a big difference in daily use.
Double-check all knots and connections. Give the collar a gentle tug to test its strength. Your dog’s safety is worth that extra minute of attention.
Conclusion
Making a beaded dog collar is one of those projects that feels both creative and practical. You get to design something beautiful, and your dog gets to wear a piece of your love every day. Whether you choose a simple alternating pattern or a complex braided design, the process is rewarding and relaxing.
I hope this guide gives you the confidence to start your own DIY beaded collar. Don’t worry about perfection. Every small imperfection adds character and tells a story. Your dog won’t judge—they’ll just wag their tail and enjoy the extra attention.
Grab your beads, pick your colors, and let your creativity flow. Your furry friend is waiting for their new accessory.
[[IMG:IMG12]]
Frequently Asked Questions
What type of cord is best for a beaded dog collar?
Nylon paracord or cotton cord works well. Paracord is very strong and resists wear. Cotton is softer but may need replacing sooner. Choose based on your dog’s activity level.
How do I clean a beaded dog collar?
Hand wash with mild soap and warm water. Rinse well and air dry. Avoid soaking wooden or leather beads for too long. Regular cleaning keeps it looking fresh.
Can I use glass beads on a dog collar?
It’s better to avoid glass beads. They can break and create sharp edges. Acrylic, wood, or ceramic beads are safer and lighter for your dog to wear.
How do I know if the collar is too tight?
You should be able to fit two fingers between the collar and your dog’s neck. If you can’t, it’s too tight. If you can fit more than two fingers, it’s too loose.
Can I make a beaded collar for a puppy?
Yes, but make it adjustable. Puppies grow quickly. Use a slide buckle so you can loosen the collar as they get bigger. Check the fit every few weeks.
[[IMG:IMG13]]