🦴 2-Ingredient Dog Biscuits! 🐶 The Crunchy Treat Your Pup Will Beg For
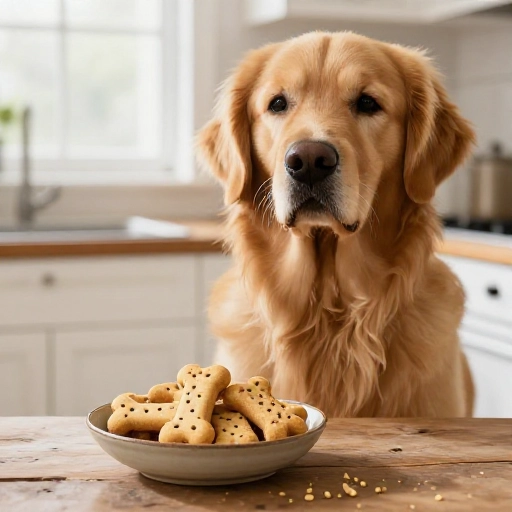
Some of my favorite kitchen moments happen when I realize a recipe can be this simple. These 2-ingredient dog biscuits are exactly that kind of happy accident. Just two wholesome ingredients, a few minutes of prep, and you’ll have a batch of crunchy, golden treats that will make your dog’s tail wag like crazy.
I started making these when I wanted a clean, preservative-free snack for my own pup, but didn’t have the energy for a long recipe. The result? A biscuit that’s naturally crunchy, easy to digest, and so forgiving you can practically make it in your sleep. Plus, it smells like a cozy bakery, not a pet store. Your dog won’t know the difference between these and a fancy store-bought treat—except these are made with love (and zero weird ingredients).
Whether you have a picky eater, a dog with a sensitive stomach, or you just want a fun, quick baking project, this recipe is for you. Let’s get started!
Why Your Dog Will Love This Recipe
These biscuits are pure, uncomplicated goodness. With only two ingredients, you’re eliminating fillers, artificial flavors, and unnecessary additives. That means every bite is packed with what your dog actually needs.
- Digestive health: The main ingredient is gentle on tummies and provides fiber for regularity.
- Joint and coat support: The second ingredient brings healthy fats and protein to the party.
- Crunch factor: Dogs love the satisfying crunch—it’s like a bone-shaped potato chip, but way healthier.
- Homemade love: There’s something special about handing your pup a treat you made yourself. They can taste the difference.
Plus, this recipe is endlessly adaptable. You can roll it thick for a chewier biscuit or thin for extra crunch. Your dog will love them either way.
Equipment & Tools Needed
You don’t need a fancy kitchen to make these. Here’s what you’ll want on hand:
- Large mixing bowl – For combining your two ingredients.
- Fork or sturdy spoon – To mix the dough until it comes together.
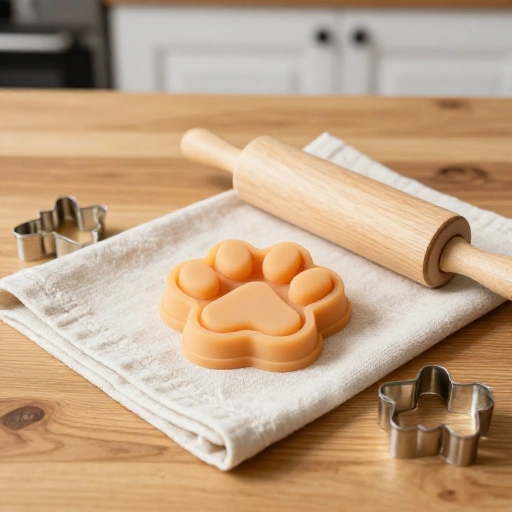
- Rolling pin (optional) – Helps get an even thickness, but you can also press it flat with your hands.
- Cookie cutters – Bone shapes are adorable, but any small cutter works. No cutter? Just slice into squares with a knife.
- Baking sheet – Lined with parchment paper for easy cleanup.
- Oven – Preheated to 350°F (175°C).
That’s it. No food processor, no stand mixer. Just you, a bowl, and a little elbow grease.
Ingredients You’ll Need
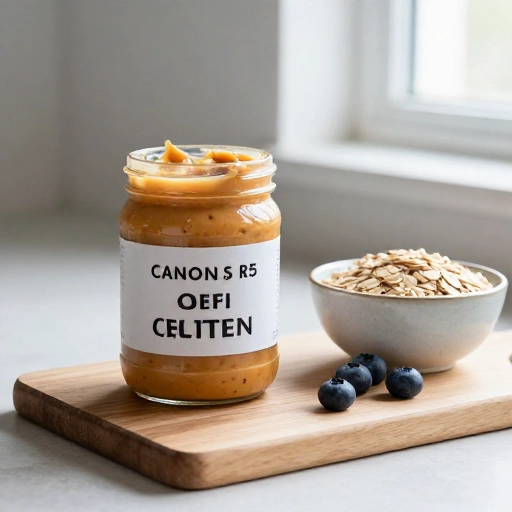
Ingredient 1: Whole wheat flour (or oat flour) – 1 ½ cups
Whole wheat flour gives these biscuits a hearty texture and a dose of fiber. If your dog has a grain sensitivity, swap in oat flour (just pulse rolled oats in a blender until fine).
Ingredient 2: Pumpkin purée (100% pure, not pie filling) – ¾ cup
Plain pumpkin is a superstar for dogs. It’s loaded with beta-carotene, vitamin A, and fiber, which helps with both diarrhea and constipation. It also adds natural sweetness and moisture, so you don’t need any oil or eggs.
Optional add-in (not required but fun): A pinch of cinnamon (no more than ¼ teaspoon) for flavor and anti-inflammatory benefits.
That’s truly all you need. Two ingredients, one dough, endless tail wags.
Step-by-Step Instructions: How to Make It
- Preheat your oven to 350°F (175°C) and line a baking sheet with parchment paper.
- Mix the dough: In your large bowl, combine 1 ½ cups whole wheat flour and ¾ cup pumpkin purée. Stir with a fork until a shaggy dough forms. It will look dry at first—keep mixing until it comes together. If it’s too sticky, add a tablespoon more flour. If too dry, add a teaspoon of water.
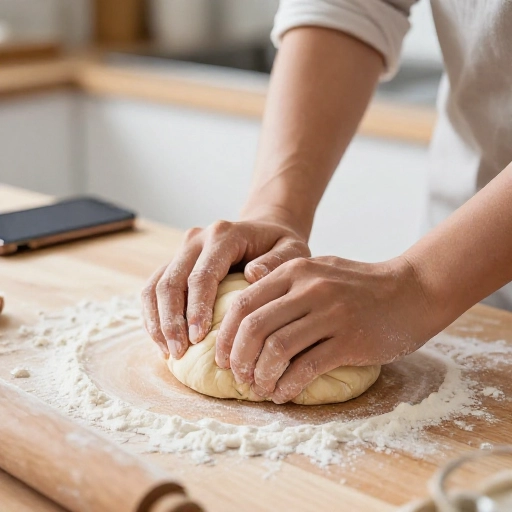
- Knead lightly: Turn the dough onto a floured surface and knead it 3–4 times until smooth. Don’t overwork it—you want tender biscuits, not tough ones.
- Roll it out: Roll the dough to about ¼-inch thickness. For crunchier biscuits, roll thinner. For chewier ones, go a little thicker.
- Cut into shapes: Use your cookie cutters to cut out biscuits. Re-roll scraps and cut again until all dough is used.
- Bake: Place biscuits on the prepared baking sheet, about ½ inch apart. Bake for 20–25 minutes, or until they’re firm and lightly golden on the edges.
- Cool completely: Let them cool on the baking sheet for 5 minutes, then transfer to a wire rack. They’ll continue to crisp up as they cool.
That’s it. In under 30 minutes, you’ll have a batch of homemade dog biscuits your pup will devour.
Feeding Guidelines & Serving Sizes
Treats should always be given in moderation, even healthy ones. Here’s a quick guide based on your dog’s weight:
- Small dogs (under 15 lbs): 1 small biscuit per day.
- Medium dogs (15–40 lbs): 2–3 small biscuits per day.
- Large dogs (40+ lbs): 3–4 small biscuits per day.
Because these biscuits are made with simple, whole ingredients, they’re a great training treat too. Just break them into smaller pieces for quick rewards. And remember: treats should make up no more than 10% of your dog’s daily calorie intake.
If your dog has a medical condition (like diabetes or pancreatitis), check with your vet before introducing new treats.
Storage & Freezing Tips
These biscuits store beautifully, which is great for batch baking.
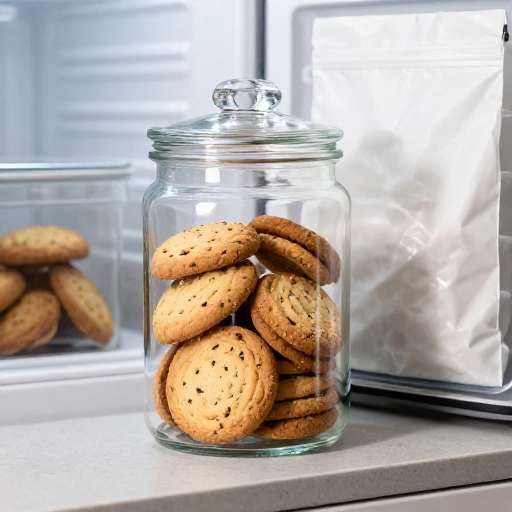
- Room temperature: Keep in an airtight container at room temperature for up to 2 weeks. They stay crunchy and fresh.
- Refrigerator: Store in the fridge for up to 4 weeks. The cool air keeps them crisp.
- Freezer: Freeze in a sealed bag or container for up to 3 months. Lay them flat on a baking sheet to freeze individually first, then transfer to a bag—this prevents clumping.
- Thawing: No need to thaw! Just take out a few biscuits and give them straight from the freezer. Most dogs love a frozen treat, especially in summer.
If you want them extra crunchy after freezing, pop them in a 300°F oven for 5 minutes and let them cool again.
Final Verdict
I’ll be honest—when I first made these, I wasn’t sure two ingredients could deliver the crunch and flavor my dog loves. But after the first batch disappeared in two days, I was a believer. These biscuits are proof that homemade dog treats don’t need a long ingredient list or complicated steps. They’re simple, wholesome, and made with nothing but love (and pumpkin).
Whether you’re a seasoned dog treat baker or a total beginner, this recipe is a win. Your dog will thank you with every happy crunch. And you’ll feel good knowing exactly what’s in every bite. So go ahead—preheat that oven and make some memories (and biscuits) your pup will never forget.

Can I use all-purpose flour instead of whole wheat?
Yes, you can. All-purpose flour will work fine, but whole wheat adds more fiber and nutrients. If your dog has a sensitive stomach, stick with whole wheat or oat flour.
My dough is too sticky. What should I do?
Add a tablespoon of flour at a time until the dough is smooth and no longer sticks to your hands. Humidity can affect the moisture level, so don’t be afraid to adjust.
Can I substitute pumpkin with sweet potato?
Absolutely! Use ¾ cup of plain, cooked, mashed sweet potato (no added sugar or spices). The texture will be slightly different, but still delicious.
How crunchy will these biscuits be?
They’re moderately crunchy—similar to a shortbread cookie. For extra crunch, roll the dough thinner (⅛ inch) and bake a few minutes longer. For a softer treat, roll to ½ inch and reduce baking time by 5 minutes.
Can I make these grain-free?
Yes! Substitute the whole wheat flour with oat flour (certified gluten-free if needed) or chickpea flour. Coconut flour is too absorbent and will change the texture—use only if you’re experienced with it.