10 Brilliant DIY Dog Wheelchair Ideas You Can Build at Home (Save Hundreds of Dollars!)
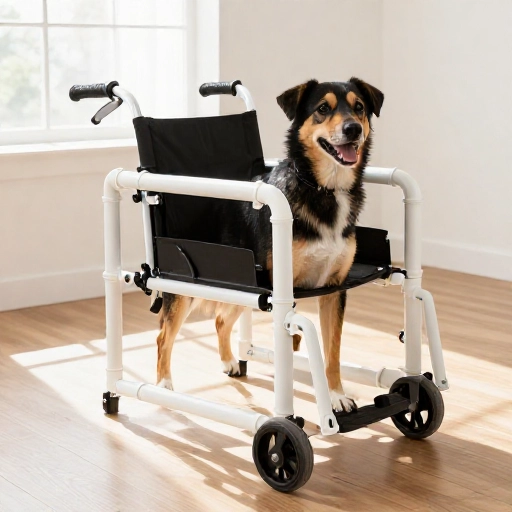
Watching your best friend lose mobility is heartbreaking. When my Golden Retriever, Max, started dragging his back legs due to degenerative myelopathy, the vet quoted me $600 for a custom wheelchair. I nearly choked on my coffee. But giving up wasn’t an option. So, I dove headfirst into the world of DIY, armed with PVC pipes, pool noodles, and a whole lot of determination.
The good news? You don’t need to be a master carpenter or an engineer to build a life-changing cart for your pup. Most of these projects use materials you can grab at a local hardware store for under $50. Whether your dog is recovering from surgery, dealing with hip dysplasia, or has a neurological condition, these homemade solutions can give them their freedom back. Let’s get building!
1. The Classic PVC Pipe Chassis (The Total Beginner Build)
This is the gold standard for DIY dog carts. It’s lightweight, waterproof, and incredibly easy to cut and assemble. You’ll need 1-inch PVC pipes, four corner elbows, and two T-joints. The beauty of PVC is that you can dry-fit everything first, let your dog try it on, and then glue it once you’re happy with the angles.
Measure from your dog’s hip to the floor for the rear support height, and measure the width across their chest for the frame. Wrap the crossbar that sits under their belly with a pool noodle and zip ties to prevent chafing. The wheels attach to the back legs of the “U” shape using skateboard wheels and a metal axle rod.
In about two hours, you’ll have a sturdy cart that gets your pup moving again. Just remember to sand down any sharp PVC edges to keep your furry friend safe.
2. The Budget Skateboard Wheels Upgrade
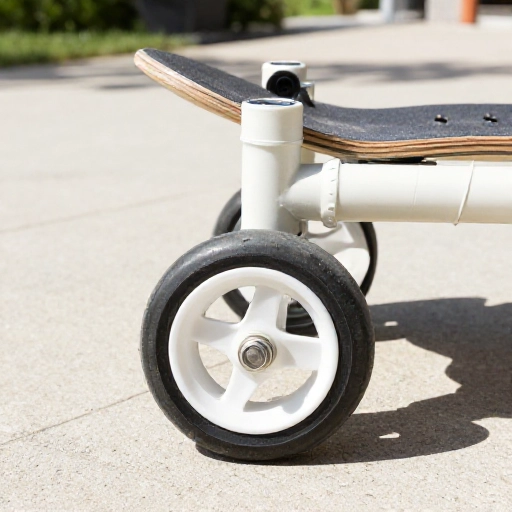
Don’t sink money into fancy medical wheels when a pair of old skateboards can do the job perfectly. Hit up a thrift store or a garage sale—you can usually find beat-up skateboards for a few bucks. The wheels have sealed bearings, making them roll smoothly on pavement and even short grass.
- Remove the wheels and trucks from the board.
- Attach the trucks directly to a wooden base or PVC frame using heavy-duty hose clamps.
- Make sure the wheels spin freely before securing them permanently.
This hack alone can save you $40. Plus, the polyurethane wheels are resilient and won’t puncture easily, which is perfect for a dog who loves to zoom around the yard.
3. The Pool Noodle & PVC Harness System
Sometimes, a dog doesn’t need full wheel support—they just need a little lift to take the weight off their hind legs. This is a “rolling sling” that’s less intimidating than a full frame. You need one long PVC pipe (about the length of your dog) and two pool noodles.
Slide the pool noodles over the PVC pipe. This becomes your lifting bar. Attach a sturdy lifting sling (or an old canvas bag cut to size) to the middle of the bar. When you pick up the bar, it takes the weight off their back legs, and they use their front legs to walk, dragging the bar between your hands.
This is a fantastic interim solution for post-surgery recovery when you don’t want to strap them into a full cart. It also doubles as a great walking aid for you, so you don’t have to bend over and strain your own back.
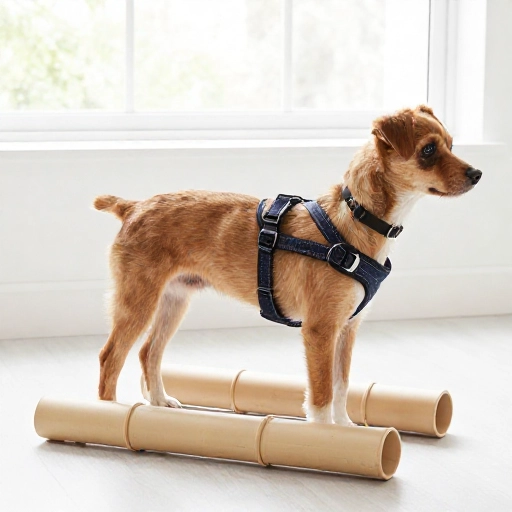
4. The Wooden “Go-Kart” Base
If your dog is a bigger breed, PVC might flex too much. A wooden base offers a rigid, sturdy platform that can handle 80+ pounds. A 2×4 piece of lumber forms the spine of the cart. Cut it to the length of your dog’s torso.
Attach a furniture caster wheel to the back of the wood, and you have a simple rear drag cart. For a more advanced version, add a second set of wheels in the middle for stability. The key here is to pad the top of the wood heavily with memory foam or a folded blanket where the belly rests.
This design is extremely durable. I used this for my neighbor’s German Shepherd, and it held up to daily use for over a year without any warping or cracking.
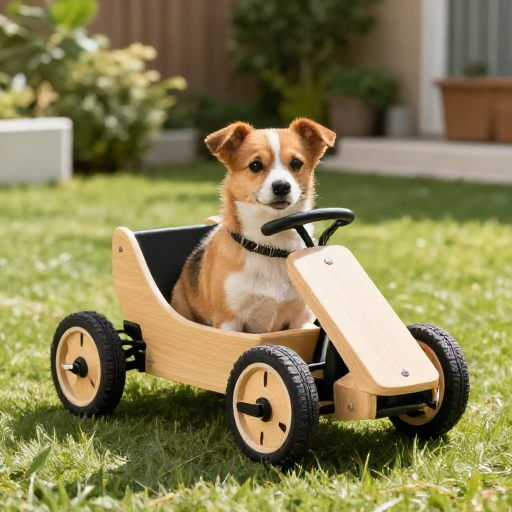
5. The “Neck Lift” Support Roller
Some dogs have weakness in their front legs too, or they have a condition where they drag their toes. This build focuses on preventing knuckling and dragging. It’s a simple A-frame structure that goes over the front shoulders.
Create two PVC “sled runners” that extend out in front of the dog. Add a crossbar that sits just behind their front legs. As the dog walks, this bar gently lifts the front paws off the ground when they get tired, preventing scraped toes and bloody nails.
This is a physical therapy tool as much as a wheelchair. It encourages your dog to use their muscles while preventing injury. It’s easy to build in under an hour with just three pieces of pipe and two elbows.
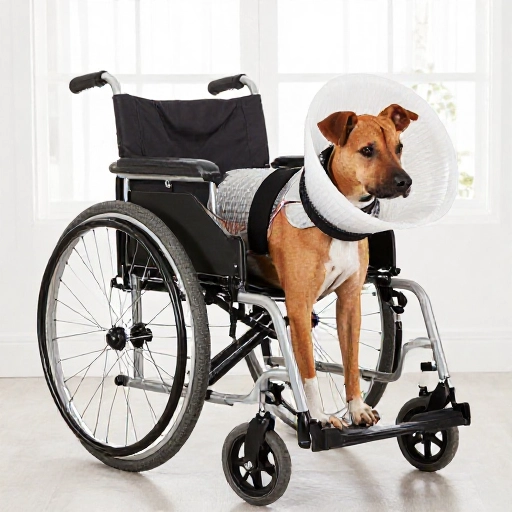
6. Repurposed Stroller Wheels (The Luxury Ride)
Check your local “Buy Nothing” group or Facebook Marketplace for a broken jogging stroller. People practically give these away! The large, air-filled tires are perfect for off-road adventures. They absorb shock way better than plastic wheels, which is crucial for a dog with spinal issues.
Salvage the rear axle and wheels from the stroller. You’ll need to build a wider PVC frame to accommodate the larger hub. The big wheels mean your dog can navigate bumpy sidewalks and grass without the jarring vibration that can cause pain.
This is a slightly more advanced build due to the axle alignment, but the payoff is a smooth, comfortable ride that feels like a luxury SUV compared to a shopping cart.
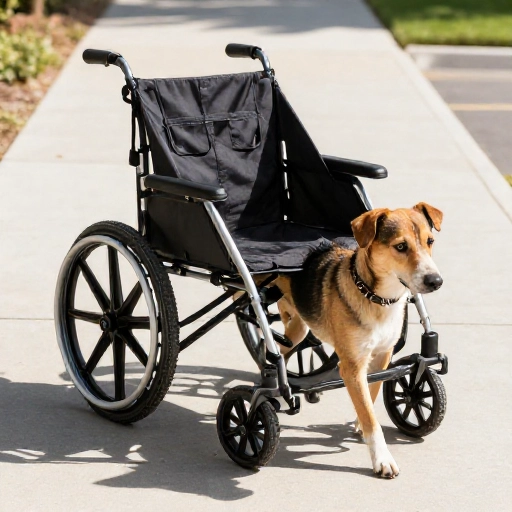
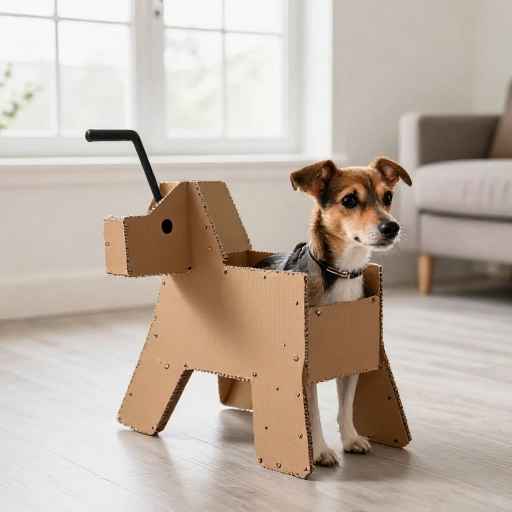
7. The Cardboard & Duct Tape Prototype
Before you spend a dime on PVC, build a mock-up. This is the smartest step you can take. Use a sturdy cardboard box and duct tape to map out the dimensions. Figure out exactly where the wheels need to sit in relation to your dog’s hips.
Place your dog gently on the box. Mark where the hip joint is, and where the back feet hang. This allows you to visualize the angle of the frame. A common mistake is building the cart too high or too low, which causes dragging or a hunched back.
- Test the height with the cardboard wheels (use rolled up magazines).
- Adjust the belly strap position.
- Once it looks right, transfer those measurements directly to your PVC pipe.
This 30-minute step will save you hours of frustrating re-cutting later.
8. The Tennis Ball Feet (For Indoor Use)
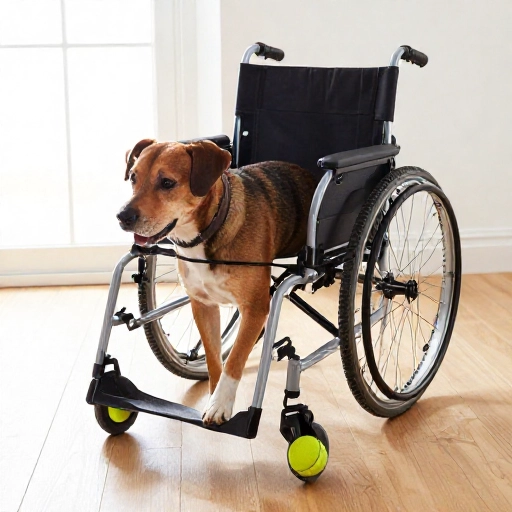
Not all dogs need wheels all the time. Sometimes, a “drag cart” with gliders is better for indoor use on carpets and hardwood floors. Instead of wheels, attach tennis balls to the bottom of your PVC frame posts.
Cut a small “X” in the tennis ball and push the PVC pipe into it. The ball acts as a smooth glider that won’t scratch your floors and is quiet. This is perfect for a dog who is in the early stages of weakness and just needs a little help getting up from a lying position.
This build is incredibly lightweight. It allows your dog to navigate tight corners in the house without the bulk of wheels getting stuck on furniture legs.
9. The “Upcycled Backpack” Support Sling
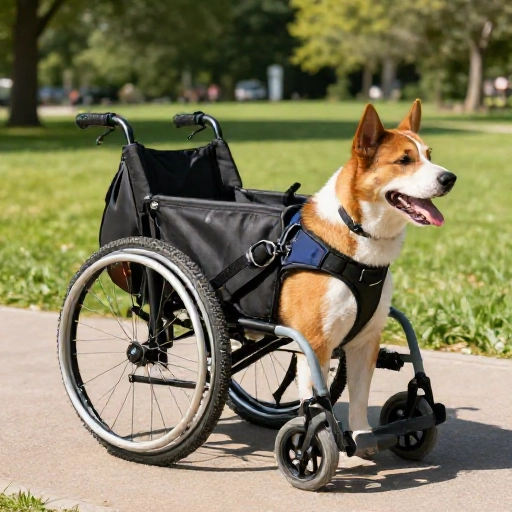
Look around your closet. That old hiking backpack? The fabric is perfect for a DIY harness. The padded shoulder straps become the leg loops, and the main compartment becomes the belly support. You can attach this directly to your PVC frame using carabiners.
Cut the bottom out of the backpack so the dog’s legs hang through. The key is to ensure the padding sits under the belly and not on the spine. This distributes the weight evenly across the abdomen.
This is a hack that saves you from buying a specialized veterinary sling, which can cost upwards of $60. Plus, the durable nylon is easy to clean—just hose it down after a muddy walk.
10. The Adjustable “Growth” Frame
If you have a young dog with a long road to recovery, or if you’re unsure about the exact sizing, build an adjustable frame. This uses a PVC telescoping system. You’ll need two different pipe sizes—a smaller diameter pipe that slides inside a larger one.
Drill a series of holes through both pipes and secure them with a bolt and wing nut. This allows you to lengthen or shorten the frame as your dog gains muscle or as their condition changes.
This “set it and forget it” approach means you won’t have to rebuild the cart every few weeks as your dog’s physique changes. It’s the most cost-effective solution in the long run.
Conclusion: The Best Part Isn’t the Savings
Building a wheelchair for your dog is about more than saving a few hundred bucks. It’s about the look in their eyes when they realize they can chase a squirrel again. It’s about the tail wag that comes back after weeks of stillness. Max used his PVC cart for six months, and while it wasn’t pretty, it gave him his dignity back. He could sniff the hydrangeas and greet the mailman without help.
Take your time, measure twice, and cut once. Your dog doesn’t care if the joints are perfectly smooth or if the paint matches the furniture. They just want to move. You’ve got this.
Frequently Asked Questions
Q: How do I measure my dog for a DIY wheelchair?
A: Measure the distance from the ground to the bottom of their belly (where the harness sits) while standing. Then measure the distance from their hip joint to the back of their rear paw. Add 2 inches to the height so the paws can clear the ground slightly.
Q: What is the best material for the wheels?
A: For indoor use, plastic caster wheels are fine. For outdoor use, rubber or polyurethane wheels (like skateboard wheels) offer better traction and shock absorption. Air-filled tires are the best but harder to mount.
Q: My dog is small (10 lbs). Will PVC pipe be too heavy?
A: Yes, standard 1-inch PVC might be too heavy. Use 1/2-inch PVC or even PEX tubing for small breeds. You can also use thin wooden dowels for a super lightweight frame.
Q: How long does it take to build one of these?
A: The simplest builds (like the pool noodle sling) take 30 minutes. The full PVC cart builds typically take 2 to 3 hours on a Saturday afternoon, including the trip to the hardware store.
Q: Can I use a dog wheelchair for a dog with a broken leg?
A: Yes, but only with vet approval. A cart can help immobilize the leg during healing, but you must ensure the harness does not put pressure on the injury site. Always consult your vet before using any mobility aid.