10 Clever DIY Dog Bowl Holder Ideas That Will Upgrade Your Kitchen and Save Your Back
Okay, let’s be real for a second. That sad, sliding dog bowl on the floor has got to go. Not only does it look messy, but bending over twice a day to fill it up is doing a number on your back. And when your pup gets excited and pushes it across the tile? Game over.
I’ve been there, scrubbing food out from under the fridge. That’s why I started looking into elevated dog bowl holders. They look so much tidier, they’re better for your dog’s digestion, and honestly, they make your home feel a little more “designed.”
You don’t need to spend a fortune on a fancy store-bought stand either. I’ve rounded up ten creative, doable DIY dog bowl holder designs that range from “I can do this in an hour” to “let’s get the power tools out.” These will fit right into your home’s aesthetic, whether you’re into farmhouse, modern, or boho vibes.
1. The Modern Minimalist: The Floating Shelf Feeder
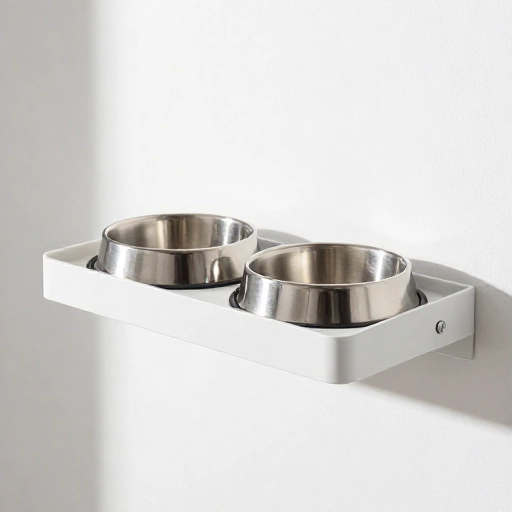
If you’re short on floor space, go up. This is my absolute favorite trick for small kitchens or laundry rooms. You essentially build a sturdy, shallow wooden shelf and mount it to the wall at your dog’s chest height. You cut two holes in the shelf (or just let the bowls sit flush) and slide the bowls right in.
This design keeps the floor completely clear, which means less dirt tracked into the bowls and way easier sweeping. It also looks like a piece of intentional wall art, not a pet accessory.
Make sure you use heavy-duty wall anchors for this one, especially if you have a big dog who likes to chug water. You want this shelf to be rock solid.
For the bowls, look for stainless steel ones with a rubber ring on the bottom. They won’t clang around, and they slide in and out of the cutouts easily for cleaning.
2. The Rustic Farmhouse Crate Stand
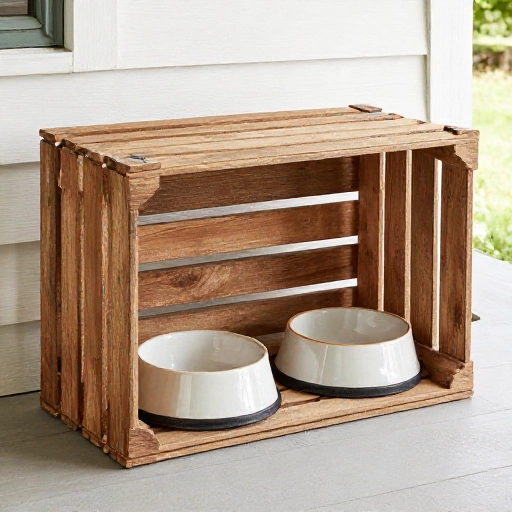
I love a good repurpose. Find an old wooden wine crate or a small, sturdy fruit crate at a flea market or thrift store. Give it a light sanding and a coat of non-toxic, pet-safe wood stain or paint. Turn it on its side so the opening faces you.
You can either place the bowls directly on the bottom slat, or you can add a thin piece of plywood on the inside to create a solid base. This creates an instant, rustic holder that fits perfectly in a farmhouse-style home.
To make it even more stable, add small rubber feet to the bottom corners. This stops the crate from scratching your floors and prevents it from sliding around when your dog gets excited.
The best part? The top of the crate is a perfect little shelf to store treats, a roll of poop bags, or a small plant.
3. The Mid-Century Modern Hairpin Leg Stand
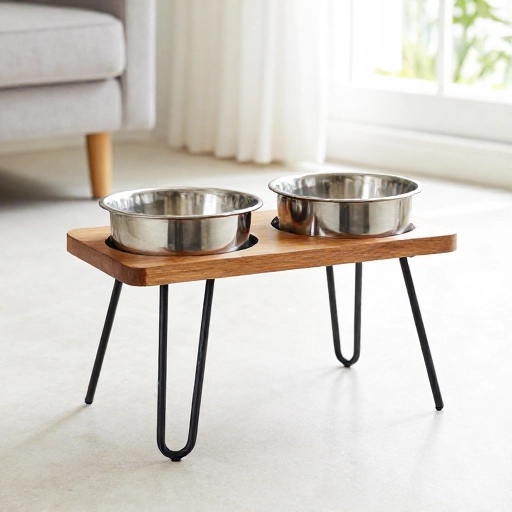
This one is for all my design lovers out there. Grab a rectangular piece of wood (walnut or oak looks amazing) and sand it down until it’s buttery smooth. Then, all you need is a set of black metal hairpin legs that you can screw right into the bottom.
Measure the diameter of your dog’s bowls and trace them on the wood. Use a hole saw attachment on your drill to cut out the circles. Drop the bowls in, and you have a sleek, professional-looking stand that would cost triple the price in a boutique store.
I love the contrast between the warm wood and the skinny black metal legs. It’s very “Mad Men” but for dogs.
You can use this in the kitchen or even in a formal dining room—it looks that good. Just be sure to seal the wood with a food-safe polyurethane so water spills don’t ruin it.
4. The Upscale “Plant Pot” Pedestal
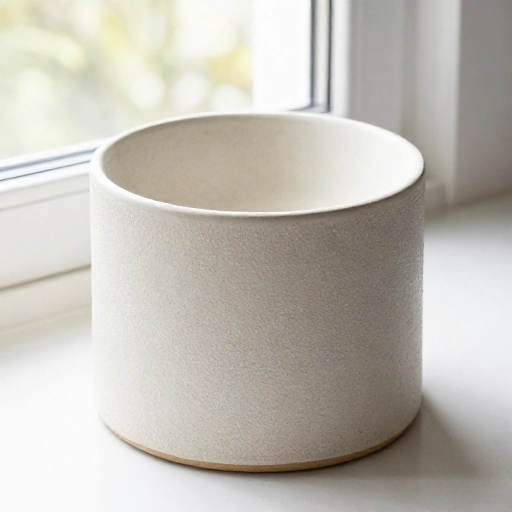
Here’s a clever hack: use oversized ceramic plant pots. You want the ones that are wider at the top and narrower at the bottom. Turn them upside down? No, actually, keep them right side up, but place a large, flat paver stone or a wooden round on top of the pot.
Put the food bowl on the paver stone. The height of the pot raises the bowl, and the weight of the ceramic makes it impossible for your dog to tip over. It looks like a modern sculpture in your living room.
You can hide the plastic bag of dog food inside the pot! Just pop the paver stone off, refill the bag, and put the top back on. It’s functional storage and a feeder in one.
This works best for smaller to medium-sized dogs, as the diameter of the pot top needs to be wide enough to support the bowl.
5. The Industrial Pipe Fitting Frame
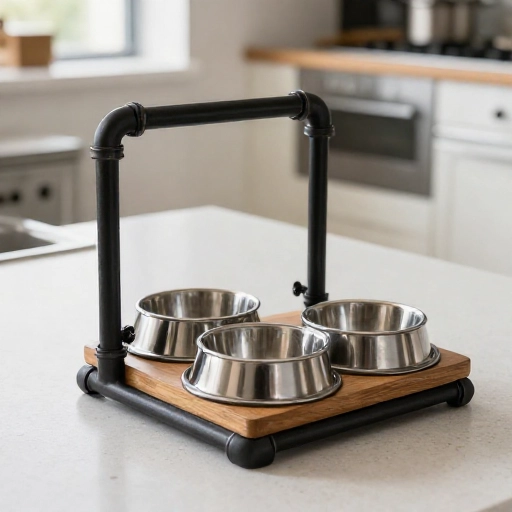
Time to get a little gritty. This design uses standard black iron pipes and fittings you can find at any hardware store. You assemble the pipes into a rectangular frame that sits on the floor, and then you rest a wooden board or a metal tray on top of the frame.
This look is perfect for a loft-style apartment or a home with exposed brick. It’s rugged, heavy, and absolutely will not budge. You can spray-paint the pipes in a matte black or even a copper color for a warmer feel.
Cut two holes in the wooden top to hold the bowls, or just use a rimmed tray to catch any spills. The industrial look pairs surprisingly well with stainless steel bowls.
This is a slightly more advanced DIY, but if you can turn a wrench, you can build this in an afternoon. It’s a statement piece, for sure.
6. The Chic Repurposed Nightstand
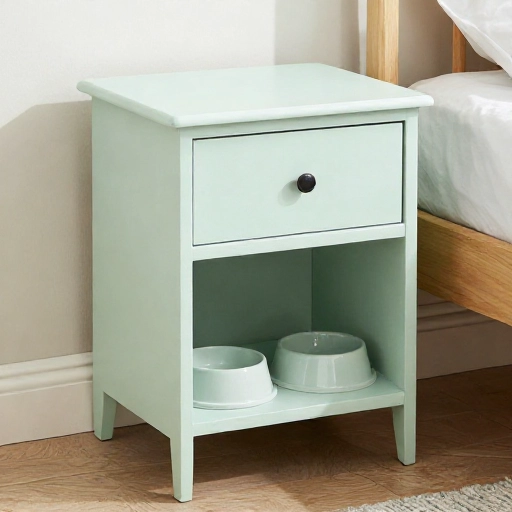
Look around your house or hit up a garage sale. An old nightstand or end table is the easiest base for a dog bowl holder. You want one that’s roughly knee-high. Remove the drawers or leave them in—it’s up to you.
If the table has a solid top, you can simply cut a hole in the top and drop the bowl in. If it has a shelf underneath, just place the bowls on the shelf. This gives your pup a designated “station” that looks like actual furniture.
You can paint the nightstand a fun pop color to match your kitchen island or leave it with a distressed vintage look. It adds so much character.
I love this option for senior dogs who have trouble bending down. The height is perfect, and they can walk right up to their bowl without any awkward stances.
7. The Space-Saving Corner Caddy
Got a weird corner in the kitchen that isn’t doing anything? Build a custom corner unit. You can use simple plywood cut into a triangle shape for the top, with a matching triangle base on the floor. Connect them with two vertical boards.
This fits snugly into the corner, keeping the bowls out of the main walking path. It’s a brilliant use of wasted space. You can paint it to match your baseboards so it blends in seamlessly.
Add a small lip on the top edge to keep the bowls from sliding off. This is a great project if you have a dog that likes to push their bowl around while they eat.
It’s simple, functional, and completely custom to your room’s dimensions.
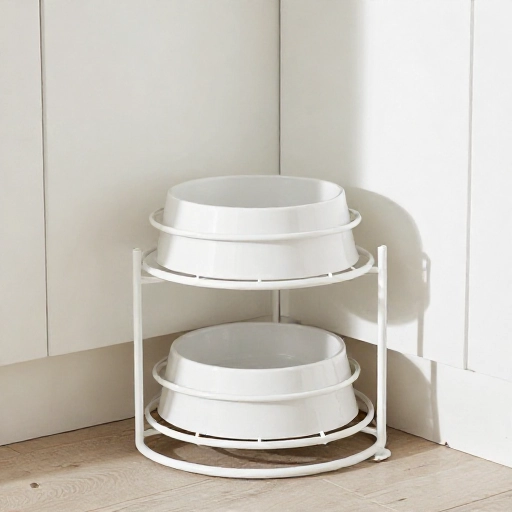
8. The Pallet Wood Double Diner
For the eco-conscious DIYer, pallet wood is your best friend. Break down a shipping pallet and cut the boards to size. You’ll create a simple box shape that is open at the top. Add a middle shelf halfway down.
On the top shelf, place the water bowl. On the bottom shelf, place the food bowl. This works great for taller dogs, giving them a comfortable height for both eating and drinking without straining their necks.
Sand the wood down thoroughly to prevent splinters, and seal it with a pet-safe varnish. The rustic, weathered look of the pallet wood is super trendy right now.
You can even stencil your dog’s name on the front of the box for a personalized touch.
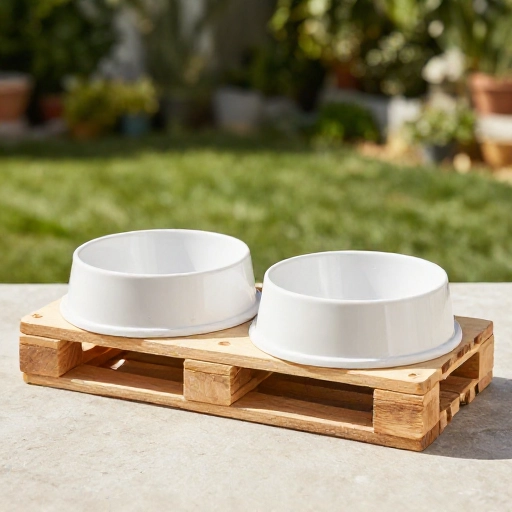
9. The Elegant Marble and Gold Stand
Who says dog bowls have to look like camping gear? For a luxurious touch, you can make a raised stand using a piece of marble or a large slate tile. Place the tile on top of two solid brass or gold-painted wooden legs.
You can buy the legs separately online or at a craft store. They look like furniture legs for a dresser or a table. Attach them to the underside of the tile with strong adhesive or screws.
The weight of the marble keeps the stand incredibly stable, and the gold accents add a touch of glam to your kitchen. It’s a great conversation starter.
Use sleek, shallow ceramic bowls on top to complete the aesthetic. This is a “grown-up” dog feeder for sure.
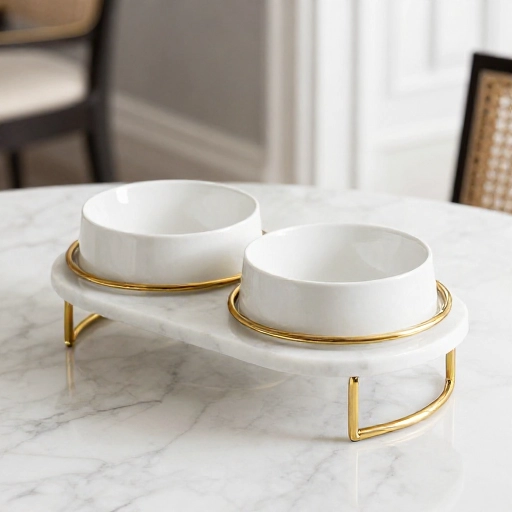
10. The Built-In Drawer Insert
This is the ultimate “wow” project. If you have a kitchen island or a base cabinet with a drawer that you don’t use, you can turn it into a hidden dog feeding station. Remove the drawer front and face it with a dog-friendly metal or wood panel.
Install heavy-duty drawer slides that can support the weight of the bowls and the water. When you need to feed your dog, you pull the drawer out. When you’re done, you push it back in, and the bowls are completely hidden.
This is a bigger project, but it’s the best way to completely declutter your kitchen floor. It’s also amazing if you have a dog who likes to guard their food—you can close the “door” on the mess.
Make sure to use non-slip mats inside the drawer so the bowls don’t slide when you open and close it.
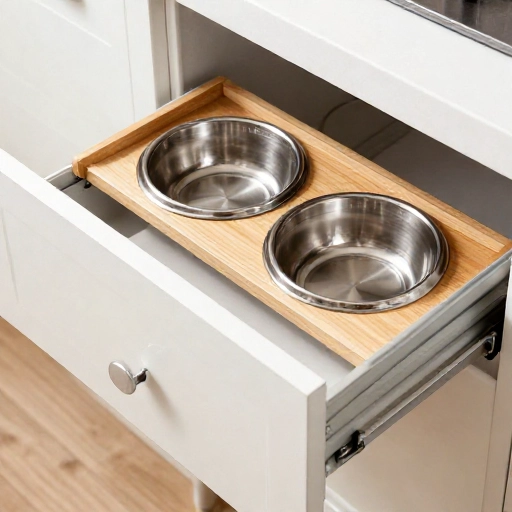
Final Thoughts: Pick What Fits Your Life
There you have it—ten totally different ways to solve the dog bowl problem. Whether you’re a weekend warrior with a workshop full of tools or a renter who needs something simple and non-destructive, there’s an idea on this list for you.
Remember, the most important thing is that the height is right for your dog. The bowl should be around chest height so they don’t have to stretch up or bend down too much. This helps with digestion and reduces stress on their joints.
Pick a project that makes you smile. Your dog doesn’t care if it’s perfect; they just care that dinner is served. Happy building!
Frequently Asked Questions
1. Are elevated dog bowls really better for my dog?
Yes, generally speaking. They promote better posture, which can improve digestion, especially for larger breeds. They also help senior dogs or dogs with arthritis who struggle to bend down to the floor.
2. What is the correct height for a dog bowl holder?
A good rule of thumb is to measure your dog from the floor to the top of their shoulder (withers) and then subtract about 5-6 inches. The top of the bowl should sit around that lower chest height.
3. Is it safe to use wood for a dog bowl holder?
Absolutely, as long as you seal it properly. Use a water-resistant, non-toxic finish like polyurethane or a food-safe mineral oil. This prevents water damage and bacterial growth in the wood grain.
4. How do I stop my dog from tipping over the water bowl?
There are a few tricks. Your DIY stand should be heavy and stable. You can also use wide, flat-bottomed bowls with a rubber ring. If your dog is a heavy drinker, try a “spill-proof” bowl design that floats a disc on top of the water.
5. Can I use any bowl with these DIY holders?
Stainless steel is always the best choice since it’s durable and easy to sanitize. Ceramic is fine too, but make sure it’s lead-free. If you’re cutting holes in a board, just make sure the bowl’s rim is wider than the hole so it doesn’t fall through.